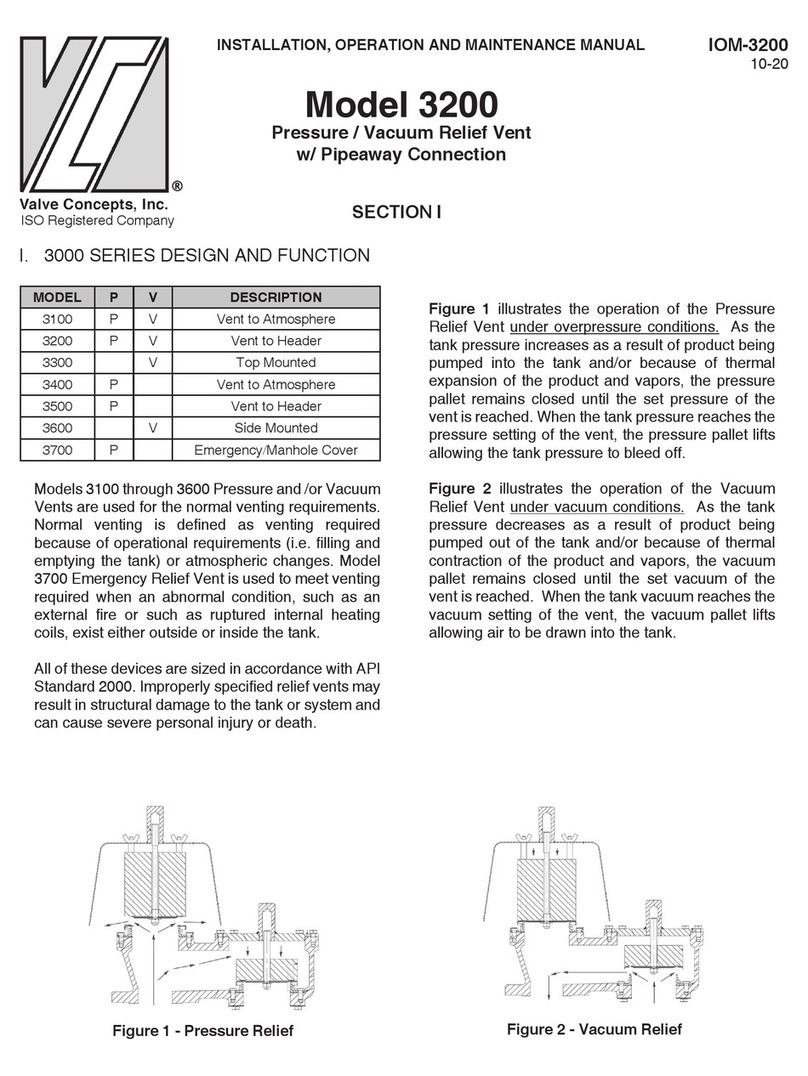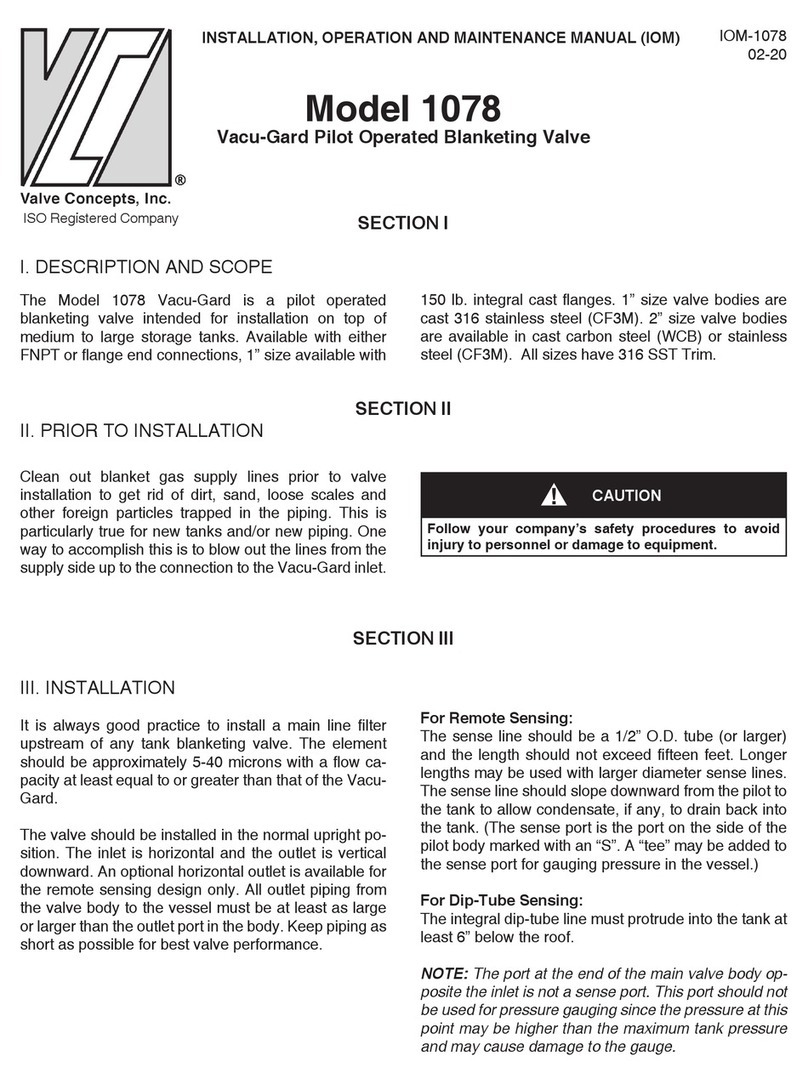
6IOM-5500
SECTION VII
VII. VENT VALVE MAINTENANCE
Actuator Diaphragm Replacement:
a. Paint or embed a set of match marks
between upper case (116) and lower case
(114) along flanged area.
b. Loosen and remove nuts (118) and
cap screw (117).
c. Lift up and remove the upper case
(116) assembly and set aside. Remove
joint tape (130) and diaphragm (128).
NOTE: To continue with disassembly -
skip to Pressure Pallet Diaphragm Re-
placement below.
d. Replace with new parts (130 and 128).
Position and align bolt holes in the circum-
ference of the diaphragm with the holes in
the lower case (114).
e. Reposition upper case assy (116) on
diaphragm (128). Align marks made in
step (a.) above.
f. Install cap screws (117) and nuts (118)
and tighten.
g. Install pilot body assembly on nipple
(01) tight with CW rotation. Ensure straight
connector (122) of the pilot valve assembly
is directly above sensing tube connector
(123) of the main valve assembly.
h. Reconnect tubing (124) to fittings
(123),(122). Then, reconnect the dis-
charge tubing (134) to fitting (31) and
sense tube connector (132) Refer to Sec-
tion IX for Calibration and Testing.
Pallet Diaphragm Replacement:
(Disassembly continues from c. above)
a. Paint or embed a set of match marks
between cover (111) and pipeaway body
(101).
b. Rotate cover nuts (112) CCW and re-
move. Grasp the lower and upper case
assembly (114,116) and lift straight up to
remove cover (111).
NOTE: Support plate (127) will also lift out
of pipeaway body (101). Pressure pallet
stem(106) assembly will remain on seat
ring (102).
CAUTION
If the vent valve must be removed from the tank for any
reason, make sure that all pressure has been released
before the flange fasteners are loosened. Refer to your
company procedures before venting the tank pressure
and when handling toxic or otherwise hazardous
materials. Observe all standard safety precautions
as specified on Material Safety Data Sheets for the
product(s) in the system while removing the valve and
during the repair.
A. General:
1. The Model 5500 POVV does not require
routine lubrication or adjustments. It should
be checked periodically, at least twice a
year, to confirm that the vent is functioning
properly and that the set point is correct.
2. The pilot valve is designed to function in a
fail-safe manner. The failure of a seal or a
diaphragm will cause pressure to be vent-
ed out through a pipeaway connection; the
resulting loss in pressure will cause the
main valve to open under rising pressure.
3. Periodic inspection for seat tightness
should be done to ensure compliance with
local air pollution control requirements. If
the pipeaway connection relieves to the at-
mosphere, this maybe accomplished with
a gas detector calibrated for the principle
product in the system.
4. The vent valve will need to be removed
from the tank for inspection of diaphragms,
gaskets and seals. When this is done, the
vent must be handled carefully using the
lifting brackets (119) and the body.
5. The main and pilot valve housings, bodies,
pallet assembly and other components are
exposed to the process vapor.
B. Disassembly:
1. Disconnect the tubing connections (pilot to
main Valve) (123, 124, 125 and 122) and
remove the pilot by rotating the pilot body
(01) assembly CCW from nipple (121).
