VARON NT-3 User manual

NT-3
Oxygen Generator User Manual
A green life with oxygen begins now

Catalogue
Understanding beforeusing 01
Product features 01
Important statement 02
Receipt inspection 02
Start using oxygen machines 03
Preparationbefore us 03
The use of oxygen machine 03
The use of nasal oxygen inhaler 04
Specific operation 04-06
Precautions in use 06
Available power supply 07
Cleaning and maintenance 07
Product specifications 08
Troubleshooting for general problems 09
Quality assurance and disclaimer 10
A notice 11
Understanding beforeuse
Dear customer, thank you for purchasing the NT-3 oxygen generator. Using it, there
will be a healthy and friendly atmosphere surrounding lucky you. If you can tell us
your product suggestions and service opinions, we will Would appreciate your help
very much.
Please read these instructions carefully, so that you can quickly and thoroughly
understand how to use this oxygen generator, and keep this instruction for future
reference or forwarding to any future users.
This manual explains and stipulates the operating conditions and performance,
specifications, operating environment requirements and test results of the pulse
oxygen enricher.
If you understand the following knowledge, you will be able to use theoxygen
generator specified in this manual more reasonably:
1.
Rejuvenate brainactivity;
2.
Oxygenisusedforskincare;
3.
How doesoxygenrestoresub-healthfatigue;
4.
Reduce theharm of alcohol and cigarettes;
5.
Softening anddeodorizing;
6.
Otherrelated environmentalandhealth information andproducts.
ProductFeatures
Features of this product Adopting PSA's safe and reliable oxygen production
technology, the battery is separated from the host, which is convenient for users to
replace a larger or smaller battery pack, and is convenient for reasonable
arrangements when going out.
The small size, beautiful appearance, and efficient pulse oxygen supply are
especially suitable for users who need to move.
- 1 -

Important statement
1.
This oxygen generator is for health maintenance and life quality improvement
purposes, and cannot be usedas life extension or medicalequipment.
2.
Do not use the device before reading and understanding the contents of the
manual, otherwise it may cause injury or damage to the product due to improper
operation.
3.
Do not smoke, light candlesor useother open flames when using this equipment.
4.
If you need to smoke, please follow the following important safety measures: turn
off the device, remove theoxygentube, and leave the room of the device.
5.
Please clearly place the sign of "oxygen generator, please do not smoke" in the
room with the equipment.
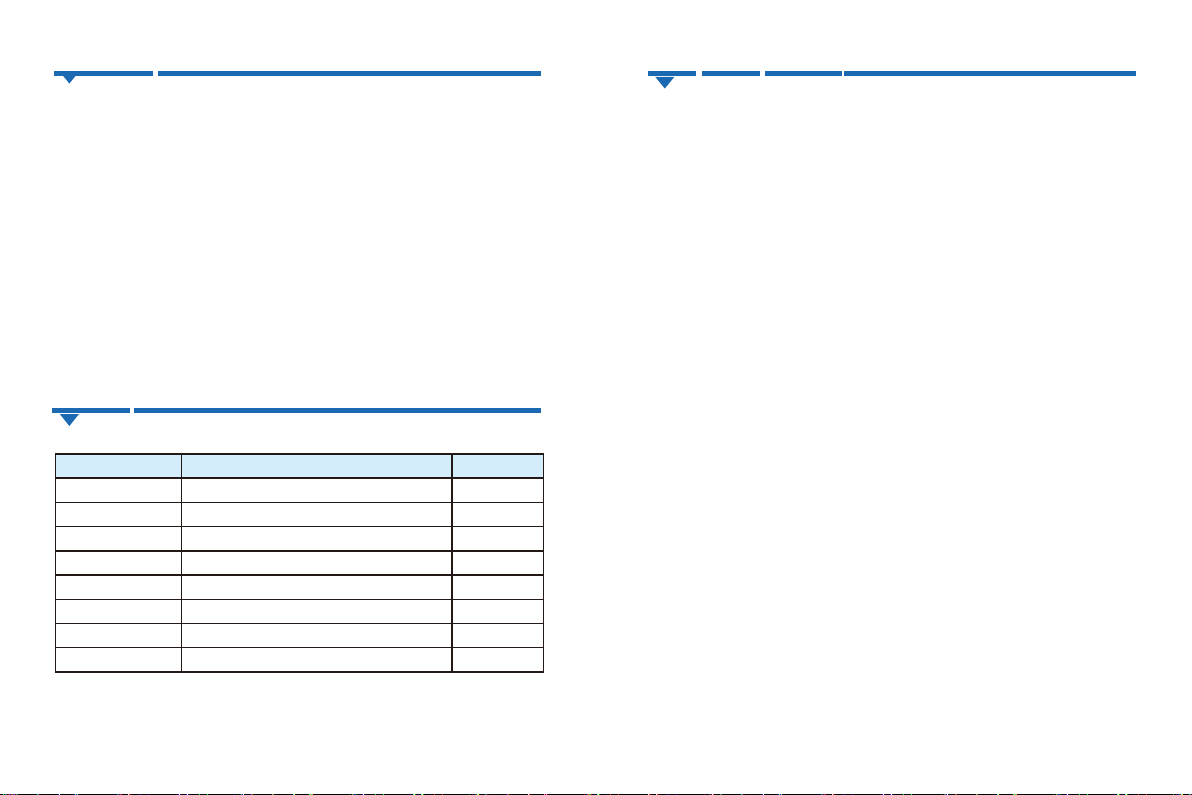
Receipt inspection
1. Check equipment and accessories
NO.
Name
QTY
1
Main machine
1 unit
2
AC adaptor
1 set
3
Use manual
1 pcs
4
Disposable oxygen inhaler
1 set
5
External battery
1 pcs
6
Diagonal shoulder bag
1 pcs
7
Warranty card/certificate
1 pcs
8
Car line
1 pcs
Please check whether it is sufficientaccording to the above list. If there is any
missing, please contact the sales to make up the difference or return the goods.
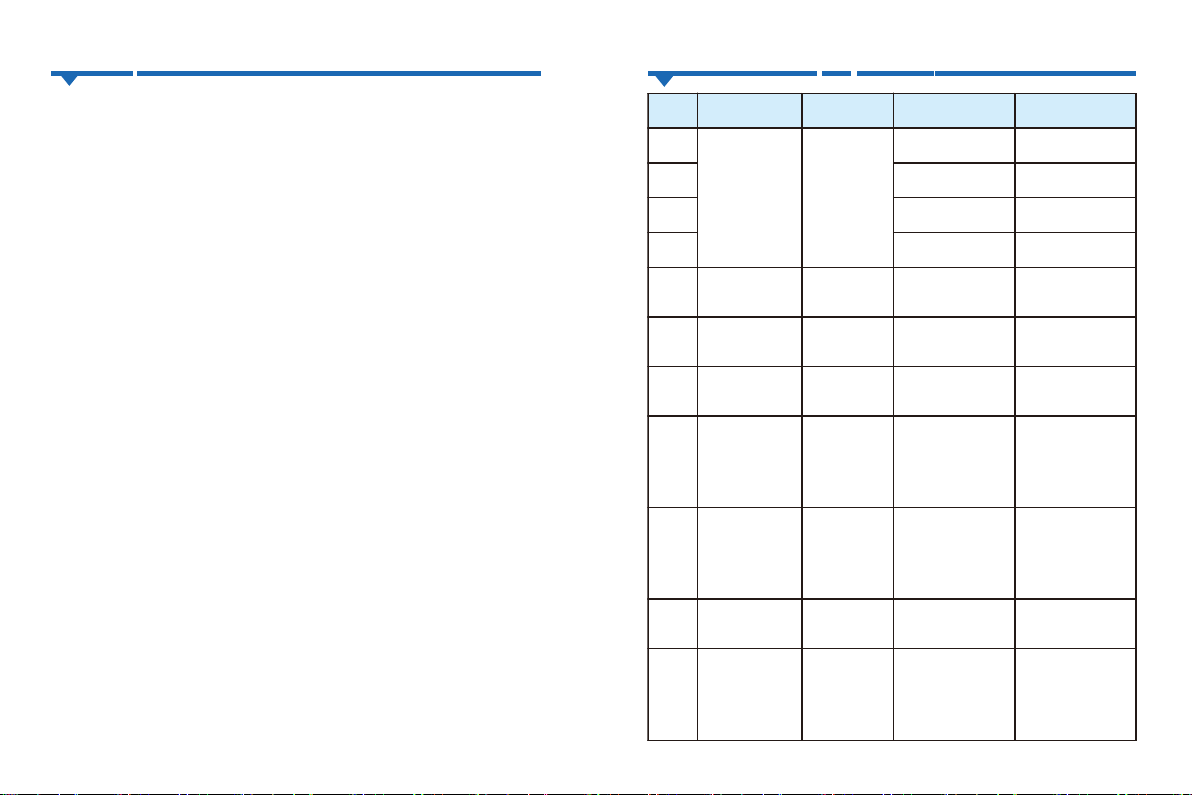
Start using oxygengenerator
Preparation before use:
1.
Before starting the oxygen generator for the first time, please familiarize yourself
withthemainaccessories,whichwill be used later.
2.
Instructions for use of the adapter and battery
(1)
Due to transportation control reasons, the external batteries only retain the
power for testing when they leave the factory,or there is no power at all. Therefore,
the batteryneeds to be fullychargedbeforethefirst use.
(2)
Battery chargingmethod:
a.
Connect one endof theAC adapter to 100~240VAC, and the otherend to the
charging socketof thebattery.At this time,theAC adapterindicator lights up in red,
indicating that the battery is charging, and the battery is fully charged for about 4-6
hours; when the AC adapter indicates When the light turns green, it indicates that
the battery is fully charged.At this time, you can disconnect theAC adapterand the
battery.
b.
Connect one endof theAC adapterto 100~240VAC and the other end to the
charging socket of the battery. At the same time, connect the output end of the
battery to the power input socket of the oxygen enrichment machine, and then
press the power switch of the oxygen enrichment machine to start the machine.
Charge while oxygen. In this mode,the time to fullycharge the batteryis related to
the workinggear of the machine,and the time to fullychargeis about 4-10 hours.
The use of oxygen generator:
1.
Please place the product correctly, ensure that the air inlet and outlet are
unobstructed, and the distance from the outside to other objects or walls is at least
10cm;
2.
Connecttheoxygen inhaler;
3.
Connect thepowerinput socketof thisproductto the outputplugof theAC
adapter or external battery;
4.
Pressthe power switch, the device will startthe oxygen production of this product;
- 2 - - 3 -

5.
The product is turned on and enters the power-on state, and immediately starts
pulseoxygen supply. There are four timing time periods to choose from,40 minutes,
60 minutes, 80 minutesand 180 minutes, and it willautomaticallyshut down when it
isused.
The use of nasal oxygen inhaler
1.
Connectone end of the oxygen inhalation tube to the nasal inhaler and the other
end to the oxygen output port of the device.
2.
Whenusing theoxygeninhaler, the tubemust be connected correctlyandnot
folded,so as not to inhale oxygennormally;
3.
See thefollowing
Specific operation
1.
Takeout the oxygen generator and insert the output plug of the power supply or
battery pack into the power socket of the oxygen generator. If it is from a low
temperatureenvironment to a room temperature environment, it needs to be placed
for 4 hours before performing this operation, such as from outdoors-100C gets
indoor 200C, it needs to be placed for 4 hours beforeuse.
2.
Standard battery pack
3.
Takeout the nasal suction tube and insert the air inlet of the nasal suction tube
intotheair outlet of the oxygen generator;
The upper one is the air outlet connector, the lower one
is the power socket, which can be connected to a
batterypack or a poweradapter
4.
Put on the nasal straw,as shown in the picturebelow
5.
Pressthe power switchbutton of the oxygengenerator, you will hear a beep, and
the machine starts to work;
Turn on or turn off the button; in the off state, click
to turn on, and in the on state, click to
6.
If you need to adjust the different use time, press the green SET buttonand
follow the instructions to set: 40 minutes, 60 minutes, 80 minutes, 180 minutes, a
total of 4 time levels;
The timing setting button only works when the machine
is turned on, and it cannot be used after the machine is
turnedoff.
- 4 - - 5 -
On the left is the charger socket. The rubber cap
should be fastened when not in use to prevent short
circuit damage to the battery or accidents.
The one on the right is the output line, which can be
plugged into the power socketof the oxygen
generator to supply power to the oxygen generator.

After power on, the first gear will be on by default, press it again to turn on the
second gear, press the third time to turn on the third light; press the fourthtime to
turn on the threelights at the sametime;
Timing time indication: each light is on, indicating the corresponding timing time, if
three lights are on at the same time, the timing time is the sum of the three:
=40+60+80=180(min).
7.
If you needto stop working duringuse, just press the red power switchbutton, or
it will automaticallystop working when itis time.
Precautions inuse
1.
Toensure better oxygen inhalation,pleaserefer to the picture on the right to wear
the oxygen inhaler correctly. When wearing the oxygen inhaler, be careful not to
bendthepipeline to prevent the air path frombeingblocked.
2.
Properly keep and place the battery pack to preventaccidentsandhelp prolong
the life of theproduct;
3.
Remind again, when usingthis product,do notsmoke and keep away from open
flames;
4.
Do notuse as toys for children, and placethem out of thereach of childrento
preventaccidentswhen childrenplay;
Available powersupply
1.
The externalbatterypack equippedwiththis product;
2.
TheACadapterequippedwiththisproduct;
3.
The 12V power supply of the car needs the on-board cable that is equipped with
thisproduct.
Cleaning andmaintenance
1.
Before cleaning the equipment, please unplug all external devices: such as AC
adapter, external battery, oxygen inhaler, and make sure that the equipment is
turnedoff.
2.
Do not let the equipment get wet or let water enter the equipment. If water enters
the equipment accidentally, please stop using it immediately and contact the dealer
for handling;
3.
If the equipment is not to be used for a long time,please wrap the host in a plastic
bag and seal it to prevent the performance of the machinefrom degr
4.
Use at leastoncea week,no lessthan1 houreachtime
5.
Please disconnect the power supply and battery in time after using the device
each time.
- 6 - - 7 -

Productspecifications Troubleshooting for generalproblems
Product Name: Oxygen Generator
Model number: NT-3
Scope of application: It is only used for health preservation and improving the
quality of life, not for medical treatment or life continuation.
Oxygen production method: pressure swing adsorption separation method (PSA
method)
Work rate: 30W
Input voltage: DC12V~16. 8V
Four levels of timing: 40 minutes, 60 minutes, 80 minutes, 180 minutes
Product size: 20.5 * 9.5 * 13cm
Product net weight: 1.4Kg
Maximum oxygen production flow (equivalent): 3L/min
Oxygen concentration: 32.5%±2.5(v/v)
Standardbatterypack capacity: 2500mAH14.8V,thehighest voltageis 16.8V
The longestusetime:2.5h.
- 8 - - 9 -
NO.
Phenomenon
Problems
Reason
Solution
1
Not working
Not connected
to power supply
Power broken
Change a new power
or battery
2
The charger
doesn’t work
Change a new power
or battery
3
Power line is broken
Change a new power
or battery
4
No AC
Change a new power
board
5
Not working
Internal failure
of the machine
Internal damage
Contact the agent or
manufacturer to deal
with it.
6
The first light
flashes slowly
The power
supply is
abnormal
Incorrect or damaged
power supply
Change the correct
power supply
7
The first light
flashes quickly
The power
supply is
abnormal
Incorrect or damaged
power supply
Change the correct
power supply
8
The second light
flashes slowly
High internal
temperature
Poor heat dissipation
Smooth the air inlet
and outlet of the
machine and wait for
the temperature of
the machine to drop
to normal.
9
The second light
flashes quickly
The ambient
temperature
is too low
Workingenvironment
temperature is too low
Put the machine in
an environment
h i g h e r t h a n 5
degrees Celsius for
4 hours before
using it.
10
There is a rhythm
like breathing
Normal working
sound
No
No
11
Fan noise is
too loud
Temperature
is too high
Poor heat dissipation
Poor heat dissipation,
the machine can still
work, this time will
increase the heat
dissipation capacity.

Quality assurance anddisclaimer
For warranty service, please contact the dealer where you sell the company's
products. This warranty doesnot apply to the following situations,and the evaluation
of this operation is at the discretion of themanufacturer:
1.
Problemscaused by normalwear and tear or failure to operate according to the
enclosed usermanual;
2.
Productswhoseserialnumbershave been removed or destroyed;
3.
Products affected by negligence, accident and incorrect operation, maintenance
or storage;
4.
Products modifiedwithout the explicit writtenpermission of the manufacturer,
including(but not limited to) the use of unauthorized parts or accessories;
5.
Productsthat are damaged by repairingany component without the explicit
consent of the manufacturer;
6.
Productsdamaged due to circumstancesbeyond the controlof the manufacturer
(suchas earthquakes, floods, etc.)
7.
Productsrepairedby anyoneother than the manufacturer's seller.
8.
The above warranty is the onlywarranty,it replacesany expresswarranty(if any),
whichincludesan implied warrantyof suitability for a specific purpose;
9.
Thesewarrantyperiodsshould notexceed theexpress warrantyperiod specified
in the warranty, and the remedies for breach of the implied warranty are limited to
repair or replacement of defective or problematic products in accordance with the
termsof the warranty.
10.
The manufacturer does not assume any responsibility for any subsequent or
incidental
A notice:
Please refer to the real object. In order to maintain product optimizationand better
user experience, the manufacturer reserves the right to update the technology or
function to improve the product without informing the user.
- 10 -
- 11 -

- 12 - - 13 -
Table of contents
Other VARON Portable Generator manuals
Popular Portable Generator manuals by other brands

Champion Global Power Equipment
Champion Global Power Equipment 201083 quick start guide

Briggs & Stratton
Briggs & Stratton P3000 manual

Briggs & Stratton
Briggs & Stratton 40276 Illustrated parts list

Briggs & Stratton
Briggs & Stratton 30380 Illustrated parts list

Titan
Titan TG 4500 owner's manual

G-Power America
G-Power America GN5250DCS owner's manual