Vasco Electronics Translator 7" User manual

Vasco Translator 7”
USER MANUAL
ENGLISH

Copyright © 2019 Vasco Electronics LLC
www.vasco-electronics.com

Table of contents
1. Operation of the device 4
1.1 Function keys 5
1.2 Battery charging 5
1.3 Memory card 6
1.4 Built-in SIM card 6
1.4.1 Top-up 6
1.4.2 SIM card expiration 6
1.4.3 SIM card number 6
1.5 First start 7
2. Vasco Translator 7
2.1 Choosing the source and target languages 7
2.2. Voice recognition 8
2.3. Typing 8
2.4. Pronunciation 9
2.5. Clean 9
2.6. Menu 9
2.6.1. Translator 9
2.6.2 Photo Translator 10
2.6.3. History 12
2.6.4. Counters 12
2.6.5. Phrasebook 13
2.6.6. Conversation 13
2.6.7. Accessories 15
2.6.8. Settings 15
3. Menu 16
4. Device Settings 17
4.1 Networks 17
4.1.1 WiFi conguration 17
4.2 Device 18
4.3 Bottom bar 19
Specication 20
4
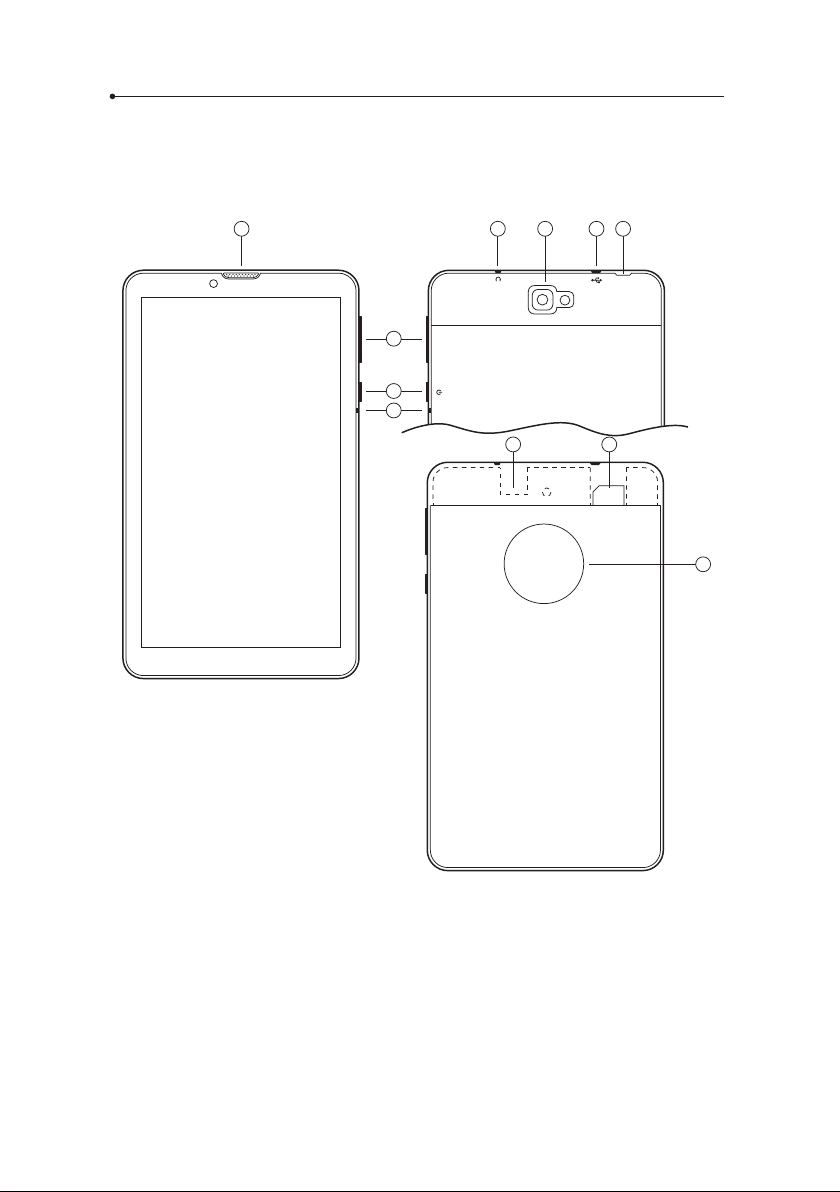
1. Operation of the device
5
6
11
1 310 42
V-V+
89
7
R
1. Loudspeaker 2. Earphone input
3. USB 4. Cover lift 5. Volume
6. Power ON/OFF 7. Loudspeaker
8. SIM card 9. SD card 10. Camera
11. Reset

5
1.1 Function keys
Power
• Device turned o: hold this key for 5 seconds to turn the device on
• Working device:
• push this key to lock the screen, push again to unlock
• push and hold the key for 2 seconds and tap“Power o”to turn the
device o
• push and hold the key for 2 seconds and tap “Reboot” to reboot
the device
• push and hold the key for 2 seconds and tap“airplane mode”to acti-
vate ight mode; ight mode disconnects GSM and WiFi; repeat the
steps to deactivate ight mode
Volume
• Working device: push up or down to increase or decrease the volume.
• You will see the following icon. Tap and hold the blue dot and swipe left
to decrease and right to increase the volume: .
1.2 Battery charging
• Plug the charger into an electric socket and the USB cable into the
device in order to charge the battery.
• The battery indicator moves to charging mode.
• The battery is fully charged after about 4 hours.
• After the battery is charged, remove the charger and the USB cable.
WARNING: Charge the battery in a well-ventilated area between 14°F
and 95°F (-10C to +35C). To charge the battery use the charger provided
by the manufacturer. Using any other charger may damage the device.

6
1.3 Memory card
A memory card is provided with the device. Removing and/or damaging
the card may cause incorrect functioning of the device. In the event of dam-
aging the card, contact the seller.
1.4 Built-in SIM card
The device is equipped with an international SIM card that allows it to
work without WiFi. The built-in SIM card is pre-paid and doesn’t require
any contract.
1.4.1 Top-up
The SIM card is active and topped-up. In order to top up your account visit:
www.vasco-sim.com or contact the seller.
1.4.2 SIM card expiration
The SIM card expires after 2 years from the last use of the device. In order to
prolong this period, just use your device through a GSM network.
1.4.3 SIM card number
Your SIM card number starts with +372. You will nd the complete number
on the inner side of the box, on the protective case or under the cover of
the battery.
WARNING: Don’t bend or scratch the SIM card. It should not have any
contact with water, dust or electricity.
1.5 First start
After turning the device on, swipe left or right and choose your language.
Then, read and accept the terms of service. The language chosen will
change all the regional settings, including the language of the keyboard.
You will see the main screen of Vasco Translator. The device is now ready
to use.
7
2. Vasco Translator
Vasco Translator recognizes voice and translates full sentences
into supported foreign languages. The translator pronounces the
translated text out loud. For the full list of supported languages
consult the manufacturer’s website. Vasco Translator needs a WiFi or a GSM
network in order to translate.
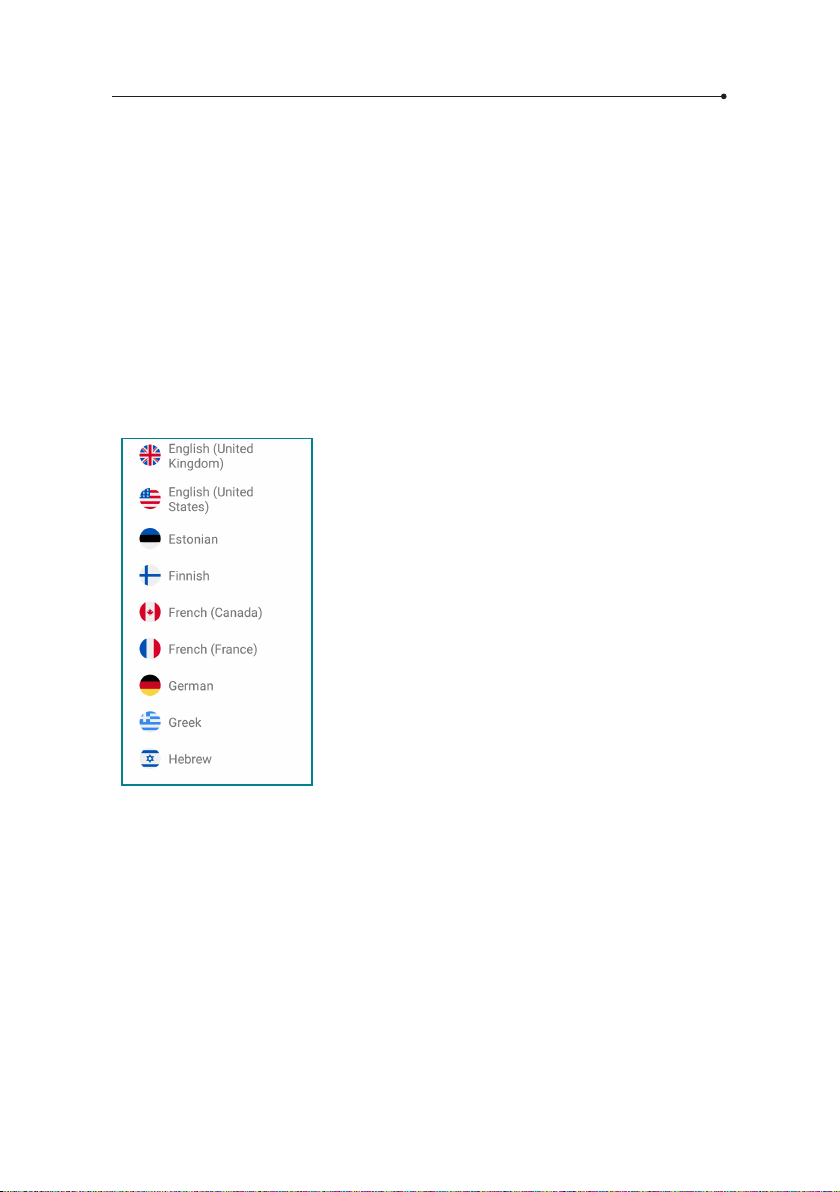
2.1 Choosing the source and target languages
Tap the ag to see the list of available lan-
guages. Swipe up or down to nd the language
you need. Tap the name of the language to acti-
vate it.
You can quickly switch between the
languages by tapping the flag. You
don’t need to enter the text again if you
want to see the translation in different
languages. The current text will be translated
automatically right after changing the
language.

8
2.2 Voice recognition
The icon serves to enter
text using the voice recognition
function. In order to enter any spoken
text, tap the key and, after hearing a beep,
say what you want to translate in a clear,
monotonous voice, from a distance of
a foot (half a meter).
When you nish, the translation is done auto-
matically and lasts about 2 seconds.
The icon means that the voice recogni-
tion is not available for the chosen language.
Please enter the text using the keyboard.
WARNING!The quality of voice recognition may worsen in a loud
environment.
2.3 Typing
Use the text boxes to type text. Tap the top or bottom text box
to display the touch keyboard and enter a word or a sentence for
translation. Conrm the typed text with “Done”to start the translation.
You can change the keyboard language by holding“space”. In order to use
diacritics, tap and hold a letter and choose a sign.
9
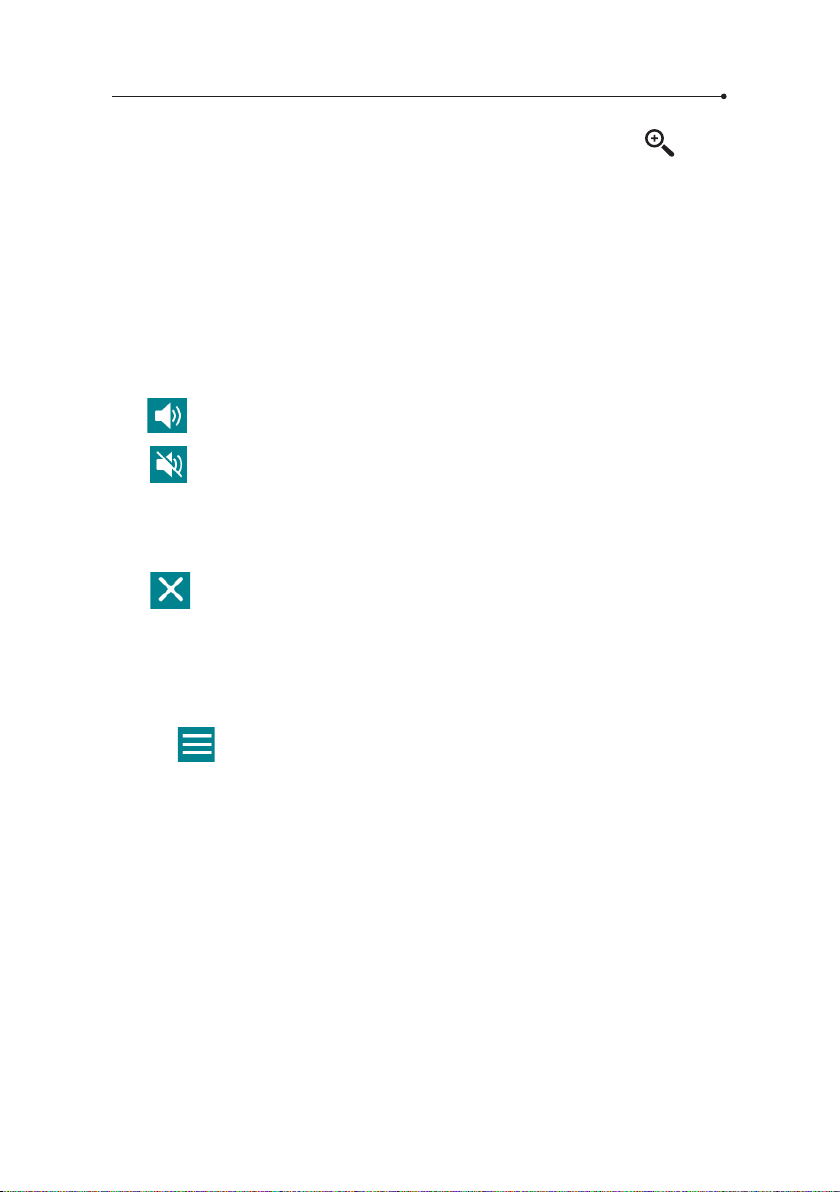
It is possible to enlarge the text box. To do so, tap the icon.
To close the enlargement window tap“back.
You can enter text using a hardware keyboard if available. Please see chap-
ter 2.6.7 or Vasco Keyboard user manual.
2.4 Pronunciation
Pronunciation starts automatically unless you turn it o in the application
settings or it is not available for the selected language.
Tap to listen the translation again.
The icon means that pronunciation is not available for the selected
language.
2.5 Clean
The button serves to delete all the entered text.
In order to delete single letters or words use the backspace on the keyboard.
2.6 Menu
Tap the icon or swipe the screen from left to right to display the menu
of Vasco Translator.
2.6.1 Translator
Tap « Translator » to see the Vasco Translator main screen.

10
2.6.2 Photo Translator
Photo Translator allows you to recognize text from images and convert it
into an editable version.Then, the text can be then translated into a chosen
language. Tap the icon or swipe the screen from left to right to display
the menu of Vasco Translator and select Photo Translator.
Tap “Gallery”to select the text stored in device’s
memory or tap “Camera”to take a new photo.
Point the camera at the subject.
All the text should be visible on the screen.
After the camera focuses automatically, touch
the shutter icon.
Tap “Recognize text” and wait a few seconds.
Table of contents


