Care Instructions -
Read Before Installation
- This box contains fragile and valuable goods that
have been carefully packed. Please take utmost care
in unpacking the parcel as damage can occur in this
process.
- Please be sure you have received the correct
number of boxes i.e. 1 of 2, 2 of 2 etc.
- Under no circumstances should the product be
lifted out by the neck or light tting.
- If you have received any damaged goods or are
missing any part of your order, please contact our
sales oce as soon as possible
Recycling
-
Recyclable packaging used, please consult with
your local recycling centre for further information.
- Waste electrical products should not be disposed
of with conventional household waste. Please
recycle all parts when possible.
Cleaning Instructions
Brass - all types: Use a soft dry lint free cloth
Bronze, Nickel, Silver & Chrome: Use a dry cloth only,
no chemical cleaners
Glass: We recommend using a strong alcohol such as
isopropyl alcohol. Note: some modern cleaning
solutions can contain chemicals that can leave a
greasy lm on glass.
Gilt Wood: Use a dry cloth only
Ceramic: Use a damp cloth only
Wood: Wax polish i.e. Antique wax
Alabaster: Dust with a soft brush or a clean dry cloth.
Avoid water or water-based cleaners. Any marks that
cannot be removed by dusting must be cleaned by a
specialist.
Lacquered Furniture: Furniture polish
Crystal: Damp cloth
Card/Laminated Shades: Use a Feather duster only
Silk Shades: Gently tap to lift dust
Needlework: Dry-clean
-Any decorative parts made from other materials
must be removed and cleaned separately to avoid
damage - e.g. alabaster.
After choosing a suitable location that meets all the requirements of
the safety information install the unit following the steps overleaf.
- Carefully unpack all parts and check for damage or missing parts
before commencing installation.
- Installation of this product must be carried out by a qualied
electrician.
- Luminaire is for indoor use only
- Disconnect the electrical supply before installation. Switch o the
electricity at the fuse box by removing the relevant fuse or switching
o the circuit breaker before proceeding with the installation.
- Install should be carried out in accordance with the wiring regulations
and building codes applicable to the country of installation.
- Before making any xing hole(s), check that there are no obstructions hidden beneath the mounting surface
such as pipes or cables.
- Ensure that the support for the light is of sucient structural strength and that any xing screws do not
interfere with the connecting cables.
- The unit can get very hot during use. Switch the product o and allow to cool before handling or changing
bulbs.
- Ensure adequate ventilation space is allowed between the unit and any object above, in front or to either
side of the unit. Suggested minimum space is 0.5m above and 0.5m on all sides.
- To prevent tarnishing, it is advisable to wear gloves at all times when handling the product.
- Mains connector must be a lever slicing connector; with a minimum of 3 terminals; rated to 240v 16A
(minimum); conforming to IEC 60998-2-1 or IEC 60998-2-2.
Safety Information - Read Before Installation
VAUGHAN
Installation Guide
www.vaughandesigns.com
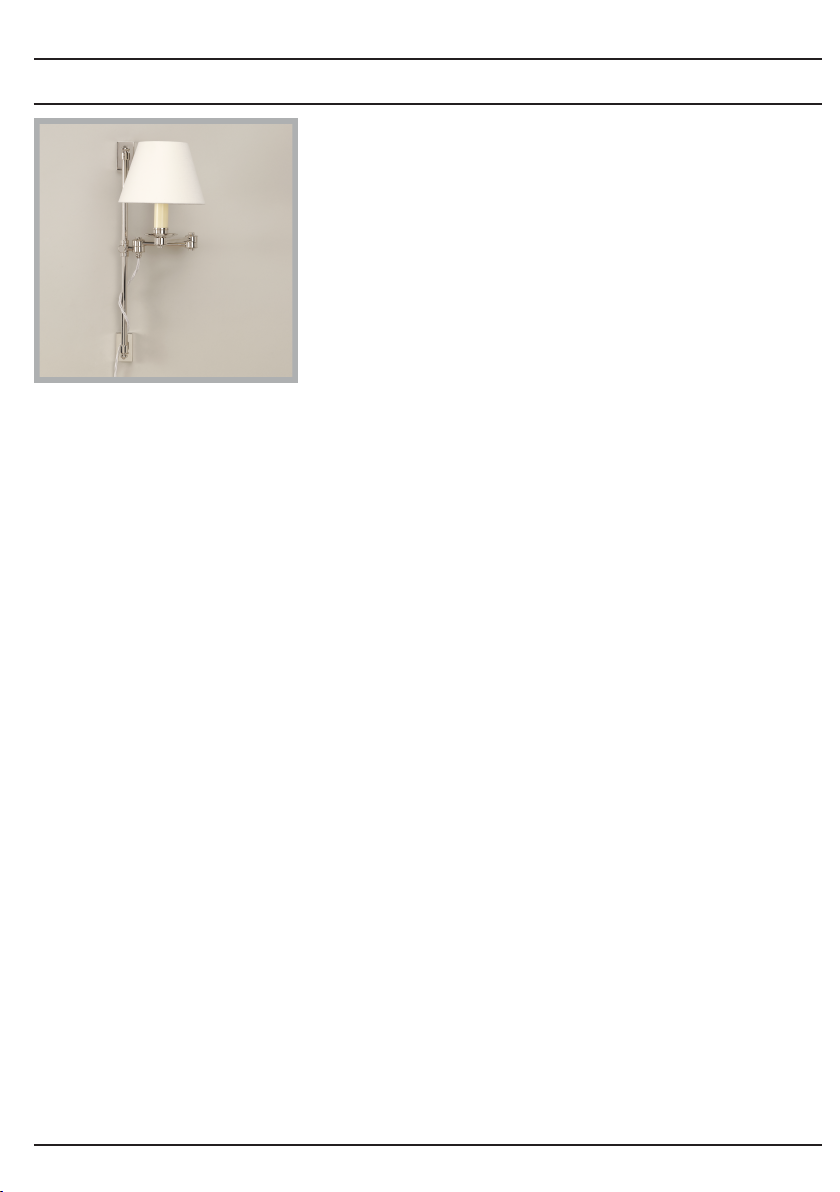
Oban Rise and Fall Wall Light
WA0092
Rev 1