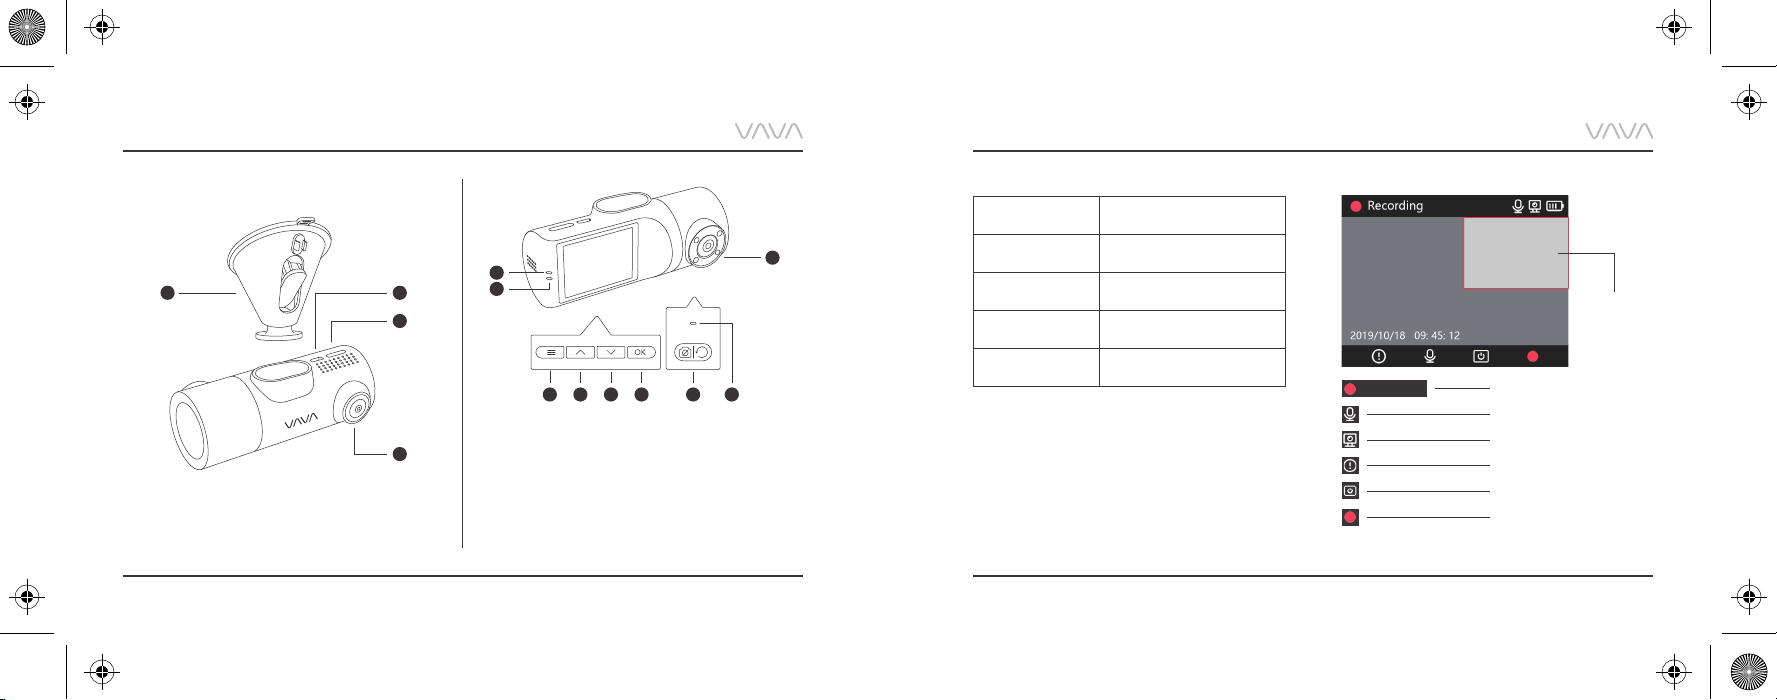
Basic Operation Basic Operation
2) Using the Snapshot Button
· Press once to take photos
· Press and hold for 3 seconds with a beep sound to
take videos
EN/15
EN/14
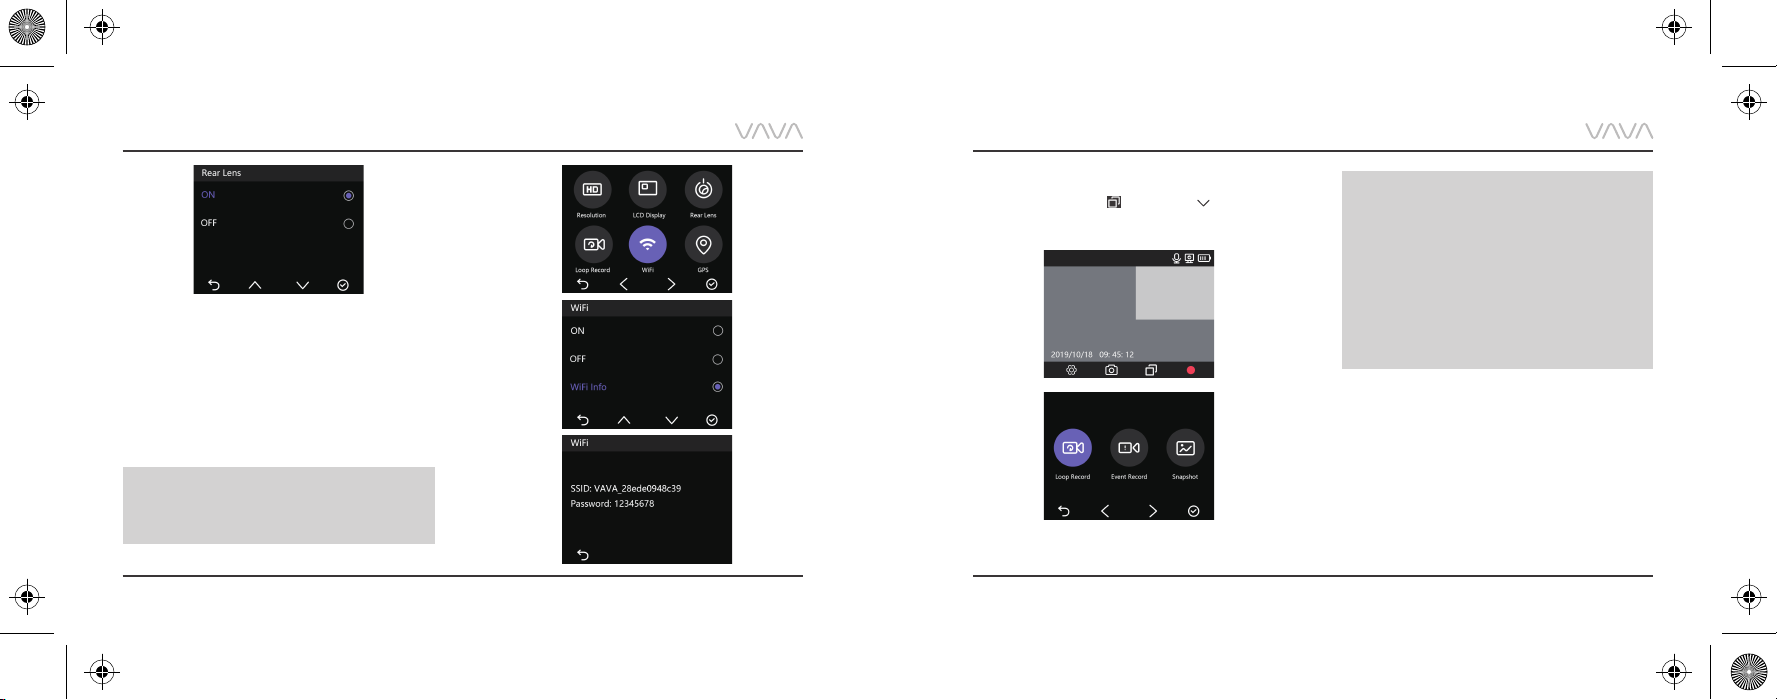
Senior Setting - IR LED Auto
Note:
· After the Dash Cam and the Snapshot
Button is successfully paired, the Snapshot
Button enters standby mode when the dash
cam is shut off. When the dash cam is
turned on again, press the Snapshot
Button to activate the button while taking
a snapshot photo, it takes around 3
seconds to resume normal working status.
· Continually pressing the Snapshot Button
will drain the button battery. Replace the
battery when it runs out.
1) When the rear camera is under low light, IR LED will
be turned on automatically. The infrared night vision
mode will be enabled and the screen will display in
black-and-white.
2) Once the IR LED is turned off, the screen will always
display in color.
Firmware Upgrade via Memory Card
1) Download the firmware for the corresponding model
from VAVA web site: https://www.vava.com/c/dash-cam
2) Insert the Micro SD card into PC, then copy the
firmware file into the SD card root.
3) Insert the card back into the Dash Cam, and power it on.
4) A dialog pops up to confirm Firmware Upgrade
automatically. Press OK to start upgrading.
Note:
· Do not power off the Dash Cam during the
upgrade.
· Please ensure enough power during this
process. Dash Cam will restart automatically
after upgrading.
· Do not operate or remove the card during
the upgrade.
Important: The firmware file shall be copied in the
SD card Root.