manuals.online logo
Brands
  1. Home
  2. •
  3. Brands
  4. •
  5. Vax
  6. •
  7. Vacuum Cleaner
  8. •
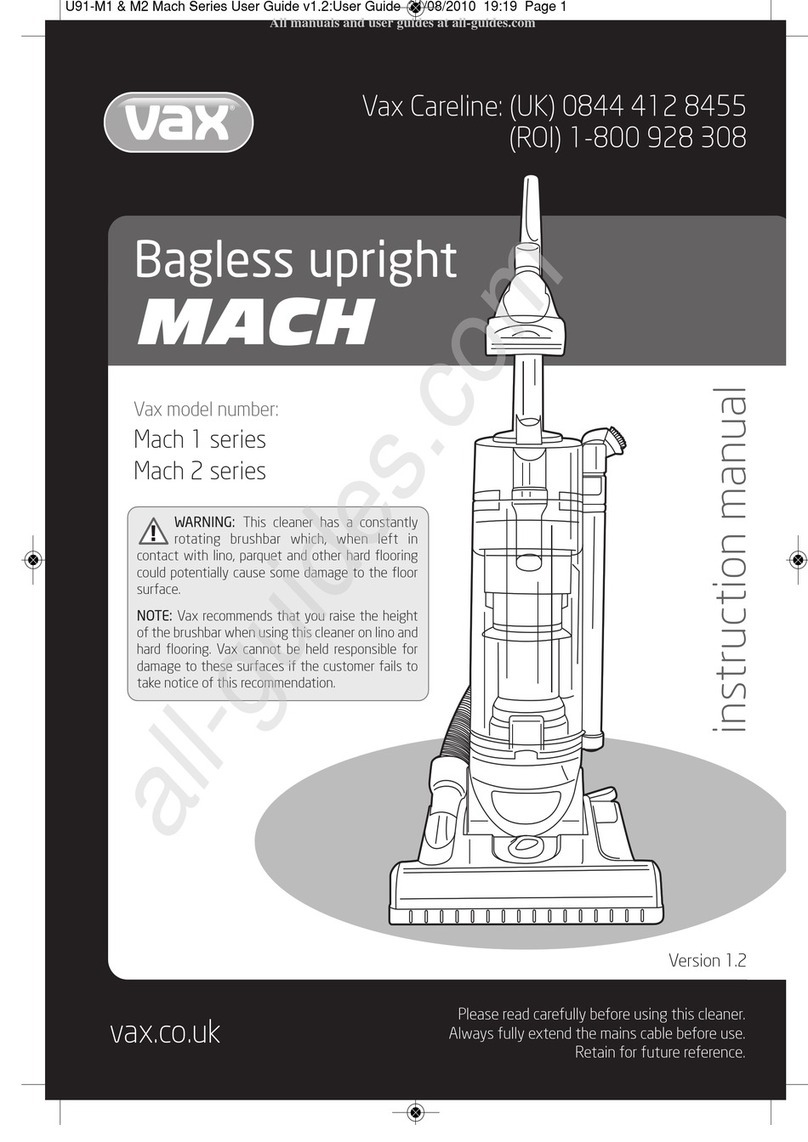
  9. Vax Vivality V-0071 Product information sheet

Vax Vivality V-0071 Product information sheet

Other manuals for Vivality V-0071

1

Other Vax Vacuum Cleaner manuals

Vax C88-P5-B User manual

Vax

Vax C88-P5-B User manual

Vax Mach Air SERIES User manual

Vax

Vax Mach Air SERIES User manual

Vax Oasis User manual

Vax

Vax Oasis User manual

Vax W86-DP-R User manual

Vax

Vax W86-DP-R User manual

Vax VS-033 Product information sheet

Vax

Vax VS-033 Product information sheet

Vax V-035 User manual

Vax

Vax V-035 User manual

Vax V-043 User manual

Vax

Vax V-043 User manual

Vax VCWRU User manual

Vax

Vax VCWRU User manual

Vax Rapide Spring V-021 User manual

Vax

Vax Rapide Spring V-021 User manual

Vax HF86-DV-A Installation instructions

Vax

Vax HF86-DV-A Installation instructions

Vax U86-IAe Series Installation instructions

Vax

Vax U86-IAe Series Installation instructions

Vax SpinScrub VSS7151 User manual

Vax

Vax SpinScrub VSS7151 User manual

Vax Rapide Spring Clean VCWRS700 User manual

Vax

Vax Rapide Spring Clean VCWRS700 User manual

Vax VX2 User manual

Vax

Vax VX2 User manual

Vax SlimVac VX50 Installation instructions

Vax

Vax SlimVac VX50 Installation instructions

Vax C87-ZM-B User manual

Vax

Vax C87-ZM-B User manual

Vax Alladin User manual

Vax

Vax Alladin User manual

Vax Essentials VEC-104 User manual

Vax

Vax Essentials VEC-104 User manual

Vax Cordless Slim Vac TBTTV1B1 Installation instructions

Vax

Vax Cordless Slim Vac TBTTV1B1 Installation instructions

Vax VMST144V User manual

Vax

Vax VMST144V User manual

Vax Integra User manual

Vax

Vax Integra User manual

Vax C87-VC-B Series User manual

Vax

Vax C87-VC-B Series User manual

Vax FORCE3 VZL-118 Series User manual

Vax

Vax FORCE3 VZL-118 Series User manual

Vax C90-M1 Series User manual

Vax

Vax C90-M1 Series User manual

Popular Vacuum Cleaner manuals by other brands

Shark KD400WM owner's guide

Shark

Shark KD400WM owner's guide

Shark CORDLESS SV780_N 14 user manual

Shark CORDLESS

Shark CORDLESS SV780_N 14 user manual

Philips FC9176/08 manual

Philips

Philips FC9176/08 manual

Kenmore KW3030 user manual

Kenmore

Kenmore KW3030 user manual

AMiO YF-101 user manual

AMiO

AMiO YF-101 user manual

Beko VRT 94929 VI user manual

Beko

Beko VRT 94929 VI user manual

Shark CORDLESS SV780 Series quick start guide

Shark CORDLESS

Shark CORDLESS SV780 Series quick start guide

Lumme LU-3203 instruction manual

Lumme

Lumme LU-3203 instruction manual

Melissa 640-040/051 instruction manual

Melissa

Melissa 640-040/051 instruction manual

Makita DVC152L instruction manual

Makita

Makita DVC152L instruction manual

Bosch BSN1 instruction manual

Bosch

Bosch BSN1 instruction manual

King Canada 8560LST Service manual & parts list

King Canada

King Canada 8560LST Service manual & parts list

EUFY RoboVac 11c+ owner's manual

EUFY

EUFY RoboVac 11c+ owner's manual

Panasonic MC-E4101 Service manual

Panasonic

Panasonic MC-E4101 Service manual

Panasonic MC-V9658 operating instructions

Panasonic

Panasonic MC-V9658 operating instructions

Bosch BGB 2 Series instruction manual

Bosch

Bosch BGB 2 Series instruction manual

Hoover dog & cat TURBO manual

Hoover

Hoover dog & cat TURBO manual

FGE Far Tools NET UP 20 manual

FGE

FGE Far Tools NET UP 20 manual

manuals.online logo
manuals.online logoBrands
  • About & Mission
  • Contact us
  • Privacy Policy
  • Terms and Conditions

Copyright 2025 Manuals.Online. All Rights Reserved.

easy guide
Please read carefully before
using your V-0071. Always fully
extend mains cable before use.
V-0071
Important information - Save these instructions
Congratulations on the purchase of your V-0071 cylinder cleaner. In order to get the best performance from this product, please
read and retain these instructions.
When using electrical appliances, in order to reduce the risk of fire, electric shock and/or injury to persons, basic safety
precautions should be followed, including the following:
• Read all instructions carefully, even if you are familiar with the appliance.
• To protect against the risk of electric shock, DO NOT IMMERSE the appliance, cordset or plug in water or other liquid.
• Close supervision is necessary when any appliance is used by or near children. Never leave an appliance unattended
when in use.
• Switch off and remove the plug from the power outlet when not in use and before assembling or disassembling parts.
• Do not operate any appliance with a damaged cord or plug, after the appliance malfunctions or is dropped/damaged
in any manner.
• The use of attachments or accessories sold by other manufacturers is not recommended.
• Do not operate or place any part of this appliance on or near any hot surfaces.
• Do not abuse the cord. Never carry the appliance by the cord or yank it from the power outlet; instead, grasp the plug
and pull to disconnect.
• This product is intended for internal household use only.
• Do not attempt to repair the appliance yourself.
• Do not suck up inflammable liquids such as cleaning fluids, petrol, etc, or their vapours.
• Do not vacuum hard, sharp or over-large objects, matches, hot ashes, cigarette butts or similar materials.
• Do not use the vacuum cleaner without its dust bag or motor protection and air outlet filters.
• Do not use the cleaner if there is any obstruction in its suction passages, as this may dangerously overheat the motor.
• Do replace/empty the dust bag and filters after picking up fine dust such as cement, very fine sand, flour etc.
• To clean, wipe the exterior with a damp cloth.
21
How to use your V-0071
Assembling the appliance
fig. 1 The telescopic extension tubes can be lengthened by pressing the button and pulling the tubes apart.
fig. 2 To attach the flexible hose to the vacuum cleaner, push the connecting end of the flexible hose into the
attachment point on the vacuum cleaner.
34
How to use your V-0071
Assembling the easy reach tool system
Your V-0071 has been equipped with easily accessible tool storage. To assemble this, please follow these
instructions.
fig. 3 The tool storage system fixing bracket is already in place on the extension tube.
Insert the holding tubes as shown until the tubes click into place.
fig. 4 Place the dusting brush (A), upholstery brush (B) and crevice tool (C) on the tubes as shown.
A
B
C
56
How to use your V-0071
Adjusting the cleaning tool for carpets & hard floors
fig. 5 Hard floor position (tiles, parquet floors, etc) –The cleaning tools brush must be in the lower position.
Press on the rocker switch to lower it.
fig. 6 Carpet or rug position –The cleaning tools brush should be raised. Press the rocker switch to lift the
brush up.
789
How to use your V-0071
Fully extend the mains cable and plug it into a standard domestic outlet.
fig. 7 Press the foot pedal to start the vacuum cleaner. To stop it, press the pedal again.
fig. 8 Press the foot pedal to recoil the power lead.
fig. 9 The hose grip has a bleed valve that allows control of suction power.
10 11 12
How to use your V-0071
fig. 10 If you wish to pause briefly during vacuuming i.e. to move a piece of furniture or a rug, use the special parking
position on your vacuum cleaner as shown. Slide the hook attached to the large cleaning tool into the slot
on the rear of the appliance.
fig. 11&12 You can move or store your appliance in a vertical position by sliding the hook on extension tube into the clip
on the underside of the appliance. This practical system allows you to carry the vacuum cleaner around in
one hand and to store it in the minimum of space.
13 14
How to care for your V-0071
Your appliance is equipped with a dust bag. If you notice that the vacuum cleaner seems to be less
efficient than usual, check the dust indicator by selecting the maximum power and lifting the vacuum
cleaning head off of the floor. If it turns red, empty the dust bag.
To empty the dust bag
fig. 13 Turn off the appliance and unplug it. Lift up the catch to access the dust bag compartment, raise the
cover and remove the bag. Pull the handle up to remove the bag holder.
fig. 14a The clip on the bag can then be removed as shown.
fig. 14 Shake the dust bag over a bin so that the dirt can be removed. Once empty, replace the clip and
re-assemble in the cleaner.
14a
15 16
To change the filters
Motor protection filter
fig. 15 The filter is located in the dust bag compartment and protects the motor from dust. To reach this filter, remove
the grill from the machine and replace it with a new one. We recommend changing the filter after 5 bag changes
or when it appears soiled.
Air outlet filter
fig. 16 The air outlet filter is also housed in the dust bag compartment above and behind the air outlet filter, as shown
in fig 16. Remove the dirty filter assembly from the machine and dispose of the filter medium. Replace with a
new filter medium. Return the filter assembly to your V-0071.
We recommend replacing the air outlet filters every 4-6 months, after the bag has been emptied 5 times,
when appearance is soiled or a loss of suction is experienced (whichever is sooner).
Attention: Do not use the vacuum cleaner without the full filter set.
18
Dust bag indicator
fig. 17 When the indicator turns red or when the suction power reduces substantially, this indicates that you should
empty the dust bag.
fig. 18 When the bag is not full, the indicator will show blue.
Attention: If after emptying the dust bag, the indicator stays red, this could be for several reasons:
•The suction passages may be blocked –check flexible hose and extension tubes, suction inlet, floor brushes
and nozzles for obstruction.
•Check the motor protection filter.
•Check to see if the air outlet filter is dirty.
Check carefully which of these is causing the indicator to light and correct it so that the vacuum cleaner can work
normally.
Do not use the vacuum cleaner with this indicator on red, as this could cause irreparable damage to the motor.
17