manuals.online logo
Brands
  1. Home
  2. •
  3. Brands
  4. •
  5. Vectaire
  6. •
  7. Fan
  8. •
  9. Vectaire ELIX 1003 User manual

Vectaire ELIX 1003 User manual

IPX4
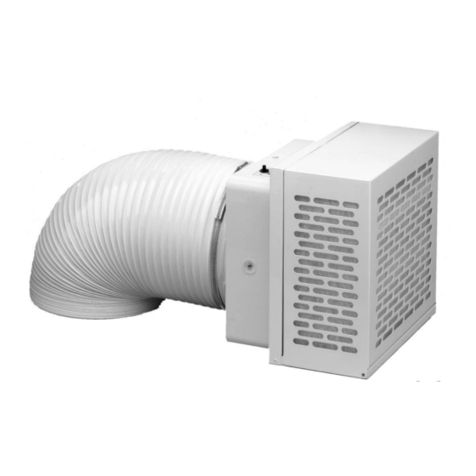
ELIX 1003
• 3 speed continuous running
•
SAP Appendix Q Eligible
•
3 models:
- standard
- timer
- umidity control
•
for all domestic wet rooms
• for walls or ceilings
Energy Efficient Centrifugal Fan
wit EC Motor
Installation and Operating Instructions
"Elix 1003” - CENTRIFUGAL FANS WITH EC MOTOR
INSTALLATION and OPERATING INSTRUCTIONS
THIS LEAFLET MUST BE AVAILABLE TO THE USER
The product you have purchased is an extractor fan
for exhausting direct y outside or through onger
engths of ducting (up to 15m) and is suitab e for wa
or cei ing insta ation. To ensure optimum operation
and guarantee a ong ife, p ease read this manua
carefu y. It exp ains how to insta correct y, use and
maintain the product proper y. Fo owing these
instructions wi ensure the re iabi ity of the product
and extend its working ife.
T e manufacturer will not be eld responsible and
will not accept any responsibility for damage caused
to persons or t ings due to improper use wit refer-
ence to t e precautions outlined in t is leaflet.
The product, constructed using state of the art tech-
no ogy, comp ies with current standards regarding
e ectrica equipment. It conforms with the EMC
2014/30/EU European Directive regarding radio
interference suppression and e ectro-magnetic com-
patibi ity.
WARNING: Serious injury or deat could result if t ese
instructions are not carefully followed
•Do not use this product for any purpose other than
that for which it was designed.
•Remove the product from its packaging and make
sure that it has not been damaged. If in doubt,
contact the supp ier, authorised dea er, service
centre or manufacturer to check that the product
wi sti operate correct y. Do not attempt to use
or repair the product before doing this.
•Do not eave packing materia within the reach of
chi dren or unski ed peop e. To dispose of the pack-
aging and the app iance at the end of its usefu ife
refer to current recyc ing ru es.
•The use of any e ectrica product requires comp i-
ance with some basic ru es which are isted be ow:
- do not touch it with wet or damp parts of the
body (e.g hands, feet).
- this app iance can be used by chi dren aged
8 years and over, and peop e with reduced
physica , sensory or menta capabi ities or ack
of experience and know edge if they have been
given supervision or instruction concerning use
of the app iance in a safe way and understand
the hazards invo ved. Chi dren sha not p ay with
the app iance. C eaning and user maintenance
shou d not be carried out by chi dren without
supervision.
• The product shou d be connected to the mains
e ectricity supp y or e ectrica out et on y if:
- the e ectrica vo tage and frequency correspond
to those shown on the rating abe .
- the capacity of the e ectricity supp y is sufficient
to operate the product at its maximum power.
- suitab e e ectrica protection is provided for the
product to be insta ed.
• The e ectrica supp y to which the fan is connected
must comp y with a existing regu ations. A insta -
ations must comp y with current IEE wiring regu a-
tions.
• Before maintenance or c eaning is carried out, the
product must be switched off and disconnected
from the mains e ectricity supp y.
• If a fau t, ma function or anoma y of any type occurs,
the fan shou d be iso ated (switching it off and dis-
connecting it from the mains e ectricity supp y) and
advice sought from qua ified personne .
• A ways request origina spare parts for repairs
• If the product needs to be removed, turn off the
mains supp y circuit-breaker and then disconnect
the fan.
• The fan MUST BE insta ed as detai ed in this
eaf et
3
WARNING: Damage could be caused to t e product
if t e installation instructions are not followed.
• The product shou d not be used in an ambient
temperature higher than 40°C (104°F).
• The product shou d not be exposed to atmospheric
agents (rain, sun, snow, etc.).
• The product or its parts shou d not be p aced in
water or other iquids.
• Routine maintenance as described be ow shou d
be carried out to check the condition of the fan.
• The air or fumes being extracted must be c ean
and free from greasy partic es, soot, chemica and
corrosive agents, f ammab e or exp osive mixtures.
•T e product must be installed by professionally
qualified personnel. Incorrect installation can
cause damage to people, animals or property,
for w ic t e manufacturer cannot be eld
liable.
• The product must be connected to the e ectricity
supp y via a doub e po e switch of a suitab e size,
with contact openings of at east 3 mm.
• If the e ectrica supp y board (or switching device)
is ocated some distance from the fan a means of
oca iso ation must be provided.
• To ensure optimum operation, do not b ock the
air intake and exit vents.
• Any ducting used must be free of b ockages, and
shou d be insu ated if in an unheated area.
• The room where the product is operating must
have adequate air rep acement to ensure maxi-
mum effectiveness.
• If the product is sited in a room containing a fue
burning app iance which is not of the ba anced f ue
type, the insta er must ensure that air rep ace
ment is adequate both for the fan and the fue
burning app iance
• The product must not be used as an activator
for water heaters, stoves, etc.
• The product must not exhaust into ducts
designed to evacuate fumes from combustion
in stoves or other combustion-powered devices.
RANGE
Trickle Speed 1 - 8 lt/sec - 28.8 m³/
Trickle Speed 2 - 14 lt/sec - 50.4 m³/
ELX1003 - this fan combines the atest techno ogy
with energy saving and efficiency. It is a quiet run-
ning, 3 speed fan designed to run continuous y at a
pre-se ectab e choice of 2 trick e speeds (see jumper
switch settings). The user can boost the fan speed
to its maximum performance when required by
means of the cord or remove the cord and use a
remote switch, ight switch, PIR sensor or humidistat.
If t e fan is to be ceiling mounted, t e pull-cord
switc s ould be put in t e “off” position and t e
cord removed. A remote switc will be necessary
for c anging t e fan speed. See wiring diagrams.
T e ELX1003 is SAP Appendix Q Listed
ELX1003DT - 3 speed, continuous running fan with
de ay-on timer and pu cord. The de ay-on timer ver-
sion wi run at ow speed unti the boost speed
(speed 2) is activated by means of the cord or, if the
cord is removed, by means of a remote switch, ight
switch, PIR sensor or humidistat. There is a 2
minute de ay before the fan starts to run at its high
speed - if the boost speed is deactivated before that
time apse, the fan wi continue to run at ow speed.
If the boost speed is activated, the fan wi operate at
high speed unti the boost switch is turned off. After
this, the fan wi continue at high speed for the ength
of time set on the timer overrun adjustment,
between 0 and 30 mins (see Trimmer Adjustment
diagram). After the overrun time has e apsed, the
fan wi return to the s ower speed.
4
ELX1003HDT - 3 speed, continuous running fan.
The fan runs continuous y at the pre-se ected ower
speed, and the boost (speed 2) wi start to operate
automatica y when the re ative humidity (adjustab e
between 40% and 90% +/-5% to erance) reaches
the pre-set eve and wi continue to operate at this
speed unti the humidity has been dispersed and the
adjustab e over-run timer (adjustab e from 0 to 30
minutes) has comp eted its cyc e. The boost speed
can a so be activated by as described for mode
ELX1003DT
ELX1003DL - 3 speed, continuous running fan with
Data Logger. For operation and monitoring of the
Data Logger, p ease refer to separate Data Logger
instructions enc osed. (Contact Vectaire Ltd for any
further c arification.)
5
INSTALLATION
1. Check there is nothing missing in box and
remove front cover.
2. Dri ho e in wa - allow extra widt if using
ducting - it is t e installer's responsibility to
use t e appropriate core cutter to obtain t e
correct ole diameter.
3. Remove circuit board cover.
4. Use fan assemb y as temp ate to mark dri ho es.
5. Dri 4 x 6mm dia ho es.
6. Fit wa p ugs.
7/8 Decide whether to have cab e access from
rear (recessed) or top (surface) of fan - if from
top ensure that inc uded grommet is proper y
fixed. (See dia 8). If cab e is to come through
rear of fan, fit rubber ring (inc uded) .
9. Screw fan to wa .
10. Connect cab e using cab e c amp -
SEE WIRING DIAGRAMS FOR SPECIFIC MODELS
NB t is fan is double insulated and does not need
to be eart ed
11. Before replacing circuit board cover c oose
speed of fan and set delay-on timer (if applica-
ble)
SEE JUMPER SWITCH SETTINGS BELOW
12. Rep ace front cover.
N.B T is fan is NOT suitable for use wit a Gravity
Grille. It s ould be installed using eit er a Cowl or
Fixed Grille.
IMPORTANT
If the fan is insta ed in a cei ing with a vertica duct
passing through an unheated space, a condensation
trap MUST be fitted. Any ducting in an unheated
space shou d a so be insu ated according to the at-
est Bui ding Regu ations recommendations in the
Domestic Venti ation Comp iance Guide. Fai ure to do
this cou d resu t in condensation affecting the opera-
tion of the fan and cause damage to the cei ing.
If t e fan is to be ceiling mounted, t e pull-cord
switc s ould be put in t e “off” position and t e
cord removed. A remote switc will be necessary
for c anging t e fan speed. See wiring diagrams.
INSTALLATION
12
4
5
3
6
6
7
8
910
7
INSTALLATION
11 12
8
INSTALLATION
ELXs - 3 Speed wit Cord
WIRING DIAGRAMS
ELXs - 3 Speed via remote switc
N.B W en installing fans via a remote switc , pullcord switc must be left in "off" position and t e cord
removed.
9
JUMPER SWITCH
T ese fans are designed to run continuously at one of 2 lower speeds fixed at installation using t e
jumper switc .
12
14
13
15
ELX1003
Minimum Speed
Jumper 1
ELX1003
Speed 2
Jumper 2
ELX1003DT
ELX1003HDT
Minimum Speed
Jumpers 1 and 3.
To DISABLE delay-on
timer remove Jumper 3
ELX1003DT
ELX1003HDT
Speed 2
Jumpers 2 and 3.
To DISABLE delay-on
timer remove Jumper 3
TRIMMER ADJUSTMENT
To adjust the humidistat and timer trimmers, remove the front cover and cir-
cuit board cover of the fan to access the trimmers.
The humidistat (HY) can be adjusted between 40% and 90% re ative humidity.
Turn c ockwise to decrease sensitivity and set at a higher eve of re ative
humidity.
The timer (TM) is adjustab e between 0 and 30 minutes. Turn the trimmer
c ockwise to increase the overrun time, or anti-c ockwise to decrease it.
DISMANTLING & RECYCLING
This product has been designed and constructed using high-qua ity materias and components that can be recyced or re-used.
MAINTENANCE
Before any maintenance or c eaning operation, switch off the fan and disconnect it from the main power
supp y. The fi ter can be easi y removed and carefu y washed. The front cover can be c eaned with a dry
c oth or soft brush. The fan must not come into contact with any kind of iquid or so vent. If this shou d
occur, contact a qua ified technician before reassemb ing the fan.
NOTE: T e motor does not require lubrication as it is maintenance free "sealed for life" type.
10
Cod. 5F12245: Rev.1
E ix 1003 190717 E & O.E
Vectaire Ltd
Lincoln Road
Cressex Business Park
Hi h Wycombe
Buckin hamshire
HP12 3RH
Tel: +44(0)1494 522333
Fax: +44(0)1494 522337
Email: [email protected]
Web: www.vectaire.co.uk
Vectaire Ltd reserves the ri ht to alter specifications as part of its policy of continuous development

Other manuals for ELIX 1003

2

Other Vectaire Fan manuals

Vectaire eSmile User guide

Vectaire

Vectaire eSmile User guide

Vectaire VX Series User manual

Vectaire

Vectaire VX Series User manual

Vectaire ELIX 1003 User manual

Vectaire

Vectaire ELIX 1003 User manual

Vectaire PPF4 Assembly instructions

Vectaire

Vectaire PPF4 Assembly instructions

Vectaire Microbox 125/2DC-B User manual

Vectaire

Vectaire Microbox 125/2DC-B User manual

Vectaire MBOX 125/2DC User manual

Vectaire

Vectaire MBOX 125/2DC User manual

Vectaire ELIX 1003 User manual

Vectaire

Vectaire ELIX 1003 User manual

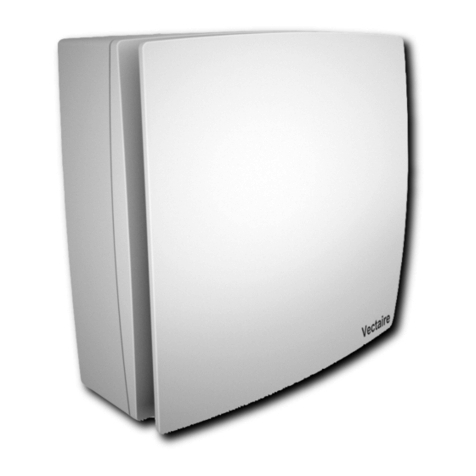
Vectaire ELEGANCE EL1203 User manual

Vectaire

Vectaire ELEGANCE EL1203 User manual

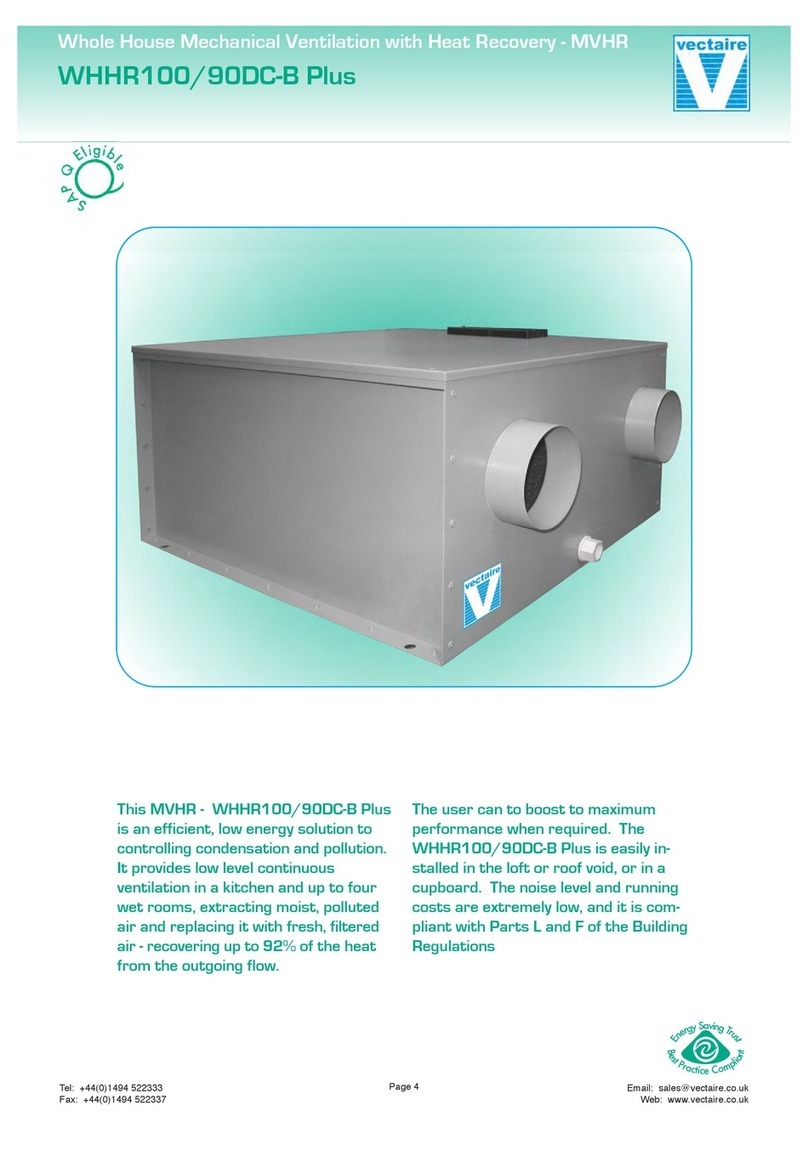
Vectaire WHHR100/90DC User manual

Vectaire

Vectaire WHHR100/90DC User manual

Vectaire MBOX204/2 Assembly instructions

Vectaire

Vectaire MBOX204/2 Assembly instructions

Vectaire PPF9 Assembly instructions

Vectaire

Vectaire PPF9 Assembly instructions

Vectaire X-MART XM10 User manual

Vectaire

Vectaire X-MART XM10 User manual

Vectaire ELEGANCE 16 User manual

Vectaire

Vectaire ELEGANCE 16 User manual

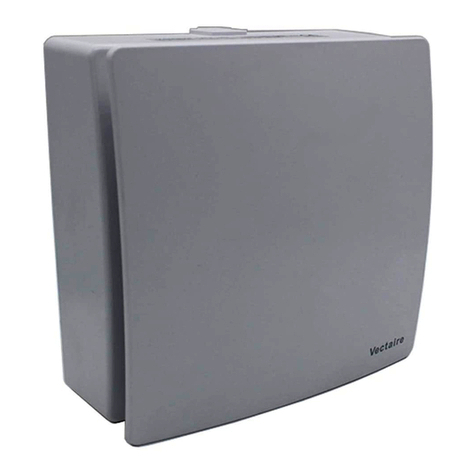
Vectaire ELEGANCE EL1003 User manual

Vectaire

Vectaire ELEGANCE EL1003 User manual

Vectaire ELP2204 User manual

Vectaire

Vectaire ELP2204 User manual

Vectaire RMF 100 User manual

Vectaire

Vectaire RMF 100 User manual

Vectaire ELEGANCE EL1003DT User manual

Vectaire

Vectaire ELEGANCE EL1003DT User manual

Vectaire AS Series User manual

Vectaire

Vectaire AS Series User manual

Vectaire SFK10/4 User manual

Vectaire

Vectaire SFK10/4 User manual

Vectaire MF100T User manual

Vectaire

Vectaire MF100T User manual

Vectaire Purge-Box 100 User manual

Vectaire

Vectaire Purge-Box 100 User manual

Vectaire ELPREX 16 User manual

Vectaire

Vectaire ELPREX 16 User manual

Vectaire RA10 User manual

Vectaire

Vectaire RA10 User manual

Vectaire MBOX 125/2DC Assembly instructions

Vectaire

Vectaire MBOX 125/2DC Assembly instructions

Popular Fan manuals by other brands

Casablanca Metropolitan owner's manual

Casablanca

Casablanca Metropolitan owner's manual

Holmes HAOF1616 owner's guide

Holmes

Holmes HAOF1616 owner's guide

Duux Whisper DXCF03 user manual

Duux

Duux Whisper DXCF03 user manual

Zephir ZFS9107B instruction manual

Zephir

Zephir ZFS9107B instruction manual

UFESA Riga instruction manual

UFESA

UFESA Riga instruction manual

Vortice VORT LETO MEV Instruction booklet

Vortice

Vortice VORT LETO MEV Instruction booklet

EDM 33934 instruction manual

EDM

EDM 33934 instruction manual

Lasko 1844 operating manual

Lasko

Lasko 1844 operating manual

Retrotec Q5E quick guide

Retrotec

Retrotec Q5E quick guide

NuAire DRI-ECO-3STOREY installation manual

NuAire

NuAire DRI-ECO-3STOREY installation manual

Black & Decker BFTR36B instruction manual

Black & Decker

Black & Decker BFTR36B instruction manual

Scarlett Comfort SC-DF111S90 instruction manual

Scarlett

Scarlett Comfort SC-DF111S90 instruction manual

BLAUBERG Ventilatoren BLABBRAVO 100 user manual

BLAUBERG Ventilatoren

BLAUBERG Ventilatoren BLABBRAVO 100 user manual

Greenheck FDR-510 Specification sheet

Greenheck

Greenheck FDR-510 Specification sheet

Titon TP 342A product manual

Titon

Titon TP 342A product manual

Hunter 21778 Parts guide

Hunter

Hunter 21778 Parts guide

Bionaire Breeze BSF152T Instruction leaflet

Bionaire

Bionaire Breeze BSF152T Instruction leaflet

Wow W100 user manual

Wow

Wow W100 user manual

manuals.online logo
manuals.online logoBrands
  • About & Mission
  • Contact us
  • Privacy Policy
  • Terms and Conditions

Copyright 2025 Manuals.Online. All Rights Reserved.