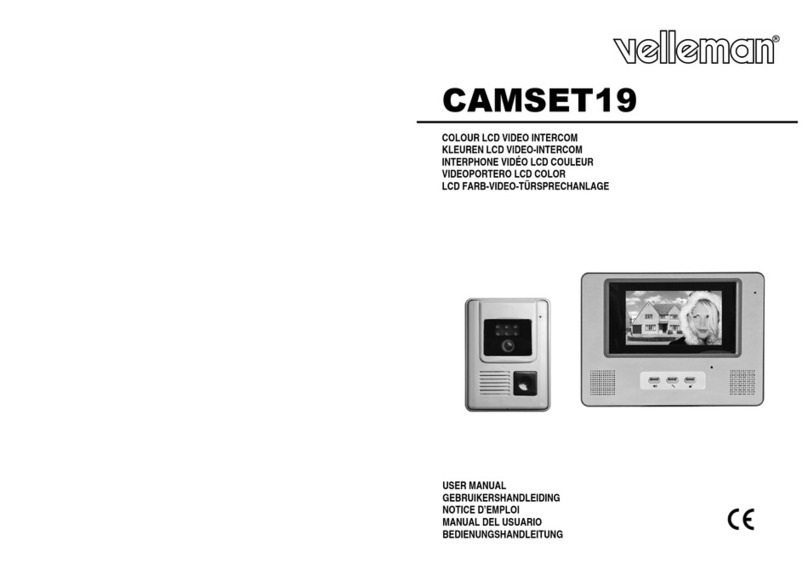
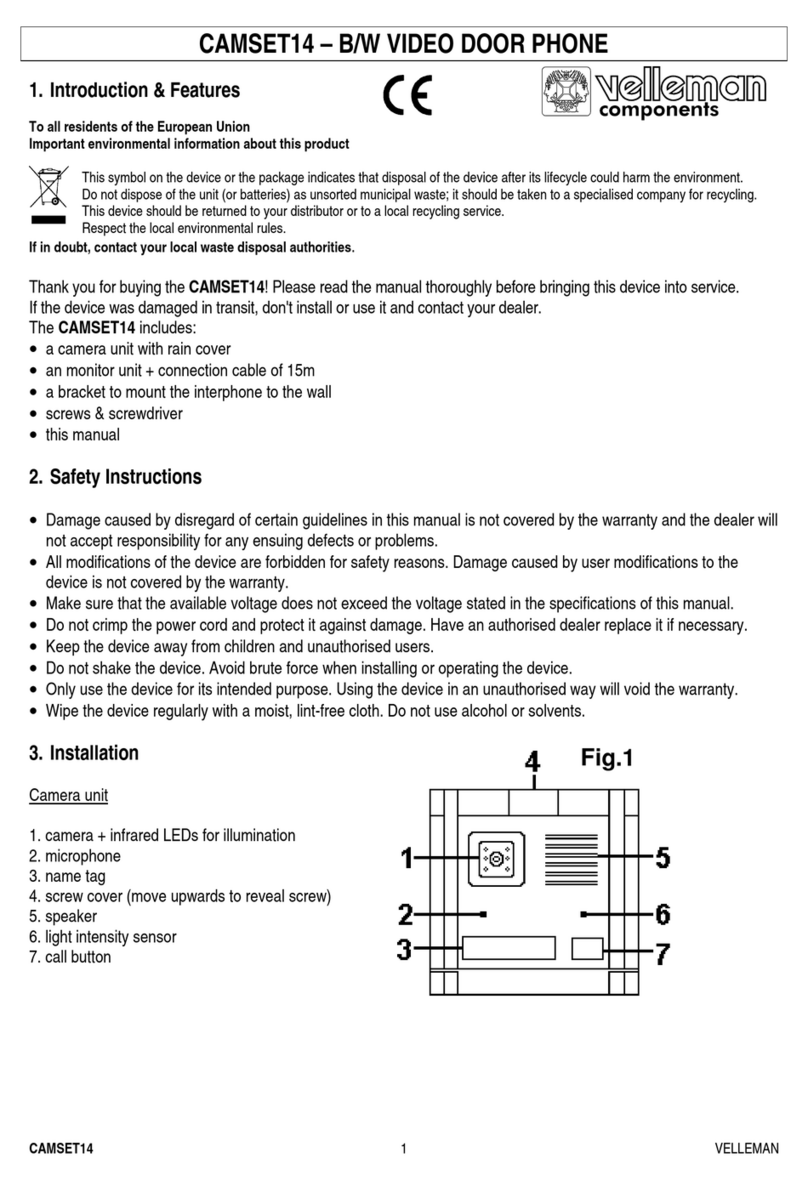
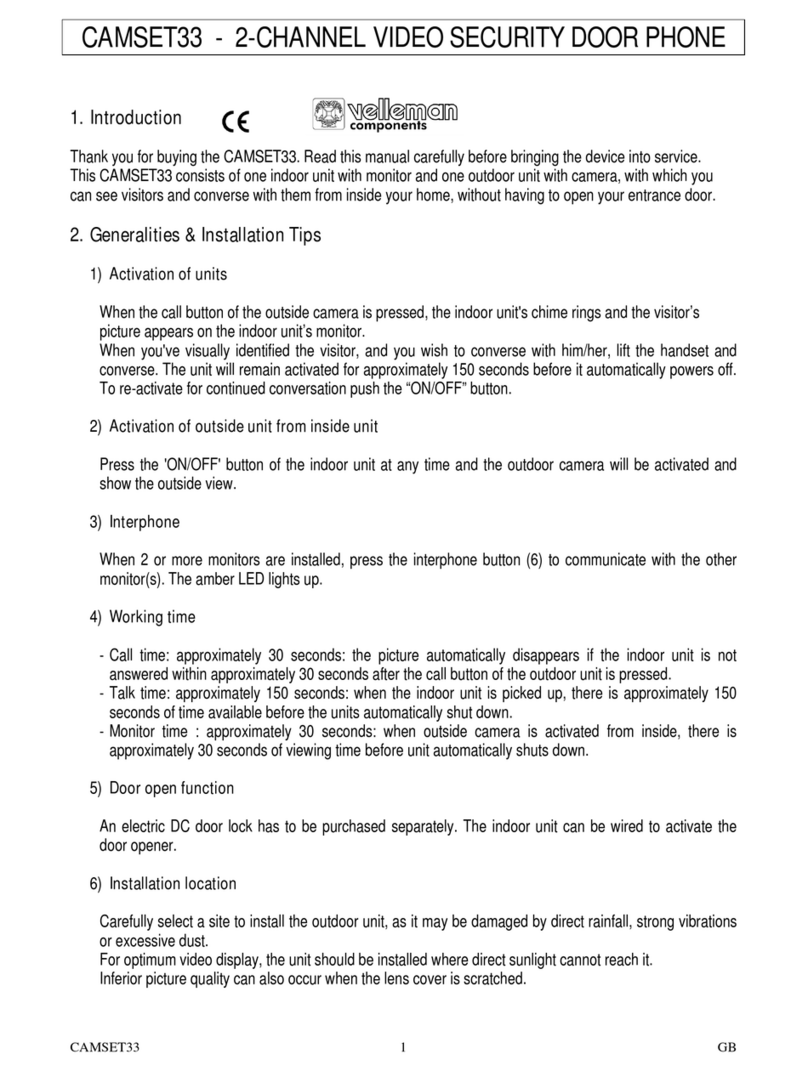
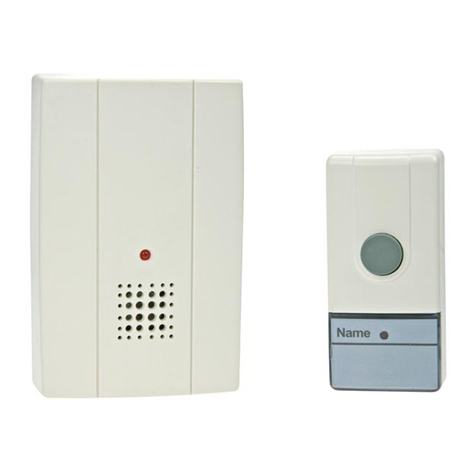
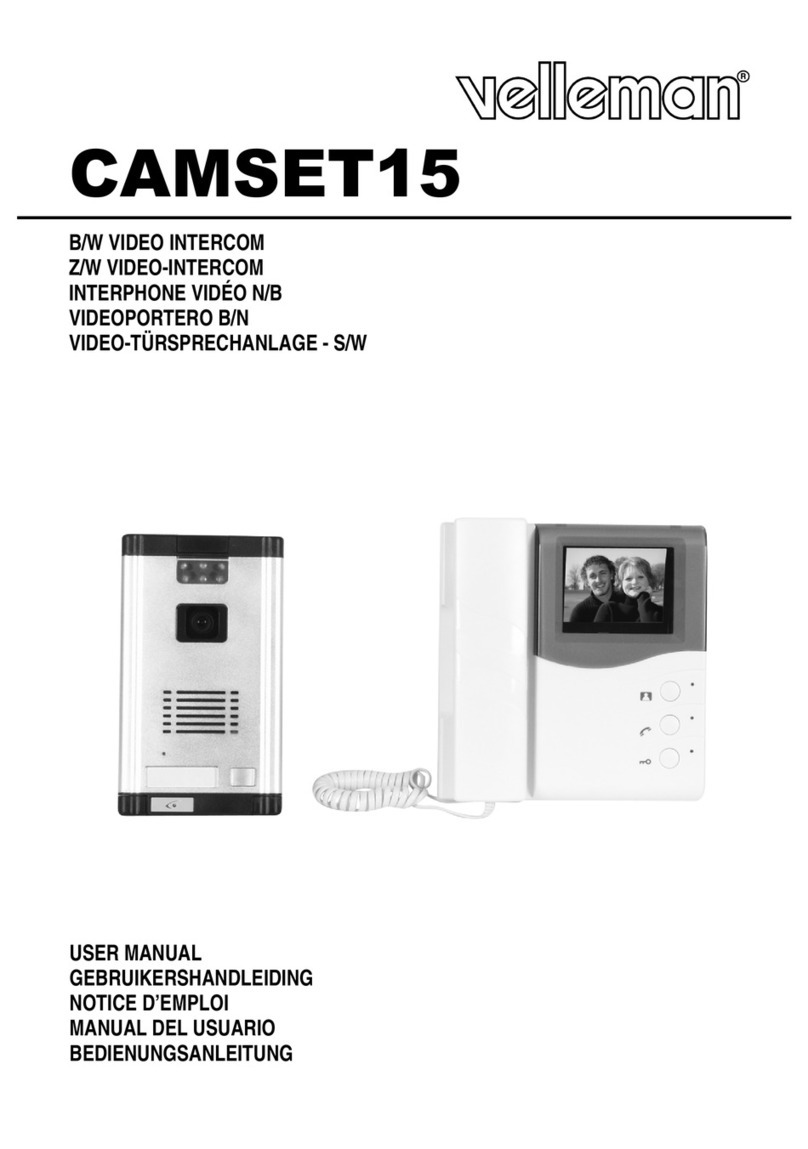
Velleman CAMSET7 User manual

CAMSET7 & 8 VELLEMAN
1
CAMSET7 – B/W VIDEO INTERCOM SYSTEM
CAMSET8 – COLOUR VIDEO INTERCOM SYSTEM
1. Introduction
To all residents of the European Union
Important environmental information about this product
This symbol on the device or the package indicates that disposal of the device after its lifecycle could harm
the environment.
Do not dispose of the unit (or batteries) as unsorted municipal waste; it should be taken to a specialized
company for recycling.
This device should be returned to your distributor or to a local recycling service.
Respect the local environmental rules.
If in doubt, contact your local waste disposal authorities.
Thank you for buying this device! You have bought a closed-circuit television system consisting of an outdoor camera
and a central display unit to be mounted indoors. The device is equipped with duplex telephony. You no longer have
to answer the door to know who is ringing your doorbell! IR LEDs provide visibility in the dark and the device is easy
to install and operate. This device will also make your home safer. Read this manual before installing the device in
order to familiarise yourself with its operation.
2. Description
a) Camera (Outdoor Section)
1. camera
2. IR LEDs (only B/W camera for CAMSET7)
3. bell button
4. speaker
5. microphone
6. input for indoor section
7. tamper switch: activated when camera
is removed
b) Central Unit (Indoor Section)
1. power indication
2. monitoring key: image + sound
3. alarm button
4. key for door opener
5. contrast adjustment
6. volume adjustment
7. display
8. microphone
9. speaker
10. button for two-way communication when receiver is
picked up
11. connector for electric lock: connections 11 & 12
for CAMSET7, connections 3 & 4 for CAMSET8
12. input 18VDC
13. input for cable to camera
Fig. 1
Fig. 2
Fig. 2

CAMSET7 & 8 VELLEMAN
2
3. Operation
a) Operation of the Camera (outdoors)
•The bell inside the house is activated when the bell button is pressed
•The microphone makes communication possible
•Nightly visitors are displayed clearly thanks to the device's integrated light source.
b) Operation of the Central Unit (indoors)
This is what happens when you have a visitor:
•The central unit produces a ringing sound, the visitor is displayed on the screen and can also be heard.
•If you want to receive the visitor, you can pick up the receiver and press the key for the door opener (4 in fig. 2 on
page 1).
•If you do not want the visitor to know you are in, you can leave the receiver in the cradle and press the monitoring
button. You should now be able to see and hear the visitor for 30 seconds before the display deactivates.
•The contrast and the volume can be adjusted with keys 5 & 6 (fig. 2), respectively.
•Pick up the receiver and press the button (n°4 in fig. 2) to activate the door opener.
4. Installation
a) Installation of the Camera
Mount the outdoor section on a wall at eye level. Connect the camera with the central unit. You should now be able
to execute an operation test.
b) Installation of the Central Unit
Use the included screws and plugs to mount the metal plate on a wall at eye level. Wire the central unit and fix the
unit on the metal plate.
c) Connecting a Spare Camera (CAM14 & CAM15)
Use the CAM14 with the CAMSET7 and the CAM15 with the CAMSET8.
5. Safety Instructions
•Do not open the device yourself as this may expose you to electroshocks.
•Mount the device in a well-ventilated location and protect it against moisture, dust and direct sunlight.
•Do not use chemicals on the device for cleaning purposes; use a clean & dry cloth instead.
•Do not press the monitoring key (2 in fig. 2, page 1) for too long.
•Never press multiple buttons simultaneously.
•Do not hold the door-opening key (4 in fig. 2, page 1) any longer than 5 seconds.
6. Specifications
Input Signal standard PAL signal, VS 0.5-1.4Vp-p
Input Impedance 75Ω
Video Signal Bandwidth 5.5MHz
Picture Resolution horizontal ≥380 TV lines
Shutdown Delay of Display 30 seconds
Night Illumination Source IR (only B/W camera for CAMSET7)
Lens Angle 92°
Power Consumption 2W in standby, 15W in operation
Dimensions of Central Unit 186 x 222 x 55mm (width x depth x height)
Total Weight 1.6kg (camera included)

CAMSET7 & 8 VELLEMAN
3
7. Accessories
•Cable between central unit and camera
•Mounting accessories for camera + 1 key
•User manual
The specifications and the design of this device may be subject to change without prior notice.
CAMSET7 – Z/W VIDEO INTERCOMSYSTEEM
CAMSET8 – VIDEO INTERCOMSYSTEEM (KLEUR)
1. Inleiding
Aan alle ingezetenen van de Europese Unie
Belangrijke milieu-informatie betreffende dit product
Dit symbool op het toestel of de verpakking geeft aan dat, als het na zijn levenscyclus wordt weggeworpen,
dit toestel schade kan toebrengen aan het milieu.
Gooi dit toestel (en eventuele batterijen) niet bij het gewone huishoudelijke afval; het moet bij een
gespecialiseerd bedrijf terechtkomen voor recyclage.
U moet dit toestel naar uw verdeler of naar een lokaal recyclagepunt brengen.
Respecteer de plaatselijke milieuwetgeving.
Hebt u vragen, contacteer dan de plaatselijke autoriteiten inzake verwijdering.
Dank u voor uw aankoop! U heeft een CCTV-systeem gekocht dat bestaat uit een camera (om buiten te installeren)
en een centrale eenheid (binnen). Het toestel laat tweewegs communicatie toe. U hoeft niet langer de deur open te
maken om te zien wie er voor de deur staat! IR LEDs zorgen voor nachtzichtbaarheid en het toestel is ook makkelijk
te bedienen. Dit toestel zal uw woning ook veiliger maken. Lees deze handleiding voor u het toestel installeert zodat
u vertrouwt met de werking ervan.
2. Beschrijving
a) Camera (buiten): zie figuur 1 blz. 1
1. camera
2. IR LEDs (alleen op Z/W camera van CAMSET7)
3. belknop
4. luidspreker
5. microfoon
6. ingangsaansluiting voor centrale eenheid
7. tamperschakelaar: wordt geactiveerd wanneer de camera wordt verwijderd
b) Centrale eenheid (binnen): zie figuur 2 blz. 1
1. voedingsindicatie
2. monitortoets: beeld + geluid
3. alarmknop
4. toets voor deuropener
5. contrastregeling
6. volumeregeling
7. display
8. microfoon
9. luidspreker
10. knop voor tweewegscommunicatie wanneer de hoorn wordt opgenomen

CAMSET7 & 8 VELLEMAN
4
11. connector voor elektrisch slot: aansluitklemmen 11 & 12 voor CAMSET7, aansluitklemmen 3 & 4 voor
CAMSET8
12. ingang 18VDC
13. ingang voor kabel naar camera
3. Bediening
a) Bediening van de camera (buiten)
•De bel in de woning wordt geactiveerd wanneer de knop wordt ingedrukt
•De microfoon maakt communicatie mogelijk
•Nachtelijke bezoekers zijn goed zichtbaar dankzij de ingebouwde lichtbron.
b) Bediening van de centrale eenheid (binnen)
Dit gebeurt er wanneer een bezoeker zich aanmeldt:
•De centrale eenheid produceert een belgeluid. U kunt de bezoeker horen en u ziet hem of haar op het scherm.
•Betreft het een welkome bezoeker, dan neemt u de hoorn op en drukt op de toets voor de deuropener (4 in fig. 2a
op blz. 1).
•Indien u uw aanwezigheid niet wilt verraden, dan laat u de hoorn voor wat hij is en drukt u op de monitortoets. U
kunt de bezoeker nu 30 seconden lang horen en zien voor de display wordt gedeactiveerd.
•U kunt het contrast en het volume regelen met toetsen 5 & 6 (fig. 2).
•Neem de hoorn op en druk op toets n°4 in fig. 2 om de deur te openen.
4. Installeren
a) Camera installeren
Monteer de camera buiten op ooghoogte. Verbind de camera met de centrale eenheid. U kunt nu een werkingstest
uitvoeren.
b) Centrale eenheid installeren
Gebruik de meegeleverde schroeven en plugs om de metalen plaat op ooghoogte te monteren. Breng de bedrading
aan en bevestig de centrale eenheid op de metalen plaat.
c) Reservecamera aansluiten (CAM14 & CAM15)
Gebruik de CAM14 met de CAMSET7 en de CAM15 met de CAMSET8.
5. Veiligheidsinstructies
•Open de behuizing niet zelf om elk risico op elektroshocks te vermijden.
•Installeer het toestel in een goed geluchte omgeving en bescherm het tegen vochtigheid, stof en rechtstreeks
zonlicht.
•Reinig het toestel met een propere droge doek en vermijd solventen en schuurmiddelen.
•Houd de monitortoets niet te lang ingedrukt (2 in fig. 2, blz. 1).
•Druk nooit meerdere toetsen tegelijk in.
•Houd de toets voor de deuropener (4 in fig. 2, blz. 1) niet langer dan 5 seconden ingedrukt.
6. Specificaties
Ingangssignaal standaard PAL-signaal, VS 0.5-1.4Vp-p
Ingangsimpedantie 75Ω

CAMSET7 & 8 VELLEMAN
5
Bandbreedte videosignaal 5.5MHz
Resolutie horizontaal ≥380 tv-lijnen
Uitschakelvertraging display 30 seconden
Nachtverlichting IR (alleen Z/W camera van CAMSET7)
Gezichtshoek 92°
Verbruik 2W in rust, 15W in werking
Afmetingen centrale eenheid 186 x 222 x 55mm (breedte x diepte x hoogte)
Totaal gewicht 1.6kg (met camera)
7. Accessoires
•Kabel van de centrale eenheid naar de camera
•Montage-accessoires voor de camera + 1 sleutel
•Gebruikershandleiding
De specificaties en het ontwerp kunnen worden gewijzigd zonder voorafgaande kennisgeving.
CAMSET7 – SYSTEME INTERPHONE VIDEO N/B
CAMSET8 – SYSTEME INTERPHONE VIDEO COULEUR
1. Introduction
Aux résidents de l'Union européenne
Des informations environnementales importantes concernant ce produit
Ce symbole sur l'appareil ou l'emballage indique que l’élimination d’un appareil en fin de vie peut polluer
l'environnement.
Ne pas éliminer un appareil électrique ou électronique (et des piles éventuelles) parmi les déchets
municipaux non sujets au tri sélectif ; une déchèterie traitera l’appareil en question.
Renvoyer les équipements usagés à votre fournisseur ou à un service de recyclage local.
Il convient de respecter la réglementation locale relative à la protection de l’environnement.
En cas de questions, contacter les autorités locales pour élimination.
Nous vous remercions de votre achat ! Vous avez acheté un système CCTV consistant en une caméra (pour
montage à l’extérieur) et une unité centrale (pour montage à l’intérieur). La communication à deux voies est possible.
Vous ne devez plus ouvrir la porte pour connaître l’identité de votre visiteur ! Des LEDs IR garantissent une bonne
visibilité de nuit. L’appareil est facile à employer est il améliorera la sécurité de votre habitation. Lisez le présent
manuel attentivement avant d’installer l’appareil. Ceci vous permettra de vous familiariser avec son opération.
2. Description
a) Caméra (montage à l’extérieur) : voir figure 1 page 1
1. caméra
2. LEDs IR (uniquement caméra N/B du CAMSET7)
3. bouton de sonnette
4. haut-parleur
5. microphone
6. connexion d’entrée pour l’unité centrale
7. interrupteur tamper : est activé quand quelqu’un essaie d’enlever la caméra
b) Unité centrale (montage à l’intérieur) : voir figure 2 page 1
1. indication d’alimentation
2. touche moniteur : image + son

CAMSET7 & 8 VELLEMAN
6
3. touche alarme
4. touche pour commande de porte
5. réglage du contraste
6. réglage du volume
7. afficheur
8. microphone
9. haut-parleur
10. bouton pour communication à deux voies quand le récepteur est décroché
11. connecteur pour la serrure électrique : bornes 11 & 12 pour CAMSET7 et bornes 3 & 4 pour CAMSET8
12. entrée 18VCC
13. entrée pour le câble à connecter à la caméra
3. Opération
a) Opération de la caméra (montage à l’extérieur)
•La sonnette est activée en pressant le bouton
•Parlez à votre visiteur grâce au microphone
•Des visiteurs nocturnes sont bien visibles grâce à la source lumineuse incorporée.
b) Opération de l’unité centrale (montage à l’intérieur)
Quand quelqu’un sonne à la porte…
•L’unité centrale émet le son d’une sonnette. Vous pouvez entendre le visiteur et le regarder sur l’écran.
•Décrochez le récepteur et pressez le bouton de la commande de porte (4 dans fig. 2a à la page 1) s’il s’agit d’un
visiteur bienvenu.
•Ne décrochez pas si vous ne voulez pas révéler votre présence. Pressez la touche du moniteur : vous pouvez
alors regarder et écouter votre visiteur. L’afficheur est automatiquement désactivé après 30 secondes.
•Réglez le contraste et le volume avec les touches 5 & 6 (fig. 2) respectivement.
•Décrochez le récepteur et pressez touche n°4 dans fig. 2 pour activer la commande de porte.
4. Installation
a) Installer la caméra
Fixez la caméra à hauteur des yeux et connectez-la à l’unité centrale. Vous pouvez alors tester le système.
b) Installer l’unité centrale
Fixez la plaque métallique à hauteur des yeux à l’aide des chevilles et des écrous inclus. Mettez le câblage en place
et fixez l’unité centrale sur la plaque métallique.
c) Connecter une caméra de réserve (CAM15 & CAM14)
Employez la CAM14 avec le CAMSET7 et la CAM15 avec le CAMSET8.
5. Prescriptions de sécurité
•Laissez le boîtier fermé afin d’éviter tout risque d’électrochocs.
•Installez l’appareil dans un environnement bien ventilé et protégez-le contre l’humidité, les poussières et les
rayons solaires.
•Evitez l’usage de solvants et d’abrasifs pour le nettoyage de l’appareil. Essuyez l’appareil à l’aide d’un chiffon sec
et propre.
•La touche du moniteur ne peut pas être pressé pendant trop longtemps (2 dans fig. 2, page 1).

CAMSET7 & 8 VELLEMAN
7
•Pressez une seule touche à la fois.
•La touche de la commande de porte (4 dans fig. 2, page 1) ne peut pas être enfoncée pendant plus de 5
secondes.
6. Spécifications
Signal d’entrée signal PAL standard, VS 0.5-1.4Vp-p
Impédance d’entrée 75Ω
Largeur de bande signal vidéo 5.5MHz
Résolution horizontal ≥380 lignes TV
Temporisation de désactivation de l’afficheur 30 secondes
Eclairage de nuit IR (uniquement caméra N/B du CAMSET7)
Angle de vue 92°
Consommation 2W en veille, 15W en opération
Dimensions unité centrale 186 x 222 x 55mm (largeur x profondeur x hauteur)
Poids total 1.6kg (avec caméra)
7. Accessoires
•Câble de l’unité centrale vers la caméra
•Accessoires de montage pour la caméra + 1 clé
•Manuel d’utilisation
Les spécifications et le design de l’appareil peuvent être modifiés sans notification préalable.
CAMSET7 – VIDEOPORTERO B/N
CAMSET8 – VIDEOPORTERO COLOR
1. Introducción
A los ciudadanos de la Unión Europea
Importantes informaciones sobre el medio ambiente concerniente este producto
Este símbolo en este aparato o el embalaje indica que, si tira las muestras inservibles, podrían dañar el
medio ambiente.
No tire este aparato (ni las pilas eventuales) en la basura doméstica; debe ir a una empresa especializada
en reciclaje. Devuelva este aparato a su distribuidor o la unidad de reciclaje local.
Respete las leyes locales en relación con el medio ambiente.
Si tiene dudas, contacte con las autoridades locales para residuos.
¡Gracias por haber comprado el CAMSET7/CAMSET8! Ha comprado un sistema CCTV que incluye una cámara
(para montaje en exteriores) y una unidad central (para montaje en interiores). ¡Es posible la comunicación de dos
vías: puede ver a los visitantes y conversar con ellos desde el interior de su casa sin necesidad de abrir la puerta!
Gracias a los LEDs IR puede identificar al visitante incluso en condiciones de iluminación mínima. El aparato es fácil
de utilizar y manejar. El CAMSET7/CAMSET8 mejorará la seguridad de su casa. Lea cuidadosamente las
instrucciones del manual del usuario antes de instalarlo. Esto le permitirá familiarizarse con su funcionamiento.
2. Descripción
a) Cámara (instalación en exteriores): véase figura 1 p. 1
1. cámara
2. LEDs IR (sólo la cámara B/N del CAMSET7)
3. botón de llamada

CAMSET7 & 8 VELLEMAN
8
4. altavoz
5. micrófono
6. conexión de entrada para la unidad central
7. contacto de sabotaje: se activa si alguien intenta quitar la cámara
b) Unidad central (instalación en interiores): véase figura 2 p. 1
1. indicación de alimentación
2. tecla del monitor: imagen + sonido
3. tecla de la alarma
4. tecla del abrepuertas
5. ajuste del contraste
6. ajuste del volumen
7. pantalla
8. micrófono
9. altavoz
10. botón para la comunicación de dos vías al descolgar el teléfono
11. el conector para el cierre eléctrico usa los bornes 11 & 12 para el CAMSET7 o los bornes 3 & 4 para el
CAMSET8
12. entrada 18VCC
13. entrada para el cable a la cámara
3. Funcionamiento
a) Operación de la cámara (instalación en exteriores)
•El timbre se activa pulsando el botón
•Hable con su visitante con ayuda del micrófono
•Gracias a la fuente luminosa incorporada puede identificar al visitante incluso en condiciones de iluminación
mínima.
b) Funcionamiento de la unidad central (instalación en interiores)
Cuando se pulsa el botón de llamada…
•El timbre suena y la imagen del visitante aparece en la pantalla.
•Descuelgue el teléfono y pulse el botón de abrepuertas (4 en la fig. 2a en la página 1) si quiere dejar entrar al
visitante.
•No descuelgue si no quiere que el visitante sepa que está en casa. Pulse la tecla del monitor: Ahora, puede ver y
escuchar al visitante. La pantalla se desactiva automáticamente después de 30 segundos.
•Ajuste el contraste y el volumen con los botones 5 & 6 (fig. 2).
•Descuelgue el teléfono y pulse la tecla de abrepuertas (4 en la fig. 2) para abrir la puerta.
4. Instalación
a) Instalar la cámara
Instale la cámara a la altura de los ojos y conéctela a la unidad central. Ahora, puede probar el sistema.
b) Instalar la unidad central
Instale la placa metálica con los tornillos y tuercas (incl.) a la altura de los ojos. Haga el cableado y fije la unidad
central a la placa metálica.

CAMSET7 & 8 VELLEMAN
9
c) Conectar una cámara de recambio (CAM15 & CAM14)
Utilice la CAM14 con el CAMSET7 y la CAM15 con el CAMSET8.
5. Instrucciones de seguridad
•No abra la caja para evitar cualquier riesgo de electrochoque.
•Instale el aparato en un ambiente bien aireado y no lo exponga a humedad, polvo y rayos solares.
•Limpie el aparato con un paño seco y limpio. Evite el uso de disolventes y abrasivos.
•No pulse la tecla del monitor durante demasiado tiempo (2 en fig. 2, p. 1).
•Pulse una sola tecla a la vez.
•No pulse la tecla de abrepuertas (4 en fig. 2, p. 1) durante más de 5 segundos.
6. Especificaciones
Señal de entrada : señal PAL estándar, VS 0.5-1.4Vp-p
Impedancia de entrada : 75Ω
Ancho de banda de la señal de vídeo : 5.5MHz
Resolución : horizontal ≥380 líneas TV
Temporización de desactivación de la pantalla : 30 segundos
Iluminación de noche : IR (sólo la cámara B/N del CAMSET7)
Ángulo de visión : 92°
Consumo : 2W en stand-by, 15W en operación
Dimensiones de la unidad central : 186 x 222 x 55mm (anchura x profundidad x altura)
Peso total : 1.6kg (con cámara)
7. Accesorios
•Cable de la unidad central a la cámara
•Accesorios de montaje para la cámara + 1 llave
•Manual del usuario
Se pueden modificar las especificaciones y el contenido de este manual sin previo aviso.
CAMSET7 – VIDEO-TÜRSPRECHANLAGE - S/W
CAMSET8 – VIDEO-TÜRSPRECHANLAGE - FARBE
1. Einführung
An alle Einwohner der Europäischen Union
Wichtige Umweltinformationen über dieses Produkt
Dieses Symbol auf dem Produkt oder der Verpackung zeigt an, dass die Entsorgung dieses Produktes nach
seinem Lebenszyklus der Umwelt Schaden zufügen kann.
Entsorgen Sie die Einheit (oder verwendeten Batterien) nicht als unsortiertes Hausmüll; die Einheit oder
verwendeten Batterien müssen von einer spezialisierten Firma zwecks Recycling entsorgt werden.
Diese Einheit muss an den Händler oder ein örtliches Recycling-Unternehmen retourniert werden.
Respektieren Sie die örtlichen Umweltvorschriften.
Falls Zweifel bestehen, wenden Sie sich für Entsorgungsrichtlinien an Ihre örtliche Behörde.
Wir Danken Ihnen für Ihren Ankauf! Sie haben eine Fernsehüberwachungsanlage bestehend aus einer Kamera (für
Außenmontage) und einer Zentraleinheit (Anwendung im Innenbereich) gekauft. Das Gerat ermöglicht
Zweiwegkommunikation. Sie brauchen nicht länger die Tür aufzumachen um zu wissen wer vor der Tür steht! IR-
CAMSET7 & 8 VELLEMAN
10
LEDs sorgen für Beleuchtung nachts. Einfache Bedienung. Dieses Gerät bringt auch ein hohes Maß an Sicherheit.
Lesen Sie diese Bedienungsanleitung vor Inbetriebnahme sorgfältig durch und machen Sie sich mit dem Gerät
vertraut.
2. Beschreibung
a) Kamera (draußen): siehe Abb. 1 Seite 1
1. Kamera
2. IR-LEDs (nur bei der S/W Kamera von CAMSET7)
3. Klingeltaste
4. Lautsprecher
5. Mikrofon
6. Eingangsanschluss für Zentraleinheit
7. Sabotageschutz: wird aktiviert wenn die Kamera entfernt wird.
b) Zentraleinheit (innen): sie Abb. 2 Seite 1
1. Stromanzeige
2. 'Monitor'-Taste Bild + Klang (zum Überwachen)
3. Alarmtaste
4. Taste für den Türöffner
5. Kontrastregelung
6. Lautstärkeregelung
7. Display
8. Mikrofon
9. Lautsprecher
10. Taste für Zweiwegkommunikation wenn der Hörer abgenommen wird
11. Anschluss für elektrisches Schloss: Anschlussklemmen 11 & 12 für CAMSET7, Anschlussklemmen 3& 4 für
CAMSET8
12. 18Vdc-Eingang
13. Eingang für Kamerakabel
3. Bedienung
a) Bedienung der Kamera (draußen)
•Die Klingel im Hause wird aktiviert wenn die Taste eingedrückt wird
•Das Mikrofon ermöglicht die Kommunikation
•Nächtliche Besucher sind dank der eingebauten Lichtquelle gut sichtbar
b) Bedienung der Zentraleinheit (innen)
Was passiert alles wenn ein Besucher klingelt?
•Die Zentraleinheit erzeugt ein Klingelsignal. Sie können den Besucher hören und auf dem Schirm sehen.
•Handelt es sich um einen willkommenen Besucher, dann nehmen Sie den Hörer ab und drücken Sie auf die
Taste für den Türöffner(4 in Abb. 2a auf S.1).
•Wenn Sie Ihre Anwesenheit nicht verraten wollen, nehmen Sie den Hörer nicht ab und drücken Sie auf die
'Monitor' (überwachen)-Taste. Sie können den Besucher jetzt 30 Sekunden beobachten (hören und sehen) bevor
das Display deaktiviert wird.
•Sie können den Kontrast und die Lautstärke mithilfe der Tasten 5 & 6 (Abb. 2) regeln.
•Nehmen Sie den Hörer ab und drücken Sie auf Taste n°4 in Abb. 2 um die Tür zu öffnen.

CAMSET7 & 8 VELLEMAN
11
4. Installation
a) Kamera montieren
Montieren Sie die Kamera draußen in Augenhöhe. Jetzt können Sie eine Probe durchführen.
b) Zentraleinheit montieren
Verwenden Sie die mitgelieferten Schrauben und Dübel um die Metallplatte in Augenhöhe zu montieren. Bringen Sie
die Verkabelung an und befestigen Sie die Zentraleinheit an der Metallplatte.
c) Zusätzliche Kamera anschließen (CAM14 & CAM15)
Verwenden Sie CAM14 mit der CAMSET7 und CAM15 für mit der CAMSET8.
5. Sicherheitsvorschriften
•Öffnen Sie das Gehäuse nie selber, so vermeiden Sie elektrische Schläge.
•Installieren Sie das Gerät in einer gut ventilierten Umgebung und schützen Sie es vor Feuchtigkeit, Staub und
direktem Sonnenlicht.
•Reinigen Sie das Gerät mit einem sauberen Tuch und benutzen Sie keine Lösungs- oder Scheuermittel.
•Halten Sie die 'Monitor'-Taste nicht zu lange eingedrückt. (2 in Abb. 2, S.1).
•Drücken Sie nie verschiedene Tasten zur gleichen Zeit ein.
•Halten Sie die Taste für den Türöffner nicht länger als (4 in Abb. 2, S.1) als 5 Sekunden eingedrückt.
6. Technische Daten
Eingangssignal Standard PAL-Signal, VS 0.5-1.4Vp-p
Eingangsimpedanz 75Ω
Bandbreite Videosignal 5.5MHz
Auflösung horizontal ≥380 TV-Zeilen
Nachtbeleuchtung IR (nur S/W Kamera der CAMSET7)
Blickwinkel 92°
Stromverbrauch 2W in Ruhe, 15W in Betrieb
Abmessungen Zentraleinheit 186 x 222 x 55mm (Breite x Tiefe x Höhe)
Gesamtgewicht 1.6kg (mit Kamera)
7. Zubehör
•Kabel von der Zentraleinheit zur Kamera
•Montagezubehör für die Kamera + 1 Schlüssel
•Bedienungsanleitung
Änderungen in technischen Daten und Design vorbehalten.
This manual suits for next models
1
Table of contents
Languages:
Other Velleman Intercom System manuals

Velleman
Velleman DPH User manual

Velleman
Velleman PEREL EDKP1 User manual

Velleman
Velleman CAMSET3 User manual

Velleman
Velleman CAMSET19 User manual

Velleman
Velleman CAMSET33 User manual

Velleman
Velleman CAMSET18 User manual

Velleman
Velleman HAM25 User manual

Velleman
Velleman DB3 User manual

Velleman
Velleman Perel EDM1 User manual

Velleman
Velleman CAMSET14 User manual