1312
General Inspection
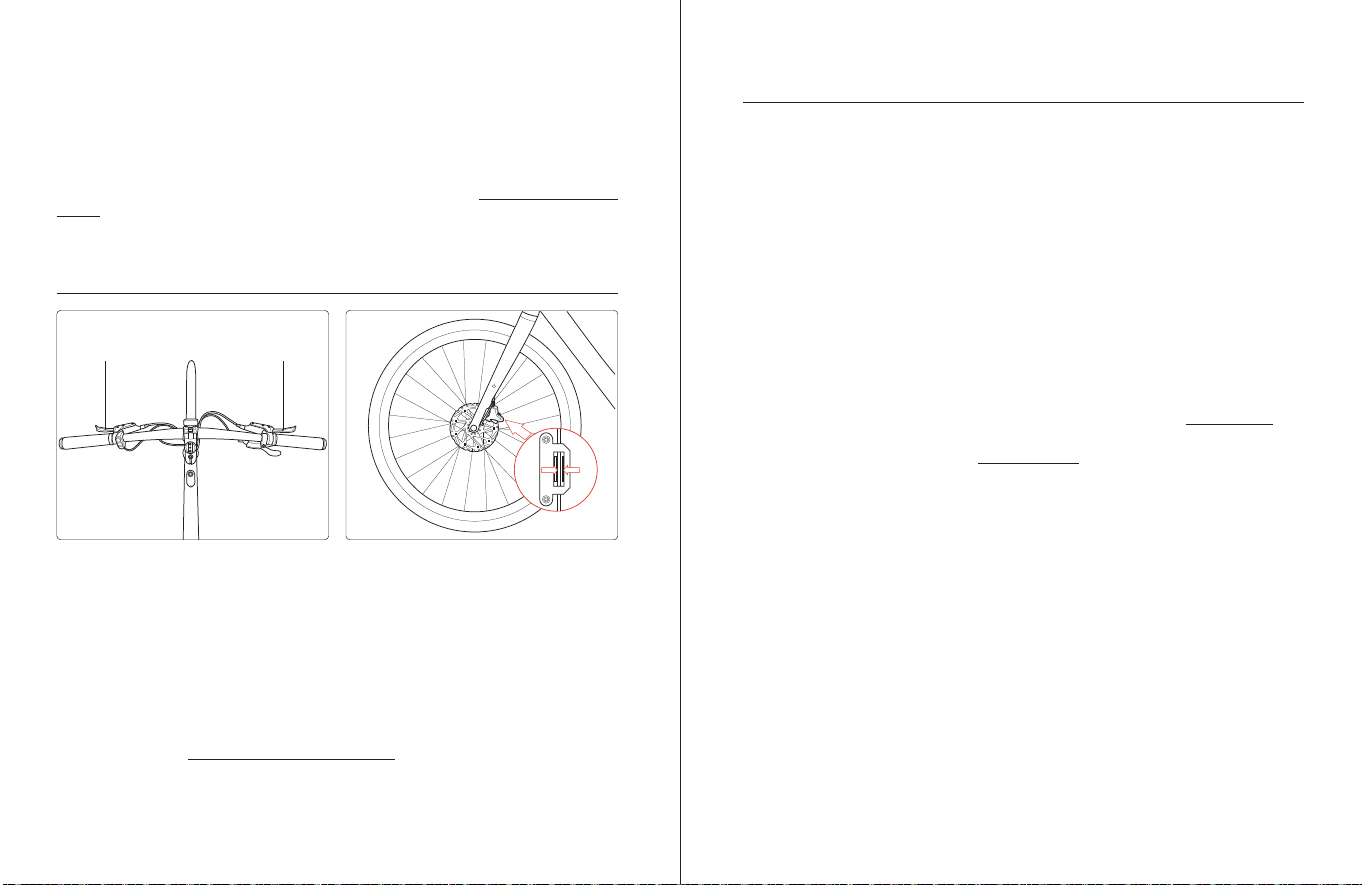
Handlebar
■Ensure that the handlebar is at 90° to the front wheel. For more detailed information, refer to
“Adjust the Handlebar Angle”
.
90°
90°
■Ensure that the handlebar is tightened sufciently so that it will not twist out of alignment and
does not rotate in the stem.
■Ensure that no cables are pulled or caught when you turn the handlebar from side to side.
■Ensure that the handlebar and stem are aligned, correctly adjusted, tightened, and allow proper
steering.
Front Fork
■Ensure that the front fork is not bent or broken.
■Ensure that the front fork is securely tightened.
Wheels and Tires
■Ensure that tires are holding air and
inated to the recommended PSI indicated
on the tire sidewall. Do not overinate or
underinate tires.
The standard tire pressure on a Velotric
Thunder 1 ST is 75 PSI, as shown in the
illustration on the right.
■Ensure tires have good tread, have no
bulges or excessive wear, and are free
from any other damage.
■Ensure rims run true and have no obvious
wobbles, dents, or kinks.
■Check each wheel spoke.If any are loose
or broken, seek help from a qualied
mechanic.
I
N
F
L
A
T
E
T
O
7
5
P
S
I
.
(
5
1
5
K
P
a
/
5
.
1
B
A
R
)
■Check the axle nuts on the rear wheel to ensure they are correctly tightened.
■Check the security of the front and rear wheel mounting. The wheel security and hardware
torque should also be checked on a regular basis. For more detailed information, refer to
“Recommended Torque Values”
.
Saddle and Seatpost
■Ensure that the saddle is in line with the center of the frame.
90°
90°
■Check that the seatpost is tightened sufciently so that the saddle will not twist out of
alignment, or move or tilt up and down.
■Ensure that the seatpost is fully inserted over the minimum insertion mark.
Chain
■Ensure that the chain has the correct
tension and won't fall off the chainring
during a ride. If you are unsure about the
correct tension, seek help from a qualied
mechanic.
■Ensure that the chain has no kinks, rust,
broken pins, plates, or rollers.
■Pay special attention if you live in a coastal
or dusty area.Ensure that the drivetrain is
clean and lubricated with lubricating oil.
Pedals
■Ensure that the pedals are securely tightened to the cranks.
■Ensure that the pedals are parallel to the ground and can rotate freely when the ebike is centered.
■Ensure that the pedals and your shoes are clean and free of debris that could affect your grip
or interfere with the pedal system.