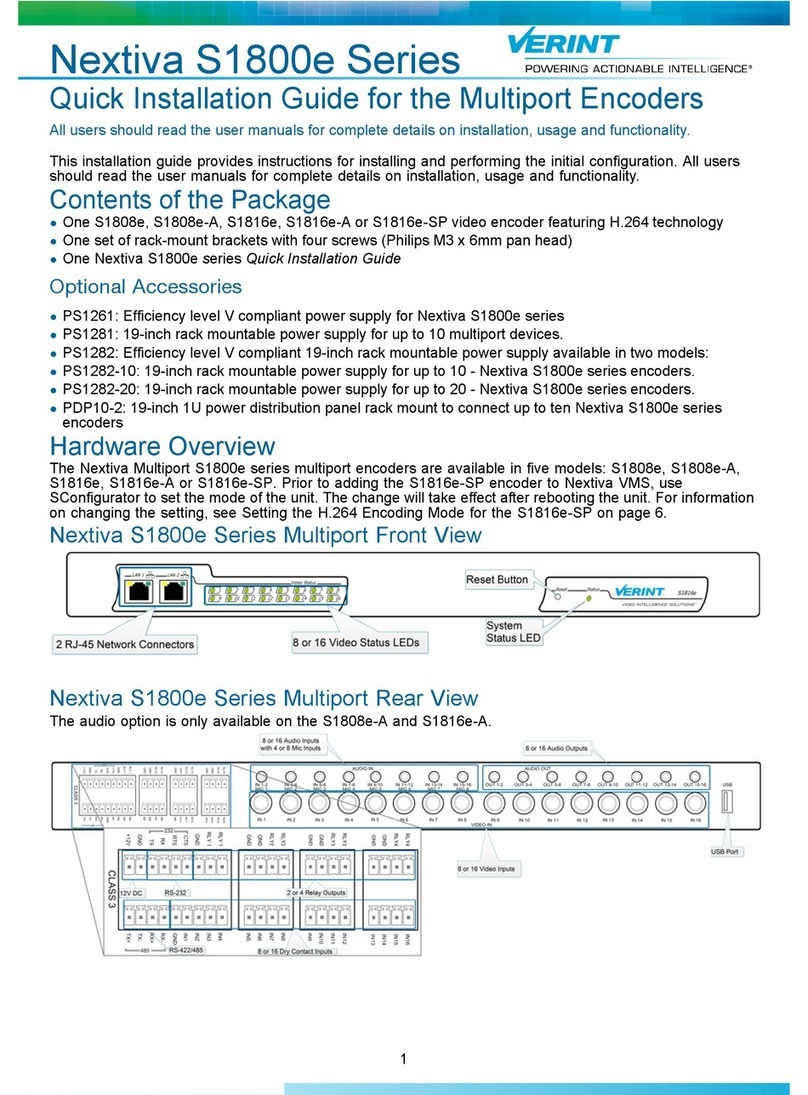
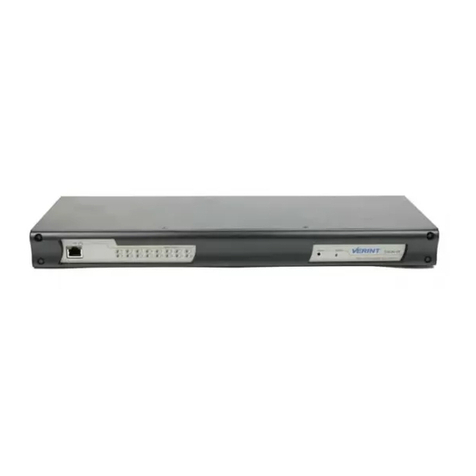
Verint S1801e User manual

Quick Installation Guide
for Single/Dual-Port Devices
S1800e Series
Version 2.0
Nextiva
1
This installation guide provides instructions for installing and performing the initial configuration. All users
should read the user manuals for complete details on installation, usage and functionality.
Contents of the Package
One S1801e, S1801e-POE or S1802e video encoder or One S1801e-R or S1801e-R-HD video decoder
One Nextiva S1800e Series Quick Installation Guide
PS121: ENERGY STAR®qualified power supply for Nextiva S1800e series single and dual port devices
except the S1801e-POE.
Optional Accessories
VRM8: 19-inch rack mount panel for eight Nextiva S1800e series single and dual port devices.
PSPOE: 802.3af compliant Power over Ethernet injector.
Hardware Overview
The Nextiva S1800e series single/dual-port devices are available in five models: S1801e, S1801e-POE,
S1801e-R, S1801e-R-HD or S1802e.
Nextiva S1800e Series Single/Dual-Port Front View
Video Out Audio
In Out In Out
Audio
Audio
AudioVideo In Video In 1 Video In 2
In
Out
In Out
S1801e or S1801e-POE S1802e
S1801e-R S1801e-R-HD
Video Input
Video Output HDMI Output
HD Video Out

2
Nextiva S1800e Series Single/Dual-Port Rear View
Installing the Nextiva S1800e Series Device
This section explains how to install a Nextiva S1800e series device on a desktop or flat surface and mount
the device in a rack.
NOTE: This equipment must be used in compliance with local laws and regulations.
To install the Nextiva S1800e series device on a flat surface:
1. Remove any debris and dust from the surface as well as the surrounding area.
2. Place the device on the flat surface.
3. Ensure that you have access to both the front and rear of the device.
To install the Nextiva S1800e series device on a rack:
1. Remove the two screws from the Nextiva S1800e series device.
+12V
GND
RLY
In1
GND
In2
RLY
RX/R-
RTS/T+
TX/T-
CTS/R+
GND
GND
+12V
In
Out
LAN 10/100
+12V+12V
GNDGND
GND
GND
RLY
RLY
In1
In2
RX/R-
CTS/R+
RTS/T+
TX/T-
In
Out
Status
Reset
12V DC
Input
RS-232/422/485
Input
1 Relay
Output
2 Dry Contact
Inputs
12V DC
Output* * Only available on the S1801e-POE
1 Network Connector (RJ-45)
1 MicroSD card slot
(available on Encoders)

3
2. Screw the Nextiva S1800e series device to the VRM8 rack mount panel using 5 in-lb (0.56 N-m) force
with the provided screws.
3. Slide the VRM8 rack mount panel into the 3U mounting space in the rack cabinet.
4. Secure the VRM8 rack mount panel to the rack cabinet using four screws that are supplied with the rack.
Connecting the Nextiva S1800e Series Device
This section explains how to connect the video, network and power cables to the Nextiva S1800e series
device.
CAUTION: Do not connect the Nextiva S1800e series devices to any cabling (BNC, PoE or otherwise)
that runs outdoor.
To connect the wiring for power:
1. Remove the terminal block plug from the rear of the device.
2. Verify the polarity of each wire from the power supply according to the attached label.
3. Connect the positive power wire in the corresponding +12V pole and the negative power wire in the
corresponding GND pole on the terminal block plug.
+12V
GND

4
4. Connect the terminal block plug to the on the rear
of the device.
5. Connect the power supply to an outlet or UPS.
6. If required, connect the serial ports of the Nextiva
S1800e device to the PTZ cameras.
To power the S1801e-POE using the
PSPOE Power over Ethernet injector:
1. Plug a straight-through ethernet cable into the LAN
10/100 (RJ-45) connector on the back of the
S1801e-POE encoder.
2. Plug the other end of the cable into a POE ethernet
switch or to the Data&PWR port of a POE injector.
If you use a PoE injector, make sure the Data port
of the injector is properly connected to the
ethernet switch.
To connect the cables for video and
network on the encoders:
1. Connect the video cables from the analog
cameras to the BNC connectors on the rear of the
device.
2. Plug an ethernet cable into the LAN 10/100
(RJ-45) network connector on the back of the
device.
NOTE: For the S1801e-POE, the ethernet cable is
already connected.
To connect the cables for video output
on the decoders:
1. Connect the BNC connector or the HDMI cable to
the rear of the S1801e-R or S1801e-R-HD.
S1801e or S1801e-POE
S1802e
S1801e-R
S1801e-R-HD
HDVideoOut

5
To connect the audio cable:
1. Plug the audio cable from the audio source to the
audio input connectors on the rear of the device.
Obtaining the IP Address of
the Nextiva S1800e Series
Device
By default, all Nextiva S1800e series devices are
DHCP (Dynamic Host Configuration Protocol)
enabled. Use SConfigurator to obtain the IP address
of the device. If you have a DHCP server, the device
will automatically obtain a valid IP configuration.
Otherwise, you need to manually enter a IP address.
To obtain the IP address of the device:
1. Download the latest version of SConfigurator from:
www.verint.com/manuals.
2. Extract the executable file
(SConfigurator.exe) to the desktop of the
computer.
3. Start SConfigurator by double-clicking
SConfigurator.exe on the desktop.
4. In the General tab, click Program Options.
5. Check Detect All Units on LAN.
6. Ensure that the VSIP Port is 5510; otherwise, click
Default.
7. Ensure that the Discovery IP Address is
255.255.255.255; otherwise, click Reset to
Broadcast.
8. Click OK.
9. Select the Units tab, then click Discover. The
information displayed for the Nextiva S1800e
series device will vary depending on whether your
network is using a DHCP server or not.
In a DHCP environment, the Unit Name column
in the Units box displays the model name and a
unique alpha-numeric value that corresponds
to the MAC address of the device.
In APIPA mode, the Unit Name column in the
Units box displays Unknown and the first two
octets of the IP address in the Address column
is 169.254. Use the following procedure to set
the IP address for the device.
S1801e or S1801e-POE or
S1801e-R or S1801e-R-HD
S1802e

North America:+1-888-747-6246| CALA: +1-303-254-7005
Email: vissuppor[email protected]
EMEA: +44 (0) 845-843-7333 |Mobile Support:+49 (0) 4321-269 81 36
APAC: Hong Kong: +852 2797 5678 |Singapore: +65-68266099
Email: AP[email protected]
© 2010 Verint Video Intelligence Solutions. All Rights Reserved Worldwide. All other trademarks and product names are the property of their respective
owners. Part Number: 23-500-0075 rev A01
Documentation
To minimize our carbon footprint, we are removing the supporting product
documentation CD that was shipped with our Nextiva Intelligent Edge
Device products. To obtain the latest version of the manuals, please visit:
www.verint.com/manuals
To set the IP address of the device
manually:
1. Select the device in the Units box and click
Configure.
2. In the Unit Name box, type a name for the device.
3. In the tree view, expand the Network node and
click IP.
4. In the IP Address box, type an IP address for the
device.
5. In the Subnet Mask box, type the address
specifying in which subnet the IP address of the
device belongs.
6. In the Gateway box, type the IP address of the
server that acts as an access point to another
network.
NOTE: You do not need to use a gateway if the
device communicates with other devices on
the same subnet.
7. Click OK.
8. Click Exit to close SConfigurator.
NOTE: Any configuration changes made to the
device using Nextiva VMS will override the
changes made using SConfigurator or the
Web Interface.
Configuring Audio
Use SConfigurator to set the audio settings.
To configure the audio:
1. Double-click SConfigurator.exe to start
SConfigurator.
2. Select the Units tab, then click Discover.
3. Select the device and click Configure.
4. In the tree view, click the Audio node.
5. From the Sampling Rate list, select from 8 kHz,
16kHz, or 24 kHz.
6. Expand the Audio node.
7. Select Encoder to configure.
8. Set the value for the following settings:
Input Type: Select Line-in or Mic (with pre-
amp).
Input Compression: Select Uncompressed PCM
(128 kbps).
Gain State: Select Enabled or Disabled.
Gain Level: Move the slider to the left or right.
Bias State: Select Enabled or Disabled.
Bias Level: Move the slider to the left or right.
9. Click OK.
For the S1801e-R and S1801e-R-HD decoders:
a. Select Decoder.
b. Move the Output Gain slider to the left or right.
c. Click OK.
10.Click Exit to close SConfigurator.
This manual suits for next models
4
Table of contents
Other Verint Media Converter manuals
Popular Media Converter manuals by other brands

Technica Engineering
Technica Engineering USB-100BASE-T1 user manual

Prism Sound
Prism Sound CALLIA quick start guide

Blu Stream
Blu Stream BluStream HD11AU user manual

Data Video
Data Video DAC-200 Important notes

A-Neuvideo
A-Neuvideo ANI-12SADA instruction manual

Digital Life
Digital Life MERGE-II User Guidance Manual