manuals.online logo
Brands
  1. Home
  2. •
  3. Brands
  4. •
  5. Verkada
  6. •
  7. Security Camera
  8. •
  9. Verkada D80 User manual

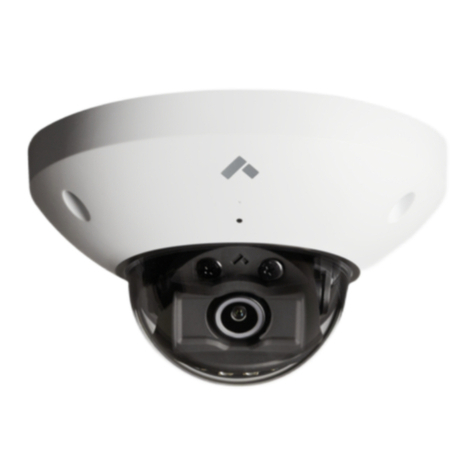
Verkada D80 User manual

D80 Setup Guide
Contents
In the box 1
What you’ll need 3
Connect 5
Mount 7
Secure 13
Support 15
1 2
In the box D80 Camera
T10 security Torx screwdriver
4 screws 4 wall anchors
1 2
Mount plate Mounting template
3 machine screws
3 wing nuts
3 washers
Conduit adapter
(with 2 screws and anchors)
Desiccant
2 pole straps
3 4
What you’ll need
3 4
• A working internet connection
• 802.3af Power over Ethernet (PoE) switch,
or a PoE injector
• A smartphone or laptop
• A Phillips screwdriver or power drill with a Phillips
driver bit
• 1/4-inch (6.5mm) drill bit for wall anchors
• 1/8-inch (3mm) drill bit for pilot holes
• 3/16-inch (4.5mm) drill bit for machine screws
5 6
Connect
Use the provided T10 Torx security screwdriver to
loosen the screws and lift the case o the camera.
5 6
Connect the camera to an 802.3af Power over
Ethernet port on your network. An orange LED
on the camera’s ethernet port will indicate that it
is powered and booting up. A green LED on the
ethernet port will indicate the camera is active.
Go to www.verkada.com/start
7 8
Mount
Using a Phillips screwdriver, loosen the mount
plate screws. Twist clockwise and lift the camera
o the mount plate.
7 8
Use the mounting template to mark wall mount
holes. For junction box or accessory mounting,
use the mounting template to determine the
correct hole pattern.
To ensure proper image orientation, be sure to
align the mounting template’s level lines either
horizontally or vertically. Do not mount camera
with the level lines at an angle.
9 10
For a solid material like wood or metal, drill 1/8-inch
pilot holes. Drive mounting screws directly into the
pilot holes.
Mount
continued
1/8 inch
9 10
For drywall, drill 1/4-inch holes. Insert plastic anchors
into holes and drive mounting screws into anchors.
For a drop ceiling, drill 3/16-inch holes through the
ceiling tile and insert machine screws. Behind the
ceiling tile, place washers and wing nuts on each
screw and hand tighten.
3/16 inch
1/4 inch
11 12
Mount
continued
Dissasamble the cable access port in the camera
base plate. Feed the ethernet cable up throught the
baseplate and thread through the port components
as shown. Reassemble the cable access port and
tighten snugly.
Pass-through
Nut
Cable gland
11 12
To secure the camera, place it over the mount plate
screws and twist counter-clockwise. Tighten the
mount plate screws with a Phillips screwdriver.
Plug in the camera. An orange LED on the camera’s
ethernet port will indicate that it is powered and
booting up. A green LED on the ethernet port will
indicate the camera is active.
13 14
Secure
Open outer desiccant bag, take out desiccant pack
and peel to expose the adhesive. Adhere desiccant
to the camera body at the “Attach Desiccant Here”
label. Be sure it does not obscure the camera.
13 14
Replace the camera cover and secure it using
the provided T10 Torx security screwdriver.
Solid orange
Camera is on and booting up
Flashing orange
Camera is updating firmware
Flashing blue
Camera is recording, but
cannot reach the server
Solid blue
Camera is running, connected,
and streaming video
Status LED
15 16
Thank you for purchasing a Verkada camera.
If for any reason things don’t work right or you need
assistance, please contact us immediately.
Sincerely -
The Verkada Team
www.verkada.com/support
Support
15 16
www.verkada.com/support

Other Verkada Security Camera manuals

Verkada CD32-E User manual

Verkada

Verkada CD32-E User manual

Verkada CD51 User guide

Verkada

Verkada CD51 User guide

Verkada D50 User manual

Verkada

Verkada D50 User manual

Verkada CB51 User manual

Verkada

Verkada CB51 User manual

Verkada D30 User manual

Verkada

Verkada D30 User manual

Verkada CM61 User manual

Verkada

Verkada CM61 User manual

Verkada D40 User manual

Verkada

Verkada D40 User manual

Verkada CM41-S User manual

Verkada

Verkada CM41-S User manual
Verkada CB61 User manual

Verkada

Verkada CB61 User manual

Verkada CM41-E User manual

Verkada

Verkada CM41-E User manual

Verkada CD41 User manual

Verkada

Verkada CD41 User manual

Verkada CB51 User manual

Verkada

Verkada CB51 User manual

Verkada CD62 User manual

Verkada

Verkada CD62 User manual

Verkada CD22-E User manual

Verkada

Verkada CD22-E User manual

Verkada CD52 User manual

Verkada

Verkada CD52 User manual

Verkada CD31-E Manual

Verkada

Verkada CD31-E Manual

Verkada CD31 User manual

Verkada

Verkada CD31 User manual

Verkada CB51 User manual

Verkada

Verkada CB51 User manual
Verkada CF81-E User manual

Verkada

Verkada CF81-E User manual

Verkada CD32 User manual

Verkada

Verkada CD32 User manual

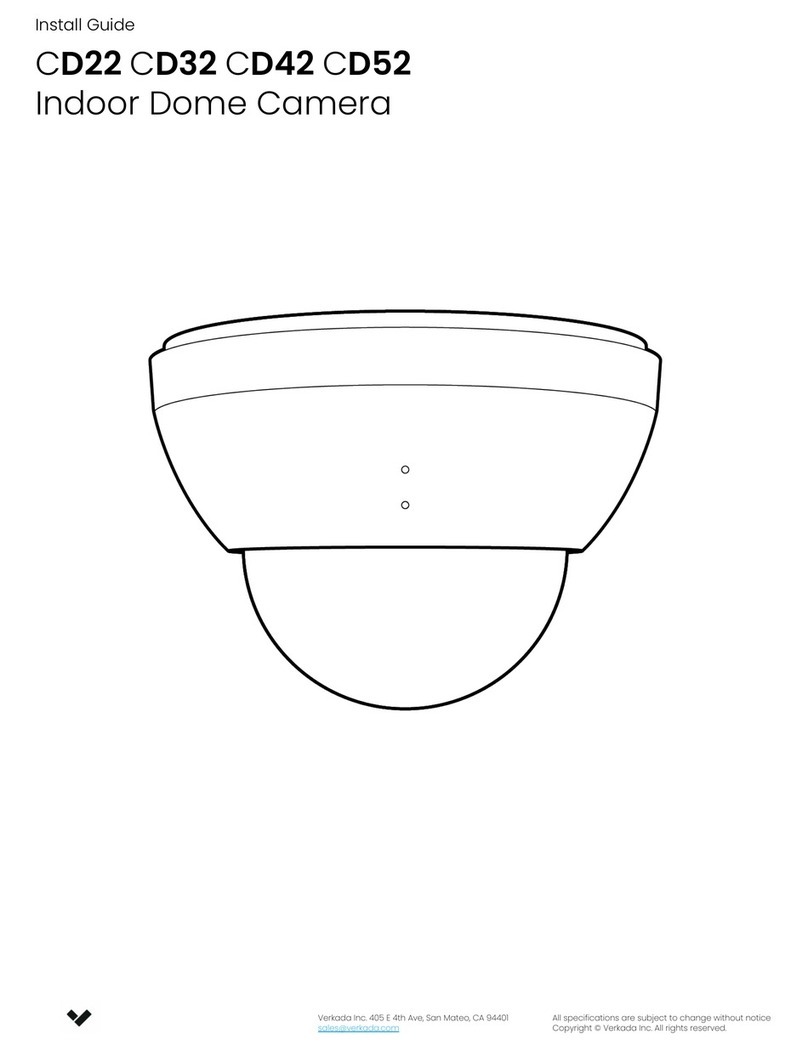
Verkada CD22 User manual

Verkada

Verkada CD22 User manual

Verkada CM41 User manual

Verkada

Verkada CM41 User manual
Verkada CB52 User manual

Verkada

Verkada CB52 User manual

Popular Security Camera manuals by other brands

Sanyo VCC-9300 instruction manual

Sanyo

Sanyo VCC-9300 instruction manual

ESP Recor HD REKHDC36FBG18P user manual

ESP

ESP Recor HD REKHDC36FBG18P user manual

Axis 02457-001 user manual

Axis

Axis 02457-001 user manual

SECO-LARM Enforcer EV-122C-DVAVQ manual

SECO-LARM

SECO-LARM Enforcer EV-122C-DVAVQ manual

Axis Q1614 installation guide

Axis

Axis Q1614 installation guide

Axis P32-LV Mk II Series installation guide

Axis

Axis P32-LV Mk II Series installation guide

Samsung iPOLiS SNP-3120 user manual

Samsung

Samsung iPOLiS SNP-3120 user manual

Honeywell HD3UX brochure

Honeywell

Honeywell HD3UX brochure

VISUALINT VI-1110 installation guide

VISUALINT

VISUALINT VI-1110 installation guide

Avigilon 1.0C-H4IRPTZ-DP45 installation guide

Avigilon

Avigilon 1.0C-H4IRPTZ-DP45 installation guide

NEO Coolcam P2P IP CAMERA installation manual

NEO Coolcam

NEO Coolcam P2P IP CAMERA installation manual

Axis Q1615-LE Mk III user manual

Axis

Axis Q1615-LE Mk III user manual

Konftel C50800 Hybrid installation guide

Konftel

Konftel C50800 Hybrid installation guide

OPTICOM IR-5755 - datasheet

OPTICOM

OPTICOM IR-5755 - datasheet

Edimax NS-22037 quick guide

Edimax

Edimax NS-22037 quick guide

Axis AXIS P3354 user manual

Axis

Axis AXIS P3354 user manual

Axis P5515-E Series user manual

Axis

Axis P5515-E Series user manual

Lilin Z2R8122X-P installation guide

Lilin

Lilin Z2R8122X-P installation guide

manuals.online logo
manuals.online logoBrands
  • About & Mission
  • Contact us
  • Privacy Policy
  • Terms and Conditions

Copyright 2025 Manuals.Online. All Rights Reserved.