Vetus WR-18 User manual

Colorimeter Manual
WR-18 Colorimeter User’s Manual

Colorimeter Manual
CONTENT
Safety Instructions...............................................................................................1
Notes......................................................................................................................1
1. Storage........................................................................................................2
2. Use..............................................................................................................2
Overview............................................................................................................... 2
I. Structure............................................................................................................ 4
1.1 Appearance...............................................................................................4
1.2 Power.....................................................................................................5
1.2.1 Battery........................................................................................... 6
1.2.2 Power Adapter........................................................................... 7
II. Operation..........................................................................................................0
2.1 Turn on..................................................................................................... 0
2.2 Color Difference Measurement.............................................................0
2.2.1 Type Sample Measurement.....................................................1
2.2.2 Sample Measurement.............................................................. 2
2.3. Check out Information............................................................................ 3
2.3.1 Type Sample Record................................................................ 3
2.3.2 Sample Record.......................................................................... 4
2.4. System Setting.........................................................................................5
2.4.1 Auto Save................................................................................... 6
2.4.2 Manual Save.............................................................................. 7
2.4.5 Language Selection.................................................................. 7
IV. Product Specification...................................................................................8

Colorimeter Manual
1
Safety Instructions
In order for safe and proper use of the instrument,
please read carefully and follow the instructions of the
manual.
Use only original power adapter and original battery to
avoid fault or damage of the instrument.
Upon long time no use, cut off external power and remove
the battery to avoid damage to the instrument resulting from
battery fluid overflow.
Do not use the instrument under the conditions with
flammable and explosive gases, dusts or smokes to avoid
accident.
Do not use the instrument under the conditions of strong
magnetic field, rattling, dust and smoke to avoid unexpected
data and performance failure.
The product is a precision instrument, do not disassemble it
without permission, or it may be damaged and unrepairable.

Colorimeter Manual
2
Notes
1. Storage
● Upon long time no use, put the instrument into a packing box;
● Store the instrument in a cool and dry environment with a
temperature at -10°C~50°C and relative humidity under 85%;
2. Use
● When using the instrument, the ambient temperature should
be 0°C~40°C, relative humidity at 85%, without condensation;
● Do not use the instrument under the conditions of strong
magnetic field, rattling, dust and smoke to avoid unexpected
data and performance failure.
● Prevent foreign objects as liquid, powder or solid etc. from
entering into the instrument to avoid unexpected measurement
data.
Overview
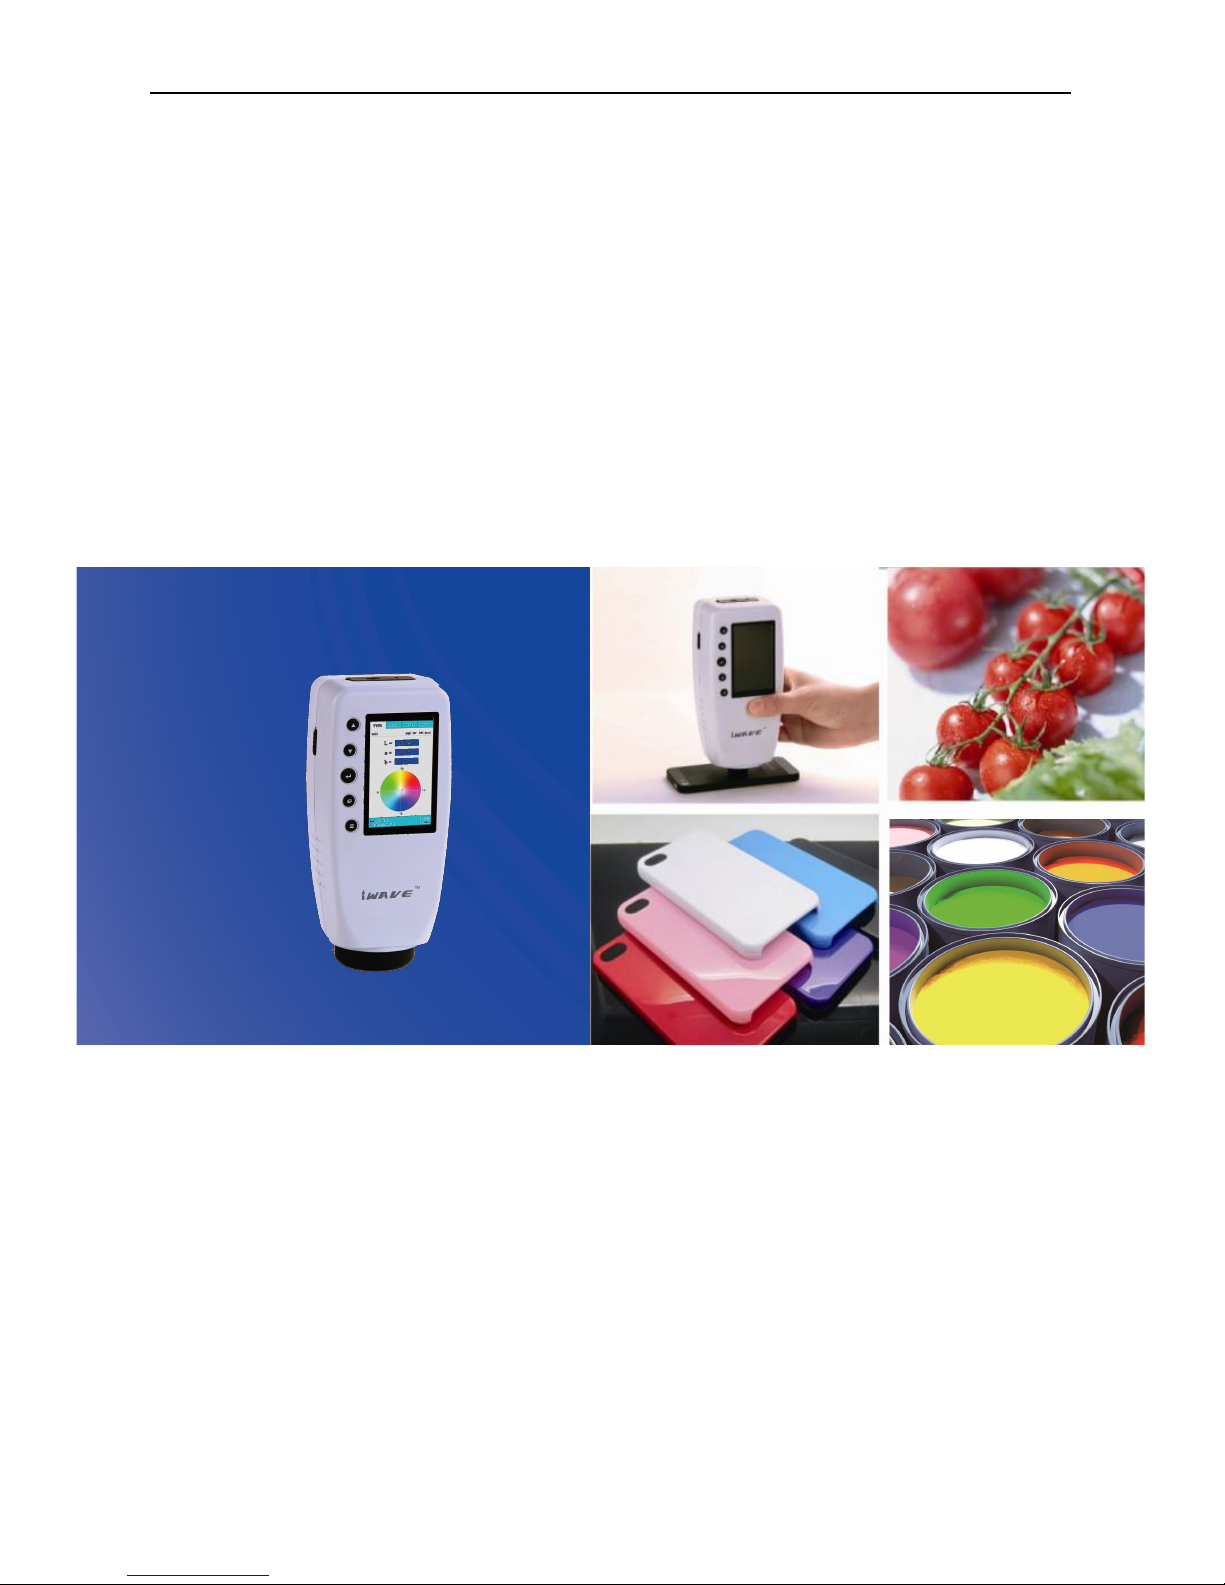
The Colorimeter is a professional colorimeter designed and
produced subject to the relevant standards of International
Commission on Illumination (CIE) and national stands. Being
with brand new imported key components, the instrument is well
designed and features in precision, stability, easy handling, easy
to learn and cost-effective.
The instrument applies to the color quality control, color
difference control, color difference analysis, sampling testing
and online testing for industries as textile, printing and dyeing,
garments, shoes, leather, chemical, plastic, pigment, paint, ink,
printing, metal, photography and toys etc., as well as to the

Colorimeter Manual
3
auxiliary color matching during the processes as injection, inking,
painting and spraying coating etc.

Colorimeter Manual
4
1. Up
2. Down
I. Structure
1.1 Appearance
Figure 1. Instrument Appearance
Up - move the position of the cursor in the
screen; adjust the value of the activated items .
Down - move the position of the cursor in the screen;
adjust the value of the activated items.
Paging - Switching between tabs.
Function - Different function can be performed in
different interface.
11.Measurement port
9.Battery
cover
5. Function
3. Confirm
4. Paging
6. witch
10. Measurement
11.Measurement
port
8. Printing interface / DC connector
7.Show
screen

Colorimeter Manual
5
Confirm - Confirm or activate selected items in the
screen (a blue background of the item will be changed to a
green background after activation); fast switching between
"standard measurement" and "sample measurement".
Show screen - show measurement result etc.
Measurement - Measuring
Measurement port - Optical channel for measuring.
Switch - In (I) or Out (O) of the instrument.
Printing interface - connect to the printer to print the
measuring data.
Battery cover - cover for the special lithium battery
compartment DC connector - dedicated power adapter
connector.
1.2 Power
The Colorimeter is powered by dedicated power adapter or
special lithium batteries, the use of other facilities for power
supply may damage the Colorimeter.
Ensure that the Switch is on Out (O) before connecting to the power
adapter or mounting the battery.

Colorimeter Manual
6
1.2.1 Battery
1. First check and confirm if the
Switch is on Out (O), then
following the arrow direction as
shown on Figure 2, take out the
battery cover by pressing down.
Figure 2. Remove the battery cover
2. Mount the battery into the
compartment as shown in
Figure 3,
pay attention to the front and
back of the battery.
Figure 3. Mounting the battery
3. Follow the directions on
Figure 4, press up to mount the
battery into the compartment.
Figure4. Mounting the battery cover

Colorimeter Manual
7
1.2.2 Power Adapter
1. First check and confirm if the
Switch is on Out (O),
2. Plug the input cable of the
power adapter as shown on
Figure 5 into the DC connector.
Figure 5. Power Adapter connection

Colorimeter Manual
II. Operation
2.1 Turn on
Before turning on the instrument, check if the external
power has been connected or the battery has been mounted,
ensuring a power supply to the instrument, then start the
instrument, the screen will show starting Logo.
After the completion of boot interface, instrument into the
self-test program, ensure the normal working of the instrument.
2.2 Switchable Calibers
This instrument has 3 switchable calibers to measure different
objects. The calibers include 4mm (standard)/8mm (standard) and
40mm (optional). The steps to exchange the calibers as below (for
example 8mm diameter replacing 4mm diameter):
1. Remove the 8 mm diameter, as shown in figure 6 left,
counterclockwise to remove measuring diameter; Install 4 mm
diameter, as shown in figure 6 on the right, clockwise on measuring
diameter;
figure 6 switchable calibers schematic diagram

Colorimeter Manual
2、Screen to switch to the "prototype" interface, press the
"function key", showing "black and white calibration/mode selection”
interface, as shown in figure 7, it can change between “black and
white correction "and" mode selection”through skipping key. In the
mode selection interface, setting the measuring diameter as 4mm, and
for black and white correction according to the instrument tips.
figure 7 “black and white correction" "mode selection" interface
2.3 Color Difference Measurement
There are two steps for the color difference measurement
which are "Type Sample Measurement" and "Sample
Measurement".
1. The Type Sample measurement gets the standard color

Colorimeter Manual
1
parameters of a Type Sample;
2. The Sample measurement gets the parameters of the
sample needed to be measured, while calculates the color
difference data between the Sample and the Type Sample.
2.3.1 Type Sample Measurement
As shown on Figure 8, the Type Sample measurement can
be performed to get the color parameters of a Type Sample. The
color parameters measured will be shown on the measurement
page.
In the upper right corner of the page to display the test
current conditions, including light sources, lighting and light
mode.
Figure 8. Type Sample Measurement Page

Colorimeter Manual
2
2.3.2 Sample Measurement
After completing the Type Sample measurement, if it is
required to measure the color difference between the Type
Sample and the Sample, press "Paging" to switch the
screen to "SAM. " page as shown on Figure 9, the color
difference parameter measured will be shown on the
measurement page.
Figure 9. Sample Measurement Page
Meanwhile, color bias will be shown on the right of the page
to provide an intuitive color difference analysis.

Colorimeter Manual
3
2.4. Check out Information
2.4.1 Type Sample Record
Press "Paging" to jump to "Check out Information"
page as shown on Figure 10 to check the saved data by "Up"
and "Down" keys, if required.
Figure10. Check out Information Page
In the current page, press "save" button can be
activated in Figure 11 dialog box, choose "sample into" or
"standard delete" operation.

Colorimeter Manual
4
Figure 11 Selecting operation
2.4.2 Sample Record
After selecting the Type Sample to be checked, select
"Sample Record" option to switch the screen to the Sample
record page of the Type Sample as shown on Figure 12, then
select Sample record by "Up" and "Down" keys to
check out the color difference records of each Sample.

Colorimeter Manual
5
Figure 12. Check out Information Page
2.5. System Setting
Press "Paging" to switch the screen to "System
Setting" page as shown on Figure 13 to set the data saving
ways as well as light mode, Light source(D50, D65, F11),
tolerance, backlight time, the system date and time during the
measurement.

Colorimeter Manual
6
Figure 13. System Setting Page
2.5.1 Auto Save
As shown on Figure 13, there are two ways for saving which
are "Auto Save" and "Manual Save".
When setting to Auto Save, system will auto save each time
measurement data of the Type Sample or the Sample. If the
saving records of the Type Sample or the Sample are full, the
measurement data will not be saved and will pop up a window
as shown on Figure 14 to prompt if the storage should be
cleared.

Colorimeter Manual
7
Figure 14. Pop up Window
2.5.2 Manual Save
When setting to Manual Save, system will not auto save
data, it is required, after finishing measuring, to press "Save"
for manually saving the data and will pop up a prompt box
as shown on Figure 15.
Figure 15. Prompt Box
2.5.5 Language Selection
The colorimeter in the English language version, only in the
"System Settings" page can be selected.

Colorimeter Manual
8
IV. Product Specification

Colorimeter Manual
Table of contents
Other Vetus Measuring Instrument manuals
Popular Measuring Instrument manuals by other brands

PRÜFTECHNIK
PRÜFTECHNIK VIBSCANNER 2 Getting started

Spirax Sarco
Spirax Sarco RIM10 Series Installation and maintenance instructions

Valeport
Valeport 803 operating manual

DPS Telecom
DPS Telecom NetGuardian SUI user manual

Samoa
Samoa NEXU Parts and technical service guide

Endress+Hauser
Endress+Hauser FEC 12 operating instructions