Vidal Sassoon i-Twin TrimVSM2A User manual

Model VSM2A
i-Twin Trim
Dual BlaDe rechargeaBle Trimmer

SAFETY CAUTIONS
WARNING! Polythene bags over the product or packaging may be
dangerous. To avoid danger of suffocation, keep away from babies and
children. These bags are not toys.
• This appliance should only be used as described within this instruction
book. Please retain for reference.
• Do not immerse the appliance in water or other liquids.
• Always inspect the appliance before use for noticeable
signs of damage. Do not use if damaged or if the
appliance has been dropped. In the event of damage contact the
Conair Customer service line 1800 650 263
• Only use the attachments supplied with this appliance.
• Do not leave the appliance unattended when switched on.
• Do not place the appliance on any surface whilst in operation.
• Special care is required when using the appliance close to the ears,
eyes and face.
• This appliance should not be used by adults whose reduced physical,
sensory or mental capabilities, or whose lack of experience and
knowledge, might cause a hazard, unless they have been correctly
instructed to understand the safe use and hazards involved and are
adequately supervised.
• Careful adult supervision is required when this appliance is used on
or near children. Do not use on very young children.
• This appliance should not be used, cleaned or maintained by children.
Keep out of reach of children.
• Always ensure that this appliance is kept out of the reach of children
at all times, particularly during use and whilst cooling.
• Allow the appliance to cool before storing away.
• The battery should be removed for safe disposal at the end of its life.

• When the battery has run down, it should be disposed of at a
recycling centre to safeguard the environment. If the battery leaks,
avoid touching it and dispose of it at a recycling centre.
all-in-one BeaRD & MUSTaCHe TRiMMeR
Multi-use trimmer
Upper trimming
blade
Single trimming
blade
Lubricating
oil
Dual trimming blade
Storage stand
5-position
comb attachment
Stubble
comb
3 jawline
combs

SAvE ThESE INSTRUCTIONS
USER MANUAL
Before using the Class 2 Power Supply, read these instructions carefully.
Use with adapter CA51
Rated input voltage: 100–240V AC, 50/60Hz, 0.2A Max
Rated output: 6.0VDC, 70mA
OPERATION
1. For dry location use only. Do not expose to water.
2. When not in use, unplug unit completely.
3. Unit will become warm during operation.
CAUTION
1. Dry location use only. Do not expose to liquid, vapor, or rain.
2. Do not short the polarity (output cord). Ensure jack is plugged into the
trimmer unit before plugging the adapter into the outlet.
3. Do not operate any appliance that has a damaged output cord or
housing.
4. Always unplug the unit before cleaning or when not in use.
5. This power unit is intended to be correctly oriented in a vertical or
floor mount position.
6. Be sure voltage is correct before plugging in.

TROUbLEShOOTING
If your rechargeable trimmer does not seem to be taking a charge,
take the following troubleshooting steps before returning it for repair:
1. Be sure the electrical outlet is working by plugging in another
appliance to test the outlet.
2. Make sure the electrical plug is not connected to a switch that turns
power off when lights are turned off.
3. Make sure the adapter is properly connected
to the trimmer, that
all connections are secure, and that the trimmer switch is in the OFF
position.
OPERATING INSTRUCTIONS
1. Before using the trimmer for the first time, charge continuously for
16 hours. Maximum battery capacity will only be reached after 3
charging and discharging cycles.
2. Always check to see if the charging light is on when you connect the
adapter to the trimmer.
3. Plug the adapter into any wall outlet (at the voltage listed on the label
affixed to the adapter). Unplug adapter when not in use.
4. The adapter may become warm while charging. This is normal.
5. Preserving the batteries: in order to maintain the optimum capacity
of the rechargeable batteries, the clipper should be recharged for 16
hours approximately every 3 months.
6. This trimmer comes with a detachable trimmer head. To remove, make
sure the trimmer is in the OFF position, turn the head counterclockwise
until “I” mark aligns with “arrow” mark on the back of the body and
then pull up. To attach trimmer head, align the “I” mark with the “arrow”
mark and then turn clockwise until the “I” and “circle” marks align.
(see Fig. 1). Make sure that the motor spindle is positioned in the
actuator arm when reattaching the trimmer (see Fig. 2).
Fig. 1 Fig. 2

MAINTENANCE INSTRUCTIONS
TAkING CARE OF YOUR TRIMMER
OILING ThE bLAdES
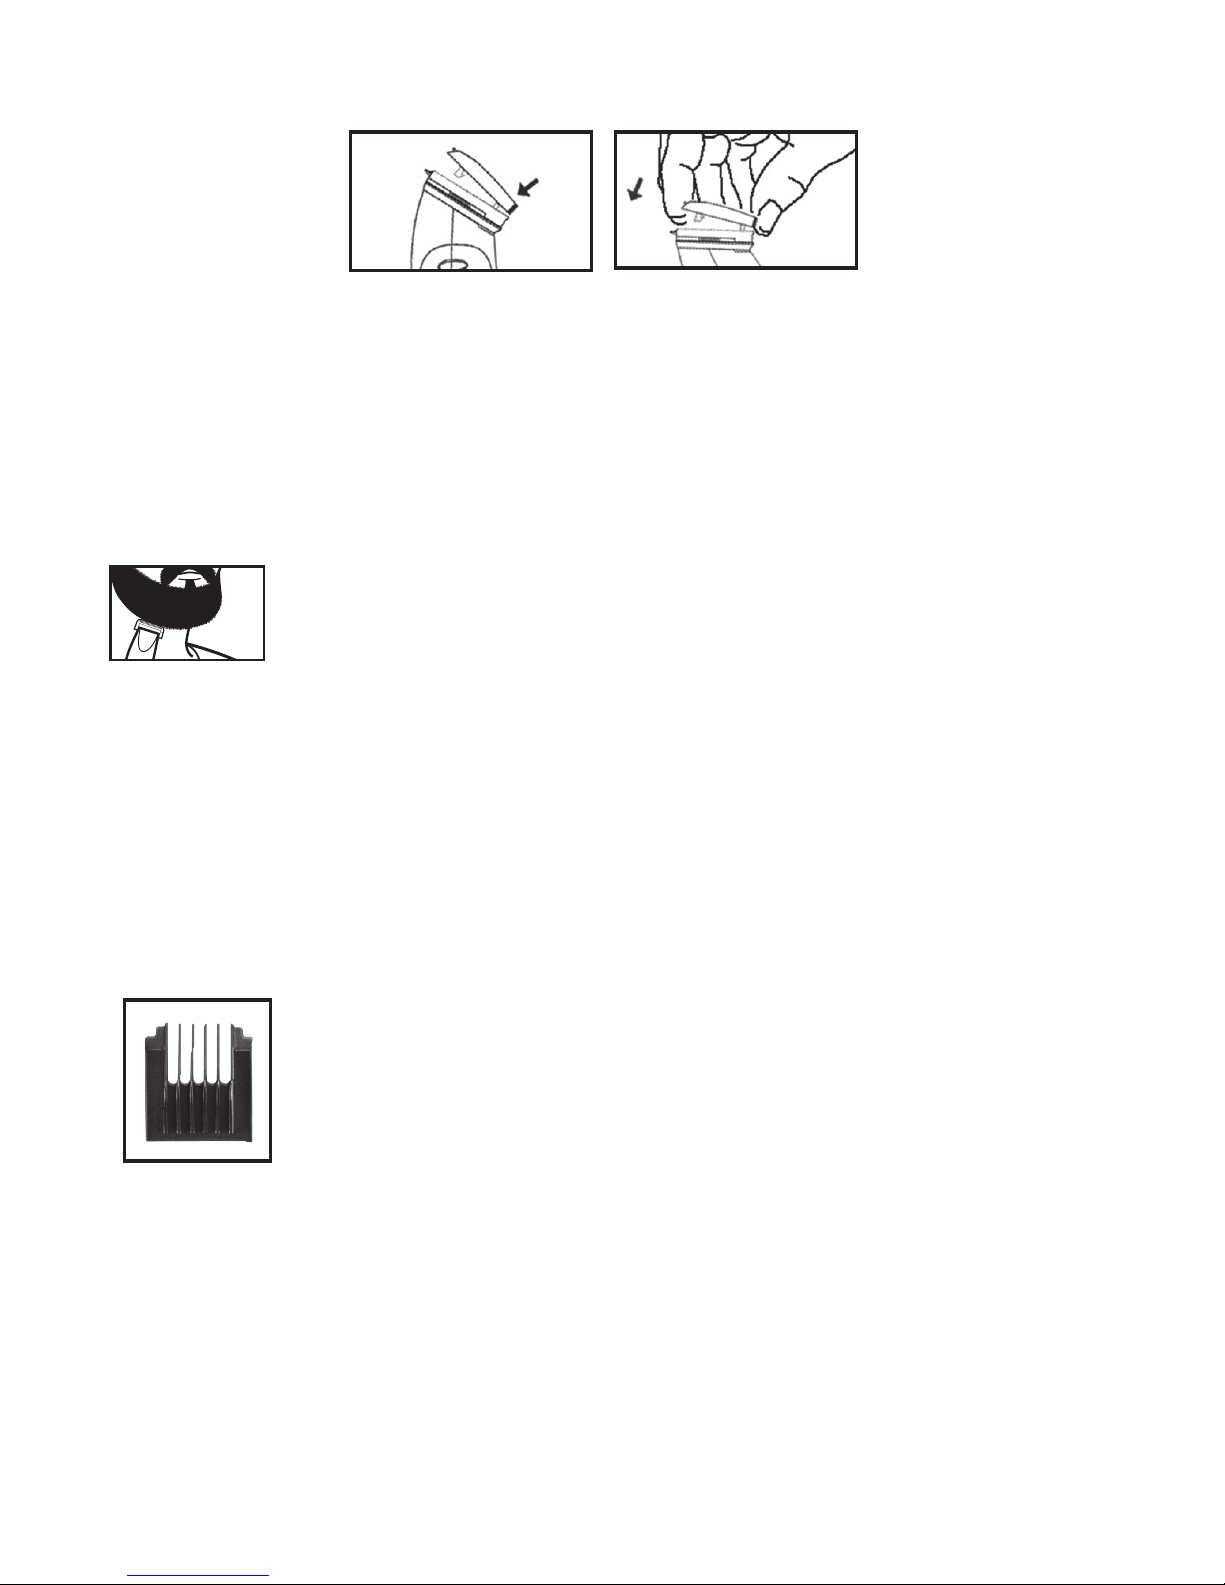
About once a month you should oil the trimmer blades with the oil
provided in your kit. It is best to do this over a piece of newspaper. Turn
the trimmer on and hold it so that the blades are pointed downward.
Spread one drop of oil across the blades, wait a few seconds for oil to
disperse, then turn the trimmer off and wipe away the excess oil with a
soft cloth.
Be careful not to use too much oil and don’t oil your trimmer more than
necessary, as this could damage the motor. (Never attempt to oil the
motor
bearing, as it is permanently lubricated.) Keep oil away from children.
bLAdE CARE
Because the trimmer blades are precision-made for a very special
use, they should always be handled with care. Each time you finish
using the trimmer, use a cleaning brush to brush away any loose
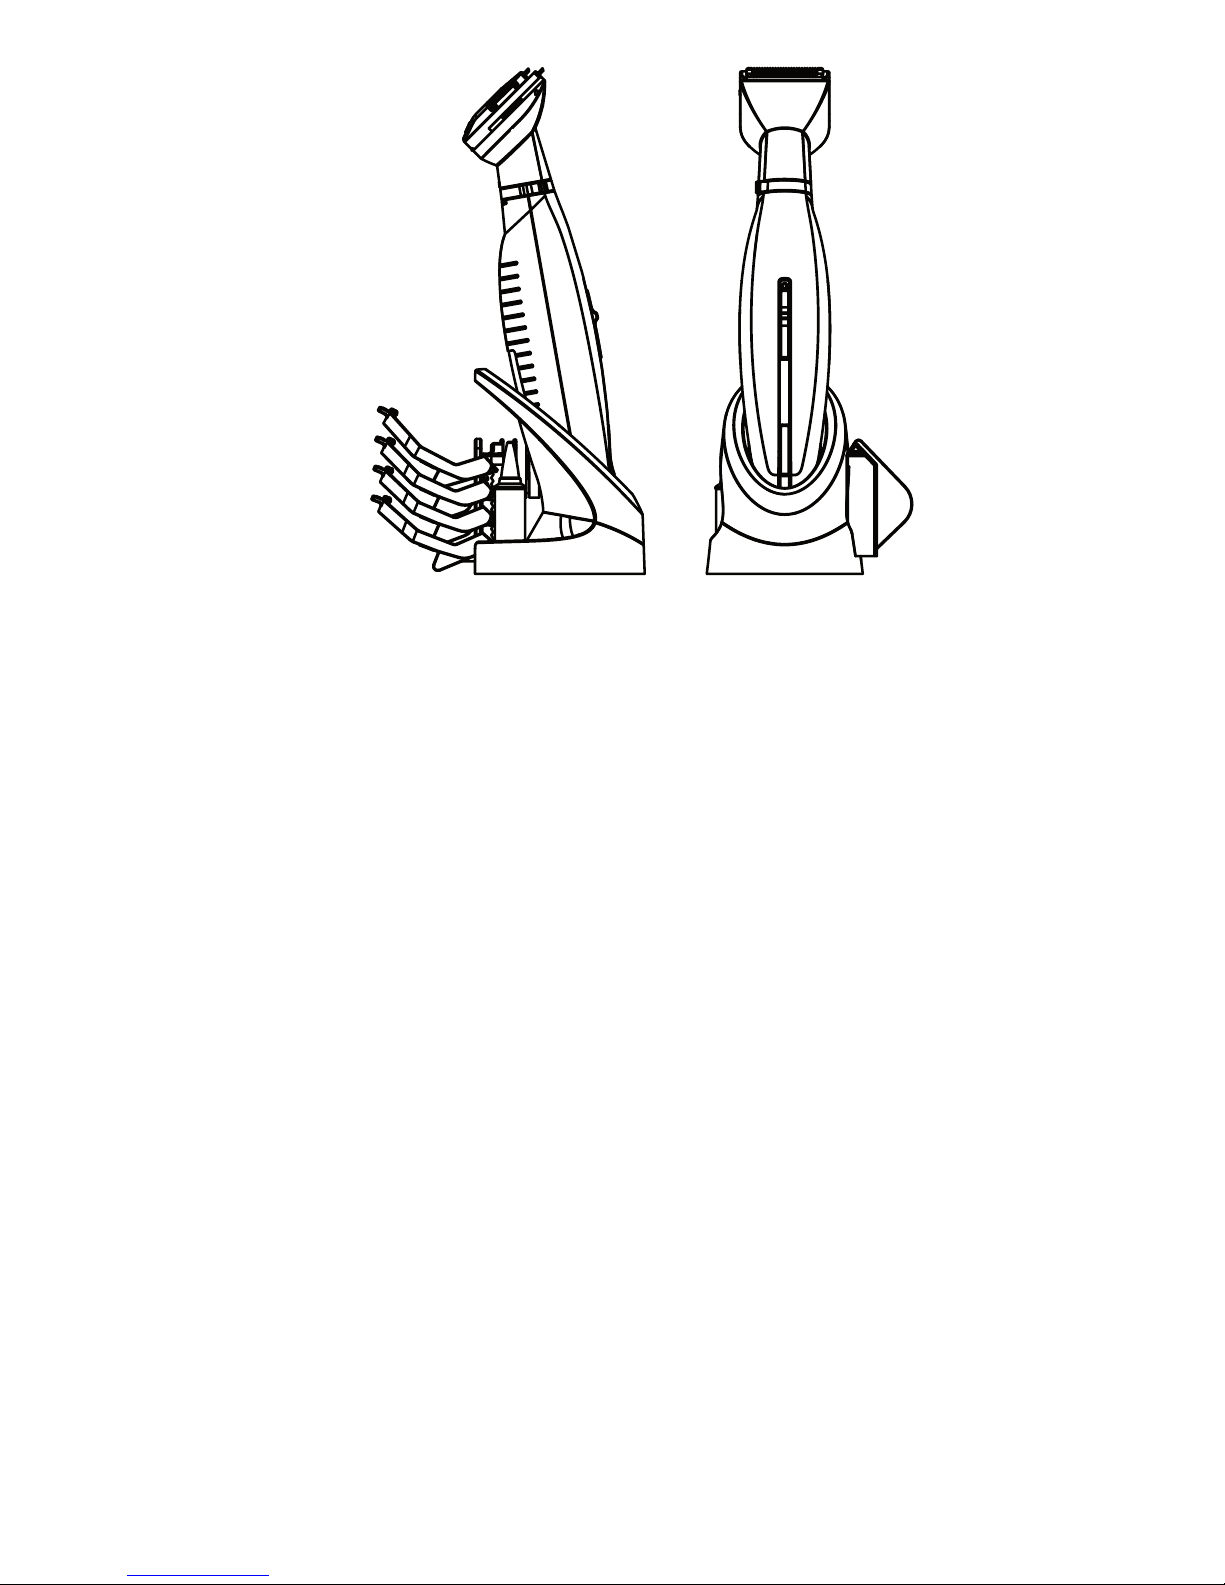
hair that has collected in the blades. Then store the trimmer in its
recharging storage stand to protect the blades until the next use.
Be especially careful when changing or adjusting blades. When you
have your trimmer serviced, be sure that both blades are sharpened or
replaced at the same time.
To promote the long life of the appliance, use your trimmer only for
the purpose intended by the manufacturer – to trim your beard and
mustache.
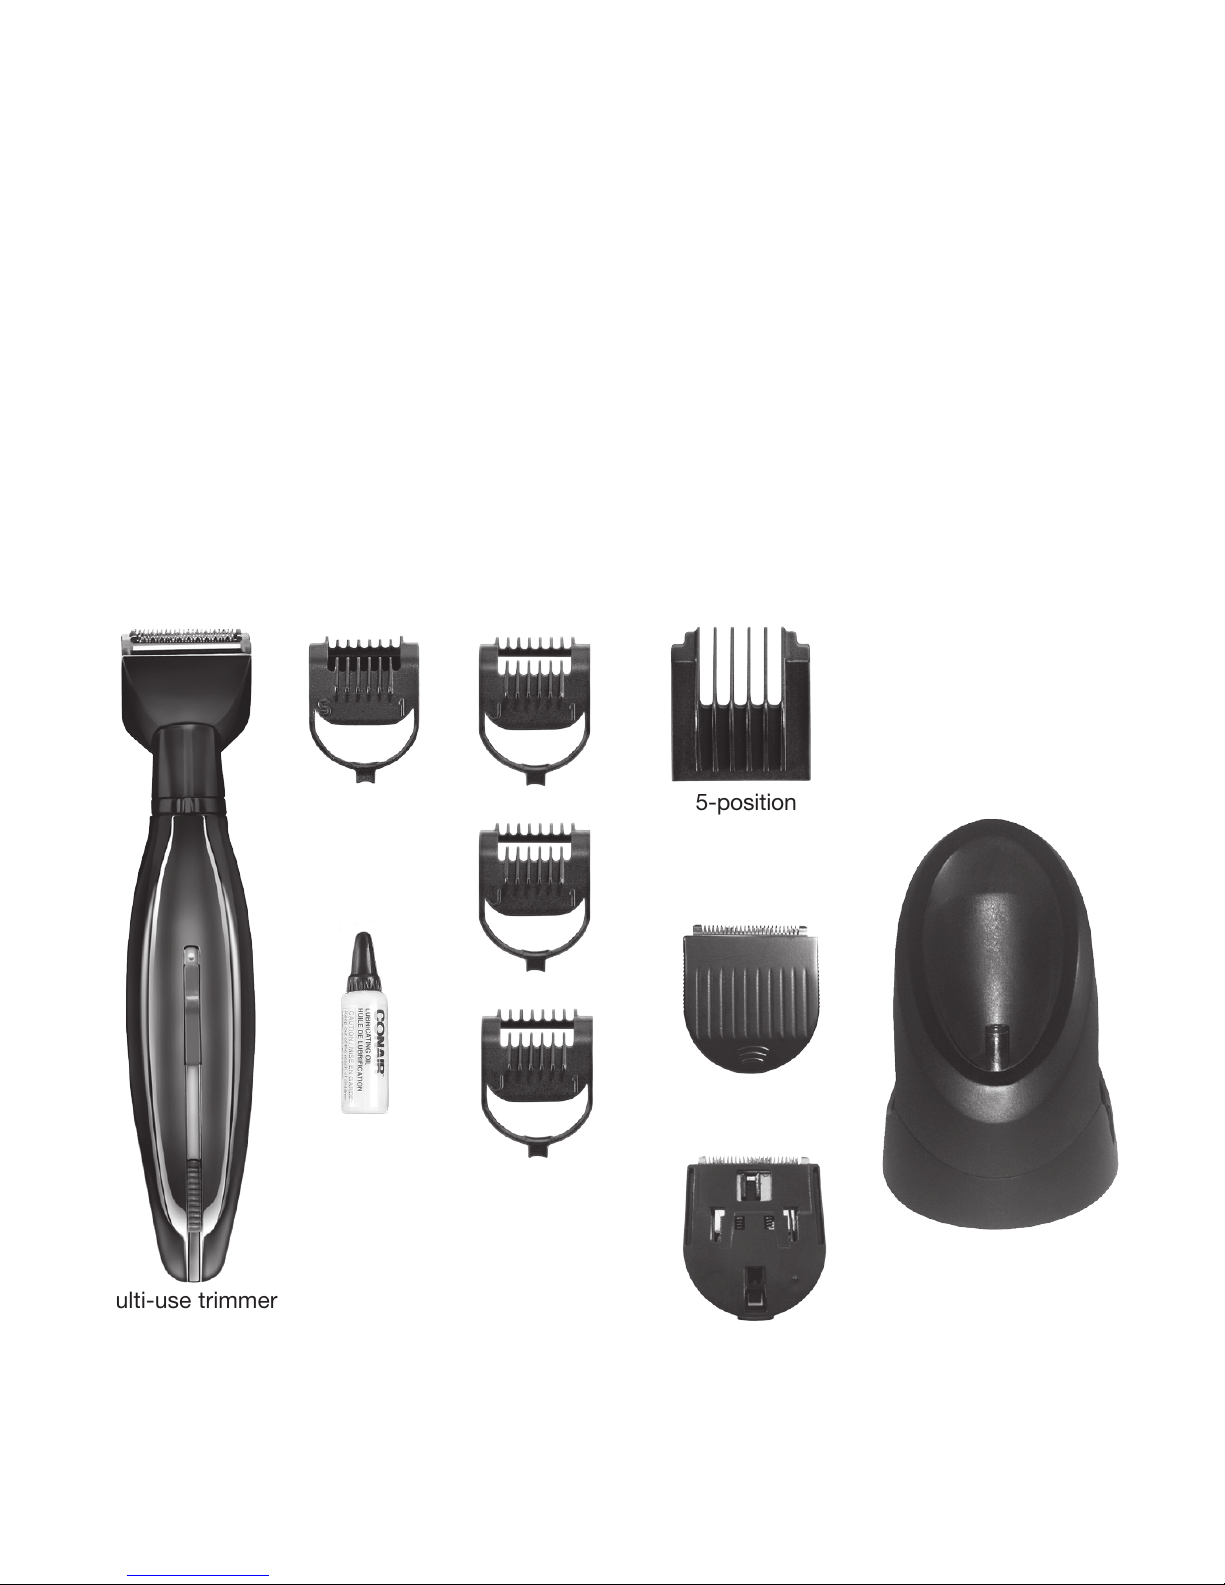
dUAL-bLAdE TEChNOLOGY
The new dual-blade technology features a detachable upper blade for
regular trimming and a lower blade that provides a close, even cut with
the first pass and can also be used as a detailing blade.
GROWING A bEARd ANd MUSTAChE
There are three key factors that will determine which beard or mustache
style is best for you:
1. The shape and dimensions of your face.
2. The natural growth of your beard/ mustache.

3. The thickness of your beard/mustache. If you are unsure about
the type of beard or mustache that would most suit your face,
speak with a professional hair stylist and ask for an opinion on
what style would be best. Once your beard or mustache has
been styled, it is essential that you maintain its appearance. To
do this, use your trimmer to trim your beard/mustache weekly.
For the best trimming results, your beard should be slightly
damp (NOT WET) when using your trimmer. This will prevent the
trimmer from removing more hair than desired.
TYPES OF bEARdS/MUSTAChES
GETTING STARTEd
The dual blade cutting system is designed to neatly, quickly and evenly
trim your beard, goatee, mustache, neckline and even close-cut stubble.
While both blades are used for trimming, the upper blade can easily be
removed, leaving the bottom blade for detailing fine lines and edging.
S1
J1
J2
J3
5-POSITION
COMB
Close stubble look
1mm trim
2mm trim
3mm trim
4mm, 6.5mm, 9mm,
11.5mm & 14mm trims
Comb guides: The table above explains the trim length for each comb.
You should start out with a longer trim length comb and work your way
down to the desired trim length.
`

S1, J1,
J2, J3
5-POSITION
COMB
ThE SINGLE dETAIL TRIMMING bLAdE
Turn the red knob at the base of the trimmer head (see Fig. 3) to extend the
upper blade forward (see Fig. 4). The single blade is now ready to be used
for fine line detailing and touch-ups.
Turn to extend and retract top blade.
Fig. 5
Turn the red knob back in the opposite direction to retract the single
blade and align both blades for standard use and 2x the cutting action
(see Fig.5).

hOW TO USE ThE SINGLE dETAILING TRIMMING bLAdE
UPPER bLAdE REMOvAL ANd ATTAChMENT
The trimmer’s upper blade can be removed to use the single detailing
blade as shown in Fig. 6 and Fig. 7.
The single detailing blade can now also be removed for easy maintenance.
Make sure the trimmer is in the OFF position and,with the power switch
facing you, press the blade on the teeth and in the direction away from
you until it pops out of the housing.
When re-attaching the single detailing blade, make sure the lever is
positioned in the slot of the blade cushion (see Fig. 8).
Fig. 8
To re-attach upper blade, (see Fig. 9 and Fig. 10), make sure the tab is
positioned in the slot of the blade cushion (see Fig. 11).
Step 1 Push the upper
blade forward
Step 2 Lift the blade off.
Fig. 11
Upper Trimming Blade
Single Detailing Blade

Fig. 9 Fig. 10
Step 3 Line up rear
tab with opening in
lower blade.
Step 4 Insert the rear tab,
slide forward until the 2
front tabs drop in and the
blade snaps in place.
OUTLINING YOUR bEARd
1. It is always best to begin with a clean, slightly damp
beard.
2. After you have combed through your beard in the
direction it grows naturally, you will want to outline the
desired shape, beginning under your jawline.
3. Begin defining your beard’s shape under your chin and work upward
on each side of your face toward your ears. Then define the upper
outline of your beard across your cheeks, past your sideburns, and
toward your hairline.
TO TRIM YOUR bEARd
1. The trimmer includes a five-position comb for use with
the hair trimming blade (4–14mm). Each position
increases the length by 2.5mm.
2. To use the 5-position comb, slide the unit over the
trimmer blade and snap it down into position. At first,
until you become familiar with the adjustments, use the
longest trim setting. (You can always go back and make
your beard a little shorter.)
3. Begin trimming your beard using smooth, even strokes. Start with
your sideburns and work downward toward your chin. (Never attempt
to trim against the natural growth of your beard because the hair will
be cut too short.)

4. If you decide you want a closer trim, you can
now adjust the 5-position comb attachment to a
shorter setting (such as 4 – 6.5mm) and go over
your beard again until you achieve the desired
length.
bLENdING ThE JAWLINE
1. The three jawline attachments will help you to achieve a neat, finished
trim under your chin. To use one of the attachments, press it down
over the trimmer blades until it clicks into position (jawline J1 provides
1mm, jawline J2 provides 2mm and jawline J3 provides 3mm).
2. Hold the trimmer in an upright position and begin trimming under
your jawline using short, even strokes.
3. After your beard is blended, turn off the trimmer and remove the
attachment by gently pulling up on tab.
IMPORTANT NOTE
Fig. 12
To use comb attachments, turn the red knob
counterclockwise to retract the single blade, then
attach the desired comb attachment (see Fig 12).

TO TRIM YOUR MUSTAChE
1. For best results, start with a clean, slightly damp
mustache.
2. Comb through your mustache in the direction it
grows.
3. Place the 5-position comb over the facial hair blade and snap it
into position. It is a good idea to start with the longest trim setting
adjustment. (You can always go back and cut your mustache more
closely with a shorter setting.)
ALWAYS TRIM YOUR MUSTAChE FROM ThE TOP dOWN
4. After your mustache has been trimmed to the desired
length, remove the 5-position comb and, using the
blades only, define the outline of the bottom of your
mustache.
5. Use the single detailing blade for fine detail trimming and edging.
hOW TO GET ThE STUbbLE LOOk
This trimmer includes 1 stubble comb that allows you to
achieve different looks of stubble or shadow to your
already existing growth. The stubble comb fits on the blade
just like the jawline comb. Note Blending the Jawline
section for specifics on how combs/jawline combs go on.
ON/OFF SWITCh
To operate, simply slide switch toward blade; to stop, push switch away
from blade.

CARE OF YOUR TRIMMER
REPLACEMENT (REMOvAL) OF bLAdE SET
Before storing your trimmer, use the cleaning brush to
whisk away any loose hair from the unit and the blades.
You should remove the blade set after a few uses to clean
between the blades. To remove entire blade set from your
trimmer, make sure the trimmer is in the OFF position.
Remove the blade set by placing thumb against the upper cutter and
pushing forward, releasing the cutter assembly from the trimmer
housing. Replace with new cutting system, turn the red knob to the
right side then reverse the removal procedure, only this time place
your thumb on the bottom cutter and snap into place.

bATTERY REMOvAL
1. Using a small Phillips head screwdriver, remove the screws at the back
of the trimmer.
2. Remove the bottom housing and push the battery out. Bring the
battery to the nearest collection center for proper disposal. dO NOT
throw the battery into the normal municipal waste system.


®
Vidal Sassoon and related logos are trademarks of
The Procter & Gamble Company used under license by Conair
©2014
Conair Australia Pty. Ltd.
Suite 101, 18 Rodborough Rd
Frenchs Forest NSW, 2086
Australia
Customer Service Hotline (Australia): 1800 650 263
Customer Service e-mail: aus_info@conair.com
Conair New Zealand Limited, PO BOX 251159, Pakuranga, Auckland
1706 New Zealand
Customer Service Hotline (New Zealand): 0800 266 247
LIMITEd TWO -YEAR WARRANTY
This product is subject to the express warranty given on the warranty
card included with the product, as may be amended by reference to
and in accordance with the terms of the warranty cards displayed on
VS For Men website www.vsformen.com.au
To make a warranty claim you must retain your proof of purchase.
Further details can be found at www.vsformen.com.au and click on
‘customer service’.
Table of contents
Other Vidal Sassoon Electric Shaver manuals