2. Controlling your Videon Device(s) Page 7
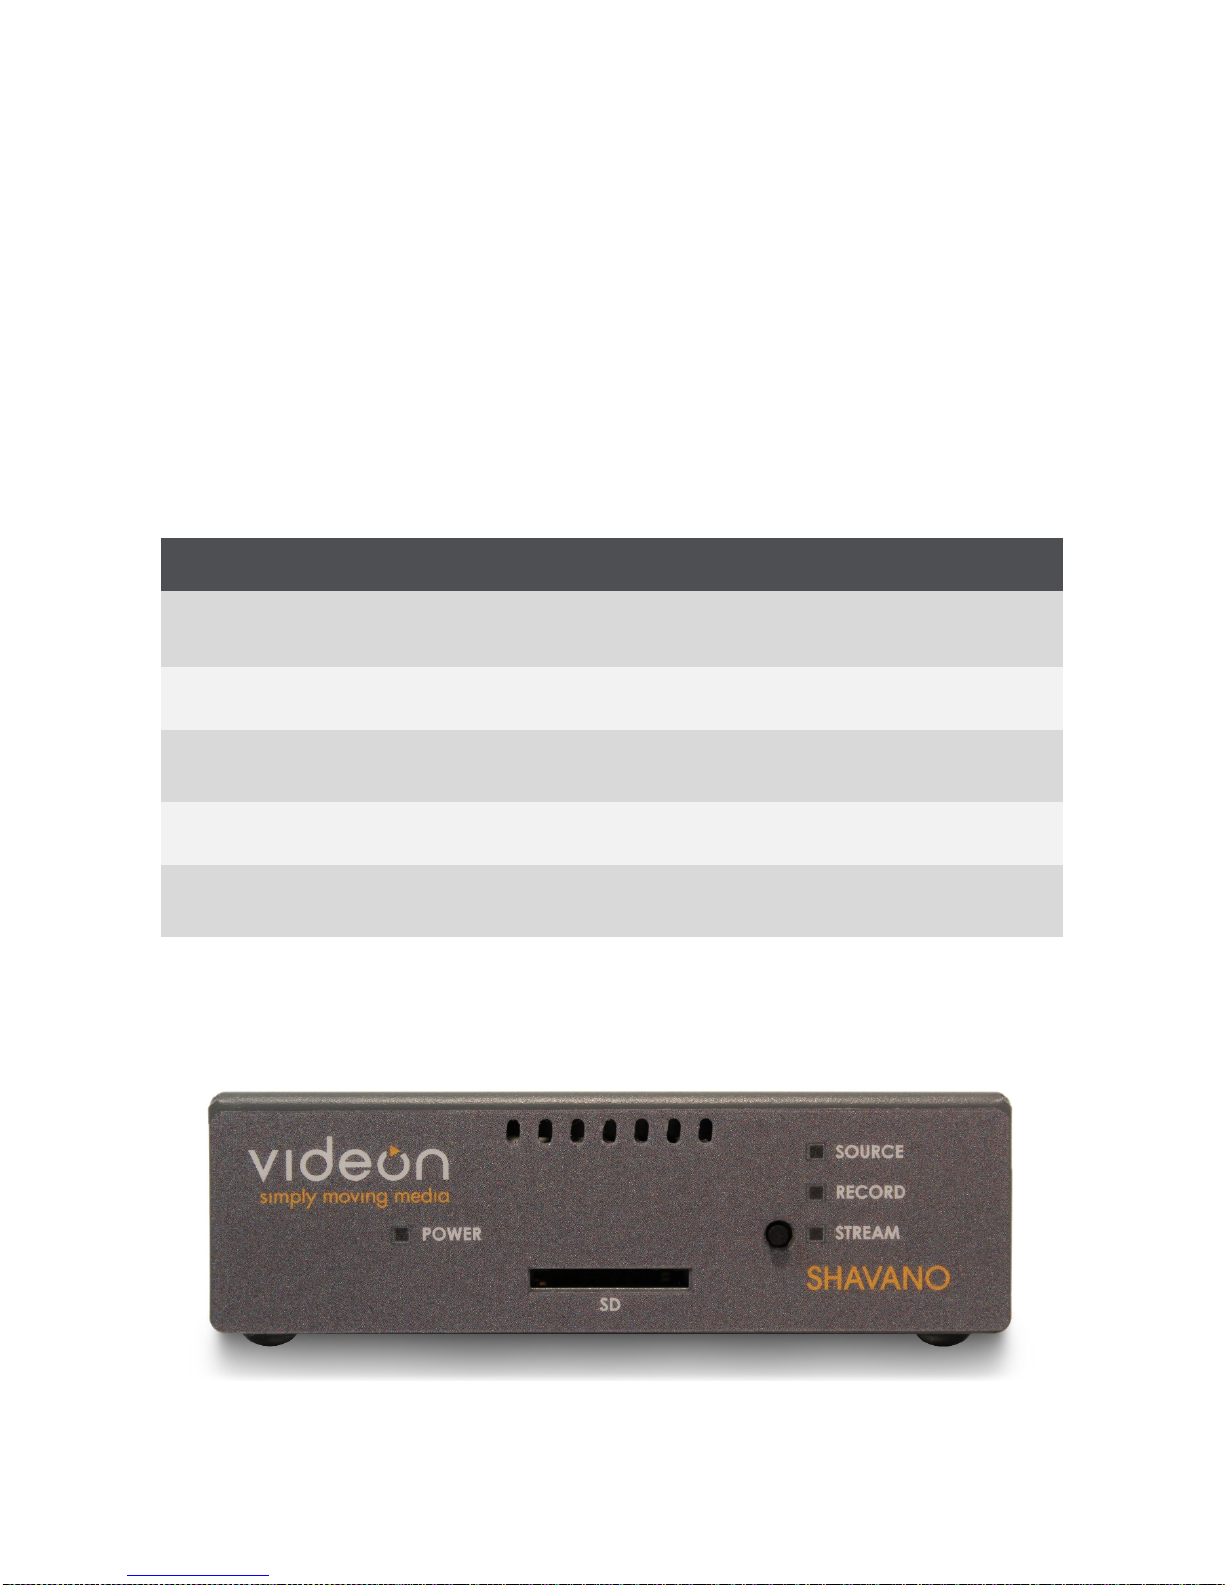
2. Controlling your Videon Device(s)
2.1 Overview
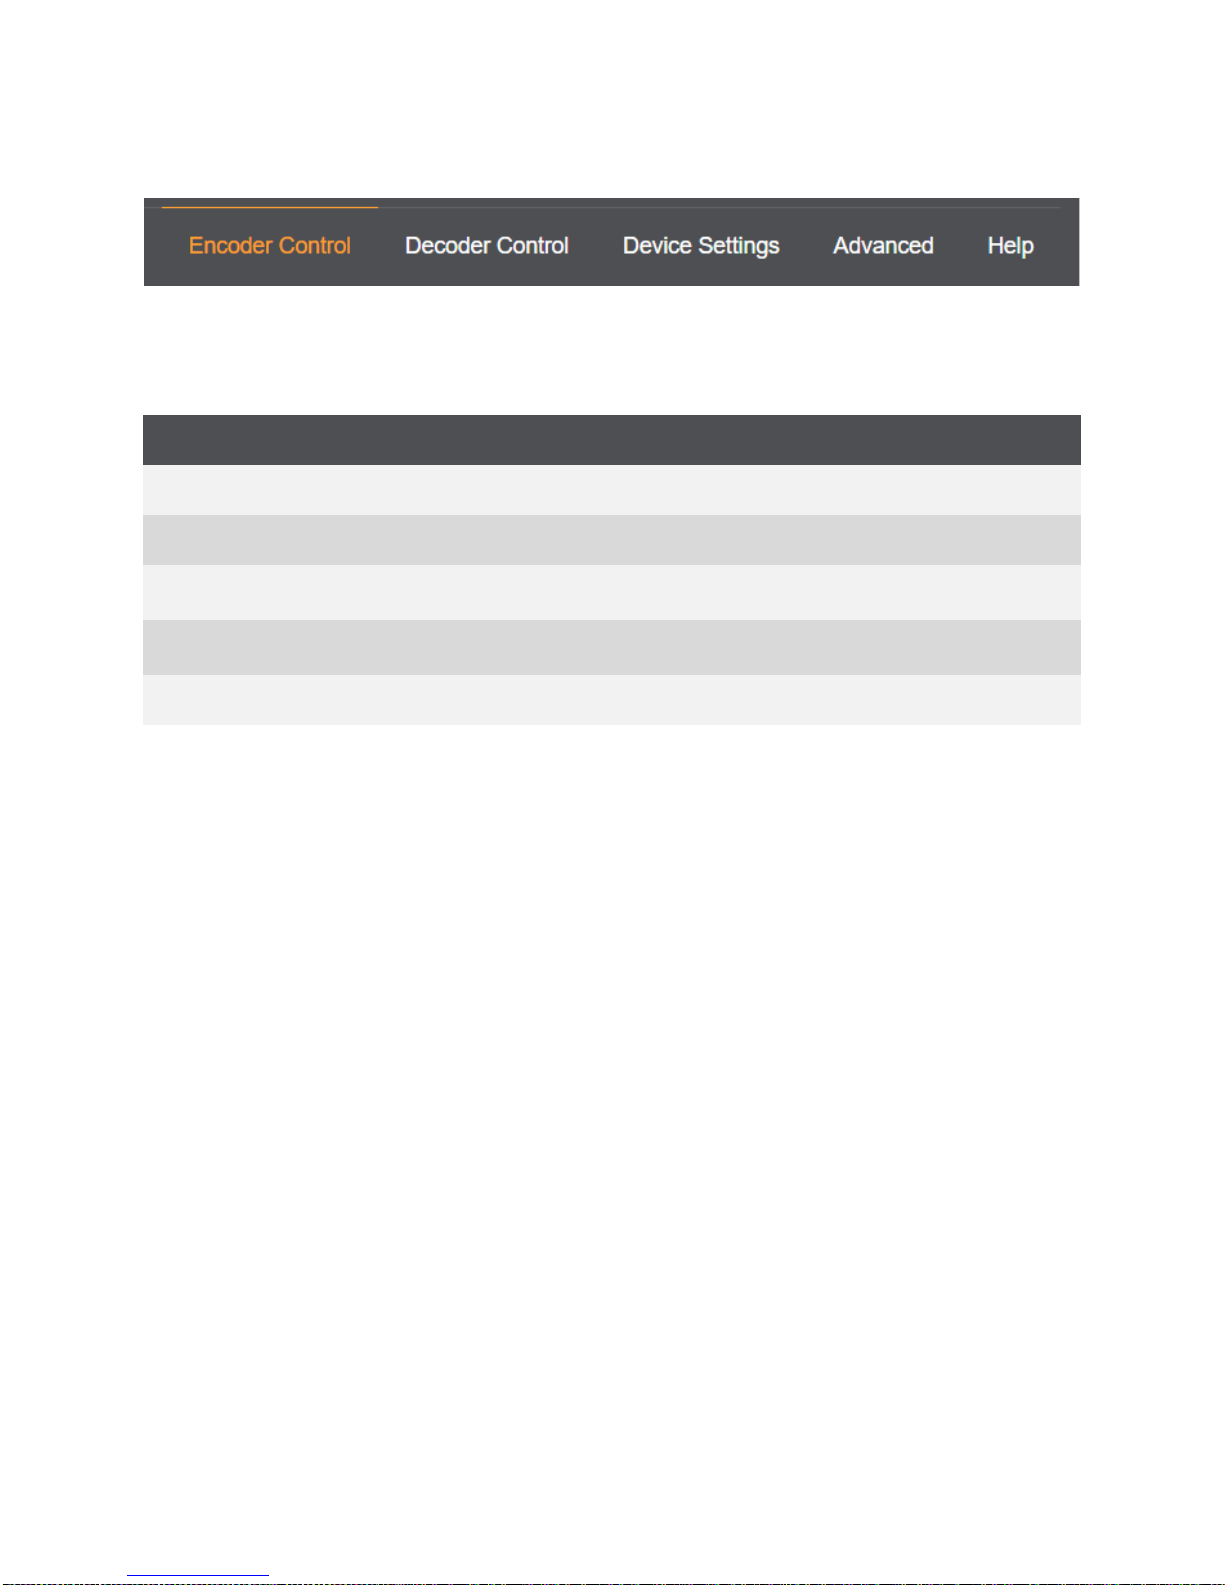
To control Videon devices, you will use a device’s IP address to log into the web user interface
through your browser. Once you are connected to a Videon device, you can control any other
device on that network through the same interface window. (You do not need to enter the IP
address of each unit individually.)
2.2 Initial Setup: IP Address Discovery
Videon Discovery Application (Recommended):
The first time you use your control computer to connect to a Videon device, you will need to run
the Videon Discovery Application to detect the IP addresses of devices on your network.
Download the Videon Discovery Application from the Videon Knowledge Base
at https://kb.videon-central.com/display/GKB/Product+Resources, or install the app from the
USB stick that came with your device.
Windows: Run the executable file called “Videon_Discovery_App_Windows.exe” and install.
Mac: Once the folder called “Mac” is extracted, run the executable file called “videon-discovery-
os-x.dmg” and install.
Linux: Once files are extracted, go to the folder named “VideonDiscovery” and double-click the
executable called “VideonDiscovery”. Optionally, follow the install instructions in “README-
linux”.
The app will automatically begin scanning the network for Videon devices and will display the IP
addresses of the devices as they are found. Click the Open button next to the IP address of
any device. This device will act as the controller to enter the web-based user interface.
Note: If you are using more than one Videon device on your network, we recommend
connecting each device independently the first time you operate it. Log onto the user interface
and rename that device before moving on to the next. This will help you identify the devices.
Alternate Method: If you are unable to find the Videon device using the Videon Discovery
Application, use the alternative method below that uses the USB Storage Device included in the
package contents.
IP Address Stored to an SD or USB Storage Device:
Once the device is booted up, obtain the network information of your device, such as the IP
address. Insert a USB storage device or an SD card. Wait at least 30 seconds, and then remove
the storage device. There should now be a file on the storage device named
“streaming_network_configurations.txt”.