Visionis VIS-ML1200LED-WH Operation manual

Disclaimer: VISIONIS reserve the right to go ahead with any modifications of models or features or price without forewarning. All the
information and specifications stated in this document are current at the time of publication. Attention: We are not responsible for the
improper installation of this kit. If you are not handy with electrical equipment you should contact a professional electrician. You will also
need to check with your local Fire authority to see if you need anything else to comply with local Fire Codes. We are not responsible for
any damage or fees that can occur.
www.visionistech.com
Installation User Guide
(Indoor Models)
IMPORTANT!
Set the jumper position according to the power input
correctly before switch ON the power
General Installation Steps & Maintenance
1. Drill the armature plate holes in the door using the sticker template provided.
2. Attach the armature plate to the door with the hardware provided as per the illustration.
3. With the door closed, mark the door frame at the edge of the armature in order to properly align
the electromagnet to the armature.
4. Attach the mounting plate to the door frame using the self-tapping screws provided. Align the
mounting plate with the mark from the previous instruction.
5. Insert the wires through the hole in the mounting plate and into the electromagnet unit. Attach the
electromagnet unit to the mounting plate with the Allen head fixing screw.
6. Screw in the anti-tamper nuts to prevent unauthorized access and to prevent the fixing screw from
loosening over time.
7. Connect the power wires according to the instruction and test the system.
8. It is recommended that to apply a light coat of silicon lubricant to the mating surface on a monthly
basis to prevent rust.
Trouble Shooting
1. Sensor not functioning
- Improper attachment of electromagnet and armature plate
- Modification of the PCB
2. Door not locked
- Incorrect wiring or no power from power supply
3. Reduced holding force
- Poor contact of electromagnet and armature.
- Be sure armature is loose enough that it can fully contact electromagnet along the entire length.
- Mating surface is dusty or damaged.
- Improper input voltage or wire size.
Scan the QR code to watch
the installation video
https://youtu.be/xSwbvApnXjw
12/24 VDC
Power
Self-tapping Screw x10
Mounting Plate
Cable Wire
Armature Plate
Sexnut Bolt
Rubber
Washer
Metal
Washer
Armature
Screw
Fixing Screw
x2
PCB Cover
Cover
Screw
Allen Wrench
Anti Tamper
Nut x2 Self Lock Pin
M3x12 - 2pcs
Mag. Ctc.
Magnet
Out Swing
EM Lock
Door
Frame
General Installation
Door Frame
Out-Swing
Glass
Door
EM Lock
Door
U1 Bracket For
Glass Door
DSU Bracket For
Glass Frame & Glass Door
Door
Out-Swing EM Lock
Door
Frame
ZL Bracket For
In-Swing Door
LS Bracket For
Out-Swing Door
Door
Frame
Door
EM Lock
In-Swing
ZL Bracket For
In-Swing Door With Cover
M4 Set
Screw
Ø8 AL Bush
Door
Frame
Door
EM Lock
P/H MC Screw
M4 x 8
Self-tapping Screw
In-Swing
CSK M8 x16
EM Lock
In-Swing
Glass
Door
Glass
Frame
12 / 24 VDC
Power Output
12 VDC
Setting
24 VDC
Setting
12 / 24 VDC
Power Input
N.C
C
+
-
N.O Hall Effect Sensor
Output
(Only for LED Models)
Hall Effect
Sensor Input
(Only for LED
Models)
LED Status:
> Green = Locked
> Red = Released
> Off = No Input
(Only for LED Models)
Red Wire (+)Ve
Black Wire ( )Ve
Gray Jacketed
Insulation
White Wire (Mag. Ctc.)
White Wire (Mag. Ctc.)
Door Contact Sensor
(Only for
Mag. Ctc. Models)
Technology Within Your Reach
VIS-ML1200LED-WH
1200lbs Indoor
Electromagnetic Lock
White Color
ref.

Disclaimer: VISIONIS reserve the right to go ahead with any modifications of models or features or price without forewarning. All the
information and specifications stated in this document are current at the time of publication. Attention: We are not responsible for the
improper installation of this kit. If you are not handy with electrical equipment you should contact a professional electrician. You will also
need to check with your local Fire authority to see if you need anything else to comply with local Fire Codes. We are not responsible for
any damage or fees that can occur.
www.visionistech.com
Out Swing Door
1
Installation
Template
Fold the EML-600 Template
along the dotted line upto 90°.
Door
Door Frame
Template
Out Swing
2
Close the door, position the EM lock
mounting location as close to the
door upper corner with gap 10mm.
3
Door Frame
Place the template against the
door & frame and drill holes
according to template indications.
Door
4
Drill 2 holes on Frame and 3
holes on door as indicated on
the template.
5
Install the Armature Plate to the door.
Note: Actual installation may varies
according to door figures.
Door Frame
Door
Door
Armature Plate
Sexnut Bolt
Rubber
Washer
Metal
Washer
Armature
Screw Wooden Door
Mount the FB600 on the door
frame by screw in the self tapping
screw on the holes as indicated
on template.
7
Once position is correct, screw in
others screws to permanently
mount the plate; and drill the wire
cable access hole.
8
Use the Allen key wrench to
unscrew the anti tamper nut and
screw in fixing screws through
bottom of E.M.lock into the FB-600
9
Cable Wire
Fixing Screw
x2
Allen Wrench
Anti Tamper
Nut x2
PCB Cover
Cover
Screw
Holding Force
Door
Frame
Door EM Lock
10
Connect to power supply and test
the unit.
Door
Rubber Washer
This allow the armature plate to
pivot around the armature screw
to compensate the door
misalignment.
6
ZL Bracket for Swing-In Door Installation Guide
In Swing Door
In-Swing
1
Door
Frame
Door
EM Lock
L
The door frame min. height value
"L" is needed to accommodate the
bracket Model:
- 300ZL(L) = 39mm
- 600ZL(L) = 46mm
- 1200ZL(L) = 73mm
2
Position the L-Bracket mounting
location as close to the door upper
corner with gap min.10mm; make
sure the door is closable.
3
L-Bracket
Fixing Screw
x2
Allen Wrench
12/24 VDC
Power
Mounting
Bracket
Cable Wire
Tighten the EM Lock on the
L-Bracket by using Allen Wrench.
4
Assemble the Z-bracket and make
sure the Z bracket can be adjust
freely, before permanent tighten.
P/H MC Screw
M4 x 8
5
Install the armature plate on the
Z-Bracket; using the CSK screw
given in screw pack.
Rubber
Washer
Flat Washer
Armature
Screw
6
Close the door, and position the
Z-Bracket by bringing the armature
plate close to the EM Lock surface.
Technology Within Your Reach
VIS-ML1200LED-WH
1200lbs Indoor
Electromagnetic Lock
White Color
ref.

Disclaimer: VISIONIS reserve the right to go ahead with any modifications of models or features or price without forewarning. All the
information and specifications stated in this document are current at the time of publication. Attention: We are not responsible for the
improper installation of this kit. If you are not handy with electrical equipment you should contact a professional electrician. You will also
need to check with your local Fire authority to see if you need anything else to comply with local Fire Codes. We are not responsible for
any damage or fees that can occur.
www.visionistech.com
7
Turn On the power of EM Lock, let
the armature plate attach to EM
Lock; adjust the position between
the Z-Bracket and the door.
Power
Supply
Door
8
Once the position is correct, screw
in the self tapping screw on the
Z-Bracket to the door. This should
be the last step.
Power
Supply
Door
Distance in feet from power supply to the furthest lock unit
Minimum
Wire Gauge
for 12VDC
Amps 25f 50f 75f 100f 150f 200f 250f 300f 400f 500f
0.25 18
0.50
0.75
1.00
1.50
2.00
18 18 18 18 16 16 14 14 12
18 18 18 16 16 14 12
18 18 16 14 12 12
18 16 14 14 12
18 14 12 12
16 14 12
1000f
Minimum
Wire Gauge
for 24VDC
Amps 25f 50f 75f 100f 150f 200f 250f 300f 400f 500f
0.25 18
0.50
0.75
1.00
1.50
2.00
18 18 18 18 18 18 18 16 16
18 18 18 18 18 16 16
18 18 18 18 16 14
18 18 16 16 14
18 18 16 14
16 16 14
1000f
16
14 14 12
14 12 12
14 12 12
14 12
14 12
Technology Within Your Reach
VIS-ML1200LED-WH
1200lbs Indoor
Electromagnetic Lock
White Color
ref.
Other Visionis Lock manuals
Visionis
Visionis VS-SS800-DL Operation manual
Visionis
Visionis VS-SS1500-DL Operation manual
Visionis
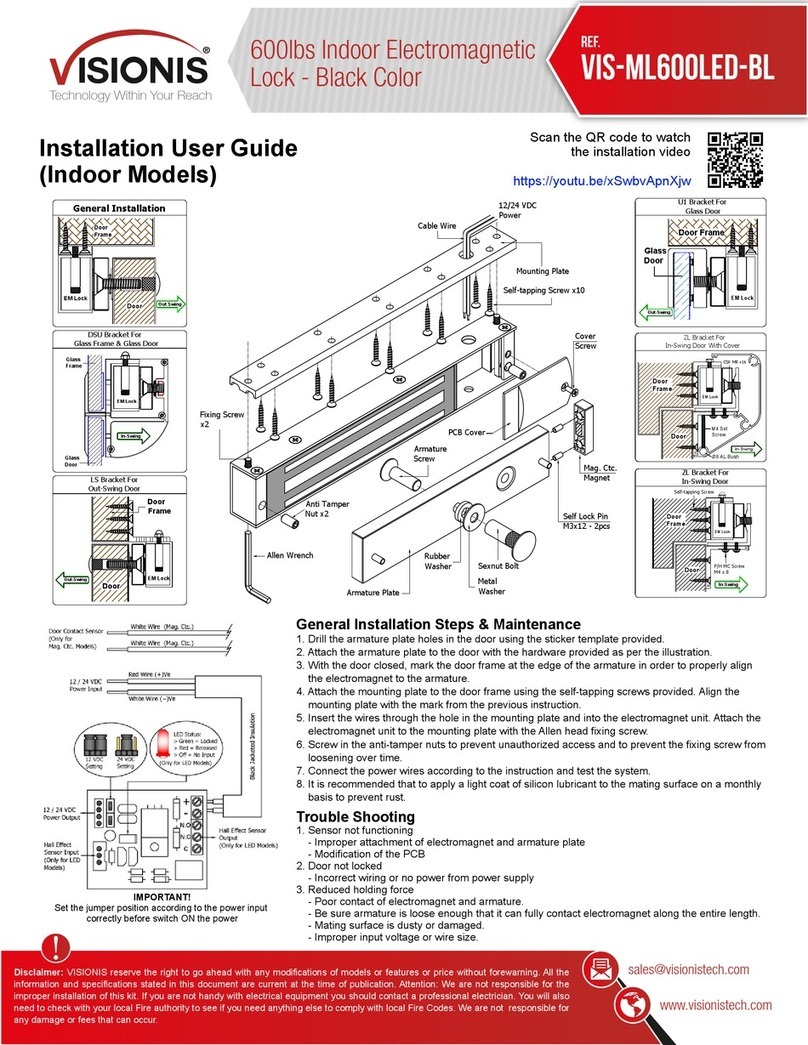
Visionis VIS-ML600LED-BL Operation manual
Visionis
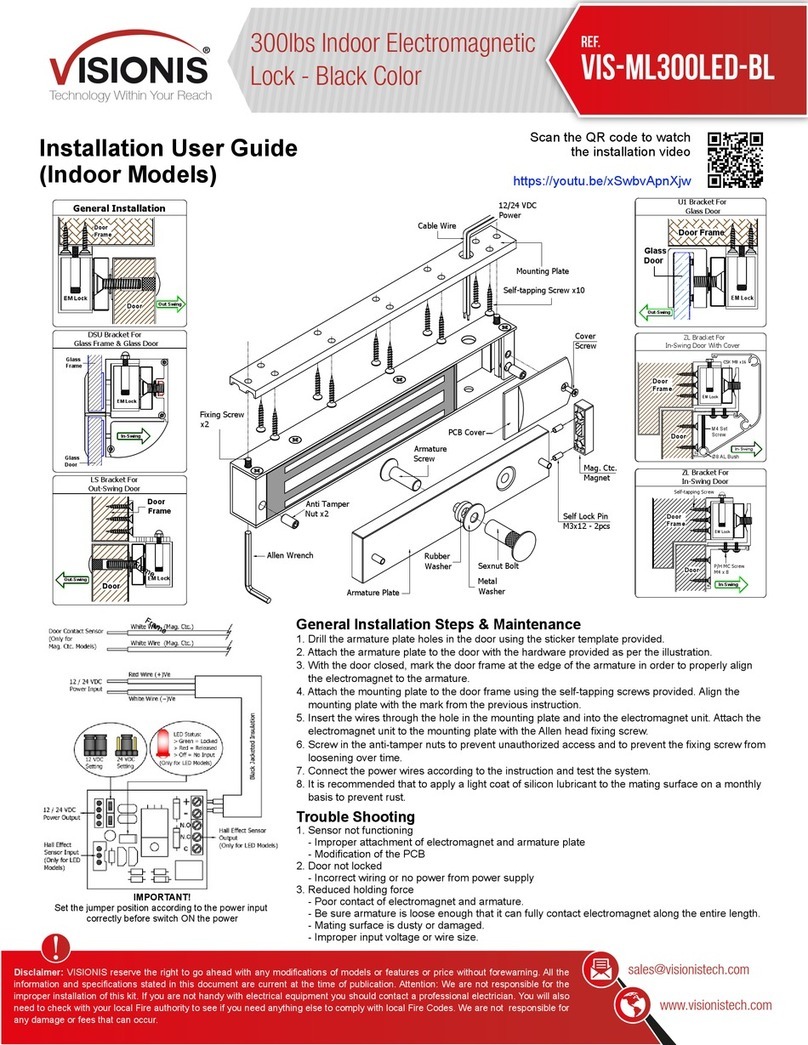
Visionis VIS-ML300LED-BL Operation manual

Visionis
Visionis VS-SS600-G User manual

Visionis
Visionis VIS-ML300LED-WH Operation manual
Visionis
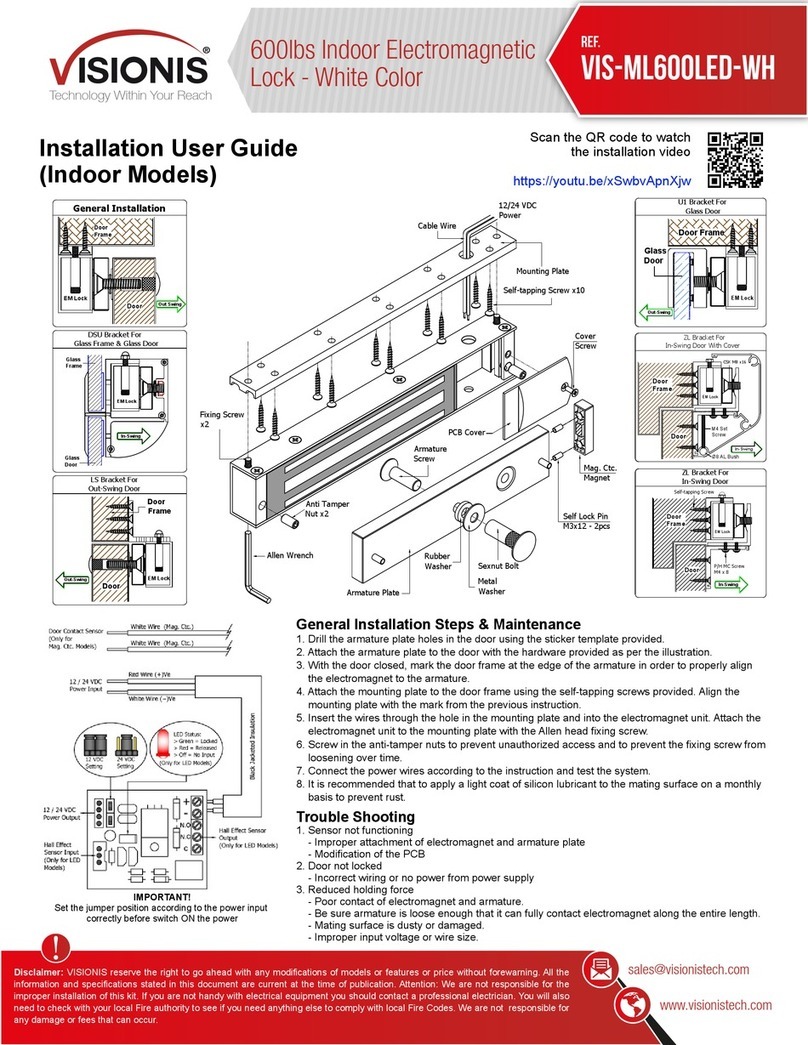
Visionis VIS-ML600LED-WH Operation manual
Visionis
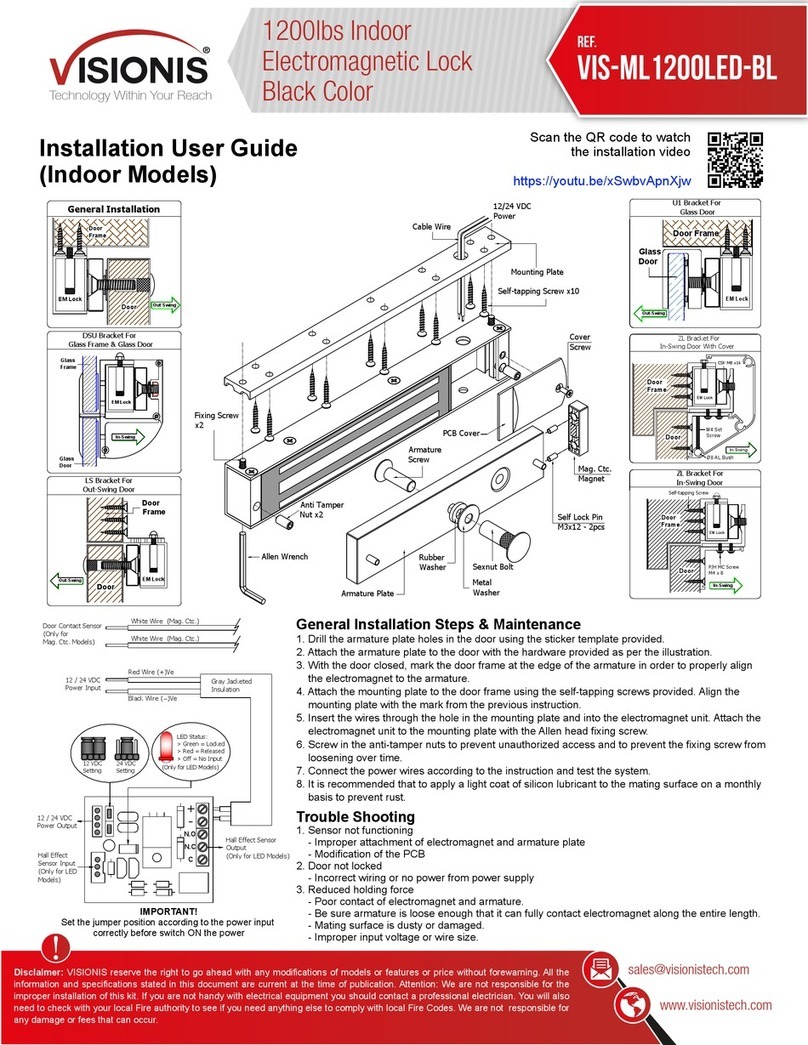
Visionis VIS-ML1200LED-BL Operation manual
