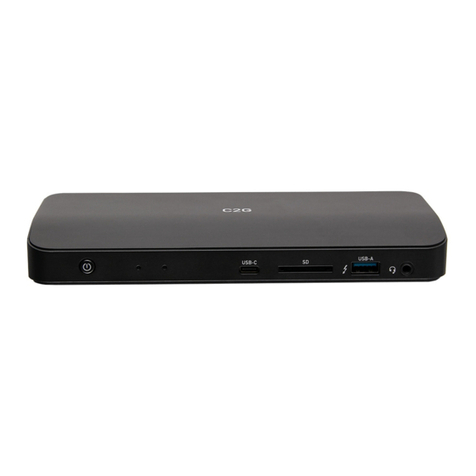
VisionTek VT400 User manual

USER MANUAL
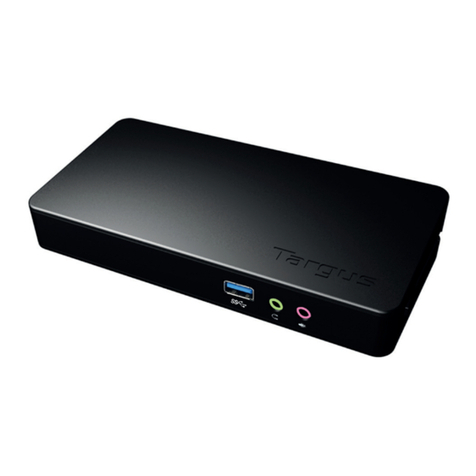
VT400 USB-C Portable Dock
• Compatible with USB Type-C Laptops and Desktop Computers that support
• DisplayPort over USB-C
• Supports resolutions up to 4K (3840 x 2160 @ 60Hz) when using a single HDMI or
• DisplayPort
• Supports Extended and Mirror Display Mode
• SuperSpeed USB 3.0, speeds up to 5Gbps and backward compatible with 2.0/1.1
• Gigabit wired network connection
• Supports laptop charging of up to 100W via USB Type-C power adapter (not • • •
• included)
INTRODUCTION
Your new USB-C Portable Station can connect to any host with Type-C connectors
that support DisplayPort over USB-C providing a future-proof docking solution.
Connect up to two additional monitors as well as 2 USB Type-A and 1 USB Type-C
accessories through a single USB-C cable.
The Dual 4K Docking Station Software allows full conguration of all additional
USB displays, including:
• Expand USB 3.0 connectivity
• Supports Single DisplayPort 4K @ 60Hz
• Supports Single HDMI 4K @ 60Hz
• Supports Dual Displays 4K @ 30Hz
• Supports extended and mirrored modes via MST
(only mirrored when 2 displays connected on macOS)
• Extend left, right, above, or below
• Rotation
• Layout of displays
INTRODUCTION
SYSTEM REQUIREMENTSFEATURES
CONNECT THE DOCK CONNECT THE DOCK (continued)
SETTING UP THE DOCK WARRANTY
CONTENTS
• VT400 USB-C Portable Dock
• USB-C to USB-C Cable
• Quick Start Guide
Windows
System with USB-C port that supports DisplayPort over USB-C (DP Alt Mode)
Windows 10
Windows 8.1 Update 2015
Windows 8
Windows 7
macOS
System with USB-C port that supports DisplayPort over USB-C (DP Alt Mode)
Big Sur 11
Catalina 10.15
Mojave 10.14
High Sierra 10.13
Sierra 10.12
El Capitan 10.11
Step 1
Connect the USB-C to USB-C cable to the Docking Station. Plug the USB cable into
your Laptop/Desktop Computer
(Optional) Connect a USB-C Power Adapter to the USB-C Power Delivery port on
the Docking Station. Support for up to 100W of Power Delivery. Connect a USB-C
storage device to the USB-C Data port.
USB-C
ToComputer USB-C
Data
USB-C
Power Delivery
(Up To 100W)
Step 2
Connect your displays to the Docking Station.
HDMI Cable
(Not Included)
Connect to HDMI Monitor
HDMI
DisplayPort Cable
(Not Included)
Connect to DisplayPort Monitor
DisplayPort
(Optional) Connect an ethernet cable for wired networking. Connect additional
USB devices such as a Keyboard or Mouse.
Windows PC Dock Setup
Plug in your VT400 docking station and allow Microsoft Windows to initialize the
docking station.
To congure your displays, right click on the Desktop and select Display Settings.
Set your layout and display resolutions and apply any changes.
macOS Dock Setup
Plug in the VT400 docking station and allow macOS to initialize the docking
station.
To change preferences and congure displays, choose the Apple menu > System
Preferences, click Displays, then click Display.
VisionTek Products LLC, (“VisionTek”) is pleased to warrant to the original purchaser (“Warrantee”) of the Device
(“Product”), that the product will be free from manufacturing defects in material for Two (2) Years when given
normal and proper usage. The product must be registered within 30 days from the original date of purchase to
receive this 2 year warranty. All products not registered within 30 days will ONLY receive a 1 year limited warranty.
VisionTek’s liability under this warranty, or in connection with any other claim relating to the Product, is limited
to the repair or replacement, at VisionTek’s option, of the product or portion of the product which is defective
in manufacturing material. Warrantee assumes all risk of loss in transit. The returned products shall be the sole
property of VisionTek. VisionTek warrants the repaired or replaced Products will be free from manufacturing defects
in material for the remainder of the warranty period.
VisionTek reserves the right to inspect and verify the defectiveness of any products or portion of product returned.
This warranty does not apply to any software component.
© 2021 VisionTek Products, LLC. All rights reserved. VisionTek is a registered trademark of VisionTek Products, LLC.
Windows is a registered trademark of Microsoft Corporation in the United States and other countries. macOS is a
trademark of Apple Inc., registered in the U.S. and other countries and regions.
FULL WARRANTY DISCLOSURE AVAILABLE AT WWW.VISIONTEK.COM
Product must be registered within 30 days of purchase for warranty to be valid.
IF YOU HAVE QUESTIONS OR NEED ASSISTANCE WITH THIS PRODUCT,
CALL SUPPORT AT 1 (866) 883-5411.
1
2 3
4 5
6

Guide de démarrage rapide
VT400 Station d’accueil portable USB-C
• Compatible avec les ordinateurs portables et de bureau prenant en charge le
DisplayPort sur USB-C
• Accepte des résolutions jusqu’à 4K (3840 x 2160 @ 60Hz) en conguration à un
écran connecté en HDMI ou DisplayPort
• Accepte les modes d’achage en extension et miroir
• GPU USB 3.0 intégré, Plug and Display
• USB 3.0 ultrarapide, vitesse de transfert jusqu’à 5 Gbit/s et rétrocompatibilité
avec les ports USB 2.0/1.1
• Port Gigabit Ethernet pour câble réseau
• Chargement des ordinateurs portables jusqu’à 100 W à travers l’adaptateur
secteur USB Type-C (non fourni)
INTRODUCTION
Votre nouvelle station d’accueil portable USB-C est un produit évolutif pouvant
être branché à n’importe quel équipement muni de ports USB-C prenant en
charge le DisplayPort. Reliez jusqu’à deux moniteurs supplémentaires, ainsi que 2
accessoires USB type A et 1 accessoire USB type C à travers un seul câble USB-C.
Le logiciel Dual 4K Docking Station permet la conguration complète de tous les
moniteurs USB supplémentaires, notamment :
• Extension de la connectivité USB 3.0
• Prise en charge d’un écran 4K @ 60Hz sur le port DisplayPort
• Prise en charge d’un écran 4K @ 60Hz sur le port HDMI
• Prise en charge de deux écrans 4K @ 30Hz
• Prise en charge des modes d’achage en extension et miroir via MST
(mode miroir seulement lorsque 2 écrans sont connectés sur macOS)
• Extension d’écran à gauche, à droite, en haut ou en bas
• Rotation
• Disposition des moniteurs
INTRODUCTION
SPÉCIFICATIONS DU SYSTÈMECARACTÉRISTIQUES
BRANCHER LA STATION D’ACCUEIL BRANCHER LA STATION D’ACCUEIL (suite)
SETTING UP THE DOCK GARANTIE
CONTENU
• Station d’accueil portable USB-C VT400
• Câble USB-C vers USB-C
• Guide de démarrage rapide
Windows
Système avec port USB-C prenant en charge le DisplayPort sur USB-C (DP Alt
Mode)
Windows 10, 8.1 Update 2015, 8, 7
macOS
Système avec port USB-C prenant en charge le DisplayPort sur USB-C (DP Alt
Mode)
Big Sur 11
Catalina 10.15
Mojave 10.14
High Sierra 10.13
Sierra 10.12
El Capitan 10.11
Étape 1
Branchez le câble USB-C/USB-C à la station d’accueil. Branchez le câble USB à votre
ordinateur portable ou de bureau
(facultatif) Branchez un adaptateur secteur USB-C au port d’alimentation USB-C
sur la station d’accueil. Transmission de puissance électrique jusqu’à 100 W. Bran-
chez un périphérique de stockage USB-C au port USB-C de données.
USB-C
ToComputer USB-C
Data
USB-C
Power Delivery
(Up To 100W)
Étape 2
Connect your displays to the Docking Station.
HDMI Cable
(Not Included)
Connect to HDMI Monitor
HDMI
DisplayPort Cable
(Not Included)
Connect to DisplayPort Monitor
DisplayPort
(facultatif) Branchez un câble Ethernet pour relier la station au réseau laire.
Branchez les périphériques USB supplémentaires, comme le clavier ou la souris.
Conguration depuis un PC sous Windows
Branchez votre station d’accueil VT400 et laissez Microsoft Windows réaliser
l’initialisation.
Pour congurer vos moniteurs, faites un clic droit sur le bureau, puis choisissez
« Paramètres d’achage ».
Dénissez la disposition de vos moniteurs et la résolution d’achage et appliquez
les modications éventuelles.
macOS Dock Setup
Branchez votre station d’accueil VT400 et laissez MacOS réaliser l’initialisation.
Pour modier les préférences et congurer les moniteurs, choisissez le menu
Pomme > Préférences système, cliquez sur Moniteurs, puis sur Moniteur.
VisionTek Products LLC, («VisionTek ») est heureuse de garantir à l’acheteur original («Garantie») de l’équipement
(« Produit») que le produit ne présentera aucun défaut matériel pendant une durée de deux (2) ans dans le cadre
d’une utilisation normale et adéquate. Pour bénécier de cette garantie de 2 ans, le produit doit être enregistré
dans les 30 jours suivant la date d’achat d’origine. Dans le cas contraire, le produit recevra SEULEMENT 1 année de
garantie limitée.
La responsabilité de VisionTek en vertu de cette garantie ou en lien avec toute autre réclamation relative au produit
est limitée à la réparation ou au remplacement, au choix de VisionTek, du produit ou de la partie du produit
présentant un défaut de fabrication. La garantie assume tous les risques de perte pendant le transport. Les produits
retournés deviendront la propriété exclusive de VisionTek. VisionTek garantit que les produits réparés ou remplacés
ne présenteront pas de défaut de fabrication pour le reste de la période de garantie.
VisionTek se réserve le droit d’inspecter et de vérier que les produits retournés ou parties de ceux-ci sont
eectivement défectueux. Cette garantie ne s’applique pas aux composants logiciels.
© 2021 VisionTek Products, LLC. Tous droits réservés. VisionTek est une marque déposée de VisionTek Products, LLC.
Windows est une marque déposée de Microsoft Corporation aux États-Unis et dans d’autres pays. macOS est une
marque commerciale d’Apple Inc., déposée aux États-Unis et dans d’autres pays et régions.
GARANTIE COMPLÈTE DISPONIBLE SUR WWW.VISIONTEK.COM
La garantie n’est valide que si le produit est enregistré dans les 30 jours de l’achat.
EN CAS DE QUESTIONS OU POUR OBTENIR DE L’AIDE AVEC CE PRODUIT,
APPELEZ LE SUPPORT AU 1 (866) 883-5411.
1
2 3
4 5
6
Table of contents
Languages:
Other VisionTek Docking Station manuals
VisionTek
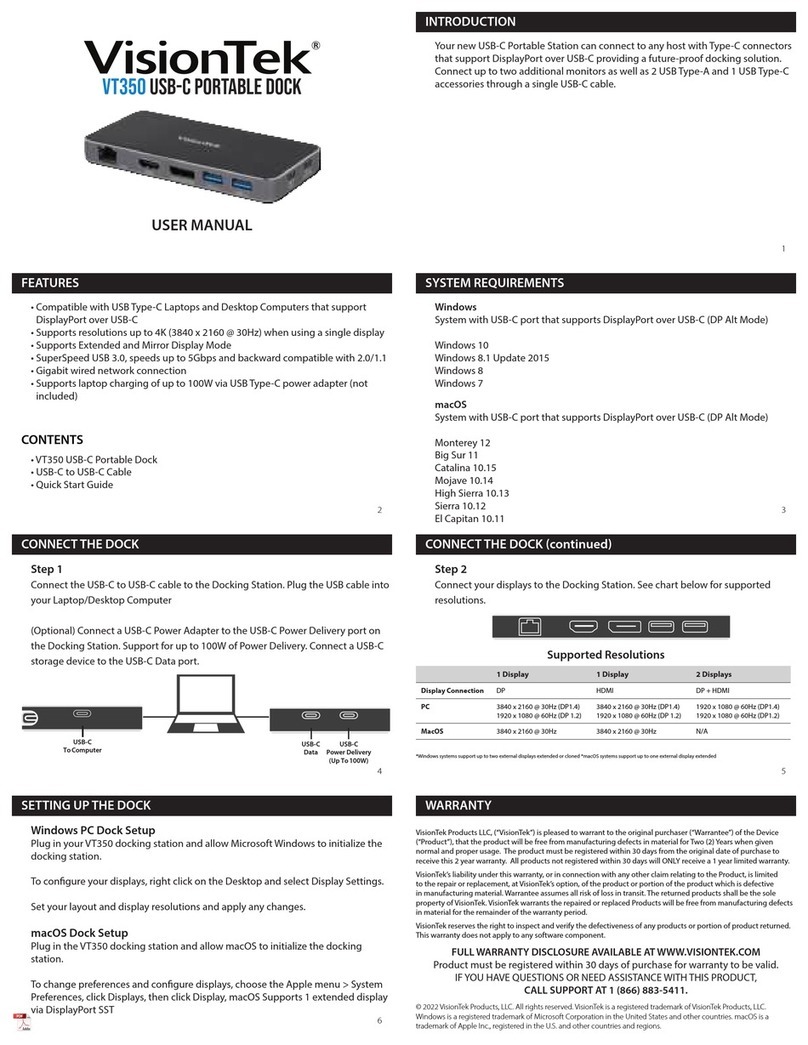
VisionTek VT350 User manual
VisionTek
VisionTek VT2600 User manual

VisionTek
VisionTek VT4900 User manual
VisionTek
VisionTek VT8000 User manual
VisionTek
VisionTek VT2900 User manual
VisionTek
VisionTek THUNDERBOLT VT5400 User manual
VisionTek
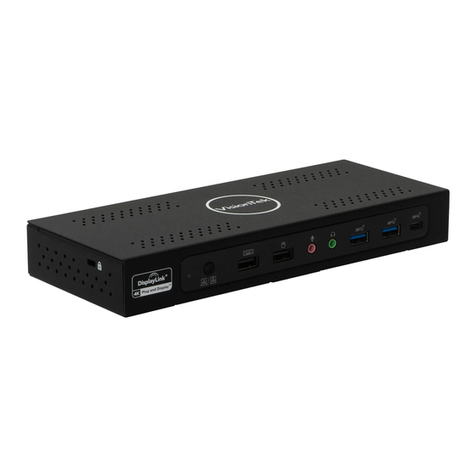
VisionTek VT4900 User manual
VisionTek
VisionTek VT4950 User manual
VisionTek
VisionTek VT7400 User manual
VisionTek
VisionTek VT2000 User manual


