1211
Preparation How to use Reference
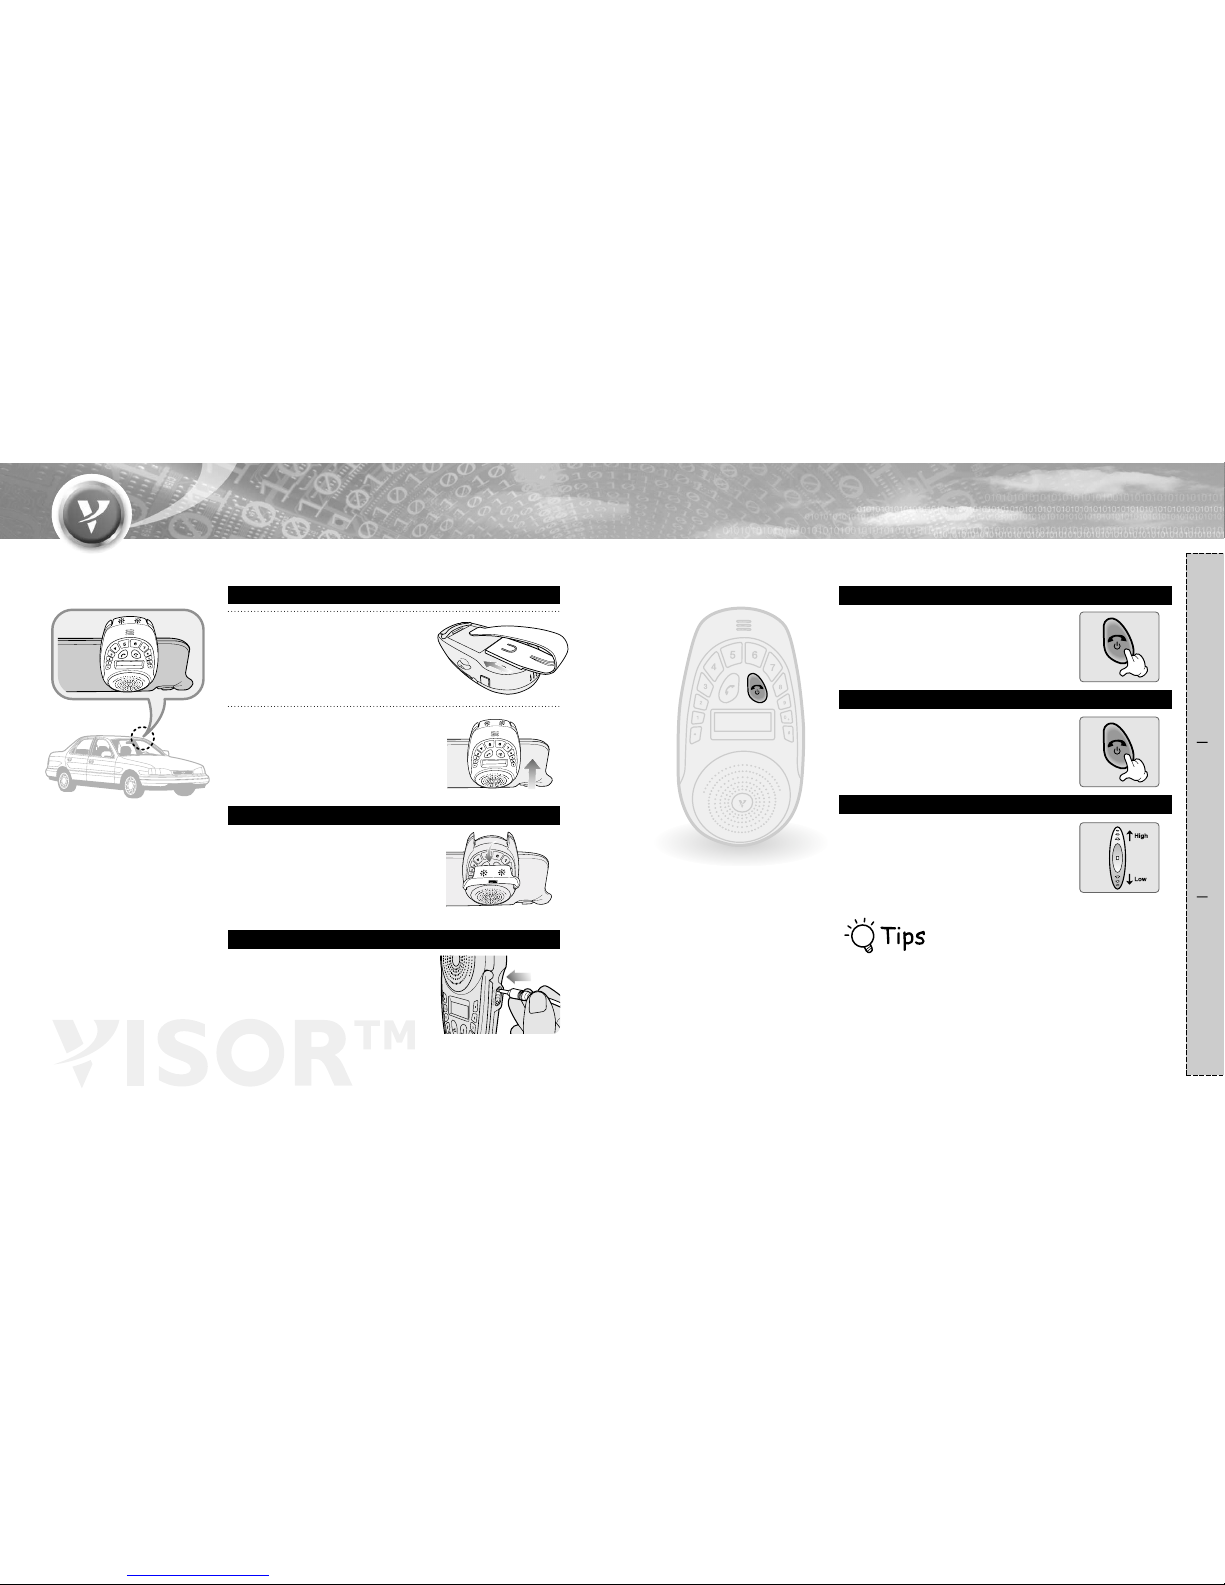
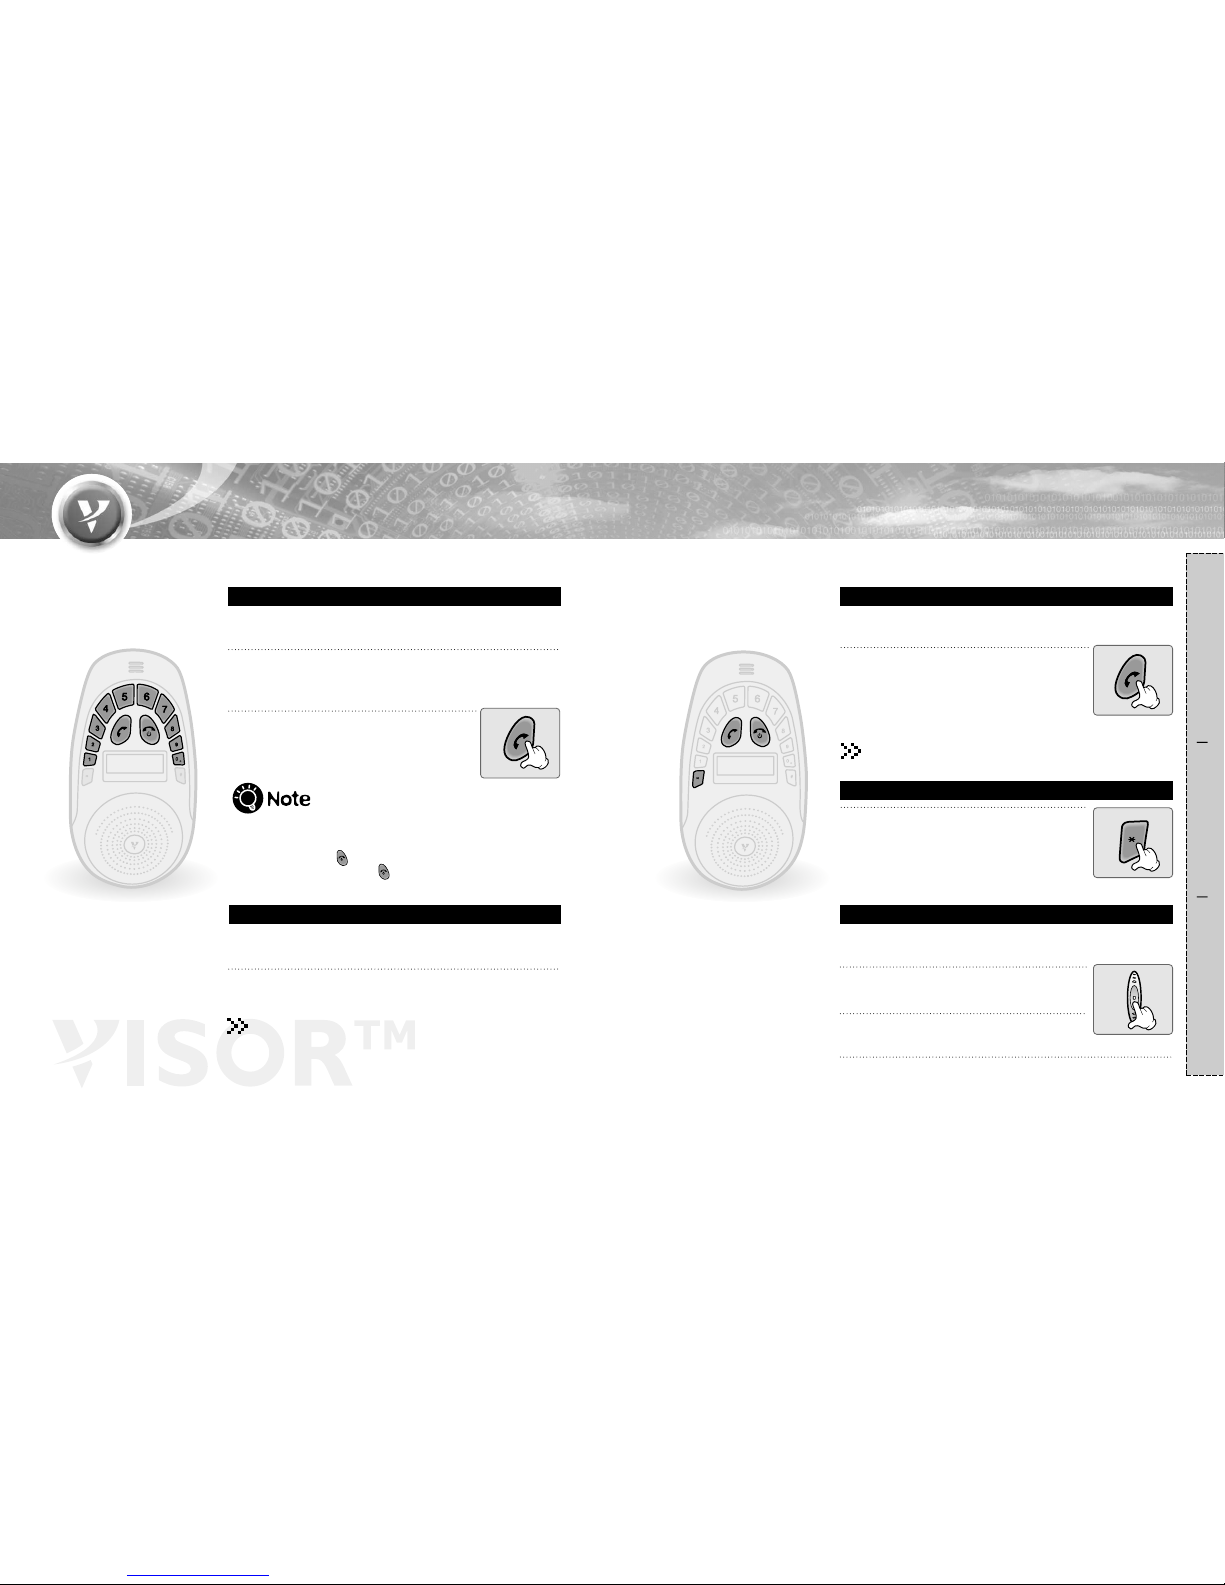
Press SEND button.
●
Bypressingthis button the lastnumberdialed will be called.
(In the case of SonyEricsson handset, voice dialing
initiates.)
●
By holding this button voice dialing will be activated.
(If the handset supports this function.)
You can make conversation with a speaker phone
and use it as a handsfree unit.
Last number/Voice dialing
There are 5(0~4) volume levels.
Level '0' is Mic mute, Level '1' is the default volume.
Microphone Volume Up/Down
Ending a call
●
Press END & Power button.
Dial the number buttons to make a call to specific
number.
1
Press SEND.
●
The call will be made.
2
You can make number dialing only provided that your mobile
phone supports handsfree profile.
Number dialing
Making a call
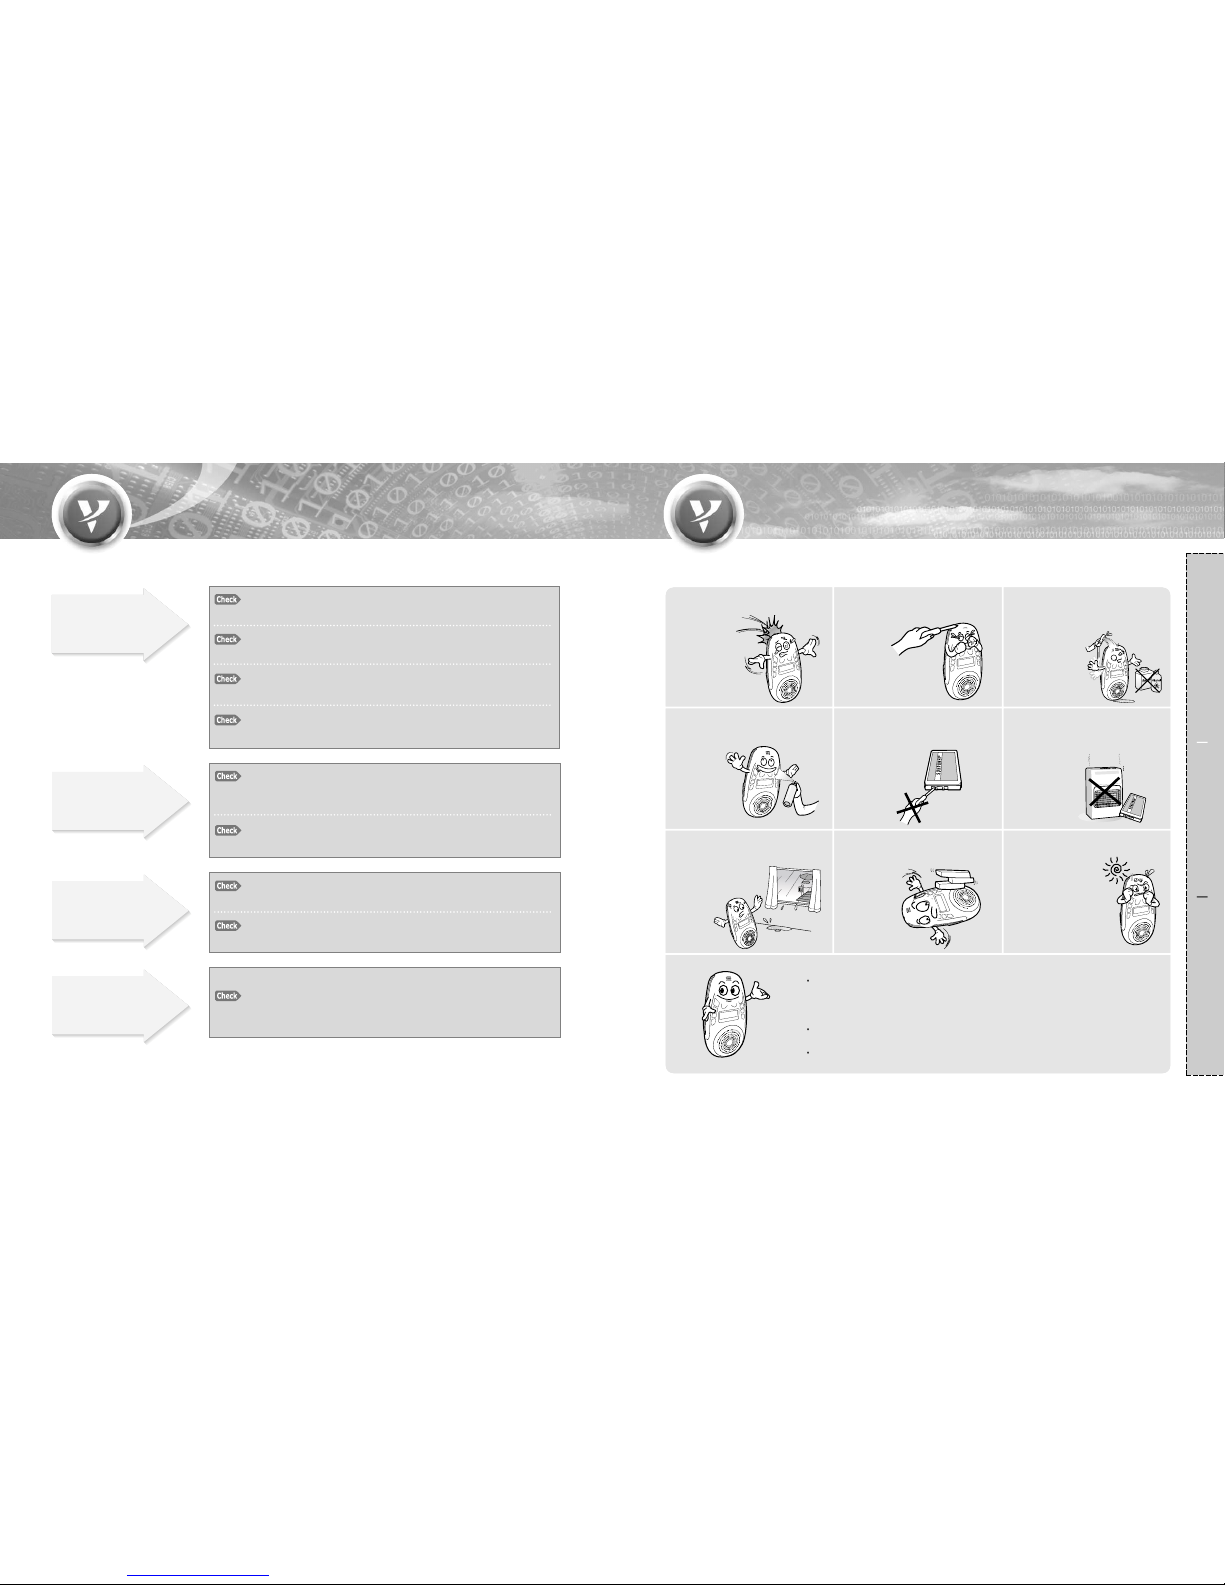
Press ��button for more than 2 seconds,
(sound will still be heard through earphones.)
●
When Mute is on you will see the Mute icon
display on LCD.
●
By pressing ��button for more than 2 seconds, mute
function will be cancelled.
Speaker mute function
Speed dialing
Ending a call
●
Press END & Power button.
You can make a call using the speed dial settings saved in
your mobile phone.
Press the last digit number for more than 1 second.
●
You can reach the saved number in the mobile phone.
1. If required to press '+' button, press and hold '0' .
2. If you want to correct the number while number dialing :
press END & Power( ) - 1 digit deleted only.
press and hold END & Power( ) - all digits deleted.
Press the volume control button
twice short.
1
Then, you can hear the 'beep' and LCD
tells as ' EnterMicGain'.
2
Press the level number (0~4).
3