VXF3938S
INSTALLATION GUIDE
PAGE 2 of 2
INSTALLATION
Before installation, check whether the connections used match the maximum pressure of the filter.
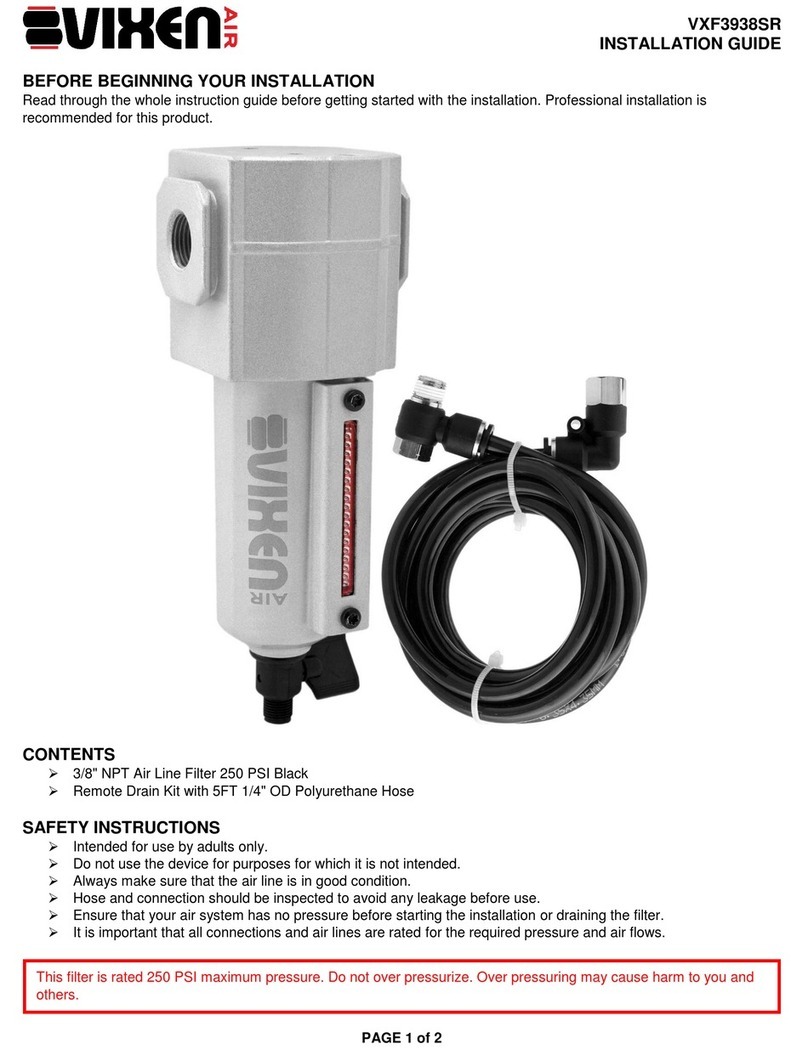
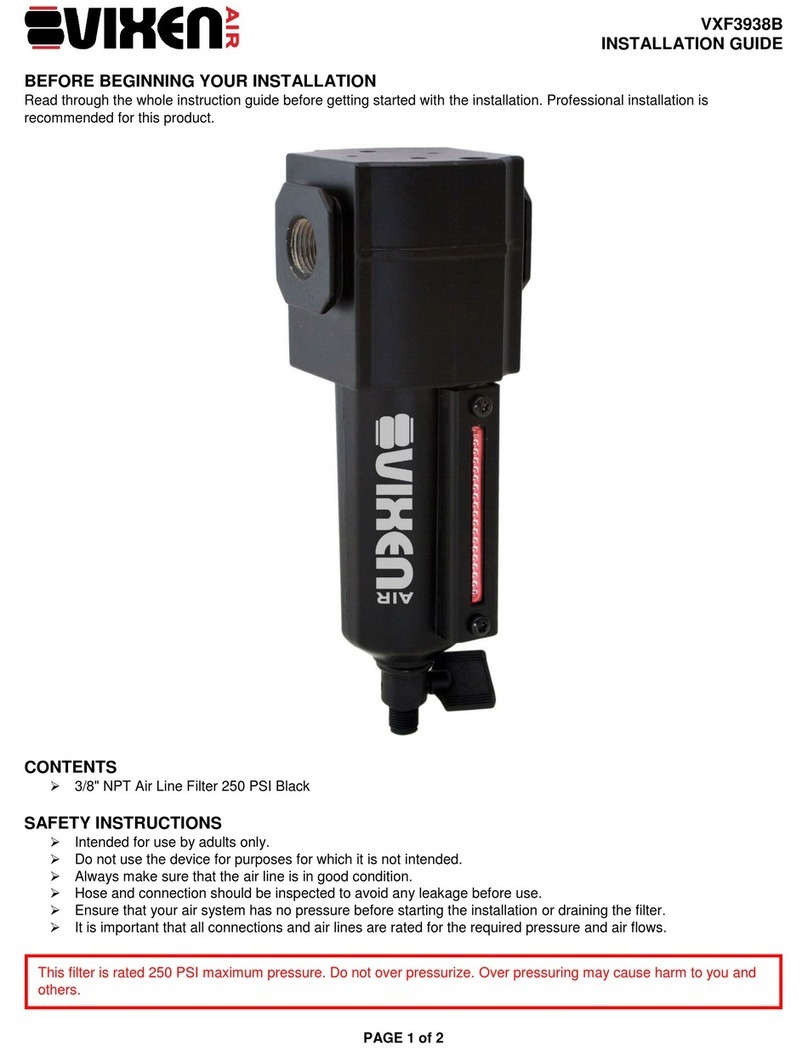
Shut off air pressure from air system. Install the filter vertically with the bowl down in the air line. Ensure that
the filter is installed with inlet/outlet air flow in the proper direction of arrow on the unit. The filter should be as
close as possible to the device being serviced.
Connect fittings to the inlet and outlet ports using thread sealant on male threads only. When screwing the
fittings together, prevent ingress of shavings and sealant to the interior of the unit. Contaminations in the unit
may cause it to fail.
Make sure that all connections to the filter are tight and secure.
Push bowl into the filter body and turn fully clockwise before pressurizing.
OPERATION
Let the filter run with air supply on. Ensure that the pressure to the air inlet of the filter from air line does not
exceed the maximum pressure specified in the instructions.
The filter is equipped with a manual drain. Turn manual drain valve to drain accumulated liquids inside the
bowl. Take care to drain the liquids from the bowl whenever necessary and always keep the liquids below the
baffle.
MAINTENANCE
DISASSEMBLY
oFilter can be disassembled without removal from air line.
oShut OFF inlet pressure. Reduce pressure in inlet and outlet lines to zero.
oRemove bowl. Push into body and turn counterclockwise.
CLEANING
oClean bowl with warm water only. Clean other parts with warm water and soap.
oRinse and dry parts. Blow out internal passages in body with clean, dry, compressed air. Blow air
through filter element from inside to outside to remove surface contaminants.
ASSEMBLY
oTo assembly push bowl into body and turn fully clockwise.


