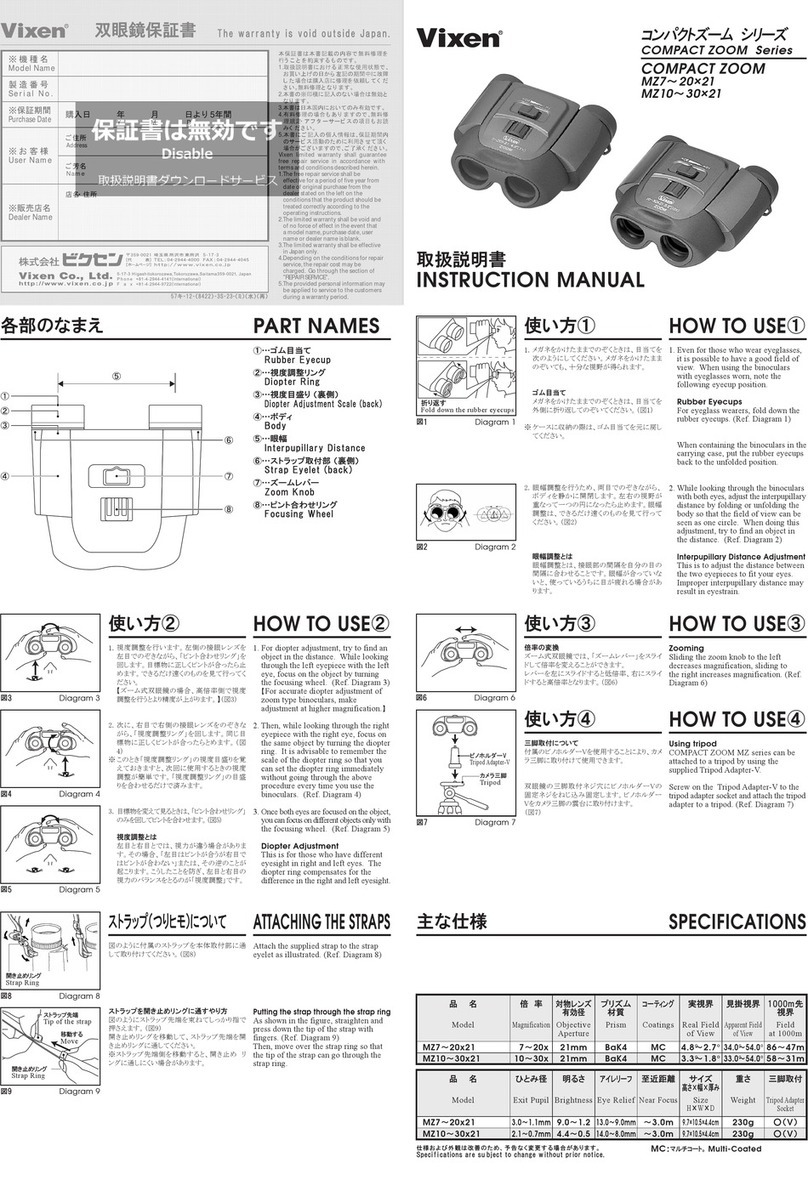
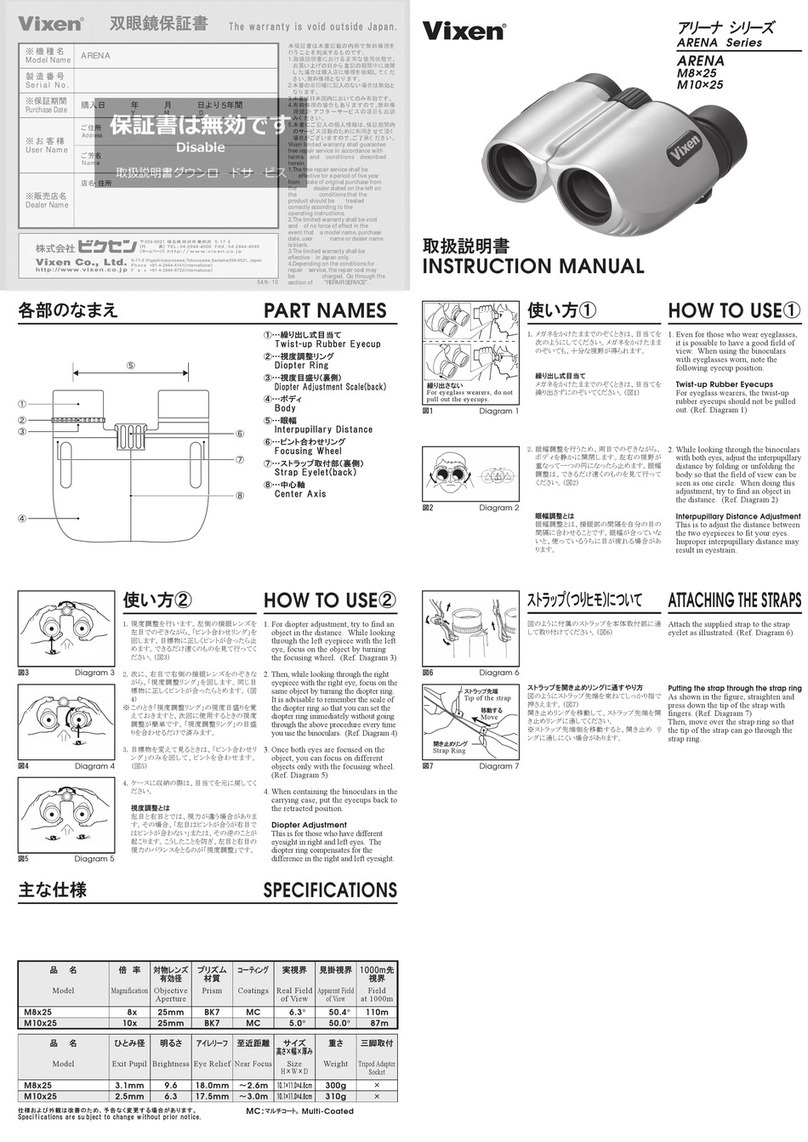
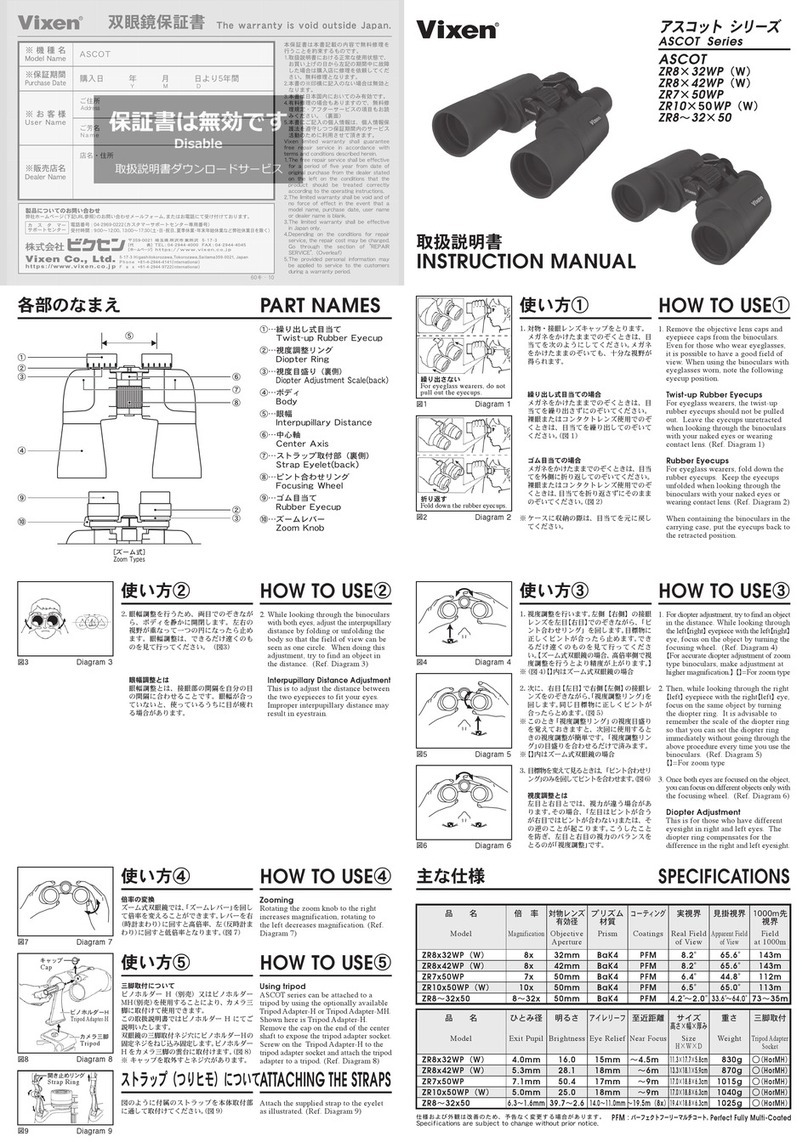
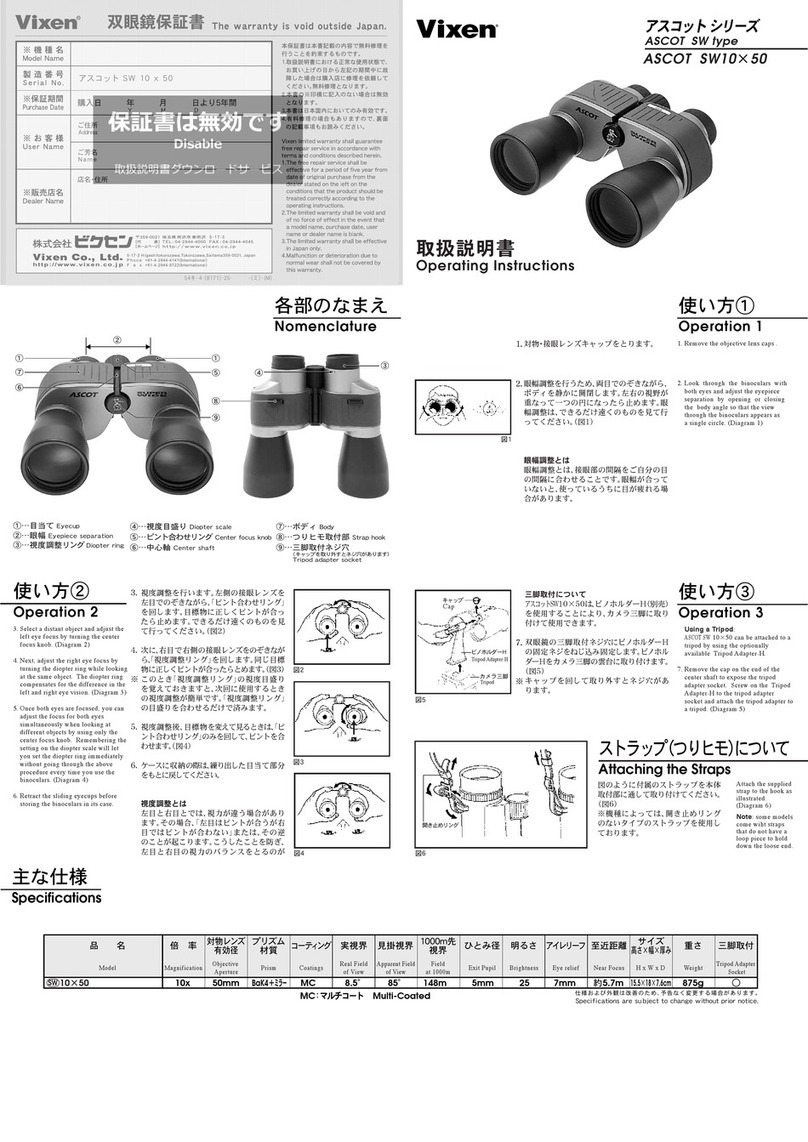
To clean the body surface, dust it off
lightly and wipe it using a clean
cloth. After usage by seaside, wipe it
with a clean moist cloth to remove
the salt and then wipe it dry with a
dry cloth. Do not use benzene, paint
thinner, or a cleaner containing
alcohol. (Ref. Figure 11)
Blow off all abrasive dirt and dust on
the lens surface with a camera cleaning
blower or a soft oil-free brush. With
the dust removed, use a lens cleaning
tissue moistened with a few drops of
a lens cleaning solution for fingerprints.
Wipe it out gently. (Ref. Figure 12)
The lens surface is very susceptible to
scratches. In cleaning much care
must be taken to avoid damaging the
lens surface. Read instructions for a
lens cleaning solution thoroughly if it
is used.
Use a brush to remove sands and dirts
from the rotating parts on the
focusing knob and the diopter ring.
(Ref. Figure 13)
9.
10
.
11
.
ႨൌɈȤɦɉĂʌʷɞʳʋ˂ɬȩပȞĂ
୨ɣȥȞ౸ɄɁȩఅȞɀȩȺȯȞă
ɂȩɅĂޠ၃ຑɁȽȹষɉଈȽȹ୨ɣȥȞ
౸ɄɁܶယɬఅȧଲɤĂ૫Ʌ߿ȞȹɁ
ȩఅȞɀ߿ȥȱɀȩȺȯȞăʱˋʐˋɞ
ʏˋ ʢ ĜɄɃɈ ᄵ ࡙ ᅗ ɞ Ăᄵ࡙ᅗɬ࠸ɚ
ʇ˂ĜʢĜɄɃɬܸɦᅶɂȱɅɩɄȞɁ
ȩȺȯȞ ăĪూ 22ī
˄ˋʒ ჶ Ʌ ʌʷɞ ʳʋ˂Ȧ ශȱɀ Ȟɥɂȧ
ɉĂʅʒȦ ȧɞ ȳȞɈɁʃʹˁʹˋ ʞ ʢˋʑ
ᅙɈʮ˅ɺĜɁʌʷɞʳʋ˂ɬȩȧပȠĂ
ɘȹɉᄧɈɄȞɞɩɣȥȞʧʉɁȩပȠ
าɅȱɀȩȺȯȞă˄ˋʒ ჶ Ʌ ૄ ᄐ Ȧ ȾȞɀ
ȱɘȽȹ௲ ɉ Ăʌʷɞʳʋ˂ɬပȽȹষĂી
ྀɈʃʹˁ˄ˋʒʹˋʞʢˋʑᅙɈ˄ˋʒʲĜ
ʩĜɅીྀɈʃʹˁ˄ˋʒʹˋʞʢˋʑᅙ˄ˋ
ʒʇ˂ĜʢĜɬவᆲଈɣȵĂȩఅȧଲȽɀȩ
ȺȯȞăĪూ 23ī˄ˋʒჶɉྥ௵Ʌʟ˂ʉĜʠ
Ɂȳă౸ࣞɈɉ˄ˋʒჶɅʅʒɬȾȫ
ɄȞɢȠɅယȮڷȩȺȯȞăɘȹĂ˄ˋʒ
ʇ˂ĜʢĜɬᅙȳɥɉĂ˄ˋʒʇ˂ĜʢĜ
ɅമɈತცஙɜɢȩȤəȩȺȯȞă
Ķʬˋʠɩȵ˂ˋʈķɞĶ෮˂ˋʈķ
ɄɃɈޑ๖ငယɅȽȹĆʌʷɉĂɞɩɣ
ȥȞʮˁʏɄɃɁɢȩပȽɀȩȺȯȞăĪూ24ī
:/
21
/
22
/
ᅙ௫ɈȮڷ
ϳ
OPERATION PRECAUTIONS
ϳ
ɉȲɛɅ PREFACE
ూ22āāāāā!!!!ā
Figure 11
ూ24āāāāā!!!!ā
Figure 13
ూ23āāāāā!!!!ā
Figure 12
ూ4āāāāā!!!ā!ā
Figure 3
-
CARE AND MAINTENANCE
-
.
!ɦĆ။ଳ!
.
Do not try to open or close the body
angle beyond its limit. Also, do not
try to turn the diopter ring, the center
focus ring, or the zoom ring beyond
their limits. (Ref. Figure 7)
Do not subject the product to shocks.
If you accidentally hit or drop the
product and the image appears
abnomal, please consult Vixen
customer service. (Ref. Figure 8)
The lens may fog up due to sudden
temperature change such as when
bringing the product into a warm
room from cold outdoors. Should
this occur, let the product dry
naturally at normal temperature.
Keep the product away from rain,
water splash, salt water, sand, and
mud. Waterproof product may be
used in rain or in wet environments,
but wipe them dry after use.
1.
2.
3.
4.
ʴʟɻɬ౫ঔڬ௫ɅާȥɄȞɁȩȺȯȞă
ɘȹĂĶ෮˂ˋʈķĶʬˋʠɩȵ˂
ˋʈ ķɬ౫ঔڬ௫ɅޑȯɄȞɁȩȺȯȞă
Īూ 8ī
ȭɈ౿࿚ɅɬᅇȢɄȞɁȩȺȯȞă
িȽɀࣅȞɬᅇȢɀȱɘȽȹɤĂණჶ
ɅᅶɂȱȹɤȱɀĂȢၫȦȤȥȱȩɄȽ
ȹɂȧɉĂຎଜɅȮഊඨȩȺȯȞăĪూ 9ī
ᇊȹȞটެȥɣඤȥȞଆ໘ɅȽȹɂȧ
ɄɃĂɄݗဿݛɅɢɤێ૪โɅ˄ˋ
ʒჶȦ໔ɥȭɂȦȜɤɘȳăȭɈ ௲ ɉĂ
໔ɤȦჟȩɄɥɘ Ɂ Ʌ߿ ȥȱɀȩȺ
ȯȞă
۫ĂแĂޠĂĂɄɃȦȥȥɣɄȞ
ɢȠɅȱɀȩȺȯȞ ă႕౿࿚Ɉ௲ɉĂ۫
ɞแɁɦɀɜ࡙༑ɬഹɄȠȭɂɉȜɤ
ɘȵɭȦĂɁȧɥȺȫഁȩఅȧଲɥɢȠɅ
ȱɀȩȺ ȯȞ ă
2/
3/
4/
5/
ᅙ௫ɈȮڷ
ϱ
Before using the product for the first time, read
#HOW TO USE#and #OPERATION
PRECAUTIONS#.
Keep this instruction manual at hand every time you
use the product for reference.
Some materials in #SAFETY PRECAUTIONS#and
#OPERATION PRECAUTION#may not apply to all
models.
This instruction manual indicates information on
matters for safety operation of the product to prevent
user or others from injury or property damage.
Before use, comprehend the operation of the product.
(The specifications and appearance are subject to
change without notice.)
2/!
3/
4/
ȮᅙɈɅĂȭɈଲ ڙ ತ ცங ɈĶڤ௫ɈȮڷķĶᅙ௫
ɈȮڷķĶȞၫķɬɢȩȤəɈ௫Ă౷ȱȩȤȞȩȺȯ
Ȟă
ȤəɅɄȽȹষɉ౿࿚ɈȷɊɄɃȞȾɜইɅȞɀĂ
ȮᅙȩȺȯȞă
ȭɈଲ ڙ ತ ცங ɈĶڤ௫ɈȮڷķĶᅙ௫ɈȮڷķĶ
ȞၫķɅஙȥɦɀȞɥ໘ᅎɉĂȤࢊᅕȦȯɦȹ౿࿚Ʌɉ
࠸ɘɦɄȞᄆɜࡥȯɦɀȞɘȳă
ȭɈଲ ڙ ತ ცங Ʌɉ ĂȜɄ ȹɞ ഼ɈఱęɒɈ ࡇ ޮ Ă દ ɒɈ
ഹޮɬɅ႕ȨĂႨ౿࿚ɬڤɅȤȞȞȹȺȩȹɛɅ
ଳȽɀȞȹȺȧȹȞૢɬȱɀȞɘȳă໘ᅎɬɢȩᆅސȱɀ
ȥɣ౿࿚ɬȮᅙȩȺȯȞă
ᅕɍެࠫɉĂޜɈȹɛᅅɄȩဿ৩ȳɥȭɂȦȜɤ
ɘȳă
2/!
3/
4/
Ŧ
OPERATION PRECAUTIONS
ϱ
ూ8āāāāā!!!ā!ā
Figure 7
ూ9āāāāā!!!ā!ā
Figure 8
-
HANDING AND USAGE
-
.
!ଲɤڙȞĆഀ!
.
ڤ௫ɈȮڷ
ϱ
SAFETY PRECAUTIONS
ϱ
ూ2āāāāā!!!ā!ā
Figure 1
ూ3āāāāā!!!ā!ā
Figure 2
Store the product in a dry, well-
ventilated place. Storage and use of
the product in humid environment
may cause the lens to fog up or fungus
to form. Let the product dry indoors
before storing it, especially after
using it at night or on a rainy day.
For a long-term storage, place the
product in a plastic bag or an airtight
container with a desiccant agent.
Take the product out from the case
occasionally for ventilation, if it is
not used for a long time. Replase the
desiccant with a new one at the time.
(Ref. Figure 9)
Do not leave the product in a car on a
hot day or near a heater. The heat
may deform or damage the product.
(Ref. Figure 10)
Retract the sliding type eyecups back
into place before storing the product in
a case. The eyepieces on the IF
(individual focus) binoculars should
also be retracted for storage.
5.
6.
7.
8.
ଈɈഽȞɂȭɧɁɈ။ࠣĆᅙɉĂ˄ˋ
ʒჶɅʃʫɞ໔ɤȦ౺ȲɞȳȩɄɤɘȳă
ဇฆȱɈɢȞĂ߿ഇȱȹ௲ஒɅ။ࠣȱɀ
ȩȺȯȞ ăɂȩɅ Ă۫Ɉɞᄕ࠰Ʌᅙȯɦ
ȹষɉĂଆ໘Ɂယ߿ȥȱɀȥɣ။ࠣȱɀ
ȩȺȯȞ ă
ȭɈ౿࿚ɬ။ࠣȳɥ௲ɉĂʯˁʑʙʛʇ
൜ɞ࡙დ౯ɈȞᅎࡉɅĂ߿ഇɂێɅ
။ࠣȱɀȩȺȯȞăෳࡖ࠰ᅙȱɄȞ௲
ɉ૪ęമɈʉĜʑȥɣȱɀĂɈ
ൖȢɬȽɀȩȺȯȞăɍେ༐ȳɥ
ɉ߿ഇɬఛȱȞɜɈɅৄࠓȱɀȩȺ
ȯȞăĪూ :ī
ܪ๏ݚɈଠɈෂɞĂʪĜʗĜɄɃɈ
ݗɈཡ༂ൌɈȷɊɅȭɈ౿࿚ɬၪ
ȱɄȞɁȩȺȯȞă౿࿚ɈဿĂঠ௩Ɉঈ
ۚɂɄɤɘȳăĪూ 21ī
ᄆຎɀငယȦɤȱૺɈ࡙ହɈ௲ɉĂ
ʉĜʑɅେ༐ȳɥĂɤȱȹᄆຎɀɬ
ɜɂɅᄋȱɀȩȺȯȞ ăɘȹĂJGĪඍɤ
ȱૺī࠽ࣖɈ௲ɜĂɜɂɅᄋȱɀେ
༐ȱɀȩȺȯȞăɤȱȹɘɘɁɉĂ౷ȱ
ȩେ༐ȯɦɄȞ௲ȦȜɤɘȳă
6/
7/
8/
9/
ᅙ௫ɈȮڷ
ϲ
OPERATION PRECAUTIONS
ϲ
ూ:āāāāā!!!ā!ā
Figure 9
ూ21āāāāā!!!!ā
Figure 10
-
STORAGE
-
.
!။ࠣ!
.
ჟᆧୌᆅࡤฤĆɺʭʗĜʍĜʫʑ
REPAIR SERVICE
The repair service is free during the warranty period if the āāāā
condition occurred during normal use and was used as described in the
operating instructions. (The loss of caps, case, straps and rubber eyecups
are out of warranty.)
The repair service fee will be charged for the following conditions ā
even during the warranty period.
1. Damage or malfunction due to misuse, dropping, pressure, or a strong
āshock.
2. Malfunction due to fire, immersion in water, or a natural event āā!
āsuch as earthquake.
3. Scratch, peeling, corrosion, fogging, or condition due to improper storage.
4. Damage or malfunction due to modification, disassembly, or āāā!
ācleaning done by a person or dealer not authorized by Vixen.
5. Missing warranty card.
6. Warranty card with missing purchase date, name, or the dealer āā!
āinformation.
Vixen reserves the right to replace the product with a new one due to
damage of part beyond repair.
Repair parts for warranty repair service are hold at Vixen for five years
after the purchased product is discontinued.
Shipping charge for the repair and transportation expenses at bringing in
the product is responsibility of the customer.
On-site repair service is not available.
If the dealer information is missing on product received as a gift, please
consult an authorized dealer.
Repair charges should be paid at the dealer stated on the warranty card.
For a service inquiry, please contact the dealer where the purchase was
made or send it directly to Vixen.
š
š
š
š
š
š
š
ჟᆧୌᆅࡖ࠰ɅȾȞɀɉჶɬȮઞȩȺȯȞă
ଲڙತცஙɅȤȫɥ౷௵ɄᅙൔɁ။ࡖ࠰ෂɅঠ௩ȱȹ௲ɉ
ჟᆧୌᆅɂɄɤɘȳăĪʅʻʛʯĂʉĜʑĂʑʠˁʛʯɄɃɞʌʸᄆຎɀ
Ɉဤɉ။ൎެɁȳī
૫Ɉ௲ɉ။ࡖ࠰໘ɁɜᄵᆧୌᆅɂɄɤɘȳă
2/!Ȯᅙ௫ɈিɤĂᅶݚĂĂڗཋɅɢɥঠ௩ȤɢɍഹɈ௲ă
3/!ݮɈ௲ĂటĂණరຑɅɢɥ๏ණဿɅɢɥঠ௩Ɉ௲ă
4/!Ăʧʄ˄ĂĂʇʺ˂ຑɞ။ശ௫ɈྩɅɢɥ௲ ă
5/!ຎଜڬެɁɈޜഢĂယސĂதɄɃɅɢɥঠ௩ɍഹɈ௲ă
6/!။ஙɈอȦɄȞ௲ă
7/!။ஙɅȤ༷௫Ȭ༃ĂȮ્შĂྀ༸๑შɈࡥȦɄȞ௲ă
ঠ௩ݳஒɅɢȽɀɉ౿࿚ɈৄࠓɬɜȽɀୌᆅɂȯȵɀȞȹȺȩ௲Ȧ
ȜɤɘȳɈɁȮᆡȩȺȯȞ ă!
Ⴈ౿࿚Ɉၒୌင࿚ɉĂ౿ഢɬɞɛɀȥɣ 6 ༃࠰ɬᄆڤɂȱɀ။ᄵȱɘ
ȳăঈഥɂȱɀĂၒୌင࿚ɬ။ᄵȱɀȞɥࡖ࠰Ȧୌᆅݢ༑ࡖ࠰ɂɄɤɘ
ȳɈɁȮᆡȩȺȯȞă!
ୌᆅ࿚ɈഗᆧĂȤ૩૪ɈৄฆྣຑɉȤࢊᅕɅɀȮඐࡄȞɘȳă
ෟୌᆅɉȞȹȱɘȵɭă
Ȯഡຒ࿚ɁႨ။ஙɅྀ༸๑შȦࡥȯɦɀȞɄȞ௲Ăʫʇʓˋʃ
ʑʗʶĜʍʵĜʠʓˋʗĜɒȮഊඨȩȺȯȞă
ୌᆅൣࣸɈȤૅပɅȾȞɀɉĂȤ༷Ȟ௫ȬɈ๑ɁȤૅပȞȩȺȯȞă
ɘȹಞʫʇʓˋɒୌᆅɬȤడȱəɈ௲ɉĂএࣸஙᆗĂࣺచĂ
ɘȹɉൣࣸۜࠓཡഗɅɀȤૅပȞȩȺȯȞăɄȤĂࣺచɞൣࣸۜ
ࠓཡഗɅȤȫɥౘᆧɅȾȧɘȱɀɉĂȮඐȞȹȺȧɘȳɢȠȤࡄ
Ȟడȱ௫ȬɘȳăచಪɄɃȱȩɉʫʇʓˋʃʑʗʶĜʍʵĜʠʓˋ
ʗĜɅȤᄎȞɩȵȩȺȯȞă!
ȤᄎȞɩȵɉĤȤ༷Ȟ௫ȬɈȤ๑ĂɘȹɉʫʇʓˋʃʑʗʶĜʍʵĜ
āāāāāāā!!ʠʓˋʗĜĪჶઞīɘɁă!
š
š
š
š
š
š
š
š
š
ā!ڤɅ࠲ȳɥȮڷ
ýSAFETY PRECAUTIONS
ā!WARNING
This symbol indicates information that, if ignored or
applied incorrectly, creates the possibility of death or
serious personal injury.
ā!CAUTION
This symbol indicates information that, if ignored or
applied incorrectly, creates the possibility of personal
injury or property damage.
ā!
OPERATION PRECAUTION
These items indicate information that, if ignored or
applied incorrectly, may adversely affect the product
performance or reliability.
ā!
ȭɈɬჟȱɀিȽȹଲڙȞɬȳɥɂĂఱȦૌႀɘȹɉ
୭ɬȠݢ༑౯Ȧฤȯɦɥ໘ᅎɬȱɀȞɘȳă!
ā!ڷ
ȭɈɬჟȱɀিȽȹଲڙȞɬȳɥɂĂఱȦޮɬȠ
ݢ༑౯Ȧฤȯɦɥ໘ᅎɍဘโഹޮɈཡ౺Ȧฤȯɦɥ
໘ᅎɬȱɀȞɘȳă
ā!ᅙ௫ɈȮڷ
ȭɈᄆɅȜɥɬჟȱɀিȽȹଲڙȞɬȳɥɂĂ౿࿚
Ɉ౯༑Ć࡙༑ɬ೫ޮȳɥഹޮɈཡ౺Ȧฤȯɦɥ໘ᅎɬ
ȱɀ Ȟɘ ȳ ă
Thank you for your purchase of the Vixen
products. For safety use, observe the following
precautions.
ȭɈȹɍɉĂʫʇʓˋ౿࿚ɬȤ༷Ȟ௫ȬȞȹȺȧĂȜɤȦɂȠ
ȮȰȞɘȳă
ڤɅȤȞȞȹȺȩȹɛɅྼȴڬݚɈஜڷૢɬȤଳɤ
ȩȺȯȞă
!!WARNING
Never look at sun through the product.
Instantaneous and irreversible
damage to your eyes will occur and
may result in total loss of eyesight.
(Ref. Figure 1)
!!CAUTION
Do not use the product while walking.
It may result in a collision or a fall,
and could cause injury. (Ref. Figure 2)
Do not leave the product in a
precarious place. It may tip over or
drop, resulting in injury or damage.
Do not swing the product by the strap.
It may hit someone and cause injury.
(Ref. Figure 3)
The case, straps, and the rubber
material on the body may deteriorate
over a long period and may cause
stain on the clothing. Please check
the condition before use.
Ŝ
Ŝ
Ŝ
Ŝ
Ŝ
!!
ാᅣɬɈȸȞɀɉȞȫɘȵɭăცɈࡇঃ
ȦȜɤɘȳăȭɈ౿࿚Ɂ ാ ᅣɬɈ ȸȩɂĂ
ᄆɬɛȹɤĂცȳɥࣈɦȦȜɤɘȳă
ȮᅙɈɉĂാᅣɬದൎɅɈȸȥɄȞ
ɢȠɅȱɀȩȺȯȞăĪూǍī
!!ڷ
౿࿚ɬၐෂɅᅙȱɄȞɁȩȺȯȞă
ໃɞ๖ɄɃĂȫȦɈঈۚɂɄɥȭɂȦ
ȜɤɘȳăĪూ 3ī
౿࿚ɬڤฤɄ௲ஒɅȥɄȞɁȩȺȯ
ȞăɦȹɤĂᅶȻȹɤȱɀঠ௩ɞȫȦɈ
ঈۚɂɄɥȭɂȦȜɤɘȳă
ʑʠˁ ʛʯĪ Ⱦɤʪ ʺ īɬ ૩ Ƚɀ చ ɤޑ ȯ Ʉ
ȞɁȩȺȯȞă഼ఱɅȜȹɤĂȫȦɈঈۚ
ɂɄɥȭɂȦȜɤɘȳăĪూǏī
౿࿚ɈʉĜʑĂʑʠˁʛʯ ĂႨൌɈʌʸ౿င
ယɄɃɉĂෳࡖ࠰ɈᅙĆ။ࠣɅɢɥᇚ
ݛȥɣĂۃᇆɄɃɬܸȳȭɂȦȜɤɘȳă
ȮᅙɅɄɥɅ๘ȱĂڽ௵ɈȜɥ௲
ɅɉຎଜɒȮഊඨȩȺȯȞă
Ŝ
Ŝ
Ŝ
Ŝ
Ŝ
ూ7āāāāā!!!ā!ā
Figure 6
ڤ௫ɈȮڷ
ϲ
SAFETY PRECAUTIONS
ϲ
ూ5āāāāā!!!ā!ā
Figure 4
ూ6āāāāā!!!ā!ā
Figure 5
!!CAUTION
Be careful not to pinch your fingers
when adjusting the eyepiece
separation or the focus. (Ref. Figure 4)
Be careful that small children do not
swallow caps, desiccant agent or the
vinyl bag. (Ref. Figure 5)
Do not take the product apart.
(Ref. Figure 6)
When product are used continuously
over a sustained period, you may get
inflammation of skin around your eyes
coming in contact with rubber
eyepieces. If you experience this
symptom, please stop using it and
consult with a doctor immediately.
Ŝ
Ŝ
Ŝ
Ŝ
!!ڷ
࠽ဍ෮ɞ෮ɈĂૄɄɃɬɉȯə
ȫȦɬȳɥȭɂȦȜɤɘȳăູɅĂȤાᅕɈ
ᅙɅȱɀɉĂȮڷȩȺȯȞăĪూǐī
ʅʻʛʯĂ߿ഇĂၟകᅙʵ˂൜ɄɃɬĂ
ȤાᅕȦিȽɀɚȭɂȦɄȞɢȠɅȱɀ
ȩȺȯȞ ăĪూ 6ī
౿࿚ɬယސȱɄȞɁȩȺȯȞăĪూǒī
౿࿚Ɉෳ૪࠰ᅙɬɤ၄ȱɘȳɂĂʌʸ
౿ɈᄆຎɀɅɢɤĂྛɅܪɬࡧȭȳ
ȭɂȦȜɤɘȳăࡷɩȱȞȦএɦɘȱ
ȹɣ ᅙɬȻɅෂોȱ ĂۇુɅഊඨȱɀ
ȩȺȯȞ ă
Ŝ
Ŝ
Ŝ
Ŝ
