VOCO VisCalor User manual

1
Dispenser
USER MANUAL
BENUTZERHANDBUCH
MANUEL D’UTILISATION
MANUAL DEL USUARIO
MANUALE D’USO
Deutsch
Français
Español
Italiano

TABLE OF CONTENTS
Introduction.............................................................................................3
Benutzerhandbuch..........................................................................36
Manuel D’Utilisation........................................................................ 69
Manual Del Usuario .......................................................................101
Manuale D’Uso................................................................................135

Important!
PLEASE NOTE! Prior to installation and start-up of the device, please
read these instructions carefully. As with all technical devices, the
proper function and safe operation of this device depend on the
user’s compliance with the standard safety procedures as well as
the specic safety recommendations presented in these Operating
Instructions.
For use by qualied professionals only!
Introduction
Congratulations on your decision to incorporate the VisCalor®
Dispenser heated composite delivery system into your practice. This
patent-pending device is the rst of its kind, using NIR (near infrared)
technology to rapidly warm highly lled composite compules. With
the touch of a button, VisCalor® Dispenser is able to heat composite
material to 65°C (150°F) in seconds, and maintain that temperature
throughout the procedure.
Warming composite signicantly lowers the viscosity of the material
resulting in better adaptation, reduced voids and microleakage.
Materials remain highly sculptable, non-sticky, and easily shaped
during manipulation.
The VisCalor® Dispenser is designed and manufactured by InterMed,
Inc. and distributed exclusively by VOCO.

4
Dispenser Dispenser
NOTE: ALL COMPONENTS ARE NON-STERILE
Intended Use / Indications for Use
Heating and dispensing of dental composite materials.
Contents of the VisCalor® Dispenser Kit
(1) Handpiece
(3) Changeable Tops
(1) Stand
(1) Power Supply
(1) Device Maintenance Kit
(100) Protective Sleeves
NOTE: ALL COMPONENTS ARE NON-STERILE
Intended Use / Indications for Use
Heating and dispensing of dental composite materials.
Unpacking the Container
No special assistance is required to unpack and assemble the
VisCalor® Dispenser. Packaging should be inspected upon arrival for
evidence of shipping damage. Damaged packaging may indicate the
presence of an unsafe product and the product should not be used
until carefully inspected.

5
Dispenser
Battery Compartment
Programming /
Power Button
Charging Port
Changeable
Top
Snap-Fit Compule
Heating Chamber
Dispensing Trigger
Introduction
Please reference the image below to familiarize yourself with the
VisCalor® Dispenser.

6
Dispenser Dispenser
Battery Level
Indication
Device Activity
Indicator
Programming / Flow Setting

7
Dispenser
LED Indicators
The VisCalor® Dispenser is designed to display the battery state via
the battery level indicator:
The LED light surrounding the ON/OFF button indicates current
charge level
(< 20% charged - Red, > 20% charged - Green).
It is advised to charge the battery when the indication lights are Red.
Charging the Battery
The dispenser battery is partially charged when shipped. To charge
the battery, simply connect the micro-USB charger to the USB
charging port on the device handle and plug the power adapter into
a standard outlet.
During battery charging, the device activity indicator light will pulse.
Start Heating Cycle
8
Dispenser Dispenser
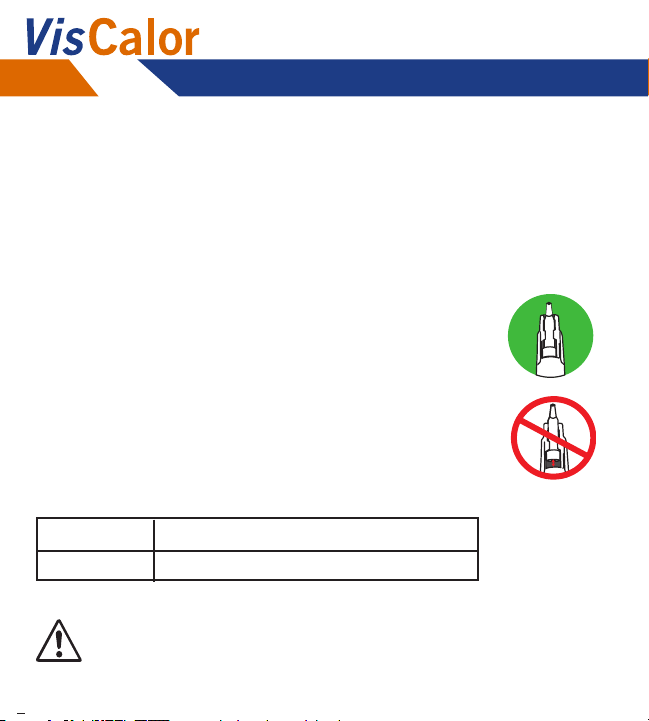
Inserting Composite
Snap a composite compule into the end of the device.
Position the compule so that the tip is directly under the
LED lens.
The capsule must always be placed at the back position
Note: The device will not operate in the absence of a
composite compule.
CAUTION: Parts of the composite compule may become hot.
Use caution and avoid touching the top of a hot
composite compule.
Settings
Settings 1 VisCalor® bulk
Settings 2 All other VOCO composite caps
Please use only composite caps from VOCO with the VisCalor® Dispenser!
Once charging is complete, the device activity indicator will remain
blue.
When unplugged from the charger, the device activity indicator
turns o and the device will enter a sleep mode.

9
Dispenser
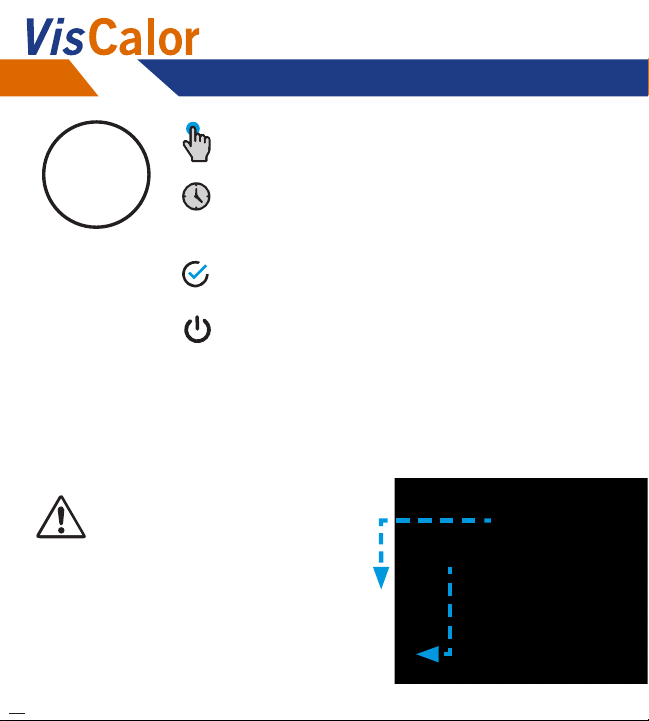
1.
2.
Press & hold to enter
programming mode.
This is indicated by ashing
yellow lights.
Short press to toggle
between settings.
Press & hold to exit.
Device will beep 3 times and
shut o.
Your setting is now
memorized as default.
Selecting On Setting
10
Dispenser Dispenser
Cleaning & Disinfection
The device may be wiped down with a standard disinfectant wipe.
Never spray disinfectant directly onto the device.
Black changeable top is removable and
autoclavable.
CAUTION: Always use a
protective sleeve.
Short press to start/stop heating cycle.
The blue lights will ash while heating.
Setting 1: 30 seconds
Setting 2: 70 seconds
The blue lights will turn solid when
heating cycle is complete.
The device will automatically shut o after
3 minutes of run time.
Between uses, check the lens to ensure it is
clean. A dirty lens will decrease performance.

11
Dispenser
Cleaning & Disinfection
The VisCalor® Dispenser is provided non-sterile. There are no special
accessories needed to disinfect the VisCalor® Dispenser heated
composite delivery system.
Quaternary ammonium compound products are recommended
(containing 20% alcohol or less). Wipe, do not spray, solution onto
the unit. Prevent liquids from entering openings on the VisCalor®
Dispenser unit.
DO NOT AUTOCLAVE HANDPIECE.
CHANGEABLE TOPS CAN WITHSTAND AUTOCLAVE - (134°C / 0.22mPA for 5
minutes).
CAUTION:
• DO NOT immerse the unit or unit parts in solutions. Use of
solutions other than those recommended may damage plastic
parts and will void product warranty.
• DO NOT use abrasive material such as scouring powder, organic
solvents, or solvent-based cleaning uids. In case of severe
contamination, gently clean the device by using diluted alcohol.
• Store the device in the box if it is not to be used for an extended
period of time.

12
Dispenser Dispenser
Infection Control Measures
CAUTION: To prevent cross-contamination, a disposable plastic
sleeve must be used over the VisCalor® Dispenser with each use.
A low-density polyethylene plastic disposable sleeve covers the
changeable top of unit and provides a hermetically sealed barrier
between the handpiece and patients. The disposable sleeve limits
patient-to-patient contamination. Discard used protective sleeves
after each patient.
Hex Tool
Routine Maintenance
Between uses, check the lens to ensure it is clean.
A dirty lens will decrease performance.
1. Insert the hex key provided
into the trigger bolt.

13
Dispenser
3. Slide the trigger and
spring assembly apart
from the device.
2. Rotate counterclockwise
and remove the trigger
bolt once loose.
14
Dispenser Dispenser
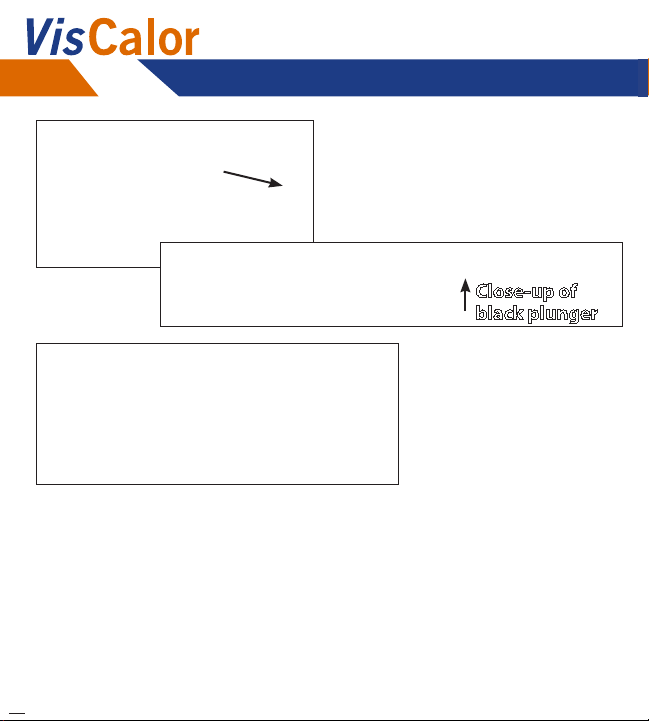
4. Tilt the device forward to allow
the plunger to slide forward
and be removed from the
device.
6. Thoroughly clean the plunger space and LED lens to remove
any composite residue.
NOTE:
• Alcohol may be used as a cleaning solution.
• DO NOT insert the brush past the end of the bristles.
5. With the
changeable top
removed, clean
the device with
the provided
brush.
Close-up of
black plunger

15
Dispenser
Trigger Assembly
After the item is cleaned, replace the trigger.
7. Move the plunger in so that the slotted end is visible.
8. Place spring in trigger with short bent leg towards top.
Dispenser

16
Dispenser Dispenser
9. When inserting the trigger, the spring leg must go into this hole.
10. Place the trigger all the way in, pull and release until properly
seated on the slots of the plunger. When seated properly the plunger
will move forward and backward.

17
Dispenser
11. Move the silver spring wire toward
the nozzle with the hex tool and
insert the screw. Tighten the bolt so
it bottoms out and is snug. Do not
overtighten.
Hex Tool

18
Dispenser Dispenser
Battery Removal & Replacement
To remove battery compartment door, press the release button and
separate from device by pulling.
Remove the old battery and replace with the new battery, ensuring
that +/- indicators are properly aligned as indicated on the battery
door.
Troubleshooting Guide
If the suggested solutions do not rectify the problem, please contact
VOCO.
Problem Possible Solution
VisCalor® Dispenser will not turn on 1. Check the unit’s battery indication light. If red or
no light, charge the unit.
2. Remove the battery and check orientation.
Reinsert into the device in proper orientation.
VisCalor® Dispenser is not heating 1. Verify the unit is charged.
2. Verify that an appropriate temperature is selected.
3. With the handpiece turned o, and battery
removed, inspect the lens for residual composites.

19
Dispenser
Problem Possible Solution
Battery will not charge 1. Inspect the USB charging port of any foreign
objects that could interfere with a proper
connection.
2. Remove the battery and check orientation.
Reinsert into the device in proper orientation.
3. Make sure the battery is properly inserted in the
handpiece.
4. Make sure the charger is plugged in and verify
the outlet is receiving power.
Composite compules are melting 1. Ensure that you are using a composite cap from
VOCO.
2. Ensure the device is in the correct setting.
Technical Data
Technical Information VisCalor® Dispenser
Charger Input: 100-240 VAC, 50-60 Hz
Nominal Consumption: 6W max
Manufacturer: GlobeTek INC.
Model: GTM46101-1005-USB
Dimensions without blade or cable (LxWxH): 41mm x 71mm x
31.5mm
Mass: 50g
Classication: Protection class II,

20
Dispenser Dispenser
Technical Information VisCalor® Dispenser Gun
Operating Conditions Time to Charge Empty Battery Pack: Approximately 3 hrs
Nominal Consumption: 6W max
Temperature: 10˚C - 40˚C (59˚F - 104˚F)
Atmospheric Pressure: 697hPa - 1013hPa
1
697
1013
Technical Information VisCalor® Dispenser Gun
Handpiece Battery: 3.6V nominal, 3000mAhiNR Li-ion,
10.8 Wh. IEC 62133 certied
Battery Pack Manufacturer: LG CHEM LTD
Battery Pack Model: LG-HG2-18650-INR
Dimensions (LxWxH): 150mm x 120mm x 25mm
Mass: 153g
Classication: Type BF,
Intermittent Operation: The device has been designed solely for
short-term operation.
Operating Time:
Approximately 2 hrs. fully charged.
Approximately 15 heat cycles on high setting.
Table of contents
Languages:


