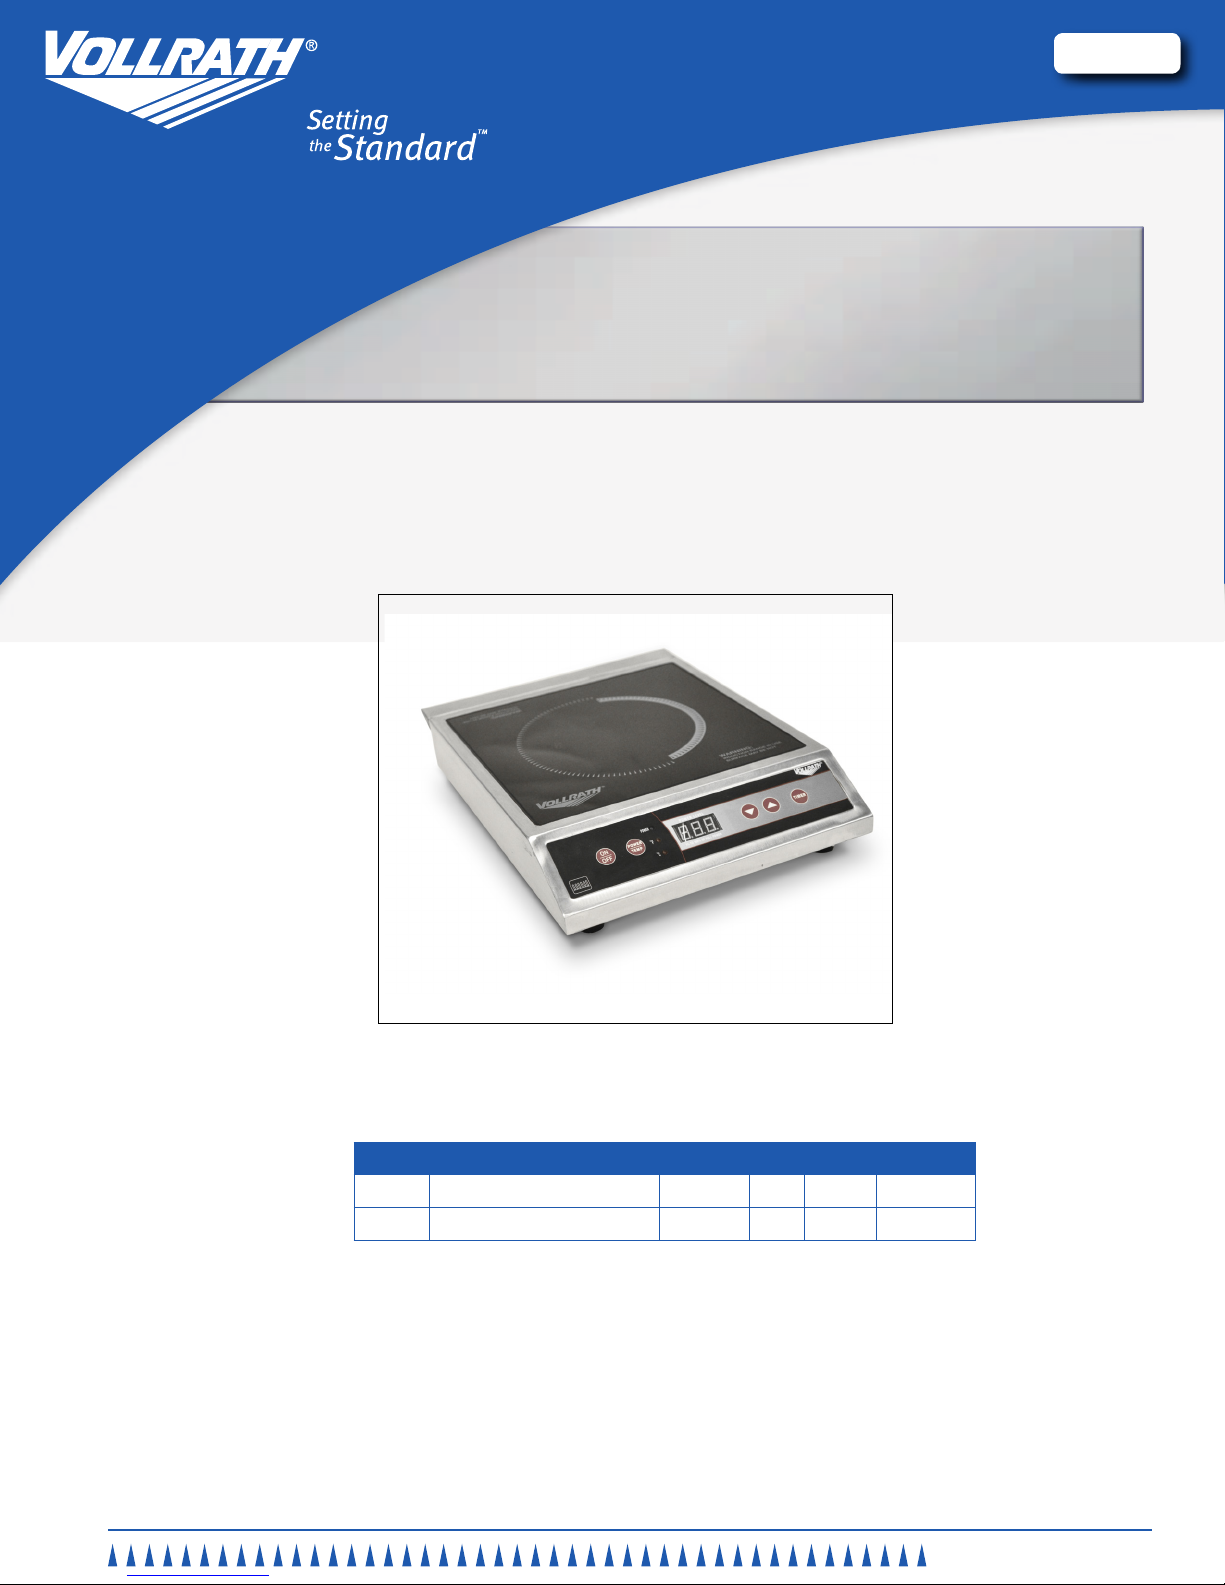
Foodservice induction ranges
3
ENGLISH
OperatOr’s Manual
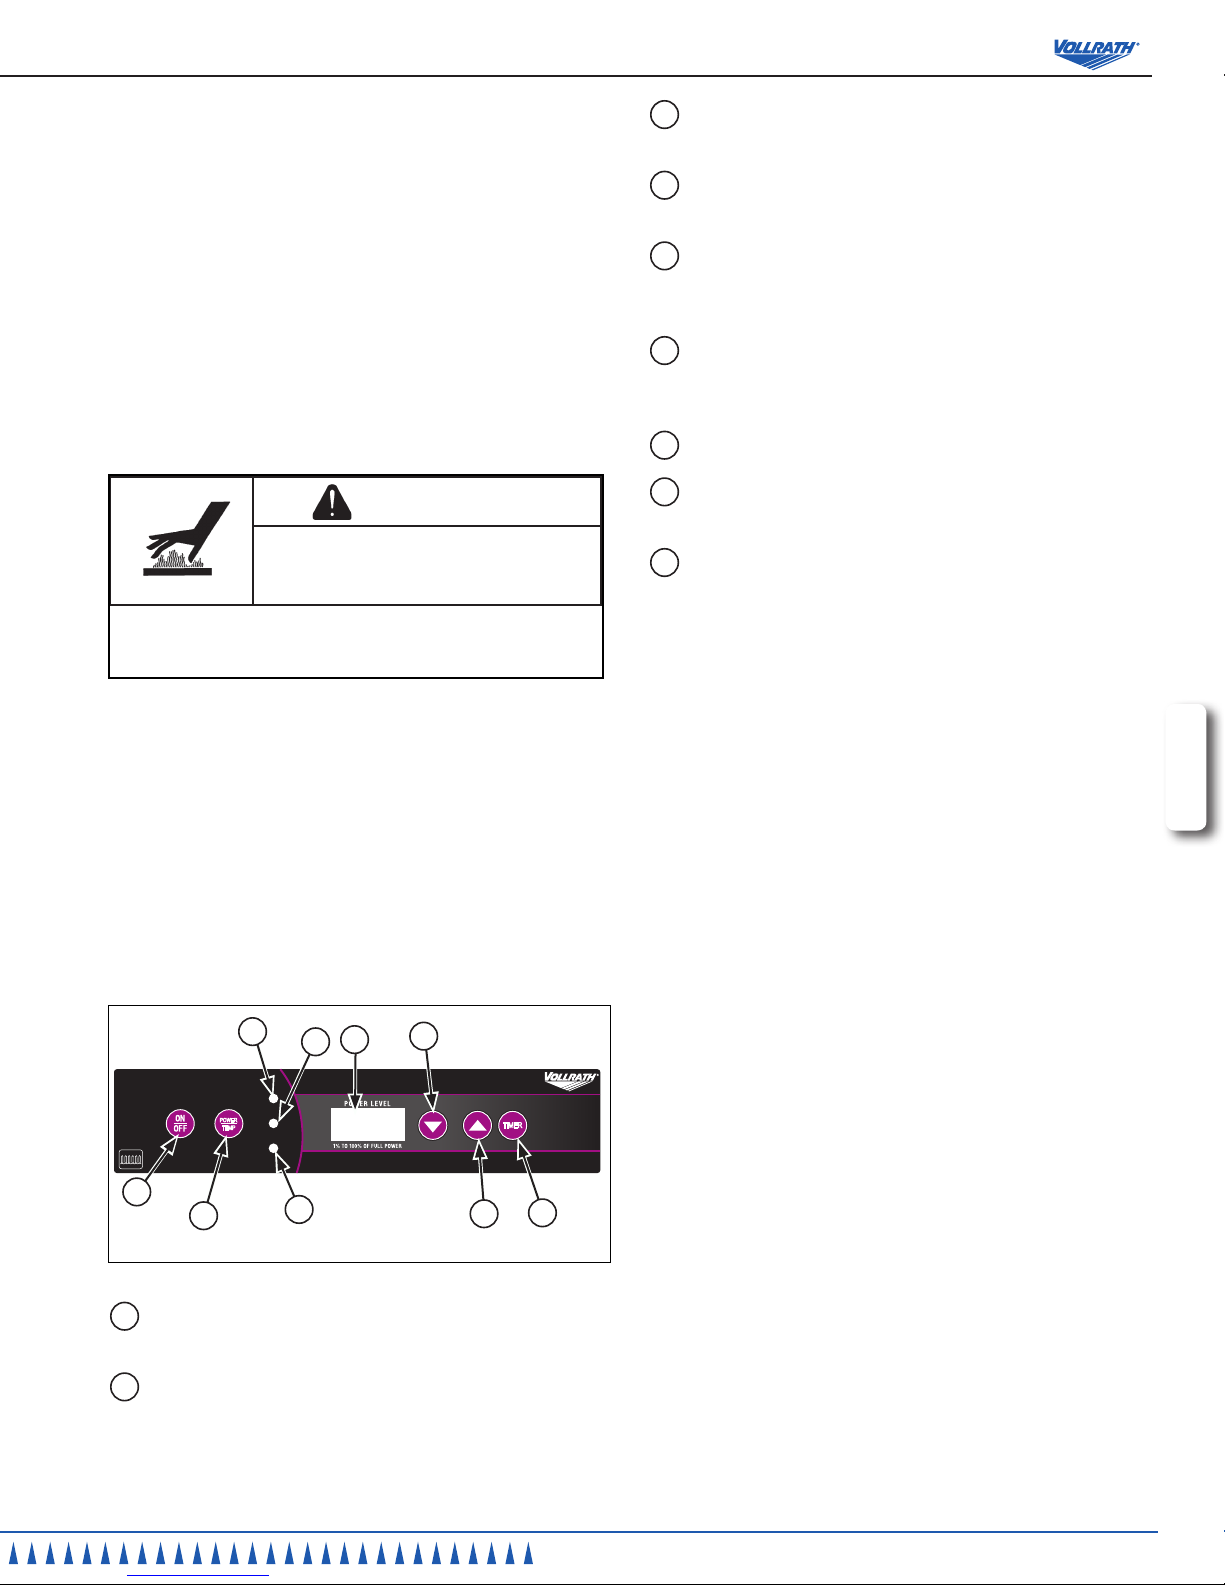
C UP button. Used to increase the power level or time depending
upon the mode selected.
D DOWN button. Used to decrease the power level or time
depending upon the mode selected and model.
E DISPLAY panel. This displays the power level, temperature,
timer time or an error code, depending upon the mode selected
and the model.
F POWER/TEMP button. Pushing the Power/Temp button toggles
between the three (3) LED lights and functions: Power control,
Temperature control in ºF, Temperature control in ºC.
G TIMER button. Used to switch on and start the timer function.
H ºC LED light. Illuminates when the temperature in being
displayed in degrees Centigrade.
I ºF LED light. Illuminates when the temperature in being
displayed in degrees Fahrenheit.
adjusting the Power and temPerature
1. Press the ON/OFF button to turn on the unit.
2. Place induction-ready cookware on the range/warmer. A number will
remain “steady on” units with a DISPLAY panel. The HEATING LED will
illuminate on units with HEAT RANGE and TEMPERATURE LED lights.
3. To adjust the cooking power level from 1-20, press the up button or down
button.
4. Press the POWER/TEMP button a to choose an approximate
temperature 100° F – 410° F. Press the POWER/TEMP button a second
time to choose an approximate temperature 40° C – 210° C.
5. Press the UP button or DOWN button to increase or decrease the power/
heat level or temperature. Press the UP button or DOWN button to
increase or decrease the power/heat level or temperature.
6. Press the ON/OFF button to turn off the unit.
Activating the Timer
1. Press the TIMER button. The DISPLAY will show “1” with a ashing dot
in the lower right corner.
2. Press the UP or DOWN button to set the timer from 1 to 180 minutes.
The timer can be can only be set in full minute increments.
3. When the timer cycle is complete, the unit beeps three (3) times and will
turn off.
4. To cancel the timer, press the ON/OFF button. The timer will turn off and
the unit will return to the power or temperature mode.
3. Place the induction-ready cookware containing food in the center
position of a heating surface.
NOTE:
Donotpre-heatemptycookware.Becauseofthespeedand
efciencyoftheinductionrange,cookwarecanveryquickly
overheatandbedamaged.
NOTE:
Donotdropcookingutensilsorotherobjectsontothecooking
surface.Thestrong,non-poroussurfacewillbreak.Thewarranty
doesnotcoverthistypeofabuse.
4. Press the ON/OFF button. The DISPLAY panel will show a power
level or the HEAT DISPLAY LED will light. When an induction ready
cookware pan is placed on the heating surface, the DISPLAY panel will
remain on, or the HEATING LED will illuminate. This indicates the unit
is heating.
WARNING
BurnHazard.
Do not touch cookware, heating surface, food, or
liquid while heating.
Hot food and liquids can burn skin. Induction heating surfaces heat
very rapidly. Use caution when adding pre-heated oil, liquid or other
food already in the cookware.
Units with DISPLAY panels are equipped with an “over-heating protection”
feature. If the temperature of the cooking surface becomes too hot, the unit
will turn off. The display will ash “F2” to indicate the unit is in “over-heating
protection” mode. After the unit has cooled, turn the cooking surface on and
if “F2” is not displayed, then cooking can resume.
The display window should remain constant during operation. If the display
is ashing, see the TROUBLESHOOTING section in this manual.
Removing cookware from the cooking surface for more than ten minutes will
cause the unit to automatically turn off. Removing cookware for less than
ten minutes will not interrupt operation of the unit.
All units will start in Power Mode when turned on rst time.
POWER
TEMP TIMER
POWER
°F
°C
INDUCTION
B
A
ED
CG
H
F
I
Figure1.FeaturesandControlsClampBaseModel.
A ON/OFF button. Press to turn unit on. The Power LED and the
three (3) digit DISPLAY panel will illuminate when switched on.
B POWER on LED light. Illuminates when the power is switched
on. This light will blink until induction-ready cookware is
detected. Once induction cookware is detected the light will
remain on.