Notes for your safety
4Instruction Manual Thermomix TM 31
The Thermomix TM 31 complies with the most
advanced safety standards. For your own
safety, please read these operating instructions
carefully before using your appliance for the
first time and be sure to take particular note of
the following:
The parts which you are using may be
hot, sharp or both. Please take the usual
care when handling household appliances
of this type.
Always keep the appliance out of chil-
dren's reach and warn your children that
the mixing bowl will heat up.
Place your Thermomix TM 31 on a solid
and even surface so that it cannot slip.
Keep a sufficient distance from the edge
of this surface and leave enough space
above.
When preparing dough or chopping food,
an imbalance can develop in the mixing
bowl which, under certain circumstances,
may cause the whole appliance to move.
Do not, therefore, leave the appliance
unattended while it is operating as it
might fall from the work top.
Keep a sufficient distance between the
appliance and external heat sources such
as radiators, hot plates etc.
Always use the spatula provided with your
appliance together with its safety disk for
stirring. Do not use other items such as
spoons, cooking spoons etc. for stirring.
These might get caught by the rotating
mixing blade, possibly resulting in injury.
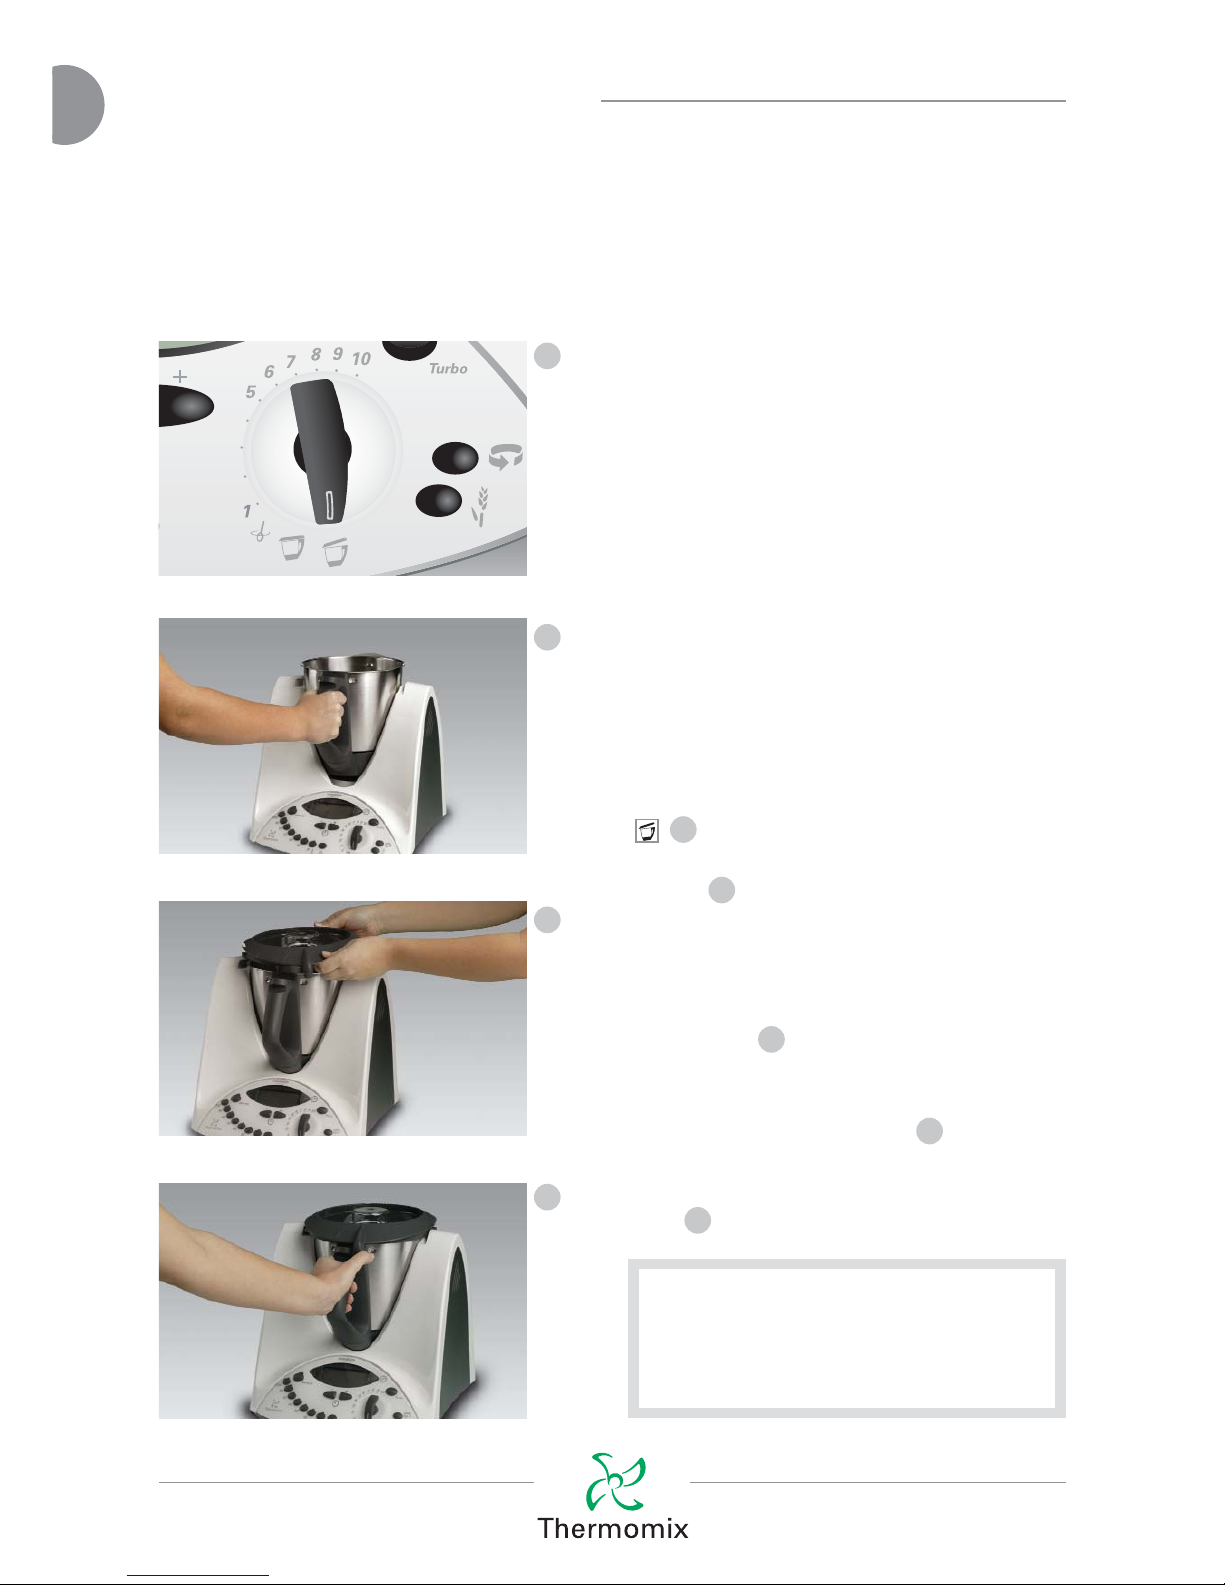
Always put on and lock the lid first before
inserting the spatula.
Always ensure that the sealing ring of the
lid has been correctly fitted. This is impor-
tant to avoid splashing.
If you use the turbo button while opera-
ting the appliance at medium and higher
speed levels to chop food please hold the
measuring cup firmly.
Never heat up the mixing bowl when it is
empty.
When processing food that has not been
heated in the Thermomix TM 31 do not
use the turbo button as there is a danger
of scalding from splashing food.
The maximum filling quantity of 2 litres
must not be exceeded.
An overfilled mixing bowl may lead to
burns during and even after operation as
hot food may splash from the bowl. For
your own safety, please always observe
the quantities indicated in the recipes.
1
2
3
4
5
6
7
8
9
10