8
Operation
CONTROL PANEL
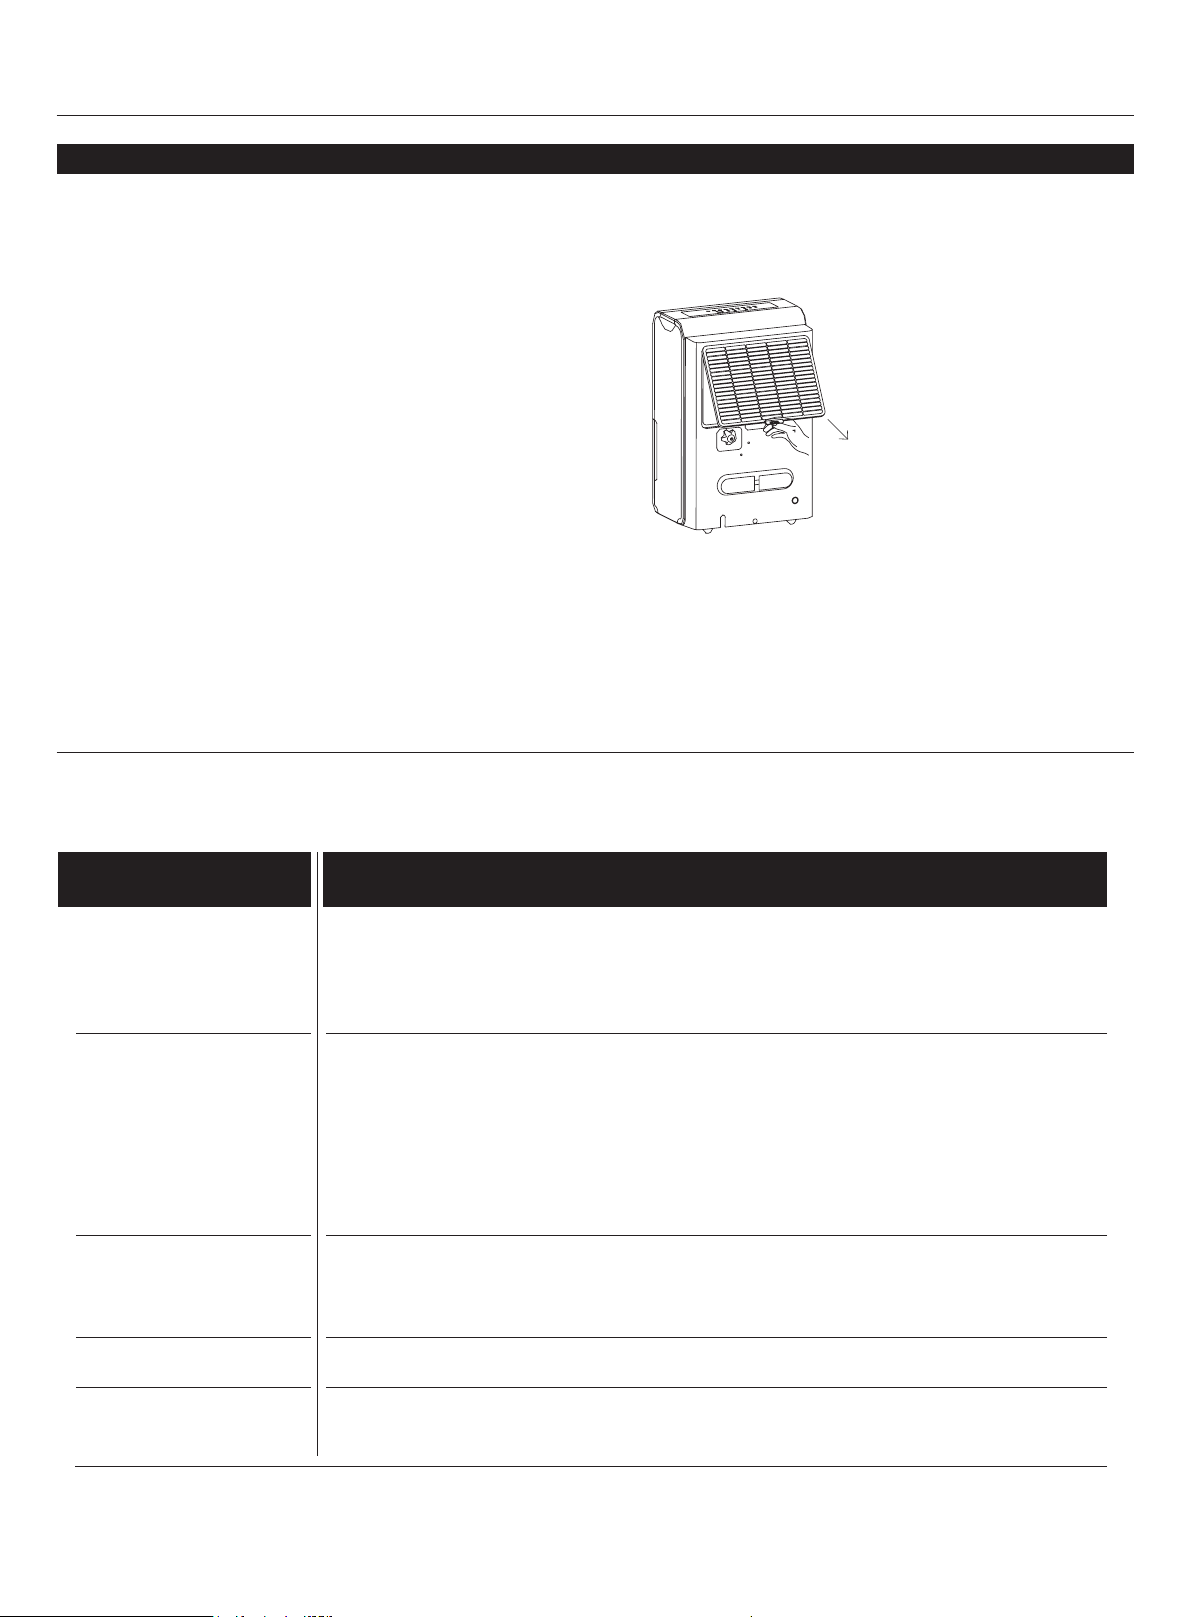
FILTER button
The check lter feature is a reminder to clean the Air
Filter for more efcient operation. The Filter light (clean
lter light) will illuminate after 250 hours of operation. To
reset after cleaning the lter, press the lter button and
the light will go off.
TURBO button
Control the fan speed. Press to select either High
or Normal fan speed. Set the fan control to High for
maximum moisture removal. When the humidity has
been reduced and quiet operation is preferred, set the
fan control to Normal.
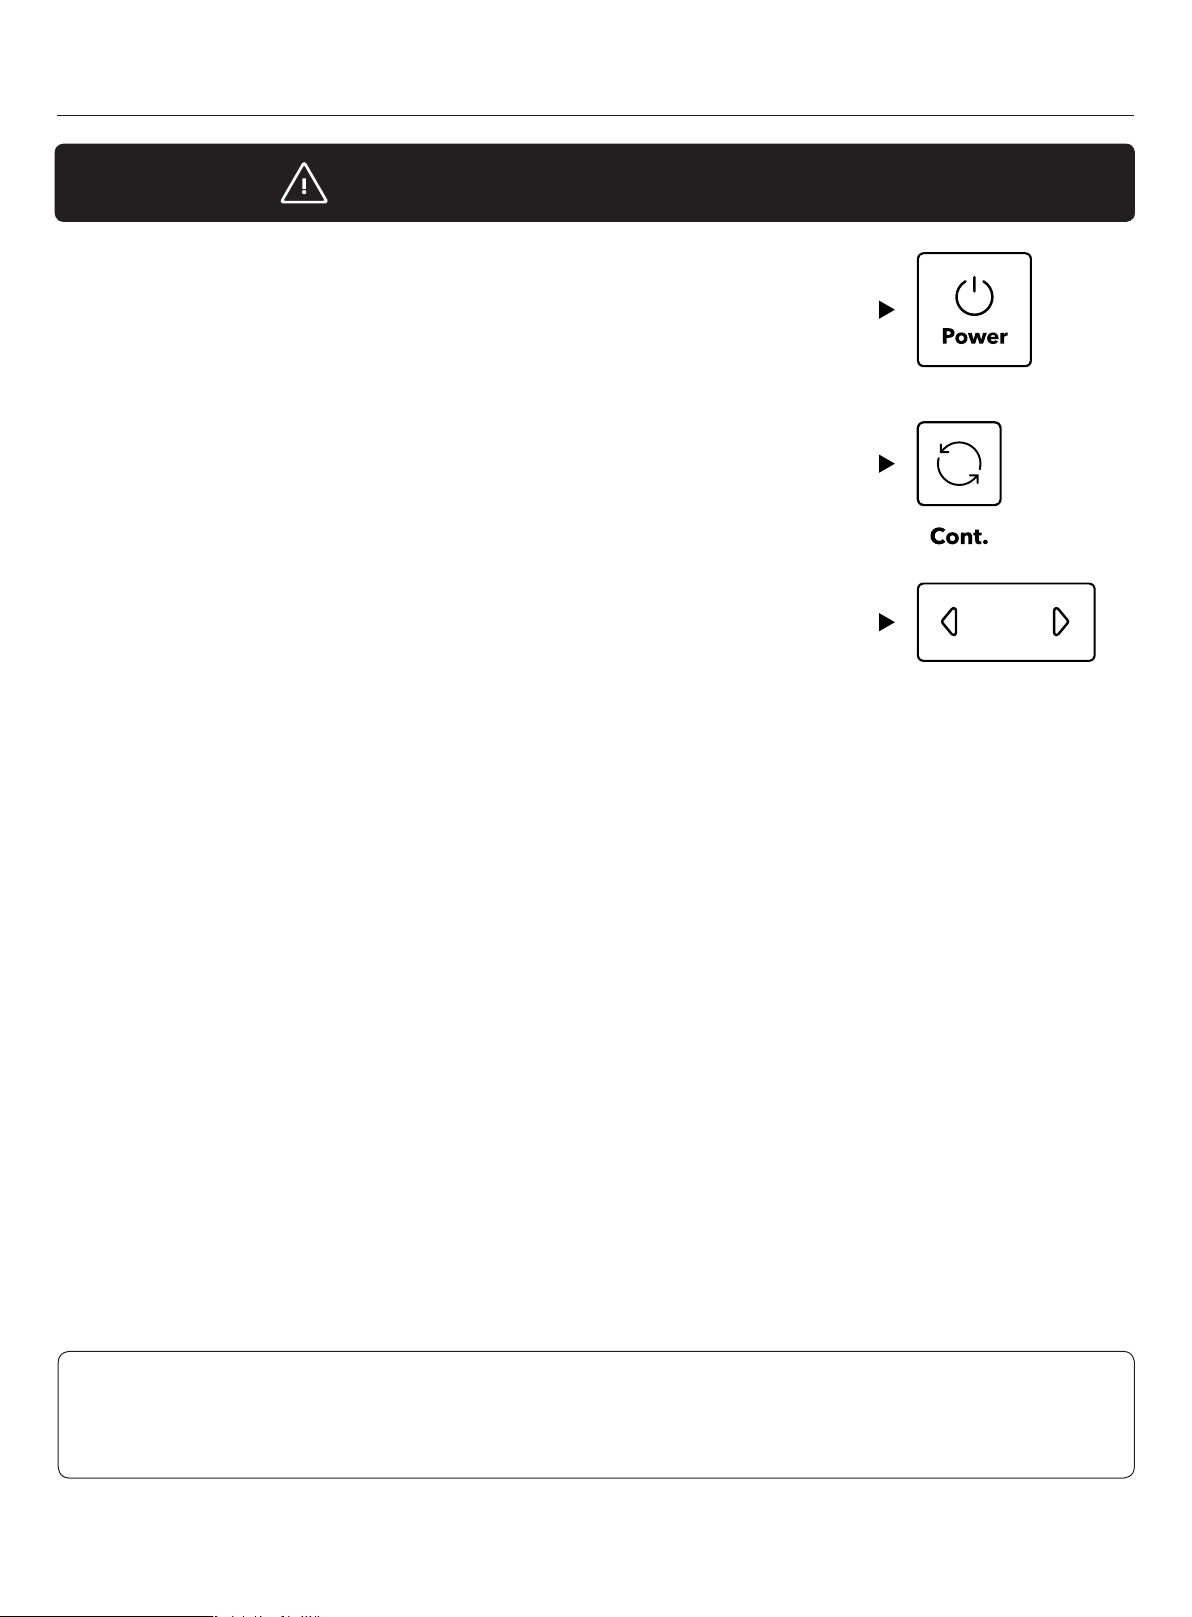
POWER button
Press to turn the dehumidier on and off.
CONTINUOUS button
Press to activate the Continuous dehumidifying
operation.
COMFORT button
Press this button to turn the comfort function on/off.
Under this mode, the humidity cannot be adjusted
manually but will be preset to a recommended
comfortable and healthy level based on the ambient
temperature. The level will be controlled as per below
table:
Ambient
Temperature <65 ˚F 65 -77 ˚F >77 ˚F
Relative
Humidity 55 % 50 % 45 %
LEFT / RIGHT buttons
NOTE: When the dehumidier is rst turned on, it will go
on Continuous mode by default. This will disable use of
the LEFT/RIGHT buttons. Make sure to turn off Continuous
mode to regain function in these buttons.
Humidity Set Control buttons
• The humidity level can be set within a range of 35%RH
(Relative Humidity) to 85%RH (Relative Humidity) in 5%
increments.
TIMER button
Press to initiate the Auto start and Auto stop feature, in
conjunction with the and buttons.
• When the dehumidier is on, rst press the Timer
button. The Timer Off indicator light will illuminate. It
indicates the Auto Stop program is initiated. Press it
again and the Time On indicator light will illuminate. It
indicates the Auto Start is initiated.
• When the dehumidier is off, rst press the Timer
button. The TIMER ON indicator light illuminates. It
indicates the Auto Start program is initiated. Press it
again and the Time Off indicator light illuminates. It
indicates the Auto Stop is initiated.
• Press or hold the LEFT or RIGHT buttons to change the
Auto time by 0.5 hour increments, up to 10 hours, then
at 1 hour increments up to 24 hours. The control will
count down the time remaining until start.
• The selected time will register in 5 seconds and the
system will automatically revert back to display the
previous humidity setting.
• When the Auto start & Auto stop times are set, within
the same program sequence, TIMER ON and OFF
indicator lights illuminate identifying both ON and
OFF times are now programmed.
• Turning the dehumidier ON or OFF at any time or
adjusting the timer setting to 0.0 will cancel the Auto
Start/Stop function.
• When LED display window displays the code of P2,
the Auto Start/Stop function will also be canceled.
• For drier air, press the button and set to a lower
percent value (%).
For damper air, press the button and set a higher
percent value (%).
Timer Set Control buttons
• Press to initiate the Auto start and Auto stop feature, in
conjunction with the and buttons.
Indicator Lights
• ON .....................Timer ON light
• OFF ...................Timer OFF light
• FULL ..................The water tank is full and should be emptied
• DEFROST .........The appliance is on Defrost mode