• Angle the clipper and gently stroke around the ear towards the
back of the neck.
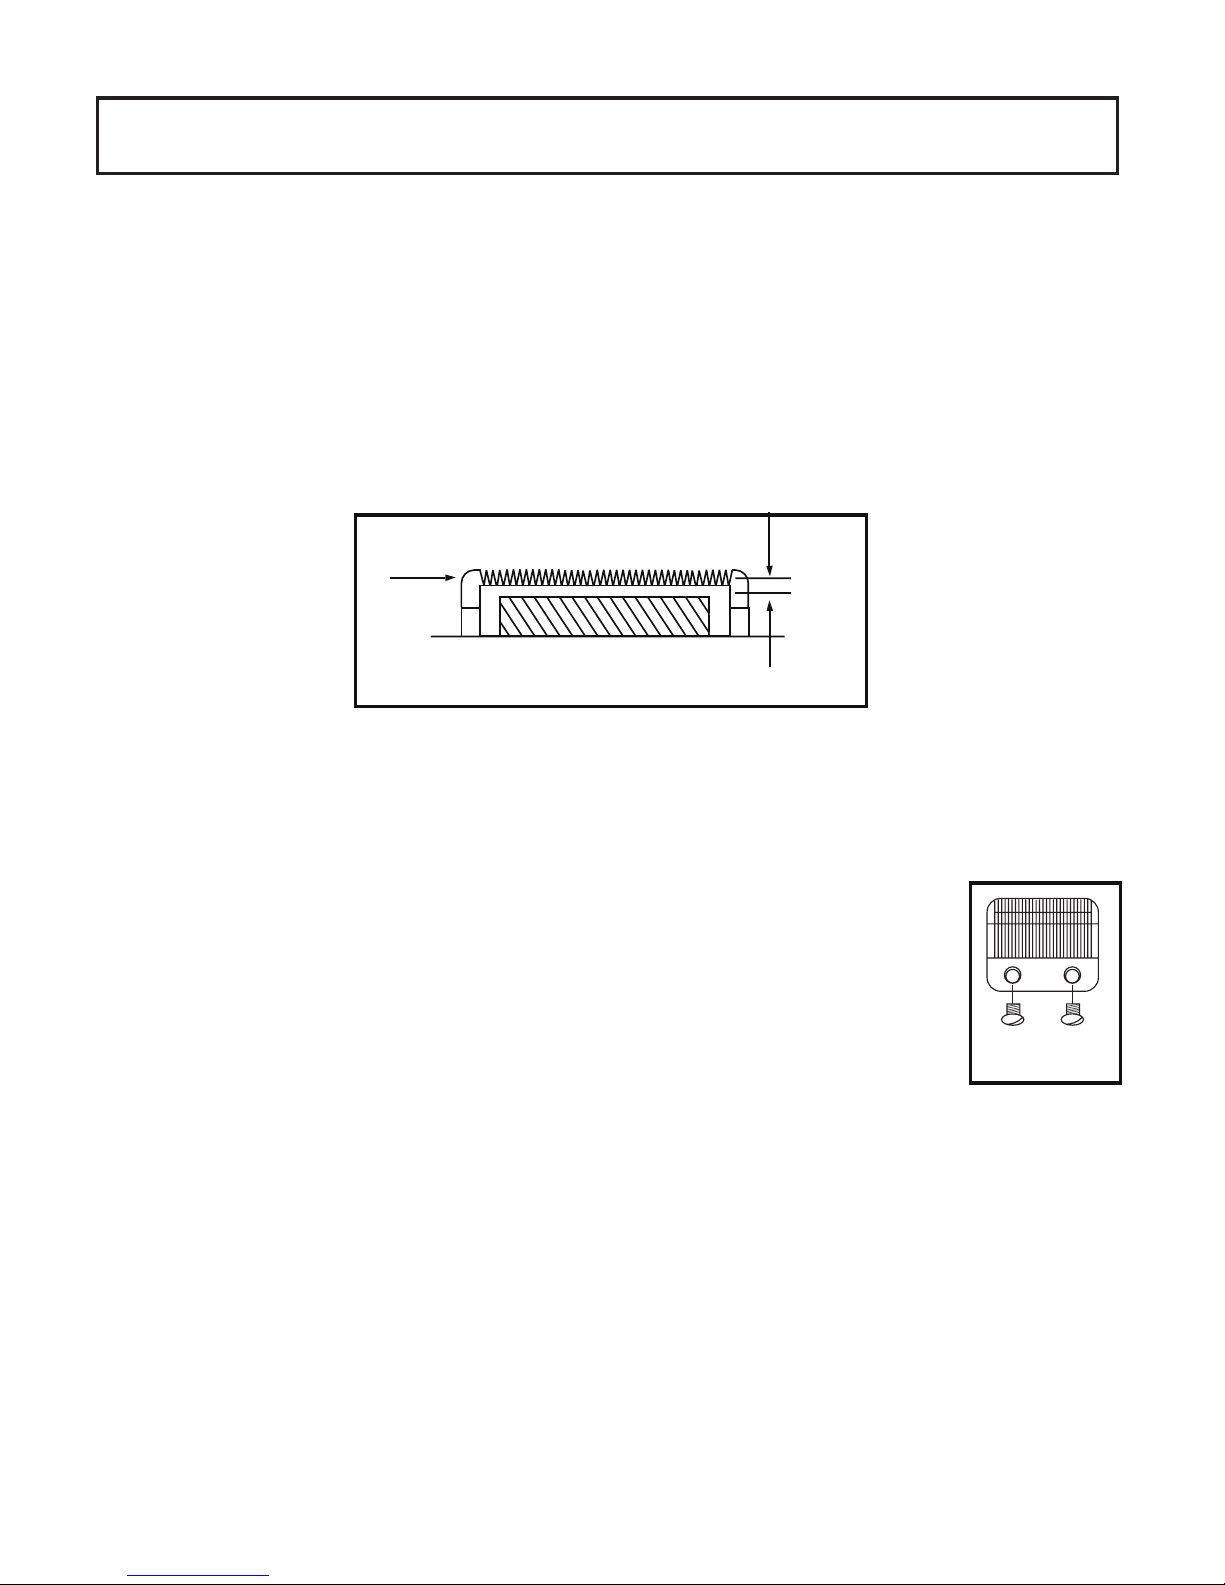
Taper Control
The taper control lever enables ne cut adjustment for precision
clipping.
• To increase the cutting length, push the lever down.
• To reduce the cutting length, push the lever up.
Preparation for Use
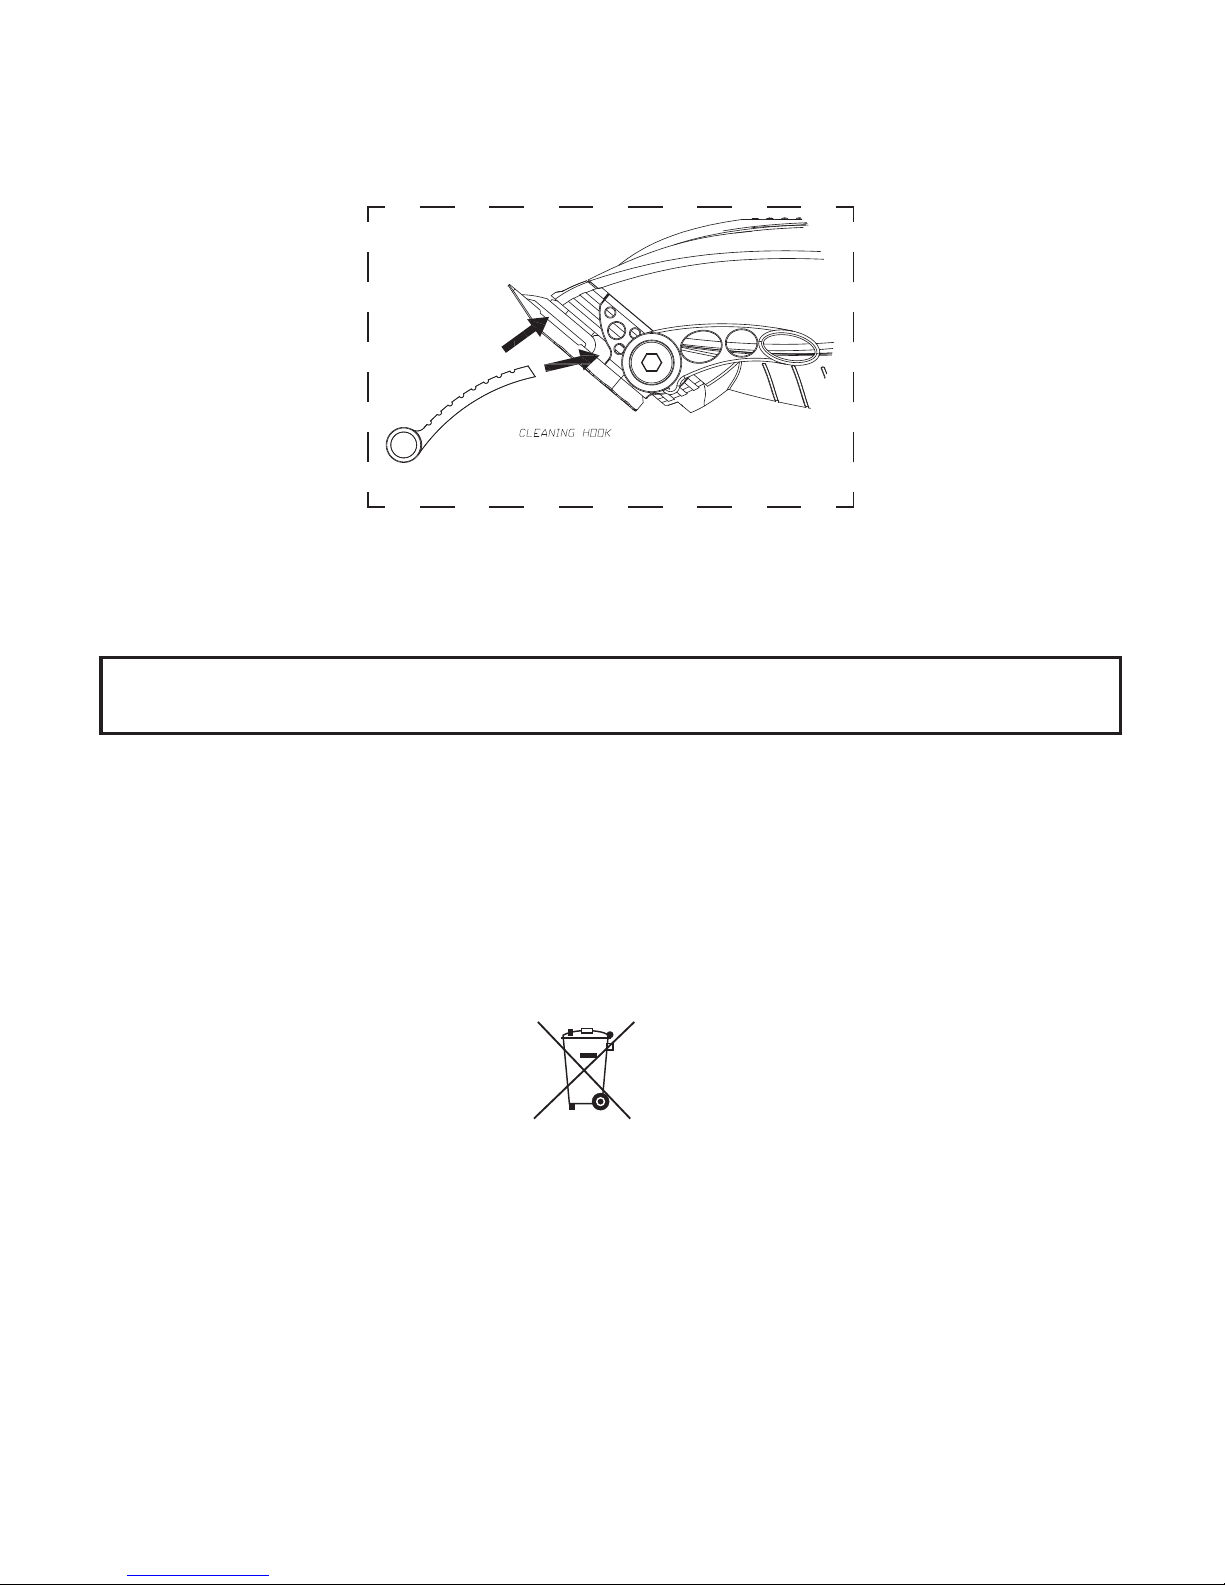
• Always inspect the appliance before use to ensure the clipper
blades are free from hair, debris etc.
• For best performance, use on clean, dry hair that has been combed
until tangle-free.
• Ensure the appliance is sufciently charged or plugged into the mains.
Clipping
For an all over even cut:
• Attach a comb guide as required – your clipper is supplied with 8
comb guides (grades 1-8). Each comb guide is labelled.
• Switch the clipper on and the blades will start to move.
• Starting at the nape of the neck, hold the clipper with the teeth
of the clipper pointing upwards, ensuring that the comb guide is
resting flat against the head.
• Slowly move the clipper upwards and outwards through the hair
towards your crown, against the direction of the hair growth. The
comb guide will help to lift the hair and the blades will cut the
hair at the desired length.
• Once the desired length is achieved at the back of the hair, start
clipping the top and sides.
• Hold the clipper to the front of your hair with the teeth pointing
towards the back of your head, and move the clipper towards
your crown. Repeat as necessary, moving in rows from the front
and the sides of your head to the back.
• You should achieve an even length cut all over your head.