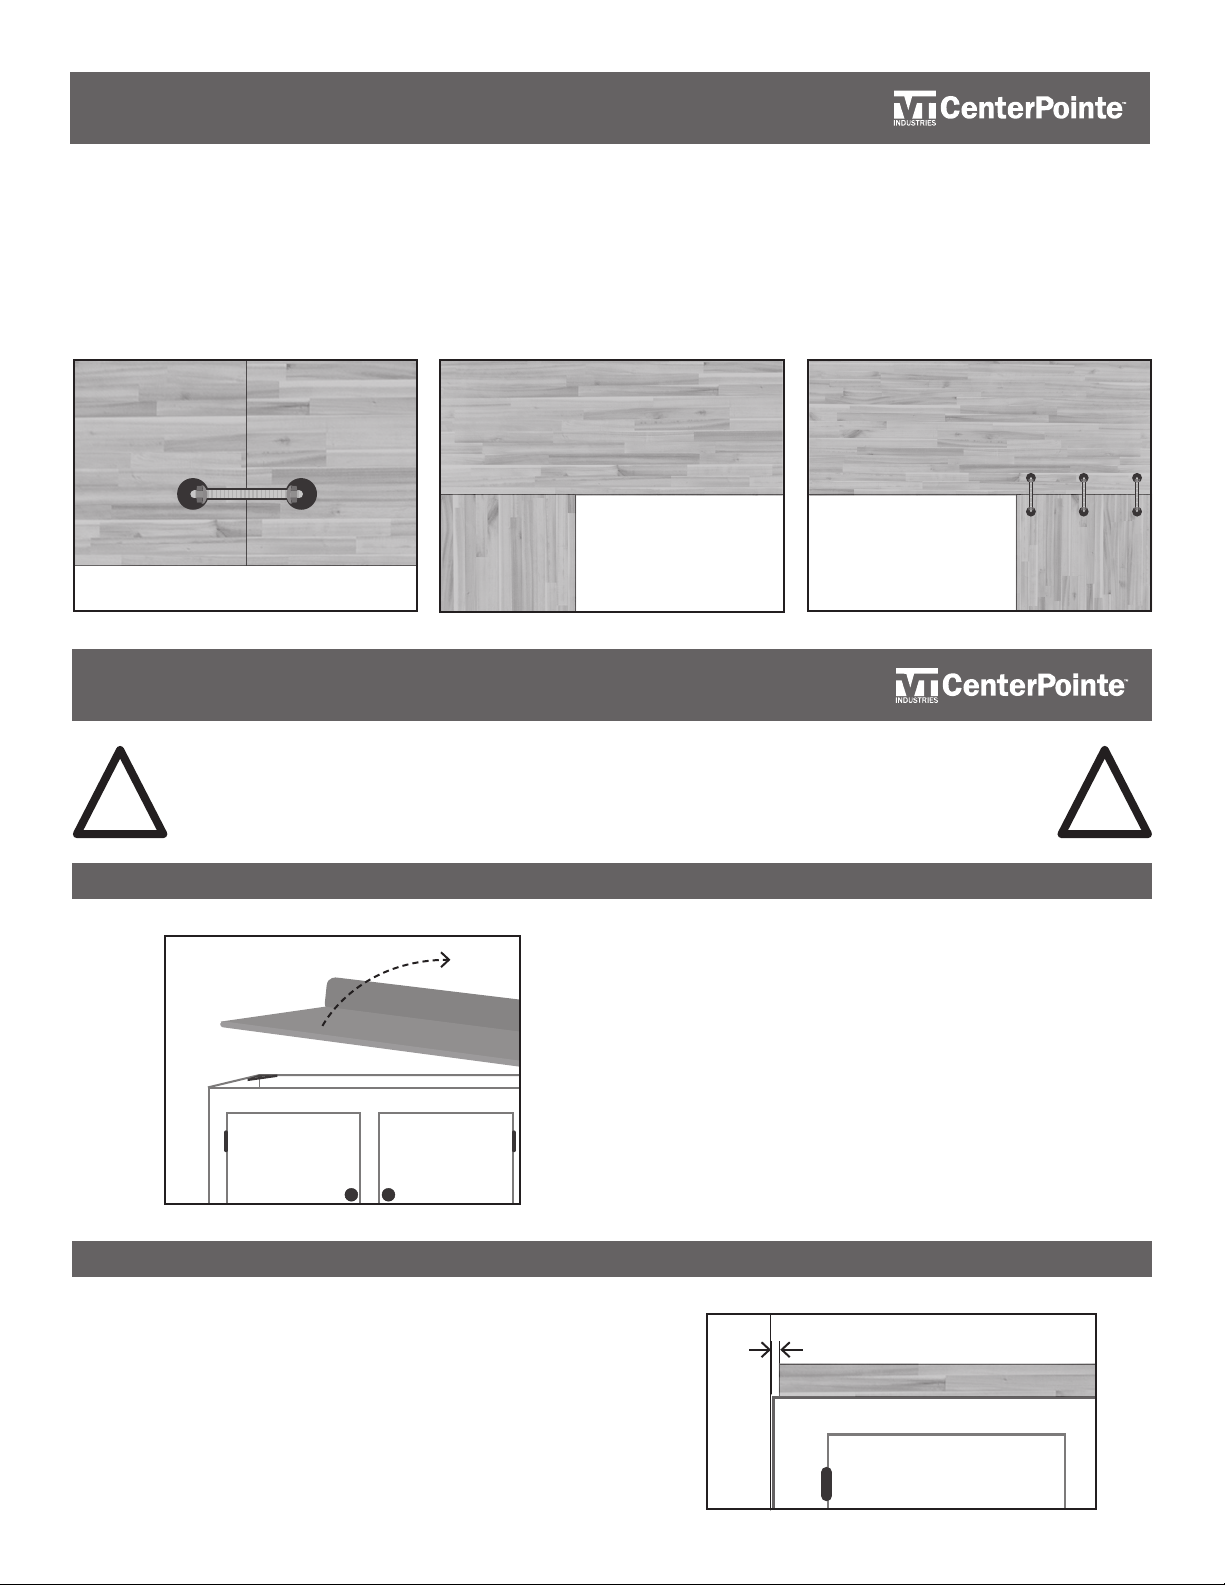
BUTCHER BLOCK COUNTERTOPS
Additional considerations should be made when
installing a CenterPointe butcher block countertop
around appliances and countertops with stove
cutouts. Where appliances have heat acting on the
countertop, such as dishwasher, under counter oven,
or warming drawer, attach self-adhering aluminum
flashing to the underside of the butcher block. This
will assist in keeping heat and steam away from the
block and cut down heat transference. The fitting
of cooktops must not restrict the countertop from
expanding and contracting. Ensure that there is at
least 1/4” clearance all around the cooktop. To avoid
splintering when cutting into the butcher block, it
is recommended that masking tape be applied over
the area that will be cut.
NOTE: Reseal any areas that have been cut during
installation, with at least four coats of sealer.
3
KITCHEN APPLIANCE PLACEMENT
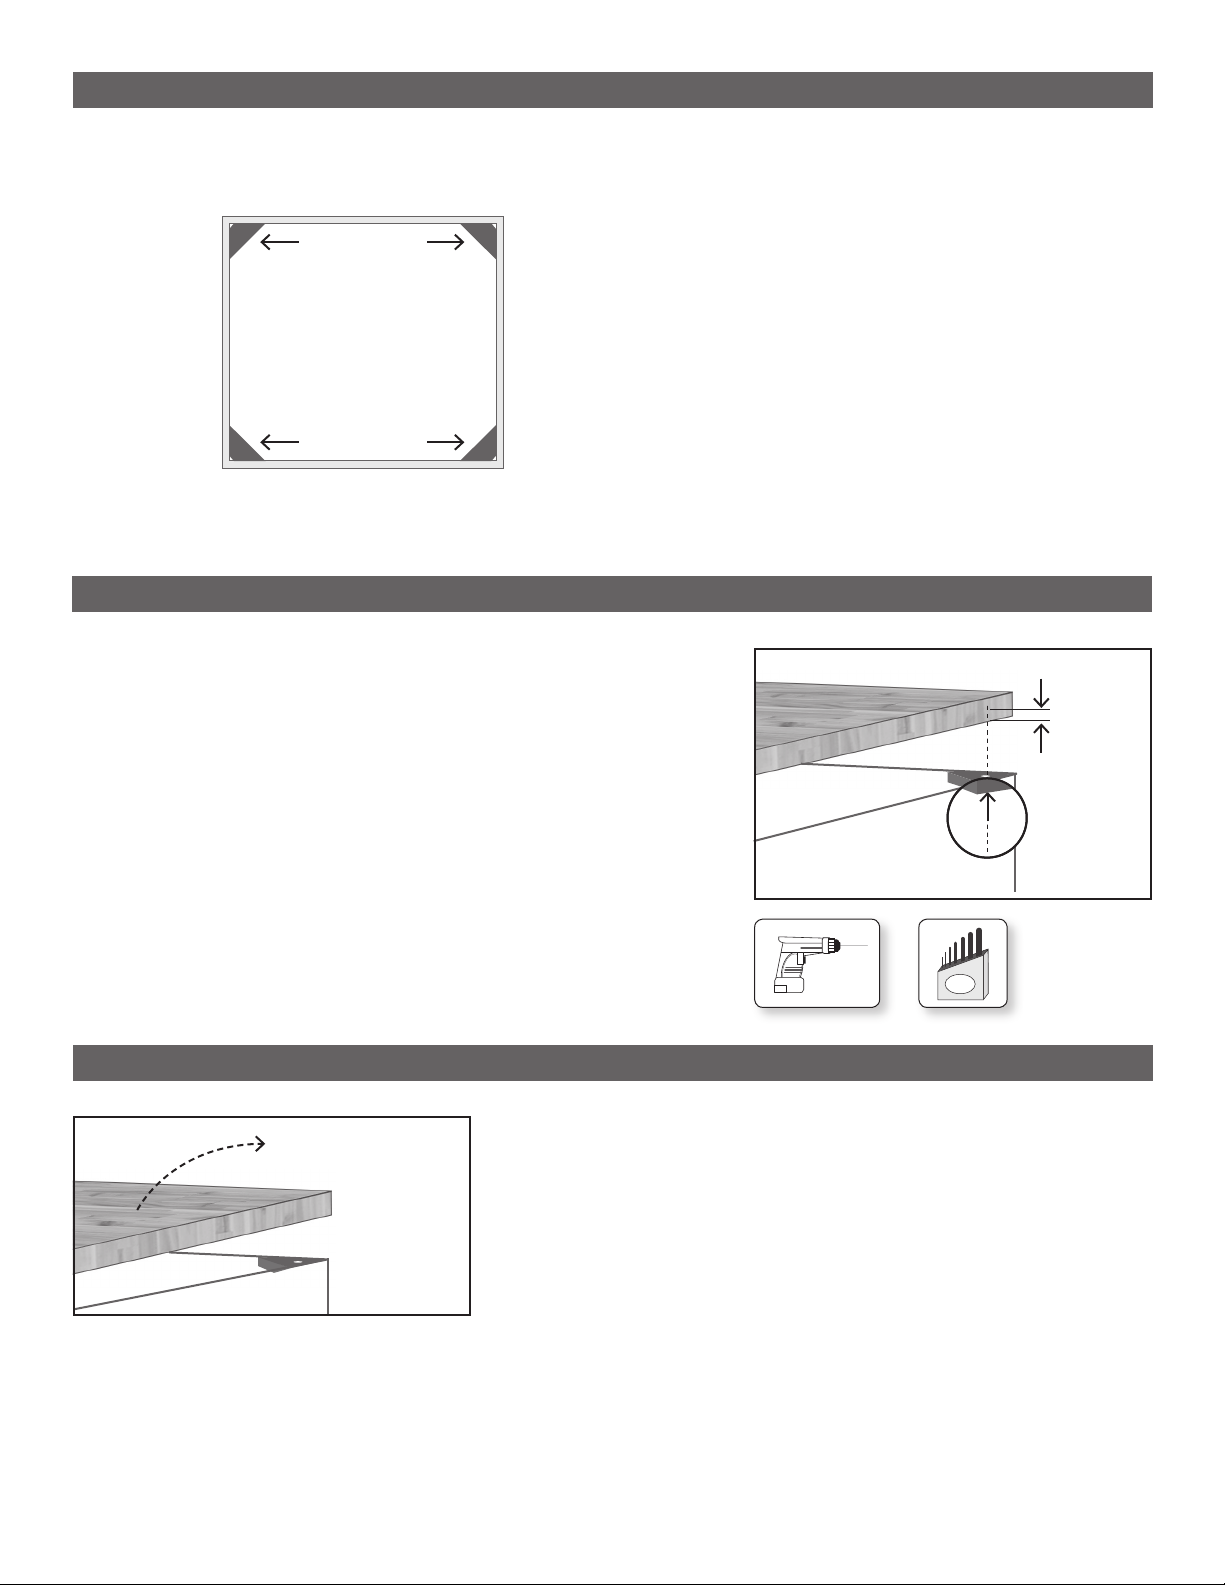
STEP 4 - CUT
To begin cutting using the circular saw, adjust the blade
so that it extends 1/4” below the bottom of the butcher
block countertop. A blade that hangs too low beyond
the thickness of the wood may pull at the wood bers,
causing tears and splintering. Make the necessary cuts
into the butcher block along the pencil line. Move the
circular saw at a slow and even pace to ensure the blade
does not tear the wood.
Note: If burn marks appear while cutting, sand the
surface lightly with 220 grit sandpaper and re-apply
sealer.
EXAMPLE:
1-1/2”+1/4”= 1-3/4” BLADE DEPTH
SAW
COUNTERTOP 1-1/2”
BLADE 1/4” BELOW
COUNTERTOP
SELF-ADHERING ALUMINUM FLASHING
UNDER-MOUNT APPLIANCE
Underside Front View
WALL
APPLIANCE
Overhead View
1/4” 1/4”
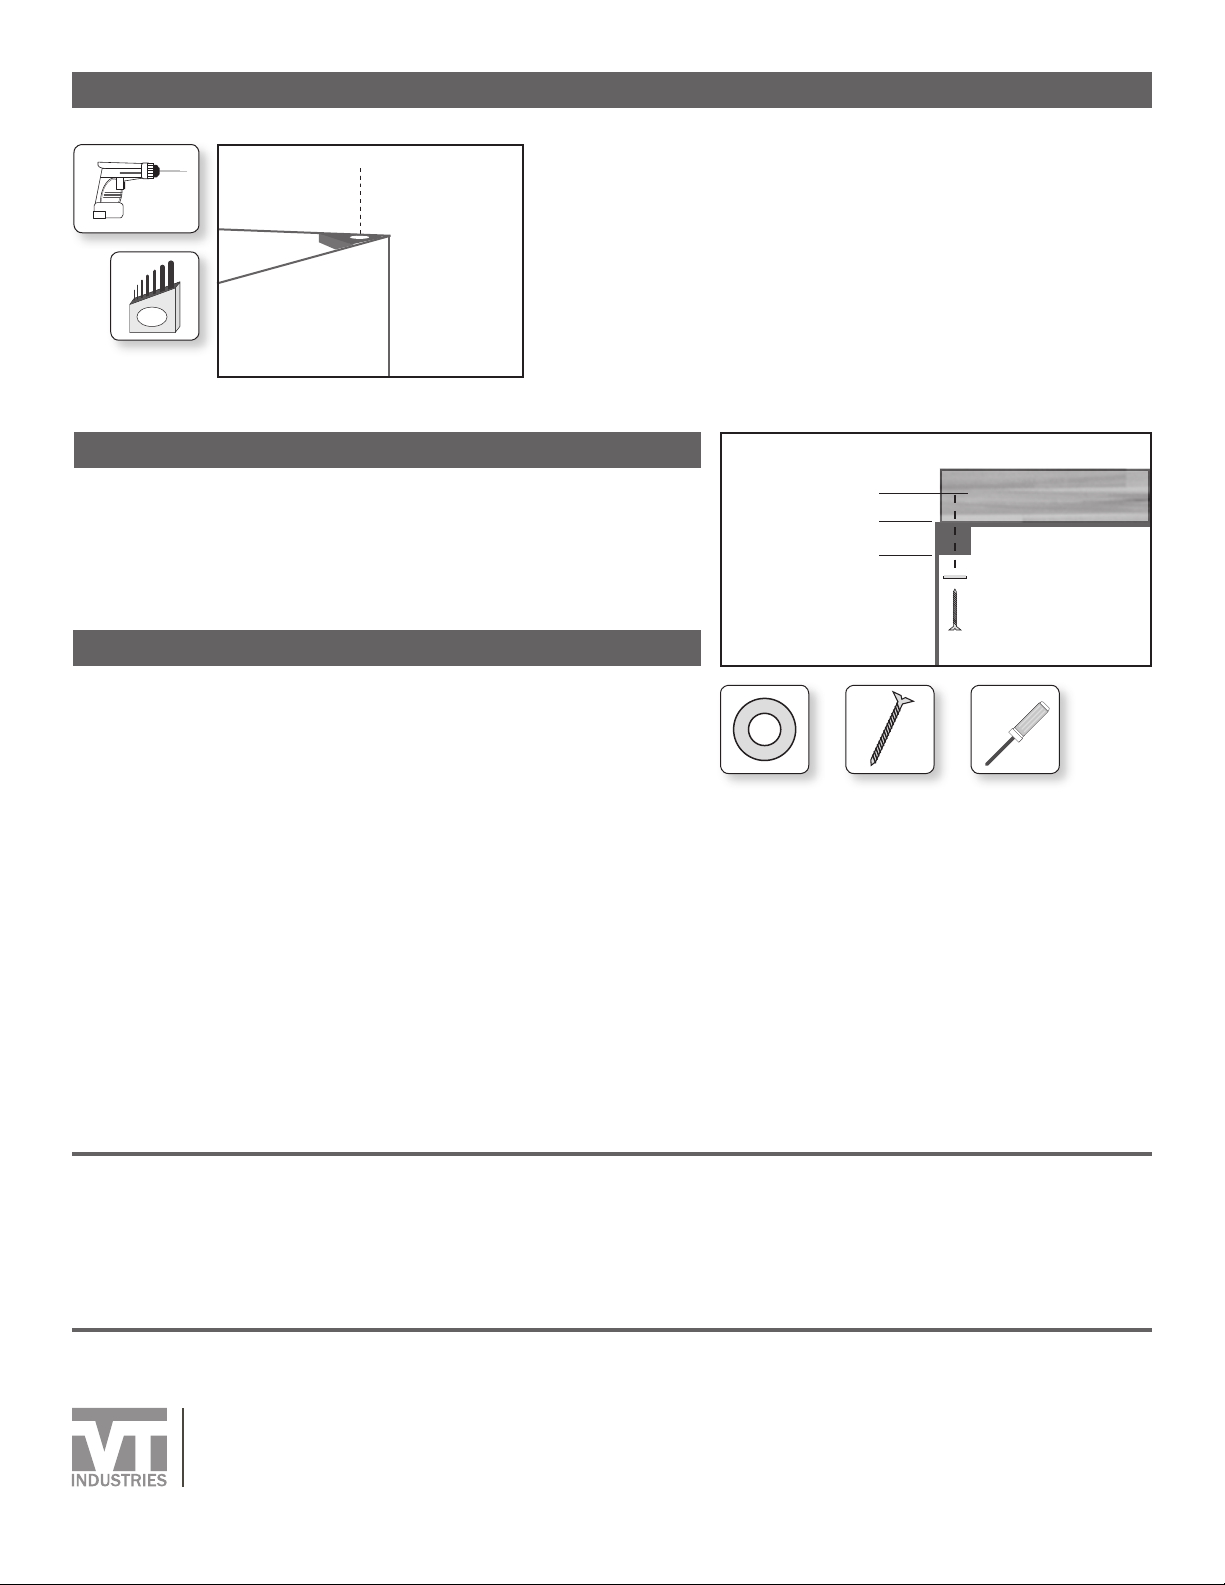
STEP 3 - TAPE & MARK CUT LINE
Carefully measure the width of the run of cabinets to be covered
with butcher block, including any desired overhang, if applicable.
After determining the necessary cuts to be made, draw the cut line
boldly with a pencil, using a carpenter’s square to draw a straight
line. Place a layer of masking tape over the pencil line. Press the
masking tape rmly.
Overhead View