W6 N 1615 User manual

N 1615-120201
W6 N 1615 sewing machine
Manual

2 www.w6-wertarbeit.de
Dear customer
Thank you very much for buying a W6 product.
Discover the reliability of our products for yourself.
We have included a comprehensive manual, so
that you may easily learn how to operate the
machine.
Please read the manual and the safety notes
carefully before operating the machine.
Please enjoy your new sewing machine.
W6 WERTARBEIT

www.w6-wertarbeit.de 3
Contents
Safety notes......................................................................................................................................... 5
Important notes ................................................................................................................................... 5
Getting to know the machine................................................................................................................ 6
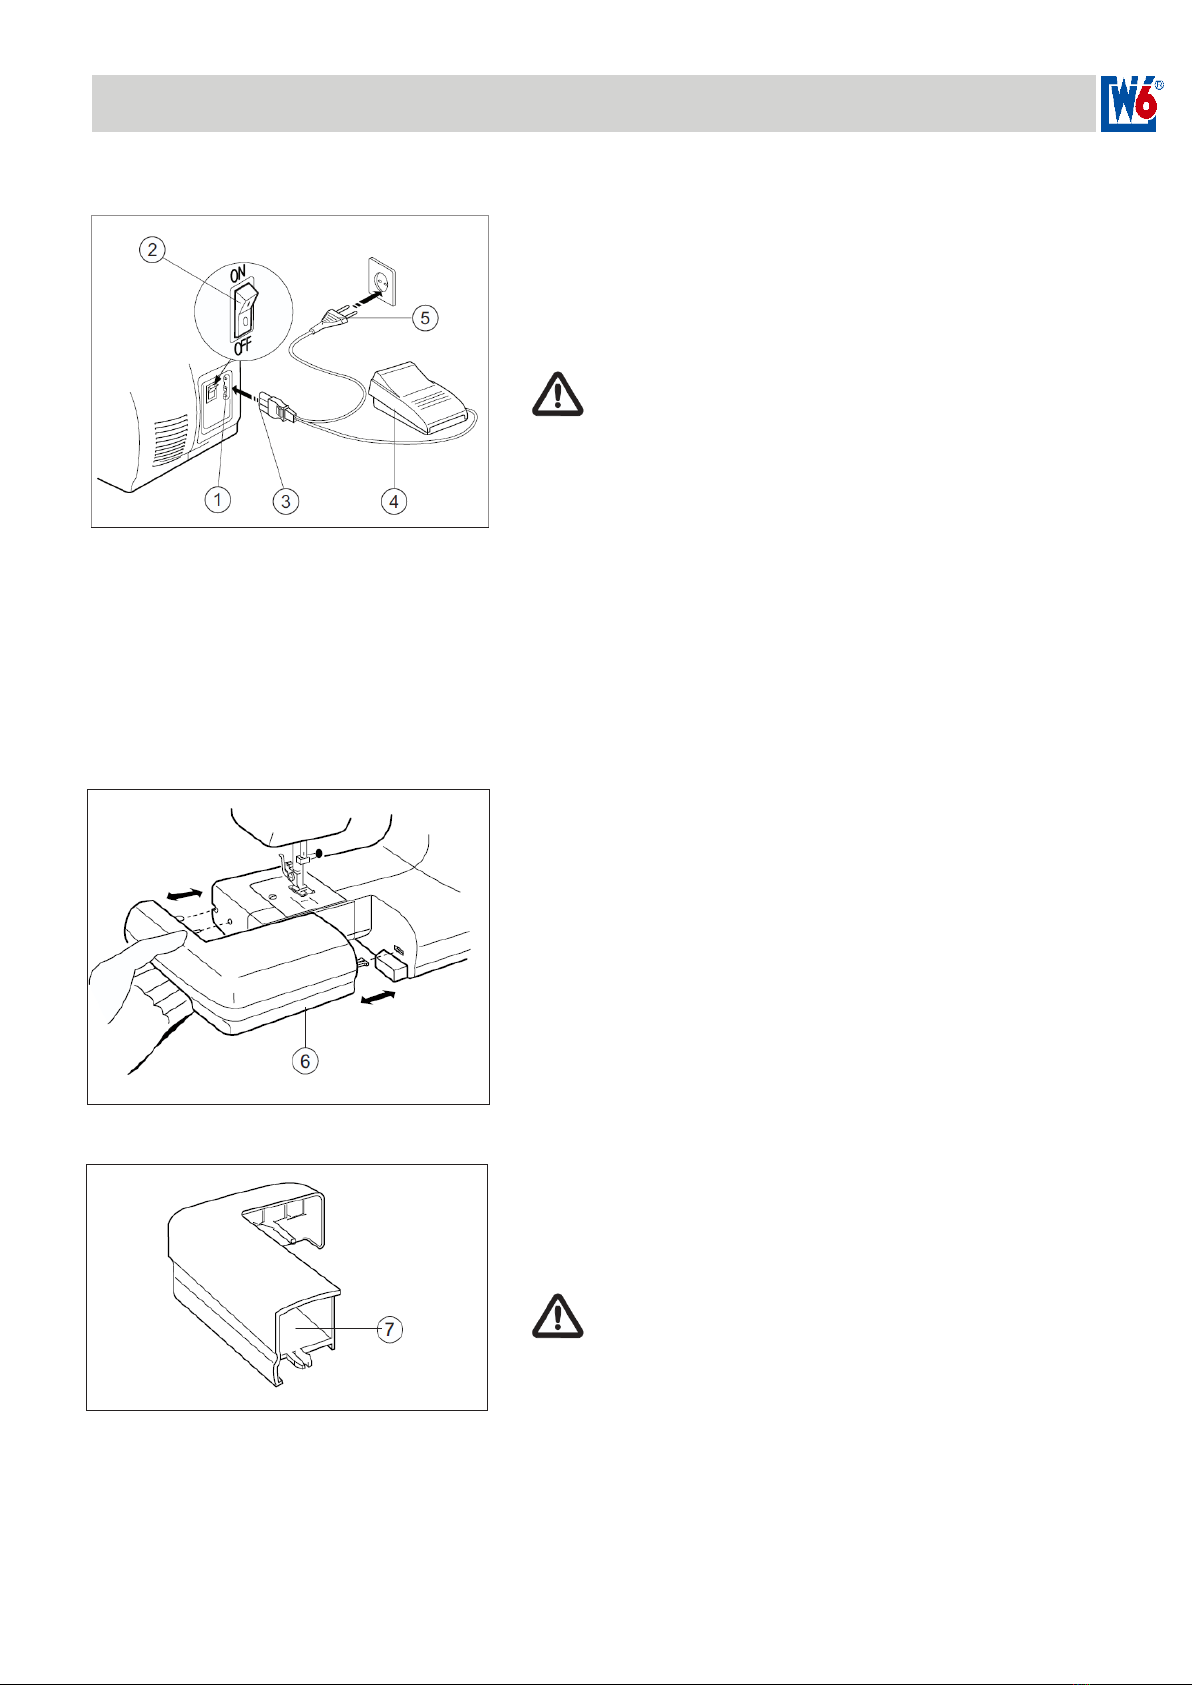
Power switch and connections ........................................................................................................................ 7
Extension table with accessories compartment .............................................................................................. 7
Standard accessories........................................................................................................................... 8
Additional standard accessories...................................................................................................................... 8
Free arm sewing .................................................................................................................................. 8
Connecting the sewing machine........................................................................................................... 9
Operating elements............................................................................................................................ 10
Upper thread tension dial .............................................................................................................................. 10
Pattern selector dial....................................................................................................................................... 10
Stitch length dial ............................................................................................................................................ 10
Changing the presser foot.................................................................................................................. 12
Changing the presser foot holder ....................................................................................................... 13
Fabric, needle and thread table .......................................................................................................... 14
Changing a needle ............................................................................................................................. 15
Checking the needle...................................................................................................................................... 15
Inserting the needle ....................................................................................................................................... 15
Winding the lower thread ................................................................................................................... 16
Removing the bobbin ......................................................................................................................... 17
Inserting the bobbin ........................................................................................................................... 18
Threading the upper thread ................................................................................................................ 19
Threading the upper thread / Retrieving the lower thread .................................................................... 20
Stitch length ...................................................................................................................................... 21
Stitch length for patterns A to G (outside) ..................................................................................................... 21
Stitch length selection for super utility stitches A to G (inside)...................................................................... 21
Sewing a test seam ............................................................................................................................ 22
Thread tension................................................................................................................................... 24
Correct upper thread tension......................................................................................................................... 24
Loosening the upper thread tension.............................................................................................................. 24
Increasing the upper thread tension.............................................................................................................. 25
Checking the lower thread tension ................................................................................................................ 25
Useful tips ......................................................................................................................................... 26
Sewing corners .............................................................................................................................................. 26
Sewing at edges at a spacing of less than 3 mm.......................................................................................... 26
Sewing curves ............................................................................................................................................... 26
Sewing thick fabrics ....................................................................................................................................... 27
Sewing thin fabrics ........................................................................................................................................ 27
Using the needle plate................................................................................................................................... 27
Pattern overview table........................................................................................................................ 28

4 www.w6-wertarbeit.de
Contents
Straight stitch .................................................................................................................................... 29
Stretch straight stitch ..................................................................................................................................... 29
Zigzag stitch ...................................................................................................................................... 30
Overlocking.................................................................................................................................................... 30
Appliqués ....................................................................................................................................................... 30
Patchwork ...................................................................................................................................................... 30
Sewing curves ............................................................................................................................................... 30
Satin stitch ..................................................................................................................................................... 30
Overlock stitch / Special overlock stitch ............................................................................................. 31
Lingerie stitch.................................................................................................................................... 31
Blind stitch / Elastic blind stitch ......................................................................................................... 32
Buttonholes ....................................................................................................................................... 33
Sewing stretch fabrics ................................................................................................................................... 34
Selecting the stitch length.............................................................................................................................. 34
Sewing in zippers............................................................................................................................... 35
Sewing zippers in the centre ......................................................................................................................... 35
Darts ................................................................................................................................................. 36
Gathering........................................................................................................................................... 37
Securing the gather............................................................................................................................ 38
Decorating garments ..................................................................................................................................... 38
Tucks ................................................................................................................................................ 39
Decorating blouses, shirts, etc. ..................................................................................................................... 39
Appliqués .......................................................................................................................................... 40
Corners and curves of appliqués................................................................................................................... 40
Darning.............................................................................................................................................. 41
Darning using an embroidery frame .............................................................................................................. 41
Maintenance ...................................................................................................................................... 42
Cleaning the sewing machine case............................................................................................................... 42
Cleaning the hook.......................................................................................................................................... 42
Changing the light bulb ...................................................................................................................... 44
Troubleshooting ................................................................................................................................ 45
Problems with threads and stitches............................................................................................................... 45
Notes on environmental protection..................................................................................................... 46
Service information............................................................................................................................ 46
Index ................................................................................................................................................. 47

www.w6-wertarbeit.de 5
Safety notes
4 Disconnect the sewing machine from the
mains by unplugging the power plug when
leaving the machine, removing the cover,
changing the needles, bobbin or lamp or
during maintenance. Do not place objects
on the foot controller.
5 Do not use
the sewing machine if the
machine or electrical components are
damaged.
Have your machine repaired by the
technical service.
6
The max. power of the light bulb is
15 W/230 V BA.
7 Always keep the foot controller free from
dust and threads.
Please observe the following safety notes:
1 Due to the needles going up and down, be very
careful when sewing. Always observe the
sewing point. Never touch moving parts when
sewing.
2 Keep children away from the sewing machine.
3 Only use original accessories.
Important notes
To ensure a long service life, please take note of
the following:
The CE marking confirms that this machine
complies with the principal safety
requirements of the relevant European
directives.
1 Do not use or store the sewing machine in
places where it is exposed to direct sunlight,
moisture or high levels of humidity. Make sure
that it is not placed next to radiators or other
heat sources.
2 When cleaning the machine, only use dry or
damp cloths. Never use benzine, thinners or
other chemical cleaning agents for cleaning.
3 Do not expose the machine to strong
vibrations.
4 The machine is not designed or intended for
commercial use.

6 www.w6-wertarbeit.de
Getting to know the machine
1 Thread lever
2 Thread guide
3 Thread guide
4 Spool pin (extractable)
5 Bobbin winder spindle (winding)
6 Bobbin winder stopper
7 Stitch length dial
8 Patterns (overview)
9 Reverse stitch button
10 Pattern selector dial
11 Extension table with accessories
compartment
12 Needle plate
13 Presser foot
14 Presser foot holder
15 Presser foot release lever
16 Screw for fixing the sewing needle
17 Screw for the face plate
18 Thread tension dial
19 Face plate
20 Power and foot controller plug
21 Power plug
22 Foot controller
23 Handle
24 Presser foot lifter
25 Machine socket
26 Power switch
27 Hand wheel

www.w6-wertarbeit.de 7
Getting to know the machine
Power switch and connections
Plug the power and foot controller plug into the
respective machine socket.
Remove the oil film possibly present on the
needle plate before the first commissioning.
Caution
Switch off the sewing machine at the power
switch (“0”) and disconnect the power plug from
the power socket when
• the sewing machine is not in use,
• maintenance work is to be performed,
• the face plate is removed,
• the bulb is to be changed.
1 Machine socket
2 Power switch
3 Power and foot controller plug
4 Foot controller
5 Power plug
Extension table with accessories
compartment
6 Extension table
The extension table can be removed sideways.
7 Accessories compartment in the extension
table
Accessories compartment
There is an accessories compartment with the
provided standard accessories in the extension
table.
Only use the accessories provided in order to
avoid damage to the machine.
CB bobbins suitable for this sewing machine are
stored in the accessories compartment. Only
these bobbins may be used.

8 www.w6-wertarbeit.de
Standard accessories
Additional standard accessories
1 One-sided zipper foot
2 Blind hem foot
3 Buttonhole foot
4 CB bobbins
5 Selection of needles
6 Screwdriver
7 Ripping knife
8 Feed dog cover plate
9 Cover
Free-arm sewing
Sewing with the free arm
The extension table can be removed
sideways.
Free-arm sewing is especially suitable for
sewing tubular parts such as trouser hems
or cuffs.

www.w6-wertarbeit.de 9
Connecting the sewing machine
Please note:
• Only use an easily accessible power socket as a power source.
• Switch off the machine at the power switch and pull the plug out of the socket in the following
situations:
- if the machine is left unattended;
- if a power failure occurs during use;
- during thunderstorms.
• Do not pull the plug out of the socket with wet hands.
• Do not pull the plug out of the socket by the power cable as this may lead to damage.
• Do not damage, bend, pull or twist the power cable forcibly. Furthermore, do not place any heavy
objects on the cable. Do not expose the power cable to high temperatures.
In case of damage to the power cable or power switch, disconnect the machine from the mains and
contact our customer service immediately.
1 Plug the power plug into the power socket
and the power and foot controller plug into
the respective machine socket.
2 Switch on the sewing machine at the power
switch (“I” position).
The lighting is also switched on and off with
the power switch. If the integrated lighting
does not light up when switching on the
sewing machine, the bulb must be changed
immediately. Good lighting is essential for
safe working.
1
Machine socket
2
Power switch
3
Power and foot controller plug
4
Foot controller
5
Power plug
3 Slowly press the foot controller to start
sewing.
4 The harder you press the foot controller the
faster the machine sews.
5 Release the foot controller to stop sewing.
6 To switch off the machine, set the power
switch to “ 0 ” (OFF).
6
Power switch position
7
Foot controller

10 www.w6-wertarbeit.de
Operating elements
Upper thread tension dial
3 – 5 = Normal tension range
Pattern selector dial
Turn the pattern selector dial to select a
pattern.
To select a super utility stitch (letters A to G,
inside), the symbol must be set at the stitch
length dial. Then, select the desired pattern.
The pattern selector dial must only be turned:
- when the machine is at a standstill,
- when the needle is in the highest position.
1 Setting mark
2 Patterns (overview)
Stitch length dial
3
Setting mark
4
Sewing a buttonhole and satin stitch
5
Stitch length scale
6
Super utility stitches (letters A to G, inside)
The following digits/symbols can be selected
by turning the stitch length dial:
0, , 1, 2, 3, 4, “+”, and “-”.
When a pattern has been selected with the
stitch length dial, the length of the pattern can
be changed with the scale values 1, 2, 3, 4.
The symbol on the stitch length dial must be
selected to sew buttonholes and satin stitches.
In position , the patterns A to G (inside) will
be selected.
The super utility stitches can be enlarged or
made smaller by turning to “+” or “-“.

www.w6-wertarbeit.de 11
Operating elements
1 Spool pins
The spool pins are lowered for transport
and can be pulled out easily.
2 Hand wheel
Always turn the hand wheel anti-
clockwise, i.e. towards you.
Use the hand wheel to check whether the
needle or the presser foot has been
inserted correctly.
3 Reverse stitch button
While this button is pressed, the machine
will sew in reverse.
Use this function to sew reinforcing
stitches at the beginning and the end of a
section.
The reverse stitch button can be pressed
during operation.
4 Reinforcing stitches
5 Hand wheel
Pulling out the hand wheel at standstill will
cause the sewing function to be
deactivated.
This function is used to wind the thread
onto the CB bobbins.
The sewing function is re-activated when
the hand wheel is pushed in again.
5 Hand wheel pulled out

12 www.w6-wertarbeit.de
Changing the presser foot
Caution:
• Switch off the machine at the power switch before changing the presser foot.
• Always use the correct presser foot for the respective pattern! If you use a wrong presser foot, the
needle may hit the presser foot and therefore bend or break.
• Only use the presser feet provided. Using other presser feet may lead to accidents, injuries or
material damage.
Changing the presser foot
1
Switch off the machine at the power
switch.
2 Turn the hand wheel until the needle is in
the highest position.
3 Raise the presser foot. The presser foot
holder can additionally be used for various
presser feet.
The presser foot lifter does not engage in
the highest position (1) and must therefore
be held in this position.
1 Presser foot lifter in highest position
2 Presser foot lifter (engage)
4 To release the presser foot from the
presser foot holder, press the small lever
(3) on the back of the presser foot holder.
5 Place the other presser foot under the
presser foot holder so that the presser foot
pin (6) is aligned with the slot (5) in the
presser foot holder.
6 Lower the presser foot lifter so that the
presser foot pin can click into the slot.
If the presser foot pin does not click into
place, briefly press the small lever on the
presser foot holder.
7
Check whether the presser foot has
clicked correctly into place by lifting the
presser foot lifter.
3 Lever on the presser foot holder
4 Presser foot holder
5 Slot in the presser foot holder
6 Presser foot pin

www.w6-wertarbeit.de 13
Changing the presser foot holder
Removing the presser foot holder
1
Switch off the machine at the power
switch.
2 Turn the hand wheel until the needle is in
the highest position.
3 Set the presser foot lifter to the upper
position.
1 Presser foot lifter in highest position
4 Loosen the screw of the presser foot
holder. Push the presser foot lifter all the
way up with your hand so that the presser
foot holder can be removed downwards.
2 Screw for presser foot holder
3 Screwdriver
Note
Before reattaching the presser foot holder,
attach a presser foot to it.
5 Push the presser foot lifter all the way up
with your hand (1), insert the presser foot
holder from below and lower the presser
foot lifter in order to attach the new presser
foot holder.
Then tighten the fixing screw and check
whether all functions can be executed
correctly by turning the hand wheel.
4 Presser foot holder

14 www.w6-wertarbeit.de
Fabric, needle and thread table
Only use needles of the 130/705 H system. We recommend using the stretch needle 130/705 H-S for
sewing elastic fabrics and knitwear and the jeans needle 130/705 H-J for sewing heavy fabrics.
Needles and threads must be selected according to the fabric that is to be sewn. Always use thread of
the same weight and the same material for the upper and lower threads. Good sewing begins with
high-quality, sharp and straight needles and the matching sewing thread. The table below is provided as
an aid in this regard:
Type of fabric, sewing Needle
Thread
Weight
Type
Strong linen, work clothing,
jeans
80 - 100
40 - 50
80/3
Cotton thread
Synthetic thread
Corduroy, tweed
80 - 100
100/3
80/3
Sewing silk
Synthetic thread
Suit material, coat fabric
Cotton and rayon fabrics
80 - 90
80 - 90
100/3
50 - 60
Sewing silk
Cotton thread
Flannel, gabardine
Laminated fabrics
80 - 90
100/3
100/3
Synthetic thread
Sewing silk
Tafetta, satin, crêpe
Decorative fabrics, cotton curtains
Synthetic curtains
80
80
70 - 80
100/3
60 - 70
120/3
Sewing silk
Cotton thread mercerised
Synthetic thread
Terry products, woollen materials
80 - 90
50 - 60
Cotton thread
mercerised
Ticking, linen, bedding
70 - 80
60
Cotton thread
mercerised
Blouse fabrics, poplin
70 - 90
75, 90
60 - 70
120/3
Cotton thread
mercerised
Synthetic thread
Synthetic jersey
Lastex, Helanca
75, 90
100/3
120/3
Sewing silk
Synthetic thread
Wool jersey
75, 90
100/3
Sewing silk
For embroidery and darning work
75, 80
50
120/3
Machine embroidery
and darning thread
Synthetic thread
For decorative stitching
100 - 110
50/3 - 30/3
Synthetic thread

www.w6-wertarbeit.de 15
Changing a needle
Caution
• Switch off the machine at the power switch (“0”) before changing the needle. If the foot controller
is accidentally pressed while the machine is switched on, the machine is started and serious
injuries may occur.
• Only use needles of the 130/705 H system.
• Do not use bent needles for sewing (risk of injury).
Checking the needle
In order to check the needle, place it on an
even surface with the flat side down. Check
the needle from above and on all sides. Do not
use bent needles!
1 Parallel distance
2 Place the needle on an even surface
(needle plate, glass, etc.)
Inserting the needle
1 Turn the hand wheel (anti-clockwise) until
the needle is in the highest position.
2
Switch off the machine at the power
switch.
3 Lower the presser foot lifter.
4 Loosen the screw and remove the needle
downwards.
5 Push the needle with the flat side facing
backwards up to the stop. Re-tighten the
screw (e.g. with a coin) and check
whether the needle has been inserted
correctly by turning the hand wheel.
3 Needle stop
4 Needle channel
5 Screw
6 Flat side of the needle
Note
Do not tighten the screw too much as it may
be damaged and can then only be loosened
forcibly.
Caution
If the needle has been inserted incorrectly or
if the screw has not been tightened properly,
the needle may break or the machine may be
damaged. This poses a risk of injury.

16 www.w6-wertarbeit.de
Winding the lower thread
1 Spool on the spool pin
2 CB bobbin
3 Bobbin winder stopper
4 Bobbin winder spindle
5 Winding tension disc
Only use the CB bobbins recommended for this
machine by the manufacturer. The use of other
bobbins may lead to damage to the machine.
1 Pull out the spool pin and mount the spool.
2
Guide the thread to the CB bobbin over the
winding tension disc (5). Thread the end of the
thread through the hole of
the CB bobbin from
the inside.
3 Put the CB bobbin on the bobbin winder spindle.
Push the bobbin winder spindle with the bobbin
to the right against the bobbin winder stopper.
4 Turn the CB bobbin clockwise by hand until the
shaft spring (6) clicks into the s
lot (7) of the
bobbin.
5 Connect the sewing machine to the mains and
switch on the power switch.
6 Pull out the hand wheel (8).
7
Hold the end of the thread and press the foot
controller lightly
to wind the thread around the
bobbin several times.
8 Stop this process and cut the excess thread (9).
9 Make sure that the thread is tensioned. If it is too
loose, it can wind around the bobbin winder
spindle. Press the foot controller until the bobbin
is full and the winding process stops
automatically.
10 Push the bobbin winder to the left, cut the thread
(10) and remove the bobbin.
11 Push in the hand wheel back in (11).
6 Shaft spring
7 Slot
8 Hand wheel pulled out
9 Cut the thread just above the bobbin
10 Cut the thread
11 Push in the hand wheel

www.w6-wertarbeit.de 17
Removing the bobbin
Attention!
Errors when winding the thread on the bobbin
or when inserting it into the bobbin case affect
the thread tension.
A thread tension that is too loose or too tight
may result in faulty or skipped stitches!
1 Turn the hand wheel (anti-clockwise) until
the needle is in the highest position.
2 Raise the presser foot lifter.
3
Switch off the machine at the power
switch.
4 Remove the extension table.
5 Open the hook cover by swinging it
downwards.
6 Slightly pull the bobbin case bar tack (9)
forward and remove the bobbin case.
Important:
For further information about leading out the
lower thread see chapters
“Threading the
upper thread/Retrieving the lower thread”
(page 20).
1 Wound evenly
2 Wound unevenly
3 Presser foot lifter
4 Extension table
5 Hook cover
6 Bobbin case finger
7 Shaft in the hook case
8 Bobbin case
9 Bobbin case bar tack

18 www.w6-wertarbeit.de
Inserting the bobbin
1 Insert the bobbin into the bobbin case.
In doing so, please observe the
unwinding direction of the thread.
2 Insert the thread into the slot (4) of the
bobbin case und pull it below the
tension spring (5) in the direction of the
outlet opening (6).
Pull approx. 80 mm of thread out of the
bobbin case.
Important:
Make sure that the bobbin is inserted
in such
a way that the thread is
unwound in the right direction.
Unwinding the thread in the wrong
direction results in faulty or skipped
stitches.
3 Inserting the bobbin case
Place the bobbin case onto the shaft in
the hook and push it inwards until the
bar tack engages. When doing so, the
bobbin case finger must slide into the
opening in the ring cover.
Note:
Make sure to c
heck that the bobbin
case has been inserted correctly.
Otherwise, it will fall out of the hook
when sewing.
1 Shaft in the bobbin case
2 Observe the direction of the thread
3 Tension spring
4 Slot in the bobbin case
5 Pull the thread below the tension spring
6 Outlet opening
7 Bobbin case finger
8 Opening in the ring cover
9 Hook
10 Shaft in the hook
11 Bobbin case bar tack

www.w6-wertarbeit.de 19
Threading the upper thread
Caution: Switch off the power switch!
Note
There are digits on the sewing machine indicating the order (1 – 4) in which the upper thread has to pass
through. Always make sure that the thread is threaded correctly!
1 Lift the presser foot with the presser foot lifter.
Attention: The upper thread cannot be threaded correctly and the upper thread tension assembly will
be damaged if the presser foot is not lifted.
2 Turn the hand wheel (anti-clockwise) until the thread lever (3) is in the highest position.
3 Pull out the spool pin and put on a spool.
4 Guide the thread through the thread guide.
Note
• An incorrect thread guide may result in tearing of the thread, skipped stitches and waving of the fabric
along the seam.
• If the thread is tensioned, it can be placed through the following guides more easily.

20 www.w6-wertarbeit.de
Threading the upper thread/Retrieving the lower thread
Note: The following description requires that
the steps in the
chapters “Inserting the
bobbin” and “Threading the upper thread”
have already been performed.
Caution: Risk of injury!
Take your foot off the foot controller when
threading the upper thread through the eye
of the needle!
1
Hook the upper thread into the thread
guide and thread the thread through the
eye of the needle.
Cut the thread with
sharp scissors to be able to thread it more
easily. Pull approx. 80 mm of the thread
through the eye of the needle.
Important
Approx. 80 mm of the thread should protrude
from the bobbin case before inserting it into
the hook.
2 Hold the upper thread with the left hand
and turn the hand wheel with the right
hand.
3
By turning the hand wheel, the lower
thread is moved up.
Both threads must be guided below the
presser foot and pulled approx. 80 mm
towards the back.
4 Once both threads have been led out, the
extension table can be reinserted.
The preparations for sewing are
completed.
Important:
Always lift the presser foot before removing
the upper thread as otherwise the thread
tension assembly may be damaged.
1 Thread guide
2 Upper thread (80 mm)
3 Lower thread loop
4 Guide the end of the thread back
5 Insert the extension table
Table of contents
Other W6 Sewing Machine manuals

W6
W6 N 707D free-arm User manual

W6
W6 N 1235-61 User manual

W6
W6 W6 N 454D User manual

W6
W6 N 5000 Exklusive User manual

W6
W6 N 2000 Exklusive User manual

W6
W6 Wertarbeit EU-7 User manual

W6
W6 N 9500C QPL User manual

W6
W6 WERTARBEIT N 656D Free Arm User manual

W6
W6 N 8000 User manual

W6
W6 N 8000 Exklusive User manual