W6 N 9500C QPL User manual

1
W6 N 9500C QPL sewing machine
1

Manual
2

Product name W6 N 9500C QPL sewing machine
Publisher W6 Wertarbeit Projektierungs- un Han elsgesellschaft mbH
Bre enbecker Straße 13 / D-30974 Wennigsen
Email: info@w6-wertarbeit. e
www.w6-wertarbeit. e
This ocument is protecte by copyright. All rights reserve .
The ocument may not, in whole or in part, be copie ,
repro uce , translate or re uce to an electronic me ium of
machine-rea able form without the explicit permission of W6
Wertarbeit Projektierungs- un Han elsgesellschaft mbH.
Preamble Thank you very much for buying a W6 pro uct.
We have inclu e a comprehensive manual, so that you can
easily learn how to operate the machine. It will help you to get
to know your machine quickly. Please register your machine on
the website at www.w6-wertarbeit. e by selecting Service /
Guarantee Registration. W6 WERTARBEIT also offers the
following options on its website for free. Please access our
website using www.w6-wertarbeit. e an un er Service select:
•Criteria for the optimal threa ing of a W6 N 9500C QPL
(4-min. vi eo).
•A tutorial vi eo specifically for the W6 N 9500C QPL
•Maintenance, tips an tricks for the W6 N 9500C QPL.
•A visual selection of stitches an their use, an much
more.
The W6 sewing i eas on the W6 website support you with
creative sewing projects. Please take a look at the website.
Please rea the manual an the safety notes carefully, before
operating the machine.
W6 tip This manual is revise from time to time. You can fin the latest
version un er Service / Help / Your machine type / Downloa s.
Subscribe to our W6 newsletter. We keep you up-to- ate an
you can take part in our special weekly promotions.
Enjoy your new sewing machine.
W6 WERTARBEIT
The company hea office is base in a econsecrate church.
3

Contents
1 Safety notes..............................................................................................8
1.1 Notes for operational safety...............................................................8
1.2 Instructions for use.............................................................................9
1.3 After sewing......................................................................................10
1.4 Tips for a long service life.................................................................10
1.5 What we expect from you.................................................................11
2 Assembling the machine.........................................................................12
2.1 Unpackig...........................................................................................12
2.2 Setting up..........................................................................................13
2.3 Connecting the machine...................................................................13
2.4 Unplugging the power plug...............................................................16
3 Getting to know the machine..................................................................17
3.1 Front view.........................................................................................18
3.2 Rear view..........................................................................................19
3.3 Top view............................................................................................20
3.4 View of the presser foot, automatic nee le threa er, nee le plate..21
3.5 On / off switch...................................................................................22
3.6 Sewing machine socket....................................................................22
3.7 Foot controller socket.......................................................................22
3.8 Power plug........................................................................................23
3.9 Foot controller...................................................................................23
3.10 Extension table with accessories compartment.............................24
3.11 Why use W6 threa , nee les an bobbins?...................................24
4 Stan ar accessories..............................................................................26
5 Operating elements.................................................................................29
5.1 Threa tension ial...........................................................................30
5.2 Start-Stop button / Sewing without a foot controller.........................30
5.3 Slow Sewing button..........................................................................31
5.4 Reverse button.................................................................................31
5.5 Nee le Up / Nee le Down button.....................................................32
5.6 Nee le position permanently own..................................................32
5.7 Automatic Threa Cutter button.......................................................33
5.8 Spee Control button........................................................................33
5.9 Presser foot lifter..............................................................................34
5.10 Spool pins.......................................................................................34
5.11 Han wheel.....................................................................................35
5.12 Foot pressure regulator..................................................................35
5.13 Drop fee lever...............................................................................37
5.14 Knee lifter.......................................................................................37
5.15 Automatic nee le threa er.............................................................38
5.16 Explanation for the touchscreen an how it works.........................41
5.16.1 Stitch Length button.................................................................41
5.16.2 Stitch Wi th button...................................................................42
5.16.3 Control buttons.........................................................................42
5.16.4 Memory button.........................................................................42
5.16.5 Cut function..............................................................................42
5.16.6 Nee le stop up or own...........................................................44
5.16.7 Automatic selective tie-off program.........................................44
4

5.16.8 Number buttons 0–9................................................................44
5.16.9 Continuous repetition...............................................................44
5.16.10 Enter button...........................................................................44
5.16.11 C button..................................................................................44
5.16.12 Switch Display button............................................................45
5.16.13 Twin Nee le button................................................................45
5.16.14 Mirror button...........................................................................45
6 Changing the presser foot an presser foot hol er................................46
6.1 Changing the presser foot................................................................46
6.2 Changing the presser foot hol er, fitting special accessory feet......50
7 Selecting the nee le................................................................................53
7.1 Checking the nee le.........................................................................53
7.2 Inserting a nee le.............................................................................54
7.3 Nee le an threa table...................................................................57
8 What o I o with the lower threa ?.......................................................59
8.1 Why use W6 bobbins?.....................................................................59
8.2 Removing a W6 plastic bobbin from the black hook race ................59
8.3 Win ing a new W6 plastic bobbin....................................................61
8.4 Inserting a plastic bobbin in the hook race .......................................67
8.5 Using the upper threa to pull up the lower threa ..........................69
9 What o I o with the upper threa ?.......................................................72
9.1 Threa ing the upper threa ..............................................................72
9.2 Using the automatic nee le threa er...............................................78
9.3 Using the upper threa to pull up the lower threa ..........................82
10 Sewing a test seam...............................................................................84
10.1 Sewing a test seam using straight stitch far left .............................84
10.2 Sewing a test seam using stretch zigzag stitch .............................87
11 Using a pattern......................................................................................94
11.1 Overview of patterns.......................................................................95
11.2 Using a pattern...............................................................................96
11.3 Utility stitches................................................................................114
11.3.1 Straight stitches: programs 001 an 002 ...............................117
11.3.2 Zigzag stitch: program 006 Stan ar foot ..............................120
11.3.3 Stretch zigzag stitch: program 022 ........................................122
11.3.4 Stretch straight stitch: program 004 .......................................125
11.3.5 Using the overlock foot for overlock seams: Overlocking fabric
e ges................................................................................................126
11.3.6 Open seams...........................................................................130
11.3.7 Triple straight stitch................................................................132
11.3.8 Blin stitch, stretch blin stitch...............................................134
11.3.9 Scallope hem: program 027 .................................................138
11.4 Satin stitches: programs 137 to 146 .............................................139
11.5 Decorative stitches.......................................................................142
11.6 Antique an nostalgia stitches ......................................................145
11.7 Quilting..........................................................................................147
11.7.1 Applications............................................................................148
11.7.2 Attaching a quilting bar ..........................................................149
11.8 Patches / Patchwork.....................................................................151
11.8.1 Step 1.....................................................................................153
11.8.2 Step 2.....................................................................................153
11.8.3 Step 3.....................................................................................153
11.9 Automatic buttonholes ..................................................................154
11.9.1 Square buttonhole: programs 007 an 008...........................154
5
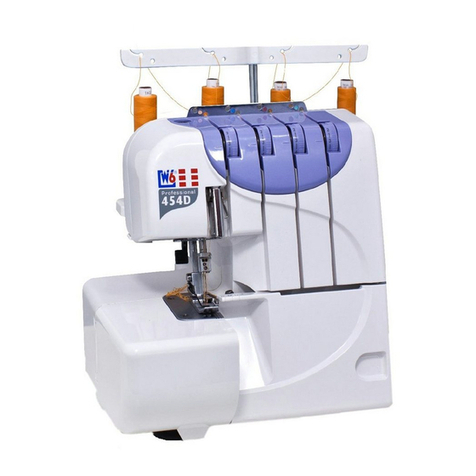
Table of contents
Other W6 Sewing Machine manuals

W6
W6 WERTARBEIT N 656D Free Arm User manual

W6
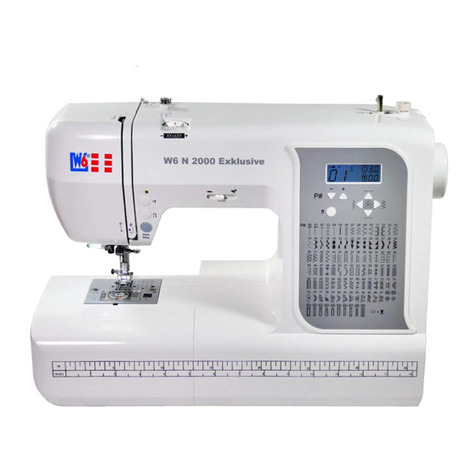
W6 N 2000 Exklusive User manual

W6
W6 N 8000 Exklusive User manual

W6
W6 N 1235-61 User manual

W6
W6 N 1615 User manual

W6
W6 N 8000 User manual

W6
W6 N 707D free-arm User manual

W6
W6 N 5000 Exklusive User manual

W6
W6 Wertarbeit EU-7 User manual

W6
W6 W6 N 454D User manual