W6 W6 N 454D User manual

N 454D-120201
W6 N 454D overlock sewing machine
Manual

2 www.w6-wertarbeit.de
Dear customer
Thank you very much for buying a W6 product.
Discover the reliability of our products for yourself.
We have included a comprehensive manual, so
that you can easily learn how to operate your new
machine.
Please read the manual and the safety notes
carefully before operating the machine.
Please enjoy your new sewing machine.
W6 WERTARBEIT

www.w6-wertarbeit.de 3
Contents
Safety notes....................................................................................................................................... 5
Important notes ................................................................................................................................. 5
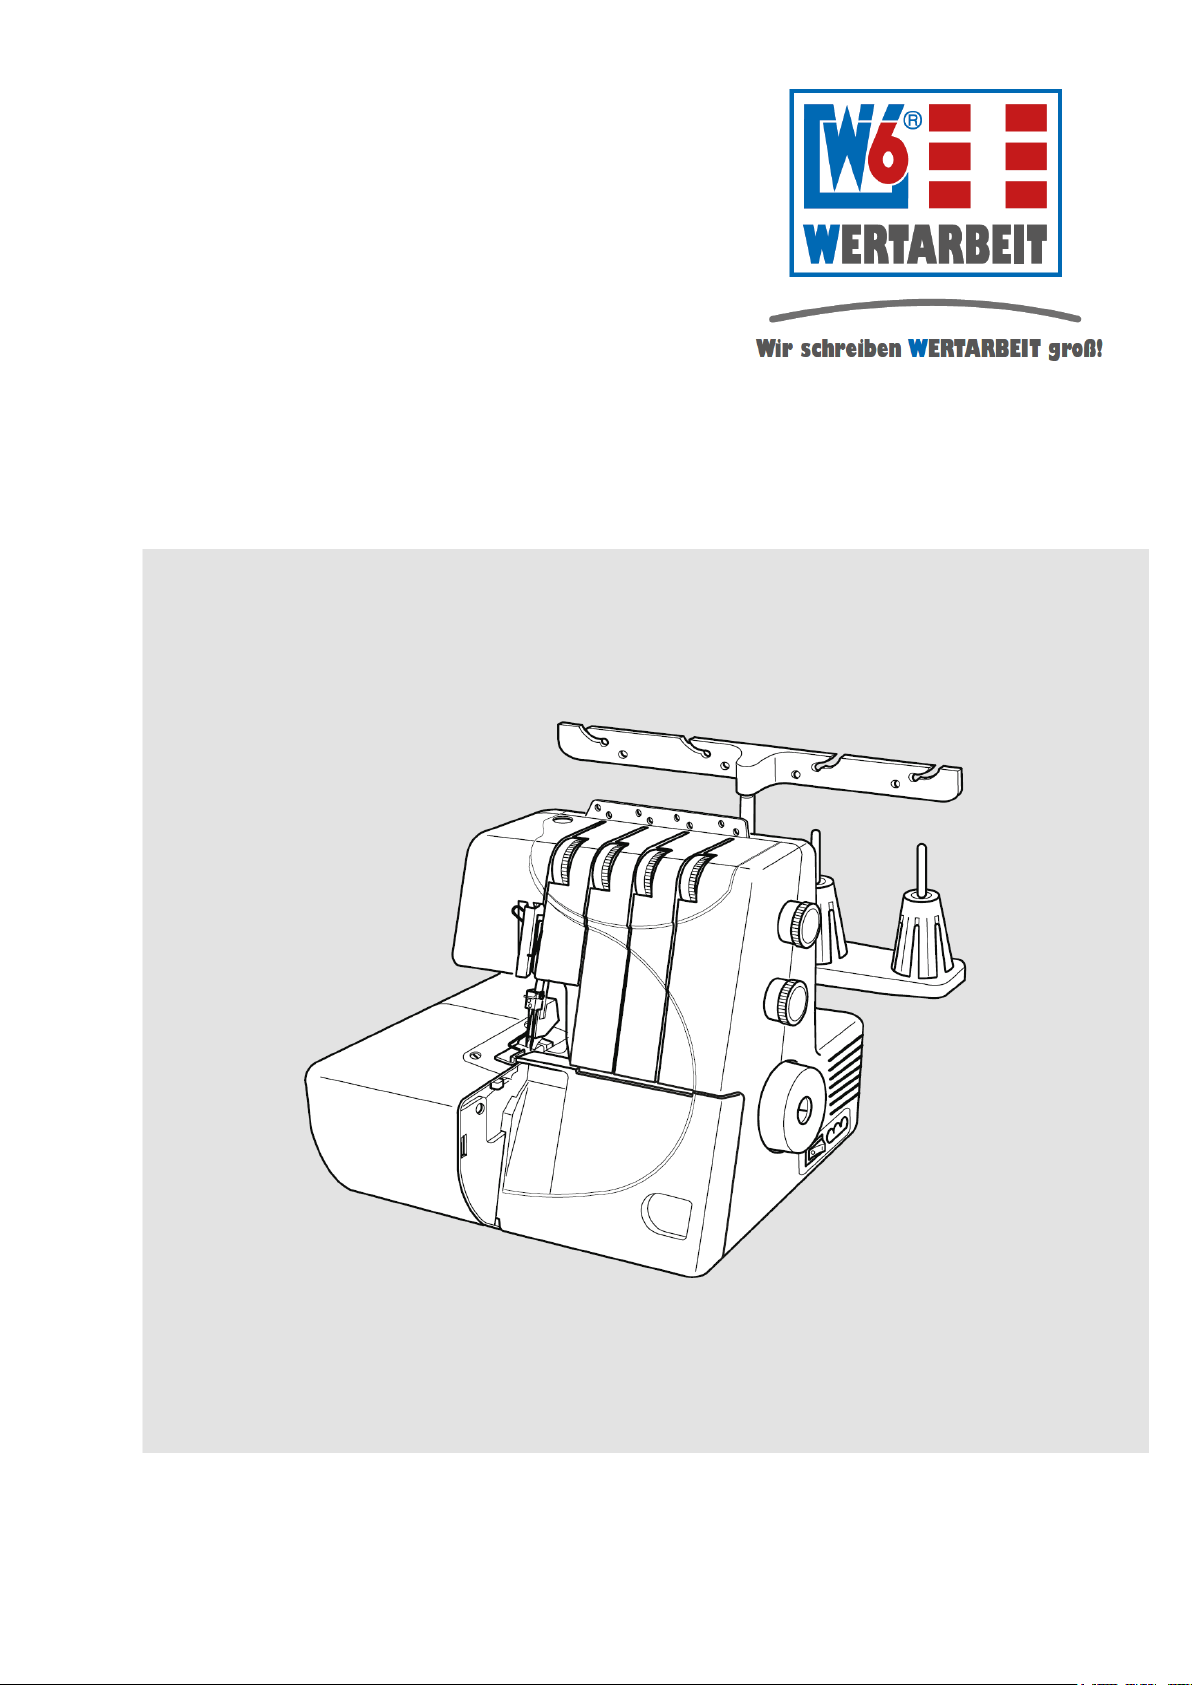
Machine components........................................................................................................................ 6
Accessories....................................................................................................................................... 9
Setting up the machine................................................................................................................... 10
Connecting the machine to the mains ...................................................................................................... 10
Regulating the sewing speed ..................................................................................................................... 10
Lifting, lowering and changing the presser foot ........................................................................... 11
Setting the presser foot pressure .................................................................................................. 11
Changing the needles ..................................................................................................................... 12
Inserting the needles correctly .................................................................................................................. 12
Checking the needle.................................................................................................................................... 12
Needle and thread table.................................................................................................................. 13
Setting the stitch length.................................................................................................................. 14
Setting the differential feed (model 454D only)............................................................................. 14
Functioning of the differential feed (model 454D only) ................................................................ 15
Use of the differential feed (model 454D only) .............................................................................. 15
Activating/deactivating the cutting mechanism............................................................................ 16
Deactivating the upper knife ...................................................................................................................... 16
Activating the upper knife .......................................................................................................................... 16
Setting the cutting width................................................................................................................. 17
Seam guides.................................................................................................................................... 17
Adjusting the rolled hem slider ...................................................................................................... 18
Settings for sewing a rolled hem .......................................................... Fehler! Textmarke nicht definiert.
The telescopic thread guide ........................................................................................................... 19
Placing the spools........................................................................................................................... 19
Threading a thread.......................................................................................................................... 20
Threading the machine ............................................................................................................................... 20
Threading the upper looper............................................................................................................ 22
Threading the lower looper ............................................................................................................ 23
Threading bulk thread..................................................................................................................... 24
Threading the right needle ............................................................................................................. 25
Threading the left needle................................................................................................................ 26
Test seam ........................................................................................................................................ 27
Continuous sewing ......................................................................................................................... 27
End of a seam.................................................................................................................................. 27
Securing the thread ends ............................................................................................................... 28
At the beginning of the seam ..................................................................................................................... 28
Tying off........................................................................................................................................................ 28
At the end of the seam ................................................................................................................................ 28

4 www.w6-wertarbeit.de
Adjusting the thread tensions (4-thread seam)............................................................................. 29
The 3-thread seam........................................................................................................................... 31
Rolled hem, scalloped hem and narrow overlock stitch .............................................................. 32
Adjusting the thread tension.......................................................................................................... 33
Rolled hem, scalloped hem and narrow overlock stitch ......................................................................... 33
Decorative overlocking................................................................................................................... 34
Gathering ......................................................................................................................................... 34
Sewing tucks ................................................................................................................................... 35
Special accessories set .................................................................................................................. 36
The blind hem foot ...................................................................................................................................... 36
The bias binding foot .................................................................................................................................. 37
Maintenance .................................................................................................................................... 38
Changing the light bulb.............................................................................................................................. 38
Oiling............................................................................................................................................................. 39
Cleaning the cutting mechanism ............................................................................................................... 40
Cleaning the feed dog ................................................................................................................................. 40
Changing the upper knife ........................................................................................................................... 41
Setting the upper knife................................................................................................................................ 41
Useful tips for troubleshooting ...................................................................................................... 42
Technical data ................................................................................................................................. 43
Service information......................................................................................................................... 44

www.w6-wertarbeit.de 5
Safety notes
4 Disconnect the sewing machine from the
mains by unplugging the power plug when
leaving the machine, removing the cover,
changing the
needles, bobbin or lamp or
during maintenance. Do not place objects
on the foot controller.
5 Do not use
the sewing machine if the
machine or electrical components are
damaged.
Have your machine repaired by the
technical service.
6 The max. power of the
light bulb is
15 W/230 V BA.
Please observe the following safety notes:
1 Due to the needles going up and down, be very
careful when sewing. Always observe the
sewing point. Never touch moving parts when
sewing.
2 Keep children away from the sewing machine.
3 Only use original accessories.
Important notes
To ensure a long service life, please take note
of the following:
The CE marking confirms that this machine
complies with the principal safety
requirements of the relevant European
directives.
1 Do not use or store the sewing machine in
places where it is exposed to direct sunlight,
moisture or high levels of humidity. Make sure
that it is not placed next to radiators or other
heat sources.
2 When cleaning the machine, only use dry or
damp cloths. Never use benzine, thinners or
other chemical cleaning agents for cleaning.
3 Do not expose the machine to strong
vibrations.
4 The machine is not designed or intended for
commercial use.

6 www.w6-wertarbeit.de
Machine components
*Model 454D with product no. 502.054 only

www.w6-wertarbeit.de 7
Machine components

8 www.w6-wertarbeit.de
Machine components
Always turn the hand wheel towards you (anti-
clockwise).
Side cover
• Opening
Swivel the side cover to the left.
• Closing
Turn the side cover to the right and let it click
into place by pressing on it slightly.
• For your safety:
Always close the side cover and front flap
before using the machine.
Front flap
• Opening
Push the front flap as far to the right as
possible and swivel it forwards.
• Closing
Lift the
front flap until it rests against the
machine. In this position, it automatically
engages to the left.

www.w6-wertarbeit.de 9
Accessories
Only use the original accessories supplied
with the sewing machine.
The following accessories are supplied with
the overlock sewing machine:
• Screwdriver
• Screwdriver (small)
• Tweezers
• Needle set
• Spool cap
• Spool net
• Brush
• Needle threader

10 www.w6-wertarbeit.de
Setting up the machine
Connecting the machine to the mains
1 Place the machine on a sturdy, clean and even
surface.
2
Your machine has been oiled by the
manufacturer. To remove any excess oil, wipe
the work area and the needle plate.
3 Before connecting the machine to the mains,
check that the mains voltage and mains
fr
equency indicated on the type plate
correspond to those of the power supply.
4 Switch off the main switch (OFF) and plug the
machine plug into the port on the right-hand
side of the machine.
5 Plug the power plug into the power socket.
6 Switch on the main switch.
Safety note:
The machine only works when the main switch is
switched on.
Disconnect the sewing machine from the
mains by switching off the main switch and
unplugging the power plug when leaving the
machine, removing the cover, changing the
needles, bo
bbin or lamp or during
maintenance.
Regulating the sewing speed
The sewing speed can be adjusted steplessly
with the foot controller. The harder you press
the foot controller the faster the machine sews.
Do not place any objects on the foot controller.

www.w6-wertarbeit.de 11
Lifting, lowering and changing the presser foot
Lifting and lowering the presser foot
Use the lifter lever to lift (A) or lower (B) the
presser foot.
Before sewing, the lifter lever must be moved
to the lower position (B).
Removing the presser foot
• Switch off the machine at the main switch.
• Move the lifter lever to the upper position
(A).
• Press the button (C) on the back of the
presser foot holder to release the presser
foot.
Attaching the presser foot
• Place the presser foot under the presser
foot holder so that the bar snaps into the
presser foot holder guide when lowering
the lifter lever. Press
the button (C) to
snap into place more easily.
• Lift the lifter lever and check that the
presser foot is held firmly in place.
Setting the presser foot pressure
It is not necessary to change the presser foot
pressure for normal sewing.
The setting can be changed when sewing
heavy or especially thin and stretchable
material.
• Turn the adjusting screw (D) clockwise for
heavy materials.
• Turn the adjusting screw anti-clockwise
for thin and stretchable materials.
In the default setting, the upper edge of the
adjusting screw is approx. 2
mm below the
top of the machine (see figure).

12 www.w6-wertarbeit.de
Changing the needles
The needles can be changed individually as
each needle is held by a screw. The
procedure for changing the two needles is
identical. For the 3-thread stitch, one needle
must be removed from the needle holder.
Retighten the needle clamp after removing
the needle.
Needle system: 130/705 H
Inserting the needles correctly
• Switch off the sewing machine at the
main switch.
• Move the needle bar to the upper position
using the hand wheel.
• Lower the presser foot using the lifter
lever.
• Loosen the needle clamp and remove the
needles.
• Push the new needle (with the flat side to
the rear) up in the needle holder as far as
possible.
• Tighten the needle clamp. The left needle
should be slightly higher than the right
needle.
Checking the needle
Place the needle on an even surface
with the flat side down and check
whether the needle is parallel to the
surface. Also check the tip of the needle
for damage.

www.w6-wertarbeit.de 13
Needle and thread table
Only use 130/705 H system needles. We recommend using the stretch needle 130/705 H-S for sewing
elastic fabrics and knitwear and the jeans needle 130/705 H-J for sewing heavy fabrics.
Needles and threads must be selected according to the fabric that is to be sewn. Good sewing begins
with high-quality, sharp and straight needles and the matching sewing thread. The table below serves
as an aid in this regard.
Please note that each of the two hooks opposite of the needles requires almost the double amount of
thread. Remember this when buying thread, especially in special colours.
Type of
fabric
Thread
weight
Type Needle
Stitch
length
Differential
feed*
Light
Organdy,
batiste
70-100
120/3
Cotton thread
Synthetic thread
70 - 80
2.0 - 3.0
0.5 - 1.0
Medium
Linen/flannel
Cotton
Garbadine
60-70
100/3-120/3
Cotton thread
Synthetic thread
80 - 90
2.5 - 3.5
1.0
Heavy
Tweed, jeans,
work clothing
50-60
100/3
Cotton thread
Synthetic thread
90, 90-J
3.0 - 4.0
1.0
Thin,
synthetic
Georgette, satin
Crêpe de Chine
120/3
Synthetic thread
75, 75-S
2.0 - 3.0
1.0 - 2.25
Knitted
Tricot, jersey
60-70
120/3
Cotton thread
Synthetic thread
75, 75-S
2.0 - 3.5
1.0 - 2.25
Bulk thread (textured thread) can also be used for the hook threads. Bulk thread results in a low bulk
seam with a soft surface with good coverage. Therefore, it is especially suitable for sewing rolled hems
and decorative seams.
*Model 454D with product number 502.054 only

14 www.w6-wertarbeit.de
Setting the stitch length
Turn the stitch length dial in the desired
direction to set the stitch length.
• The higher the number
, the longer the
stitch.
• The
stitch length can be set between 1
and 4 mm.
•
Position “R” is the setting for the rolled
hem.
Setting the differential feed (model 454D only)
Turn the dial in the desired direction to set the
differential feed*.
The stitch length ratio
between the main feed dog and the front feed
dog can be read from the dial. The
differential feed can be changed during
sewing.
The standard setting of the differential feed is
1.0.
* Model 454D with product number 502.054
only

www.w6-wertarbeit.de 15
Functioning of the differential feed (model 454D only)
The two independent feed dogs, main and
front feed dogs, allow for the fabric feed to be
tailored to any material.
1 Positive differential feed (1.0 – 2.25)
The front feed dog slides more material
under the presser foot than the main feed
dog slides out the back. This prevents
stretching due to the presser foot
pressure as well as waving of the edge of
the fabric.
2 Negative differential feed (0.5 – 1.0)
The main feed dog slides more material
out the back
than the front feed dog
feeds. This stretches the material and
prevents puckering of the seam.
Use of the differential feed (model 454D only)
The ideal seam is smooth and free from
waves and puckers.
Waving of the fabric may occur with knitted
fabrics and elastic material. Change the
differential feed to
2.25 until you have a
smooth seam.
Puckering of the seam may occur with woven
materials or very thin fabrics. Change the
differential feed to
0.5 until the material
distortion no longer occurs.

16 www.w6-wertarbeit.de
Activating/deactivating the cutting mechanism
Deactivating the upper knife
• Switch off the sewing machine at the
main switch.
• Open the side cover and the front flap.
• Press the rotary knob for the upper knife
and turn the pressed knob to the right
(clockwise). The upper knife is moved to
the lower position and snaps into the
holding pin.
• Close the side cover and the front flap.
Activating the upper knife
• Switch off the sewing machine at the
main switch.
• Open the side cover and the front flap.
• Press the rotary knob for the upper knife
and turn the pressed knob to the left (anti-
clockwise).
• Close the side cover and the front flap.
Note:
The setting of the upper knife is described in
the chapter “Maintenance”.

www.w6-wertarbeit.de 17
Setting the cutting width
The cutting width can be adjusted to the
material to be sewn and the stitch type.
1 Switch off the machine at the main switch.
2 Open the side cover and the front flap.
3
Deactivate the upper knife (see chapter
“Deactivating the upper knife”).
4 Turn the cutting width dial to the desired
width.
The seam must lie lightly on the
edge of the fabric.
(A) Ideal cutting width
The loops just
lie on the edge of the
fabric.
(B) The cutting width is too small
The loops protrude too far over the edge
of the fabric.
Turn the cutting width dial clockwise to
move the lower knife to the right.
(C) The cutting width is too large
The loops are too close to the edge of the
fabric.
Turn the cutting width dial anti-clockwise
to move the lower knife to the left.
5 Reactive the upper knife (upper position).
6 Finally, close the side cover and the front
flap again.
Seam guides
There are seam guides on the top of the front
flap. They serve as guiding aid for cutting the
edge of the fabric with an even spacing.
The “L” marking refers to the left needle and
“R” to the right needle.
• The spacing of the markings to the right
needle is 10, 16 and 23 mm.

18 www.w6-wertarbeit.de
Adjusting the rolled hem slider
To sew a rolled hem, the width of the
overcasting finger of the needle plate must be
reduced. To do this, set the rolled hem slider
to “R”. The standard setting is “S”.
Settings for sewing a rolled hem
• Switch off the sewing machine at the
main switch.
• Open the side cover and the front flap.
•
Deactivate the upper knife (lower
position).
• Now, the cutting width rotary knob can be
pressed. When released, it snaps back.
Press the cutting width rotary knob as far
to the right as possible and hold.
• Now, the rolled hem slider can be moved
between the markings “S” (standard) and
“R” (rolled hem).
• Let the cutting width rotary knob snap
back slowly.
• Activate the upper knife (upper position).
• Close the side cover and the front flap.

www.w6-wertarbeit.de 19
The telescopic thread guide
• Pull out the telescopic bar all the way to
the top.
• The stoppers snap into the telescopic bar
by turning the thread guide, whereby the
thread guide snaps into place above the
spool pins.
Placing the spools
Remove the spool pin to use small spools.
Insert the spool with the notch
(the thread
clamp) upwards and place the spool cap on
it.
Expose the thread upwards and pull the net
over the spool from below.
The net must
cover the lower edge of the spool.
Polyester or bulk thread may unwind
unevenly during sewing. The thread can get
entangled.

20 www.w6-wertarbeit.de
Threading a thread
Threading the machine
Before threading, switch off (OFF) the
overlock sewing machine at the main switch.
The sewing machine is delivered with a
threaded thread ex works. To pull in the
desired thread, tie the end of the thread of the
new spool to the threaded thread. Lift the lifter
lever and pull the threads through. This saves
time when threading.
As the knots are too thick for the eyes of the
needles, they must be cut before the eye of
the needle and re-threaded.
Should it become necessary to re-thread the
machine, proceed in the following order:
Upper looper – lower looper – right needle –
left needle. Always lift the lifter lever for
threading.
Incorrect threading results in incorrect
stitches, broken threads or other problems.
Table of contents
Other W6 Sewing Machine manuals

W6
W6 N 2000 Exklusive User manual

W6
W6 N 8000 User manual

W6
W6 N 5000 Exklusive User manual

W6
W6 WERTARBEIT N 656D Free Arm User manual

W6
W6 N 8000 Exklusive User manual

W6
W6 N 9500C QPL User manual

W6
W6 Wertarbeit EU-7 User manual

W6
W6 N 707D free-arm User manual

W6
W6 N 1615 User manual

W6
W6 N 1235-61 User manual