7
1.2.11.1. A) Opening delay
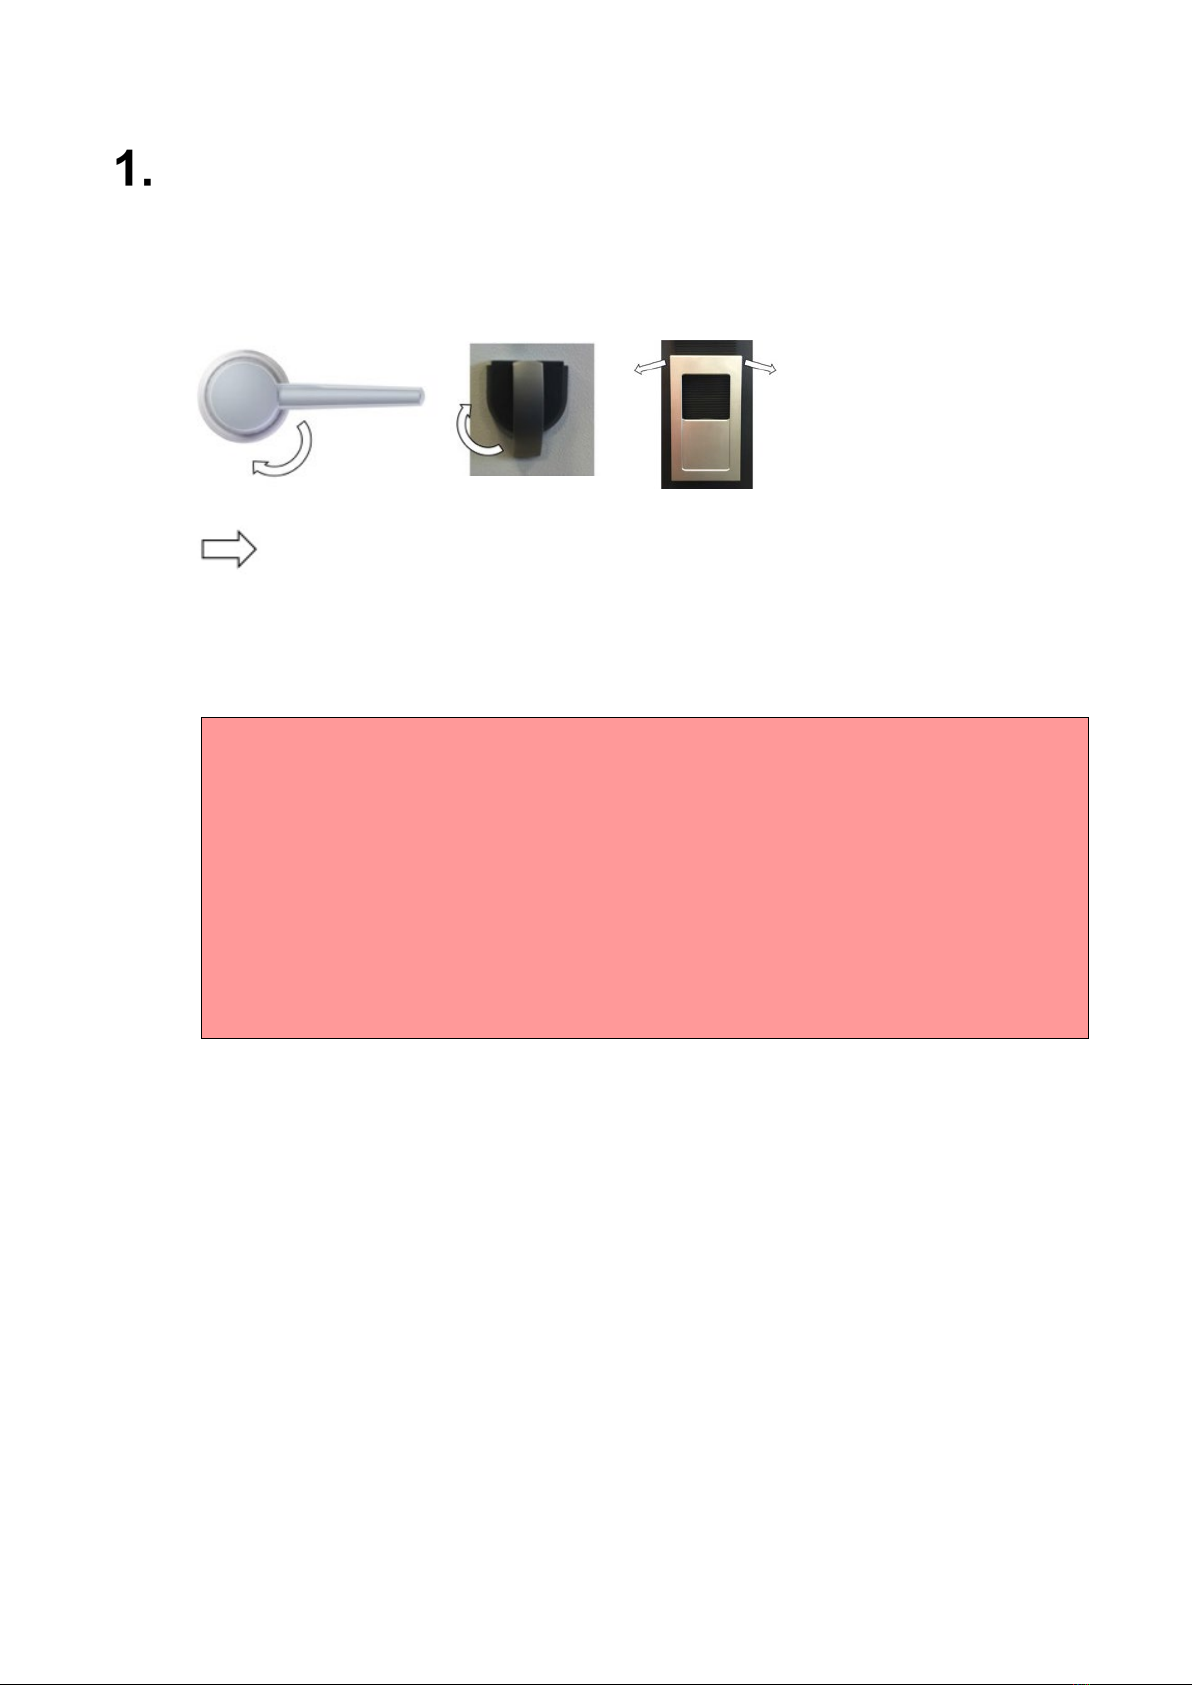
•Open the lock with new user code 1 or 2, lock is "Unlocked".
•press the opening rotary handle down and open the safe door
•Press the "Enter" key, the display shows "Code change?"
•Use arrow key to switch to "Time functions?", confirm with "Enter
•The display shows "More time functions?" Confirm with "Enter
•"Confirm "Opening delay?" with "Enter
•Enter master code (11 99 88 77)
•Enter opening delay in minutes and seconds e.g., 15.00 confirm with "Enter
•The display shows "Opening delay saved".
1.2.11.2. B) Opening delay in case of threat
•Open the lock with new user code 1 or 2, lock is "Unlocked".
•press the opening rotary handle down and open the safe door
•Press the "Enter" key, the display shows "Code change?"
•Use arrow key to switch to "Time functions?", confirm with "Enter
•The display shows "More time functions?" Confirm with "Enter
•"Confirm "Opening delay in case of threat?" with "Enter
•Enter master code (11 99 88 77)
•Enter opening delay in minutes and seconds e.g., 15.00 confirm with "Enter
•The display shows "Opening delay saved".
1.2.11.3. C) Max. Opening duration
•Open the lock with new user code 1 or 2, lock is "Unlocked".
•press the opening rotary handle down and open the safe door
•Press the "Enter" key, the display shows "Code change?"
•Use arrow key to switch to "Time functions?", confirm with "Enter
•The display shows "More time functions?" Confirm with "Enter
•"Confirm "max. opening time" with "Enter
•Enter master code (11 99 88 77)
•Max. Enter opening duration in minutes and seconds e.g., 05.00 confirm with
"Enter
1.2.12. Manipulation lock
After five incorrect code entries, the lock enters a lockout period of 6.5 minutes.
After each additional incorrect code entry, the lock again locks for 6.5 minutes.
After the tenth consecutive entry of an incorrect code, the lock blocks operation for
20 minutes.