walimex 500/8,0 Lens T2 User manual

1
Copy of Instruction Manual
500/8,0 Lens T2
Gewerbering 26
86666 Burgheim
Tel. +49 84 32 / 9489-0
Fax. +49 84 32 / 9489 - 8333
eMail: [email protected]
www.foto-walser.de

2
Content
0. ...........................................................................................................................................Introduction 3
1. ................................................................................................................................Mounting your lens 3
2.............................................................................................................................Setting the stop 3
3. .........................................................................................Using the viewfinder with telephoto lenses 3
4. .........................................................................................................................................Depth of field 4
5. .............................................................................................................Cleaning and meintenance tips 4
6..................................................................................................................................Fault finding 4
7...............................................................................................................................Technical data 5
8...................................................................................................................................... Shipment 5

3
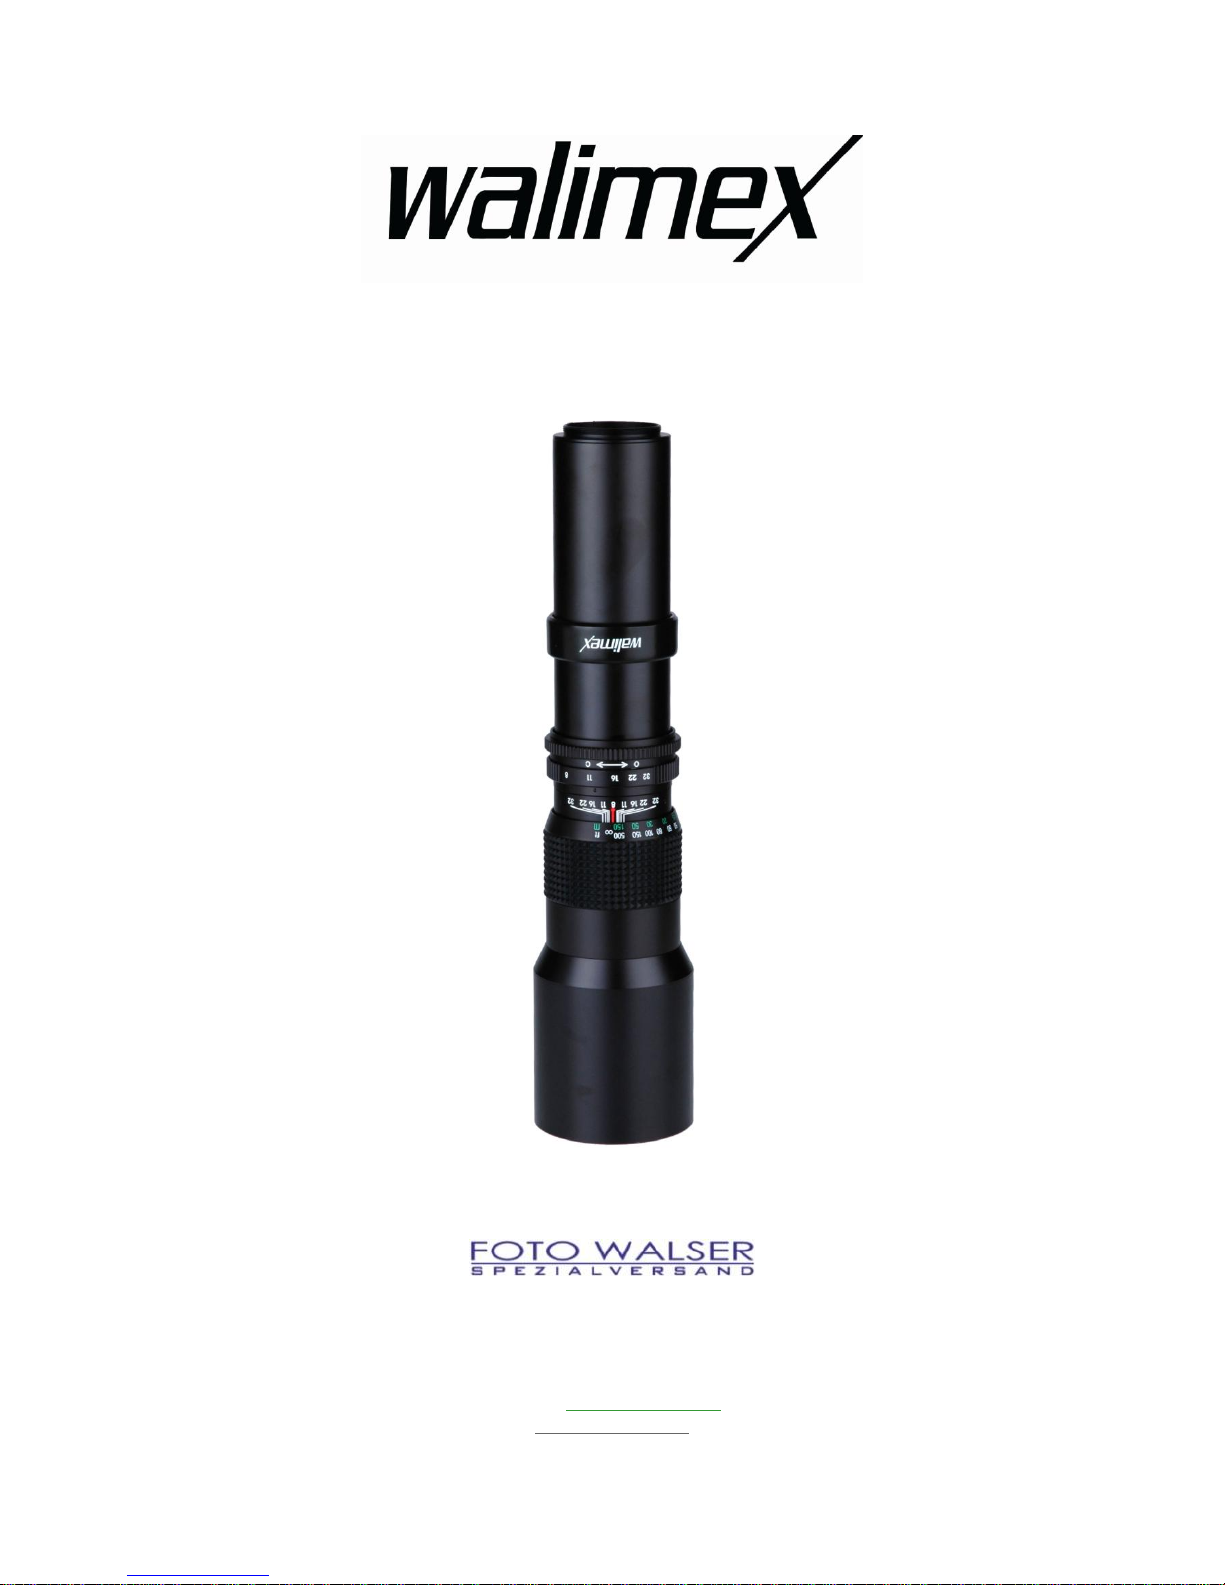
The walimex 500/8.0 Lens has a focal distance of 500mm and a lens speed of 8-32 which is set using
the aperture ring. The sturdy metal housing and the high-quality workmanship and mechanics
ensure a good image quality. With the help of the sturdy tripod mount ring the lens can be fastened
to a tripod with an optimised balance point. Focusing takes place manually. The lens can be used
with aperture priority and manual exposure setting. Thanks to the easy handling, the lens is also
especially suitable for beginners.
1. Mounting your lens
Your Lens utilizes a universal mounting ring (T2) which allows your lens to fit practically
all SLR cameras manufactured since 1960. Simply attach the specific T2 adapter for your
style camera to the actual lens and then mount to your camera body in the same way as
your existing lens, which your camera is equipped. Also remove your lens the same way
as your exiting lens and consult your camera introduction manual for further details.
After mounting your T2 adapter to the lens, you may have to adjust the T-mounts so that
the top of the lens faces upward. If this is necessary, loosen the 3 small screws located
on the T-mounts and turn the lens until it is in the proper usable position. Make sure to
retighten the 3 screws after you make the adjustments.
2. Setting the stop
Rotate the diaphragm ring to the desired F stop at the index mark on the lens barrel. The
diaphragm can be set to full stops or to any position in between. The proper F stop is chosen
as indicated by the cameras built-in exposure meter or an independent meter. Alternatively,
the F stop can be dictated by special requirements, such as controlling the depth of field.
3. Using the viewfinder with the telephoto lenses
The effectiveness of different types of focusing screens varies with the focal length and
maximum aperture of the lens. The range finder of microgrid prisms built into the
ground glass do not work as well with longer focal length lenses as they do with the
normal camera iens and most wide-angle lenses, and may blackout partically or fully
"the center focusing spot." When such as a condition exists, focusing is best done on the
ground glass portion of the viewing screen. On some SLR cameras, Iong telephoto lenses
appear to produce a cut-off image in the upper corners or along the entire upper edge of
the view finder. Actually such viewing cut-off is caused by the size of the camera's mirror
which is adequater for the shorter focal length lenses only. The exposed slide or
negative will be unaffecied by this viewing deficiency.

4
4. Depth of field
The area in acceptable sharpness in front of, and behind, the subjest in focus is called tole
Depth of Field. The aperture selected and e distance of the subject, as well as, the focal
length of a lens determines such depth of field.
Because of the longer focal length of your Reflex lens the depth of field is acutely narrow, for
example, with a 500mm f8.0 lens, at a distance of 6 feet, the depth of field is only 1/2 inch
wide. Therefore, it is recommended to first practice focusing with your lens before taking
any serious pictures, especially in close-up photography. lt is suggested that a focus
magnifier be used to help determine the depth of field sharpness under such extreme con-
ditions.
Lenses are provided with a depth of field scale. Depth of field is indicated for all distances
and F stop settings on the double scale of numbers engraved on both sides of the red center
reference line. In order to fully understand usage of depth of field, please refer to your
camera owner manual or any basic 35mm techniques guide.
5. Cleaning and maintenance tips
The lens should always be capped when not in use. Like other precision optics, it should never
be simply wiped with tissue since this may abrade the surface with any dust clinging to it or on
the lens.
Any accumulated dust should occasionally be blown off with a syringe or available blower
brush designed for this purpose. To remove fingerprints or smears, shred the edge of a lens
tissue and roll it to make a swab: dampen it with a lens cleaner specially. made for
photographic optics and gently wipe the surface without exercising any pressure. Repeat the
procedure if necessary using a new swab. To clean, start at the center of the lens, using a
circular motion and working to the edge of the lens for best results.
When the lens is not in use, it should be stared in a cool dry place, however, if this is not
possible, a leather case with a silica gel packet will afford the same protection as an aluminum
case with poly foam liner.
6. Fault finding
Phenomena
Causes
Measures
A lens can´t be
attached to the
camera
The lens ring mount and
the camera mount are
not aligned.
Align the lens ring mount and
the camera mount.
A lens can´t be
detached from the
camera
Incorrect rotation
direction for detaching.
If the user turns the lens
while holding the
camera, it may cause
damage to the lens.
Press the lens release button on
the camera, and lightly turn the
lens to the lens attaching and
detaching reference points, in
the direction as marked on the
camera and then pull the lens
forward.
Dark Image
Incorrect focusing.
Insufficient shutter
speed or camera shake
Turn the focus ring while
checking the indication or
checking an object visually, set

5
the focus until it reaches a clear
point and then press the
shutter. Steady the camera and
take a photograph at a shutter
speed of 1/125 sec.
Autofocus failure
Autofocus failed with
manual control focus
lens
Set focus by turning the focus
ring.
Dark or too bright
pictures
Inappropriate exposure
Adjust the aperture size by
turning the lens or adjust the
shutter speed
7. Technical data
Lens speed
F8.0-32
Lens group/Lenses
4/4
Image angle
5°
Closest focusing distance
10m
Filter diameter
30,5mm
Front diameter
67mm
Overall length
ca. 298mm
Weight
ca. 640g
8. Shipment
1 x lens
1 x lens cap
1 x lens bag
Table of contents
Popular Lens manuals by other brands

Sigma
Sigma 24-35mm F2 DG HSM Art instructions

opto engineering
opto engineering AOL0223B instruction manual

FujiFilm
FujiFilm FUJINON HA42x13.5BERD-U48 Operation manual

Canon
Canon HD XS HJ14ex4.3B Operation manual

Sony
Sony SEL135F18GM operating instructions

Leica
Leica APO-ELMAR-S 1:3.5/180mm ASPH instructions