WX370
3-point Hitch Wood Splitter Safety
Safety
9
2.5 Equipment Safety Guidelines
Always place the machine in a Safe Condition before
performing any service work, maintenance procedures,
or storage preparation.
SAFE CONDITION
• Shut off engine.
• Make sure all moving parts have stopped.
• Disconnect battery ground (-) cable.
• Block or chock wheels.
1. Never use equipment with safety shields removed.
Keep all shields in place. If shield removal
becomes necessary for repairs, reinstall the shield
prior to use.
2. Replace any safety sign or instruction sign that is
not readable or is missing. Location of safety signs
is indicated in this manual.
3. Do not allow anyone other than a responsible,
properly trained and physically able person to
operate this machine. This equipment is dangerous
to children and persons unfamiliar with its
operation.
4. Do not modify the equipment in any way.
Unauthorized modication may result in serious
injury or death and may impair the function and life
of the equipment.
5. Never exceed the limits of the machine. If its ability
to do the job or to do it safely is in question—
STOP IMMEDIATELY!
2.6 Safety Training
1. The best safety feature is an
informed, careful operator—we
ask you be that kind of operator.
It is the operator's responsibility
to read, understand and follow
ALL safety and operation
instructions in the manual.
2. Train all new personnel and review instruc tions
frequently with existing workers. Only properly
trained and physically able operators should
use this equipment. A person who has not
read and understood all operation and safety
instructions is not qualied to use the machine.
Untrained operators expose themselves and
bystanders to possible serious injury or death. If
elderly people are assisting with the work, their
physical limitations need to be recognized and
accommodated.
3. Learn the controls and how to stop the machine
quickly in an emergency.
4. If this machine is loaned or rented, it is the
machine owner's responsibility to make certain that
every operator:
• Reads and understands the owner's manual
• Is instructed in safe and proper use of the
equipment
• Understands and knows how to perform the
Safe Condition procedure
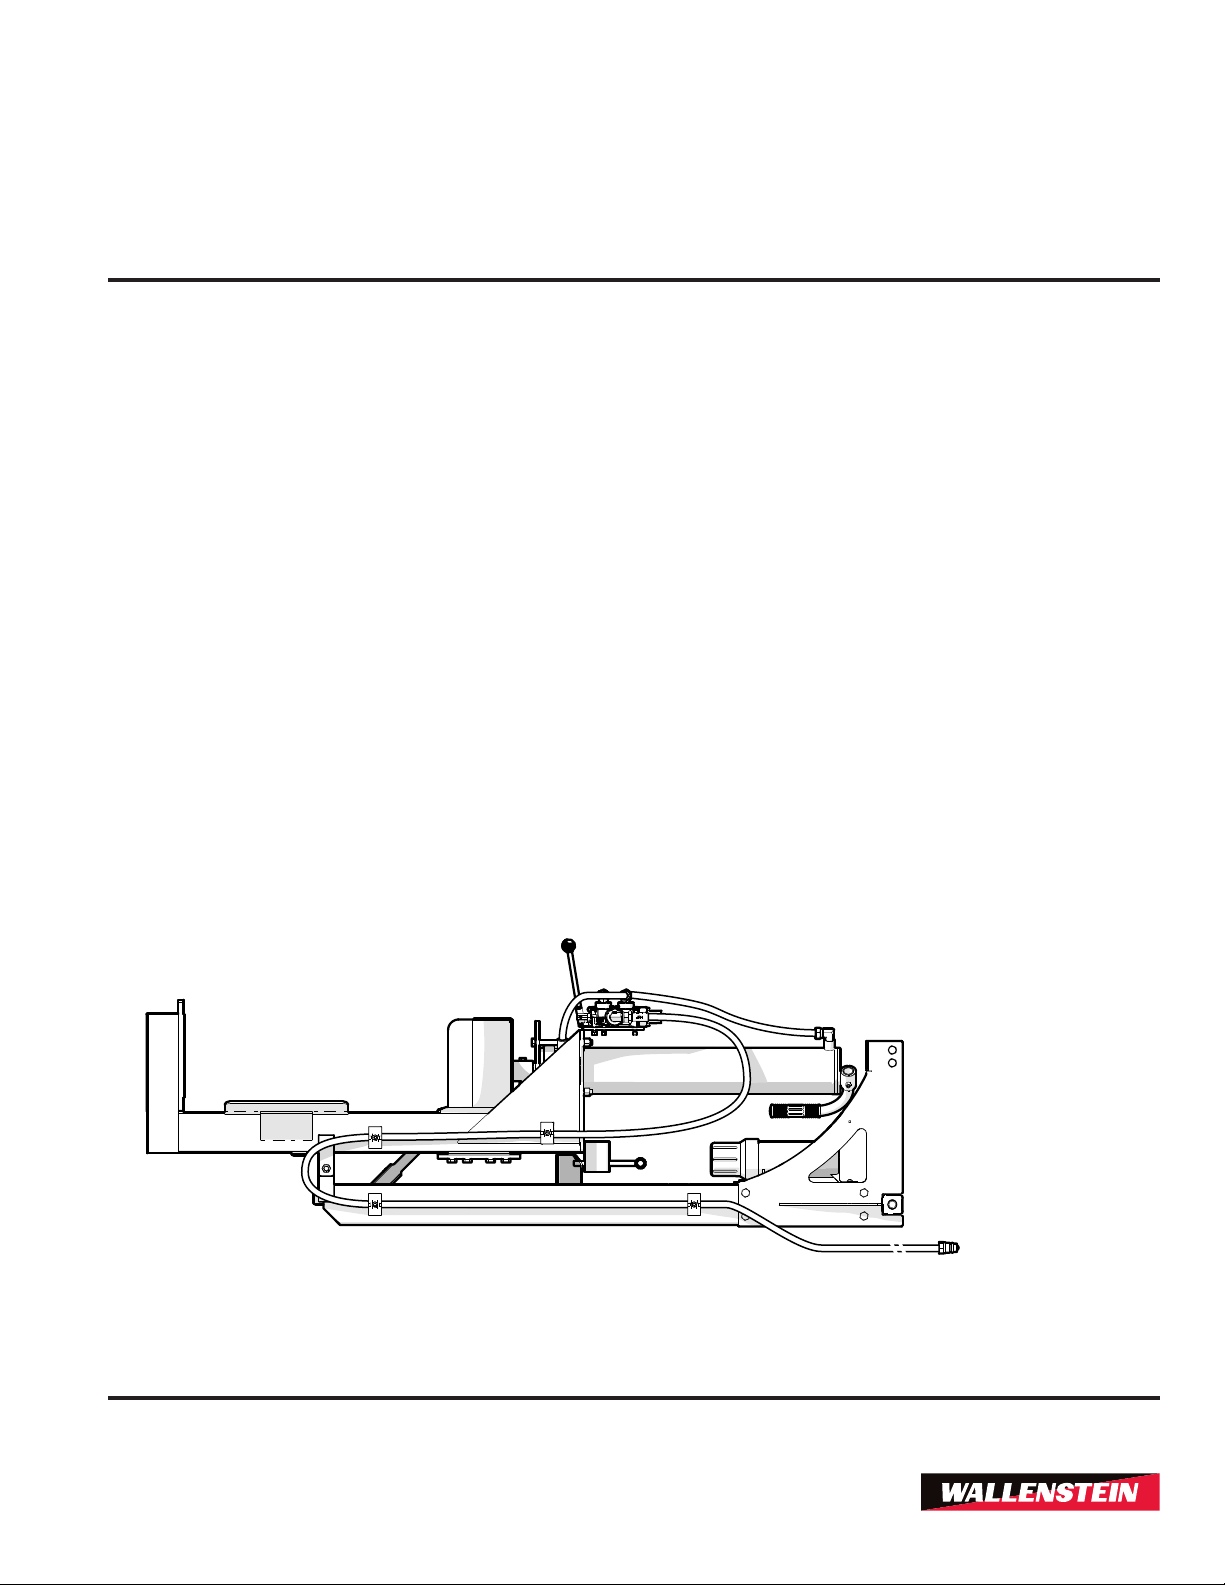
2.7 Hydraulic System Safety
1. Make sure that all the components in the hydraulic
system are kept in good condition and are clean.
2. Before applying pressure to the
system, make sure all components
are tight, and that lines, hoses and
couplings are not damaged.
3. Do not attempt any makeshift repairs to the
hydraulic lines, ttings or hoses by using tapes,
clamps or cements. The hydraulic system operates
under extremely high pressure. Such repairs can
fail suddenly and create a hazardous and unsafe
condition.
4. Wear proper hand and eye
protection when searching for a
high-pressure hydraulic leak. Use
a piece of wood or cardboard as
a backstop instead of hands to
isolate and identify a leak.
5. If injured by a concentrated high-pressure
stream of hydraulic uid, seek medical attention
immediately. Serious infection or toxic reaction
can develop from hydraulic uid piercing the skin
surface.
6. Relieve pressure in the hydraulic system before
working on it.