Warmlite WL46018 Installation instructions

LOG EFFECT
STOVE FIRE
MODEL WL46018/ WL46018G
YOUR SAFETY &
INSTRUCTION MANUAL
PLEASE READ CAREFULLY
www.warmlite.co
This product is only suitable for well insulated spaces or occasional use.

2
CUSTOMER SUPPORT TEAM: +44 (0) 333 220 6056
TECHNICAL DATA
Description: Log Eect Stove Fire
Model: WL46018/ WL46018G
Rated Voltage: 220 - 240V ~
Frequency: 50Hz
Power Consumption: 1800W – 2000W
DOCUMENTATION
We declare that this product conforms to the following product legislation in accordance with the
following directive(s):
2014/30/EU Electromagnetic Compatibility Directive.
2014/35/EU Low Voltage Directive.
2011/65/EU Restriction of Hazardous Substances Directive.
2009/125/EC Eco-Design of Energy Related Products.
RK Wholesale LTD Quality Assurance, United Kingdom
WARRANTY
This product is guaranteed for 12 months from the date of original purchase. If any defect arises due
to faulty materials of workmanship, the faulty products must be returned to the place of purchase.
Refund or replacement is at the discretion of the retailer.
The following conditions apply:
• The product must be returned to the retailer with proof of purchase.
• The product must be installed and used in accordance with the instructions contained in this
instruction guide.
• It must be used only for domestic purposes.
• It does not cover wear and tear, damage, misuse or consumable parts.
• RK Wholesale LTD has limited liability for incidental or consequential loss or damage.
• This guarantee is only Valid in the UK and Eire Only.
An extended warranty is available for this appliance.
See back page for details.

3
www.warmlite.co
WARNING:
This Appliance MUST be Earthed
WIRING SAFETY FOR UK USE ONLY
IMPORTANT
As the colours in the mains lead of this appliance
may not correspond with the coloured markings
identifying the terminals in your plug, please
proceed as follows:
The wires in the mains lead are labelled in
accordance with the following code:
Blue neutral [N] Brown live [L]
Green/Yellow [EARTH]
Plug Fitting Details (Where Applicable). The
wire labelled blue is the neutral and must be
connected to the terminal marked [N].
The wire labelled brown is the live wire and must
be connected to the terminal marked [L].
The wire labelled green/yellow must be
connected to the terminal marked with the letter
[E].
On no account must either the brown or the blue
wire be connected to the [EARTH] terminal.
Always ensure that the cord grip is fastened
correctly.
The plug must be tted with a fuse of the same
rating already tted and conforming to BS 1362
and be ASTA approved.
If in doubt consult a qualied electrician who will
be pleased to do this for you.
Non-Rewireable Mains Plug
If your appliance is supplied with a non-
rewireable plug tted to the mains lead and
should the fuse need replacing, you must use an
ASTA approved one (conforming to BS 1362 of
the same rating).
If in doubt, consult a qualied electrician who will
be pleased to do this for you.
If you need to remove the plug - disconnect it
from the mains - then cut it o of the mains lead
and immediately dispose of it in a safe manner.
Never attempt to reuse the plug or insert it into a
socket outlet as there is a danger of an electric
shock.
FUSE
Earth
(Green/Yellow)
13Amp
Fuse
Neautral
(Blue)
Live
(Brown)

4
CUSTOMER SUPPORT TEAM: +44 (0) 333 220 6056
PRODUCT SAFETY
When using any electrical appliance, basic safety precautions should
always be followed including the following:
• Check that the voltage of the
main circuit corresponds with
the rating of the appliance
before operating.
• Please ensure that the
appliance is used on a stable,
level, and heat resistant
surface.
• DO NOT immerse cords,
plugs or any part of the
appliance in water or any
other liquid.
• DO NOT leave the appliance
unattended while it is
operating.
• Close supervision is
necessary when any
appliance is used by or near
children or pets.
• This appliance can be
used by children above 8
years old and persons with
reduced physical, sensory
or mental capabilities or
lack of experience and
knowledge if they have
been given supervision or
instruction concerning use of
the appliance in a safe way
and understand the hazards
involved.
• Children shall not play with
the appliance.
• Children should not maintain
or clean the appliance unless
supervised.
• Switch o at the wall socket
then remove the plug from
the socket when not in use or
before cleaning.
• If the supply cord or appliance
is damaged, stop using
the appliance immediately
and seek advice from the
manufacturer or its service
agent or a similarly qualied
person.
• DO NOT let the cord hang
over the edge of a table or
counter or let it come into
contact with any hot surfaces.
• The use of accessory
attachments is not
recommended by the
appliance manufacturer
apart from those supplied
with this product. DO NOT
use extension cords with the
appliance.
• DO NOT pull the plug out by
the cord as this may damage
the plug and/or the cable.
• DO NOT use this product
for anything other than its
intended use.
• This appliance is for
household use only.

5
www.warmlite.co
• DO NOT carry the appliance
by the power cord.
• DO NOT use the appliance
outdoors.
• Always ensure that the
heater is placed on a rm
level surface. Ensure that the
heater is not positioned close
to curtains, furniture or any
combustible materials as this
could create a re hazard.
• The heater must not be
located immediately below a
mains socket outlet.
• This product is only suitable
for well-insulated spaces and
occasional use.
• DO NOT cover the heater as
this may lead to a re risk.
• DO NOT obstruct any of
the openings of the heater
especially the heat outlet at
the bottom of the heater.
• DO NOT insert any object
through any openings on the
heater.
• DO NOT use the heater
in areas where ammable
liquids are stored or where
ammable fumes may be
present.
• DO NOT operate the heater
on a timer or leave on
overnight.
• When not being used, please
unplug the heater from the
mains socket.
• Keep the mains lead away
from the hot body of the
heater and ensure that it is
not pulled tight between the
socket and the heater.
• DO NOT use the heater in the
immediate surroundings of a
bath, a shower, a swimming
pool or similar indoor
locations.
• DO NOT use or place the
appliance on carpet. Always
place the heater on a at,
stable heat-resistant surface.
• In order to avoid a hazard
due to inadvertent resetting
of the thermal cut-out, this
appliance must not be
supplied through an external
switching device, such as
a timer, or connected to
a circuit that is regularly
switched on and o by the
utility.

6
CUSTOMER SUPPORT TEAM: +44 (0) 333 220 6056
• WARNING: This heater is not
equipped with a device to
control the room temperature.
DO NOT use this heater in
small rooms when they are
occupied by persons not
capable of leaving the room
on their own, unless constant
supervision is provided.
• CAUTION – Some parts of
this product can become
very hot and cause burns.
Particular attention has to
be given where children and
vulnerable people when
around the appliance.
• DO NOT use this appliance if
it is dropped or damaged in
any way.
• WARNING! This appliance
should only be repaired by the
manufacturer or a qualied
service repair person.
• WARNING! DO NOT use the
appliance if water damage
has occurred, if the appliance
body has been damaged,
the power cord has been
damaged or broken, if the
power cord is hot to the
touch, if the unit smokes or
smells like smoke.
Note: When the heat function
is used for the rst time, a
slight odour may be present.
This is normal and may occur
again if the appliance is not
used for a long period of time.
• Always unplug the heater
and allow it to cool before
moving it from one location to
another.
• DO NOT attempt to dismantle
or repair any part of the
heater. This should only be
done by a qualied service
agent.
• In the unlikely event the
appliance develops a fault,
stop using it immediately
and seek advice from the
Customer Support Team.
HIGH VOLTAGE HOT SURFACE DO NOT COVER

7
www.warmlite.co
WHAT’S IN THE BOX
Instruction Manual
Log Eect Stove Fire
4 X Legs
12 X Screws
1. Glow eect Panel
2. Log Eect
3. Control Panel
4. Legs (4)
5. Hot Air Vent
BEFORE YOUR FIRST USE:
1. Remove your appliance from the packaging.
2. Keep the front of the appliance through which the heat is radiated at least one meter away from
furniture, curtains and other ammable objects at all times.
3. Ensure there is a grounded socket nearby (back of the appliance).
4. Never use an extension lead. The main cable must remain at the back of the appliance and
must not be in contact with any hot elements.
5. Your appliance is now ready for normal use.
Dispose of the packaging in a responsible manner.
1
2
3
4
5

8
CUSTOMER SUPPORT TEAM: +44 (0) 333 220 6056
ATTACHING THE LEGS
1. Turn product on its side to start attaching
legs.
2. Place a leg on each corner and use 3
screws for each leg.
3. Tighten the screws clockwise until tight on
each leg.
4. Turn the unit back up to standing position
making sure it is stable.
5. Place the unit in the required location and
plug in, it is now ready for use.
NOTE: The drawing below is for illustration
purposes only, your product may be slightly
dierent in looks but the operations are the
same.
CONTROL PANEL
Thermostat control dial – Adjust to maintain
room temperature
Power/Flame switch – Switches both Flame
eect and Power On/O
1000W Heat Selection – Press “-” for 1000W
2000W Heat Selection – Press “-” and “=” at
the same time for 2000W heating. The higher
heating selection cannot be activated without
rst activating the 1000W setting.
Flame Dimmer Control – Adjust to set the
ame intensity
USING YOUR APPLIANCE
1. Plug the heater into the mains socket and
switch the socket on.
2. The heater switches are located on the
front of the unit behind the drop down
panel.
3. Switch the re on by pushing the ON/OFF
switch to the ‘I’ position.
4. To select the heat level, you can choose
between two settings: 1000W or 2000W
5. Push switch ‘I’ to the ON position for
1000W
6. Push both switches ‘I’ and ‘II’ to the ON
position for 2000W.
7. To turn o, push all the switches to the
OFF positions.
Legs Fitting Screws

9
www.warmlite.co
CLEANING AND CARE
• Before cleaning always switch o the re
and remove the plug from the electrical
socket.
• Ensure that the unit is cool enough to
work on.
• To remove the dust, wipe the appliance
with a dry cloth.
• To keep the heater clean, the outer
shell may be cleaned with a soft, damp
cloth. You may use a mild detergent if
necessary. After cleaning, dry the unit with
a soft cloth.
• CAUTION! DO NOT let liquid enter the
heater. This may cause damage or
deterioration to the heater’s surface.
• WARNING! DO NOT immerse the heater
in water or any other liquid.
• Never use abrasive powders or solvents.
• If the heater shows any signs of wear or
damage disconnect immediately from
the mains supply, do NOT use it – have it
checked by a suitably qualied person.
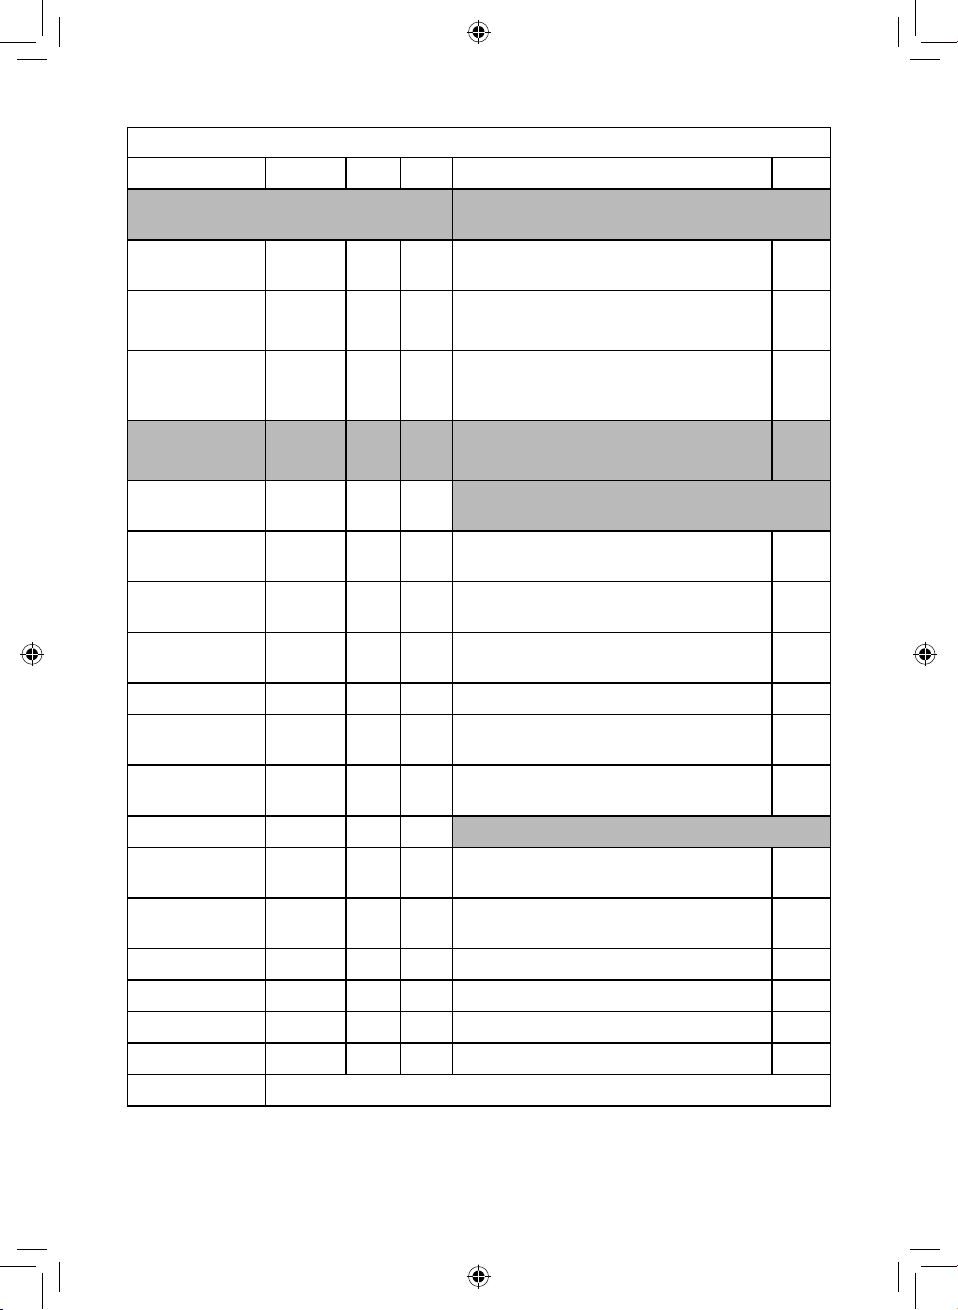
TROUBLE SHOOTING
Problem Solution
The heater
will not turn
on.
Make sure the appliance
is plugged into the mains
and that it is switched on. If
plugged in, make sure the
Power button is in the On
position.
No re eect
light.
Check with the manufacturer
or a qualied service person
for repair.
DISPOSAL OF THE UNIT
Appliances bearing the symbol shown here
may not be disposed of in domestic rubbish.
You are required to dispose of old electrical
and electronic appliances like this separately.
Please visit www.recycle-more.co.uk or
www.recyclenow.co.uk
for access to information about the recycling
of electrical items.
Please visit www.weeeireland.ie for access to
information about the recycling of electrical
items purchased in Ireland.
The WEEE directive, introduced in August
2006, states that all electrical items must be
recycled, rather than taken to landll.
Please arrange to take this appliance to your
local Civic Amenity site for recycling, once it
has reached the end of its life.
WARNING:
DO NOT IMMERSE ANY ELECTRICAL PART
OF THE APPLIANCE IN WATER SUCH AS
MOTOR UNITS OR PLUGS.
PLEASE SEE CLEANING SECTION FOR
FURTHER INSTRUCTIONS.

10
CUSTOMER SUPPORT TEAM: +44 (0) 333 220 6056
Model Identifier(s): WL46018
Item Symbol Valve Unit Item Unit
Heat Output Type of heat input for electric storage, local space
heaters only (select one)
Nominal heat
output Pnom 1,8
–2,0 kW Manual heat charge with integrated
thermostat No
Minimum heat
output (indicative) Pmin N/A kW Manual heat charge control with room
and/or outdoor temperature feedback No
Maximum
continuous heat
output
Pmax, c N/A kW Electronic heat charge control with room
and/or outdoor temperature feedback No
Auxiliary electricity
consumption Fan assisted heat output No
At nominal heat
output elmax N/A kW Type of heat output/room temperature control (select
one)
At minimum heat
output elmin N/A kW Single stage heat output and no room
temperature control No
In standby mode eISB N/A kW Two or more manual stages, no room
temperature control No
With mechanic thermostat room temperature
control Yes
With electronic room temperature control No
Electronic room temperature control plus day
timer No
Electronic room temperature control plus
week timer No
Other control options (multiple selections possible)
Room temperature control with presence
detection No
Room temperature control with open
window detection No
With distance control option No
With adaptive start control No
With working time limitation No
With black bulb sensor No
Contact Details: Imported by RK Wholesale LTD., Berryhill Road, Stoke-on-Trent ST4 2NL

11
www.warmlite.co
NOTES

We hope you enjoy your appliance for many years.
As a thank you for purchasing one of our fantastic products,
we are oering you an extra 1 year peace of mind.
*To receive your extra guarantee period, register your appliance online
within 28 days of purchase by visiting:
www.warmlite.co
Make sure to retain your original receipt.
Should you have a problem
with your appliance or need any spare parts please call our
Customer Support Team on:
+44 (0) 333 220 6056
Distributed throughout the UK by RK Wholesale LTD
0120.V4
This manual suits for next models
1
Table of contents
Other Warmlite Stove manuals
Popular Stove manuals by other brands

Cedar Ridge
Cedar Ridge CRHEB24RT OWNER'S OPERATION AND INSTALLATION MANUAL

Gasmate
Gasmate GM030-031 user manual

EdilKamin
EdilKamin Simpaty Cherie Installation, use and maintenance

deville
deville C07832 Manual Utilisation

EZBoilers
EZBoilers EZ-Pro owner's manual

Diamond
Diamond G2SA77/9 operating instructions