manuals.online logo
Brands
  1. Home
  2. •
  3. Brands
  4. •
  5. Watermark
  6. •
  7. Bathroom Fixture
  8. •
  9. Watermark aquaBUBBLER ABS14 User manual

Watermark aquaBUBBLER ABS14 User manual

ATTENTION PLUMBER: See next page for INSTALLATION GUIDE
Maximum Water Pressure: 1600 kPa / Maximum Temperature: 65°C
Installation must be in accordance with AS/NZS 3500.1 and AS/NZS 3500.2
AU: 1300 213 7 74
NZ: 0800 213 774
www.aquabubbler.com
1
IMPORTANT >>>
SPORTS FIELD
Install onto :
Unit must be installed by a Certified Plumber - failure to do so will void all warranties.
1
Outdoor Indoor
Location:
Where installed in frost-prone
areas, unit must be fitted with an
Anti-Freeze Valve. Warranty will
otherwise be void
4Identify Water & Drainage points 5Is an Anti-Freeze Valve Required?
Determine Plumbing Connection
3
Below GroundAbove Ground
2Concrete
Pad
Ground
Work Timber
Floor
WASTE
W A TER
WASTE
W A TER
Twin Refill aquaBUBBLER Product Code : ABS14
6
Timber boxing foundation
Screws and washers
Bag of cement
Socket Extension Bar
10 mm threaded rod and nuts
Flexible head ratchet wrench
43 mm hole saw
15 mm hole saw
10 mm socket
1
2
3
4
5
6
7
8
9
Plumbing Tools Required 1
2
34
5
6
7 8 9
Pre-installation
Maximum Water Pressure: 1600 kPa / Maximum Temperature: 65°C
Installation must be in accordance with AS/NZS 3500.1 and AS/NZS 3500.2
AU: 1300 213 7 74
NZ: 0800 213 774
www.aquabubbler.com
2
76 8
2
ATTENTION PLUMBER: See previous page for PRE-INSTALLATION GUIDE
5
water
mains
Install Isolation Valve
(not supplied)
on mains line,
external to unit
(recommended)
DON’T FORGET: SET UP FOR USE:
Expose Access Panel
Slide poster up
to expose
Access Panel
Remove
aluminium strip
at base to ease
movement
Access
Panel
Access
Panel
1Consult
Schematic
Check for leaks
Run taps and
adjust any
insecure
connections.
Adjust water pressure
Rotate keyhole with a
5mm screwdriver to
adjust water pressure.
Advise client to check
water pressure 48 hours
aer installation, as it may
require re-adjustment.
Mark measurements and
dimensions as indicated by
Schematic
aquabubbler.com.au/plumbing
-technical-information
34
Locate Internal Base
Mounting Plate
water
supply
Flush out
the lines
before connecting
to unit in order
to eliminate
particulate
matter
(copper &
brass filings)
Remove lid
with T30 Post Torx
Security Screwdriver
(supplied)
Leave T30 Post Torx
Security Screwdriver
with client
Insert coach bolts
through square
holes (either side
of DB)
Secure bolts
from inside of
unit with washer
and lock nut
Attach DB
Units with
Dog Bowl (DB)
only
IMPORTANT >>> Unit must be installed by a Certified Plumber - failure to do so will void all warranties.
Twin Refill aquaBUBBLER Product Code : ABS14
Installation
Place Base Mounting Plate in position
on the installation surface.
Mark anchor points on the
surface through BMP holes & drill out.
Fit o either 12mm threaded
rods or 16mm dynabolts*
Gain access to the base of the unit
via Access Panel.
Place unit over anchors, then
place the Plate back inside unit
over anchors and secure in place.
Indicates correct gauges for anchor
system types listed; choice of anchor
system is at installer's discretion
*
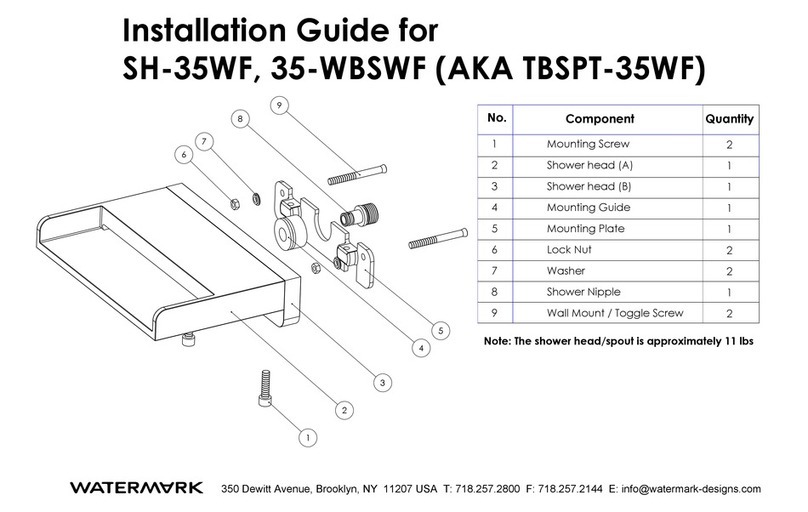
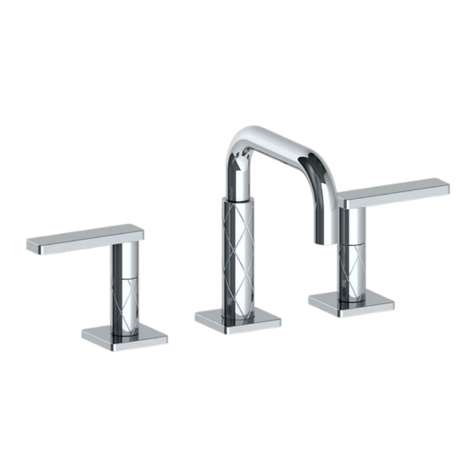
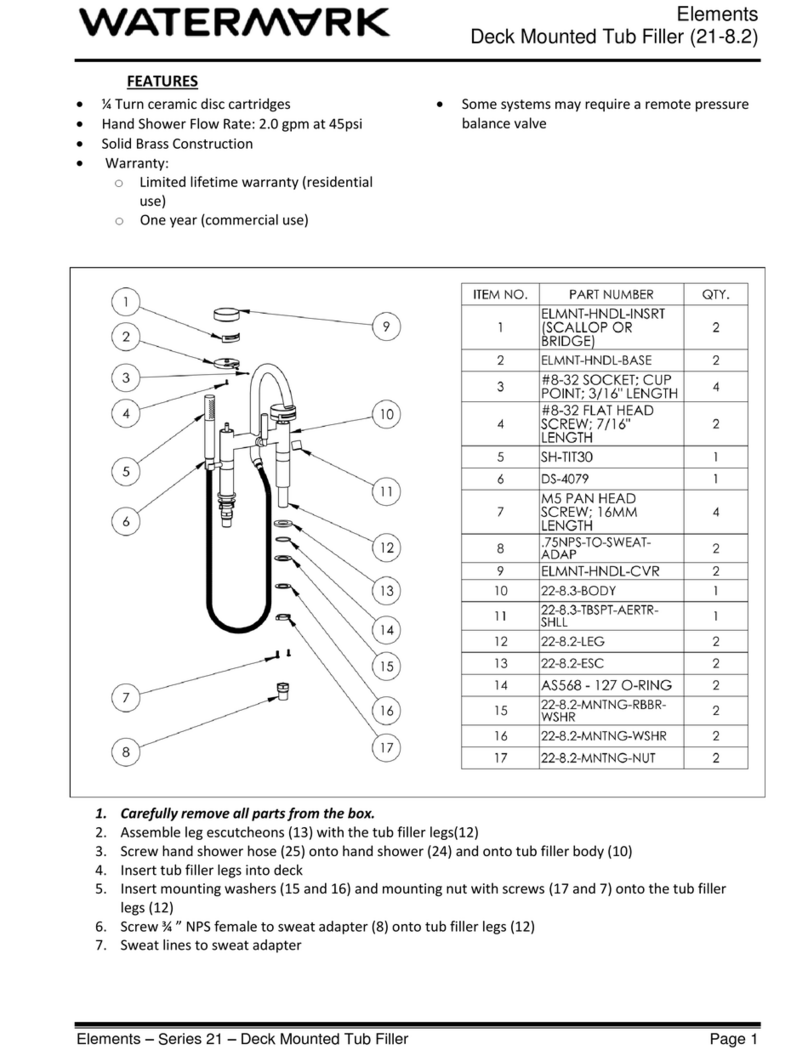
Other Watermark Bathroom Fixture manuals

Watermark SH-35WF User manual

Watermark

Watermark SH-35WF User manual

Watermark AUT-WT1 User manual

Watermark

Watermark AUT-WT1 User manual

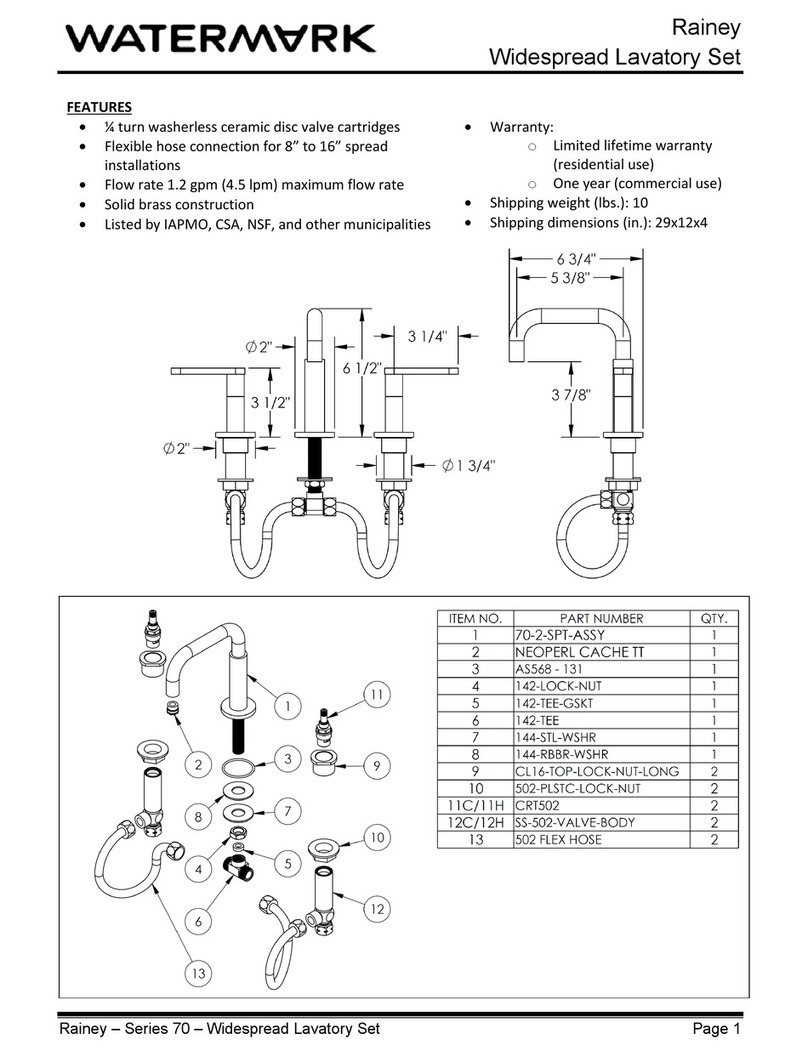
Watermark Rainey RNS4 User manual

Watermark

Watermark Rainey RNS4 User manual

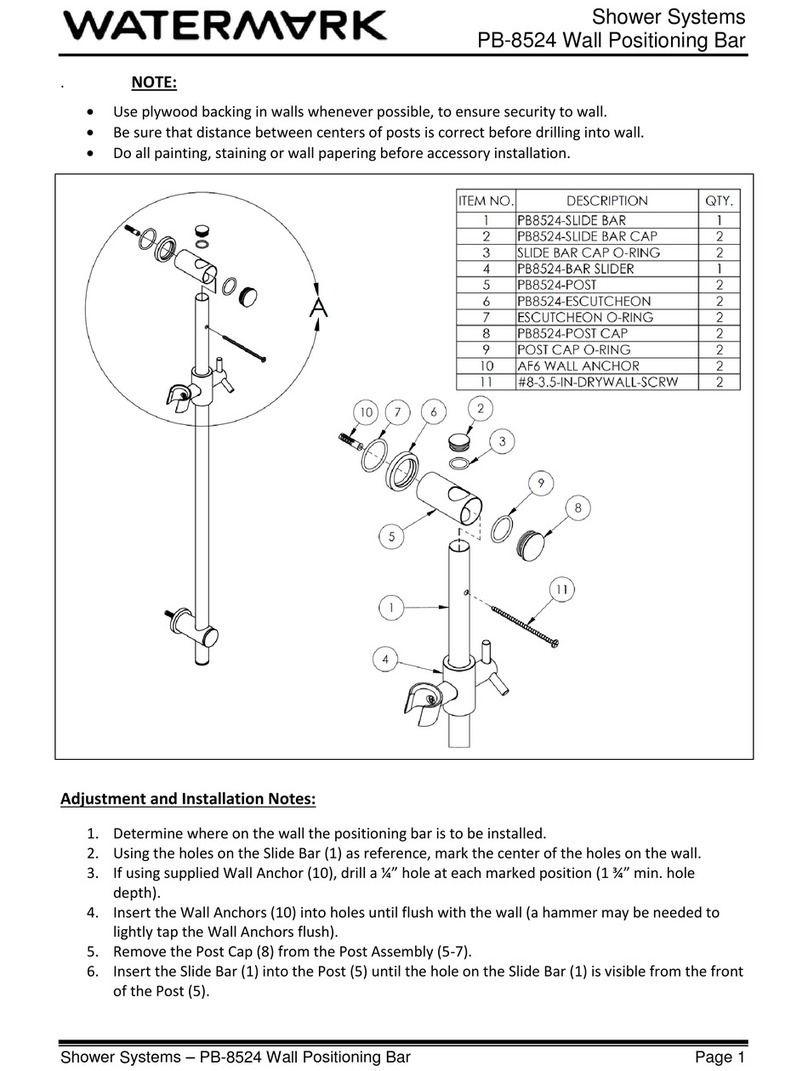
Watermark PB-8524 User manual

Watermark

Watermark PB-8524 User manual

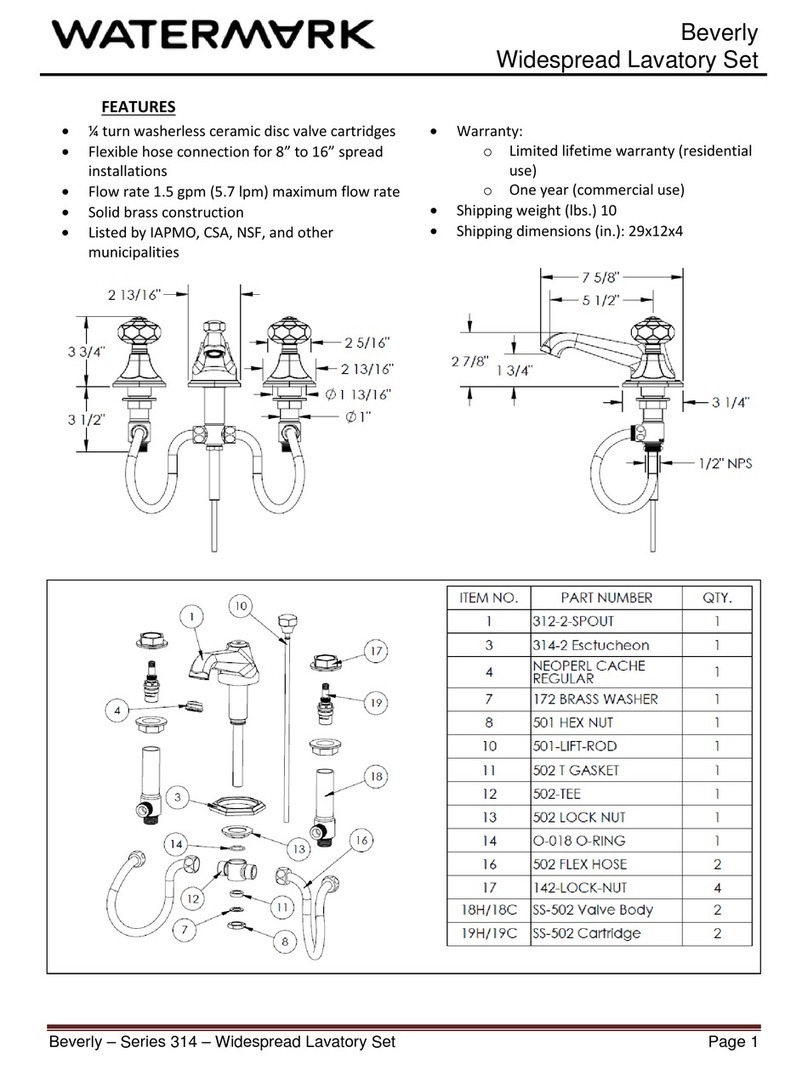
Watermark Beverly Roosevelt CRY4 User manual

Watermark

Watermark Beverly Roosevelt CRY4 User manual

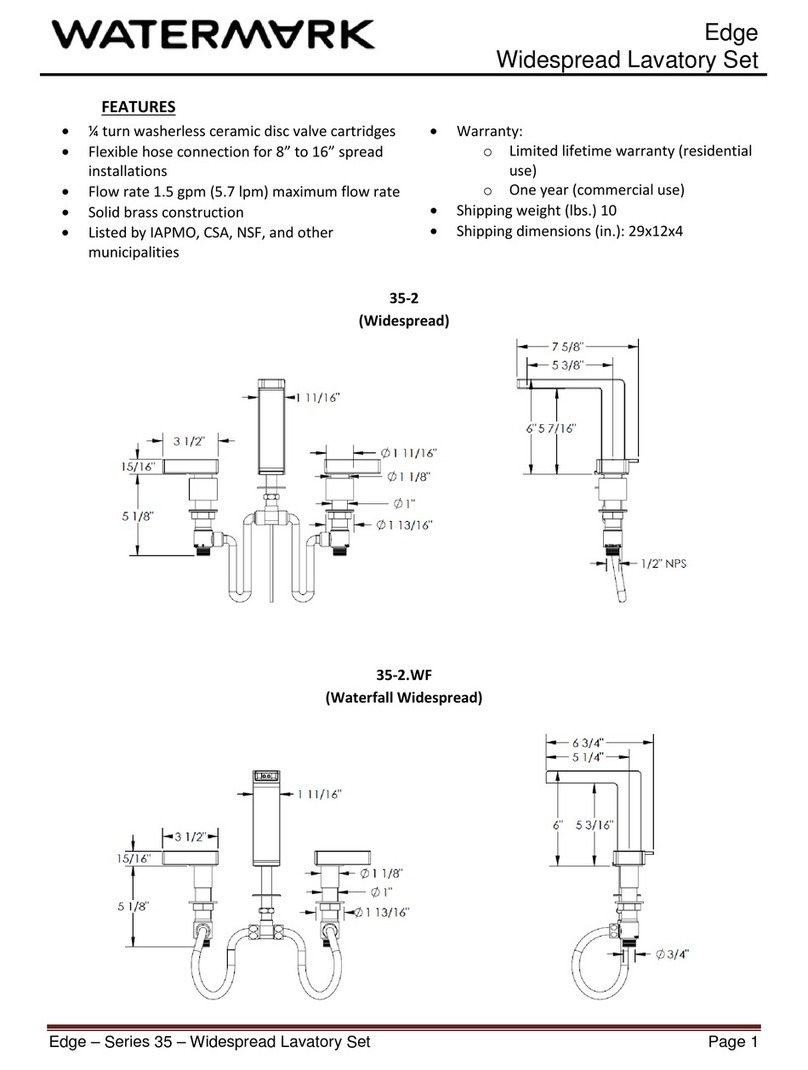
Watermark Edge 35-2-ED1-PC User manual

Watermark

Watermark Edge 35-2-ED1-PC User manual

Watermark Lily LLD4 User manual

Watermark

Watermark Lily LLD4 User manual

Watermark Elements 21 Series User manual

Watermark

Watermark Elements 21 Series User manual

Popular Bathroom Fixture manuals by other brands

Kohler Mira Sport Max J03G Installation and user guide

Kohler

Kohler Mira Sport Max J03G Installation and user guide

Moen 186117 Series installation guide

Moen

Moen 186117 Series installation guide

Hans Grohe Raindance Showerpipe 27235000 Instructions for use/assembly instructions

Hans Grohe

Hans Grohe Raindance Showerpipe 27235000 Instructions for use/assembly instructions

Signature Hardware ROUND SWIVEL BODY SPRAY 948942 Install

Signature Hardware

Signature Hardware ROUND SWIVEL BODY SPRAY 948942 Install

fine fixtures AC3TH installation manual

fine fixtures

fine fixtures AC3TH installation manual

LIXIL HP50 Series quick start guide

LIXIL

LIXIL HP50 Series quick start guide

KOLO ATOL PLUS installation manual

KOLO

KOLO ATOL PLUS installation manual

Hans Grohe PuraVida 15073000 Instructions for use/assembly instructions

Hans Grohe

Hans Grohe PuraVida 15073000 Instructions for use/assembly instructions

Toto TS111B8 Installation and owner's manual

Toto

Toto TS111B8 Installation and owner's manual

Kohler K-1158-H2 Homeowner's guide

Kohler

Kohler K-1158-H2 Homeowner's guide

Coram Showers OFFSET QUADRANT manual

Coram Showers

Coram Showers OFFSET QUADRANT manual

baliv DU-2010 manual

baliv

baliv DU-2010 manual

odass OD-1710 instruction manual

odass

odass OD-1710 instruction manual

Oxygenics Evolution Easy installation instructions

Oxygenics

Oxygenics Evolution Easy installation instructions

Bradley Express SS Series installation instructions

Bradley

Bradley Express SS Series installation instructions

Helvex TH-974 installation guide

Helvex

Helvex TH-974 installation guide

DURAVIT C.1 C15240 0090 Instructions for mounting and use

DURAVIT

DURAVIT C.1 C15240 0090 Instructions for mounting and use

Sunshower PURE SOLO manual

Sunshower

Sunshower PURE SOLO manual

manuals.online logo
manuals.online logoBrands
  • About & Mission
  • Contact us
  • Privacy Policy
  • Terms and Conditions

Copyright 2025 Manuals.Online. All Rights Reserved.