WaterPORT Weekender User manual
OWNERS MANUAL
WEEKENDER
PORTABLE. PRESSURIZED. WATER.
OWNERS MANUAL
WEEKENDER

PORTABLE. PRESSURIZED. WATER.

Congratulations! You now own a WaterPORT™
Weekender™, the world’s premiere self-pressurizing
vehicle water release system. With its rugged design, your
Weekender is sure to last you a lifetime of adventure.

Product options
8 Gallons of fun
What you get
Included
Meet the Weekender, our largest tank at 8 Gallons. The Weekender offers a shower for
the whole family and guarantees everyone stays clean while out on the trail. The tank
offers multiple pressure options: 1) Self-pressurize the system off your home garden hose
using the provided regulator. 2) Use a bike pump or compressor and fill the tank to 40psi
(MAX). 3) Purchase our pump cap and pressurize the system any time by using the built in
hand pump.
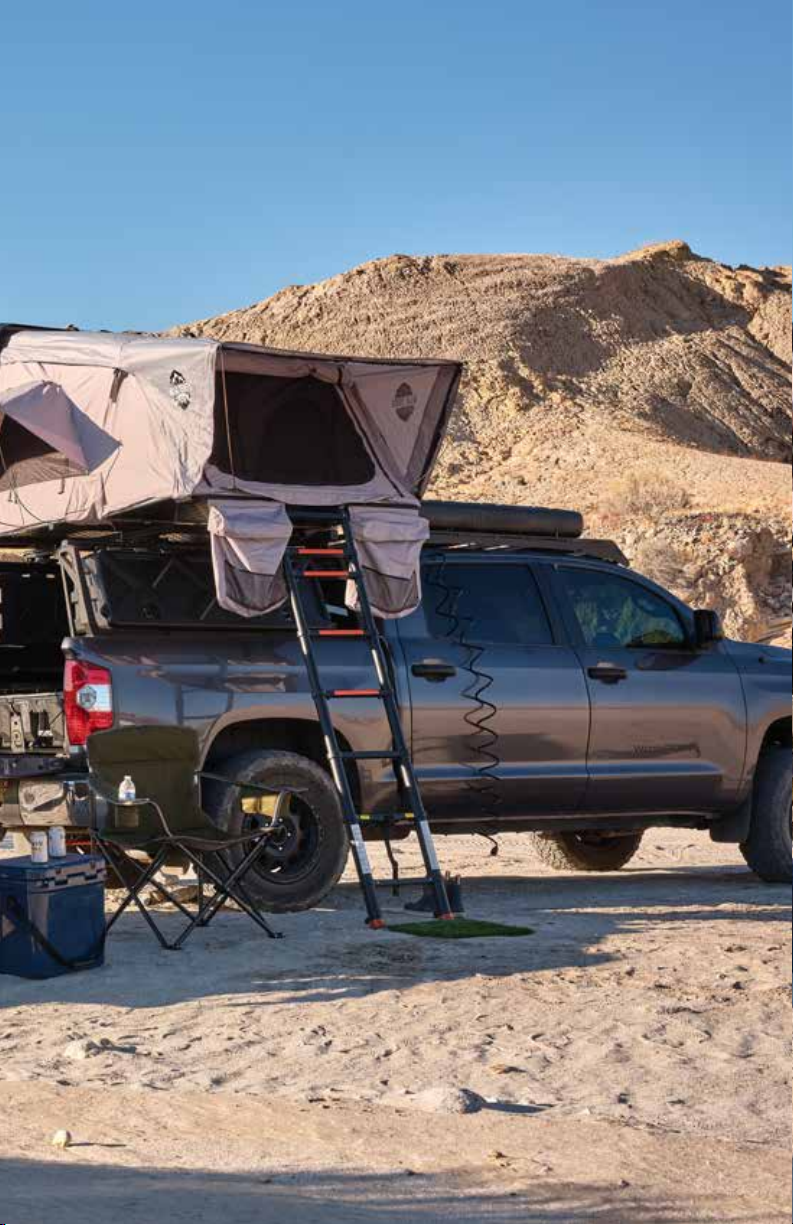
The Weekender offers a modular mounting system that can span from 32” all the way
down to 8”. The modular mount can be moved up and down the system using the 16 5/16”
mounting inserts. The system is perfect for cross bars (see website for details), roof top
platforms, trailers or secure it to the bed of your pickup (drilling may be required). Our
modular mounts can be used with our Platform Rack Mount (2 required) to mount the
system on its side for optimal roof top space.
1) The Weekender 8 gallon water tank (BPA free)
2) 2 mounting brackets
3) 16’ coiled hose (BPA free)
4) 5 pattern high pressure nozzle
5) PSI Regulator for self-pressurization
6) All hardware needed to mount your tank
7) Tank includes schraeder valve and pressure relief valve
IF YOU ONLY READ ONE THING
Get your Weekender mounted first, THEN attach the on/off valve.
It’s easy to bump that valve as you’re lifting the tank up to its
mount spot, so make sure to do things in the right order.
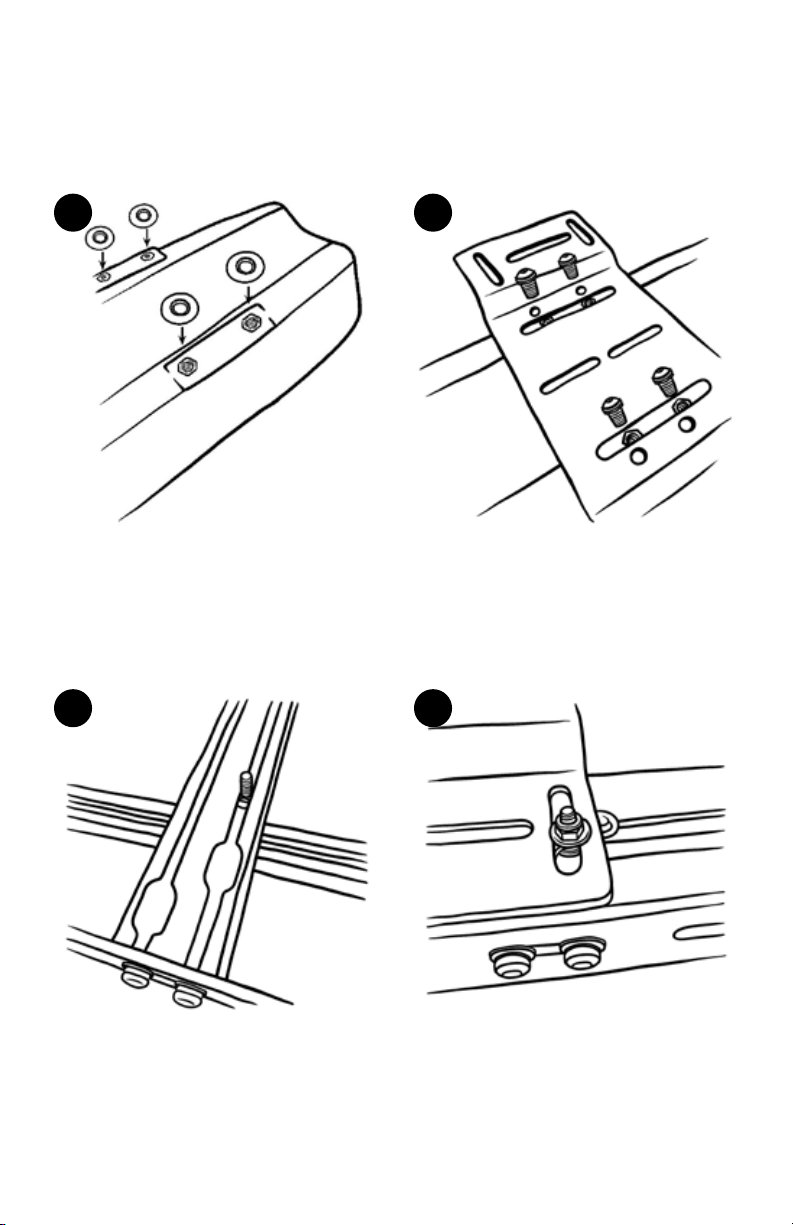
MOUNTING
Platform Roof Rack Mount
1) Place 8 neoprene rubber bonded
sealing washers onto the tank (with the
black/rubber side against the tank).
2) Place the mount on top of the bonded
washers and insert 8 5/16” bolts. Be sure
to include 5/16” lock washers and 5/16”
washers on each bolt. Make sure bolts are
securely fastened.
3) Insert 4 carriage bolts into your
vehicle’s rack by sliding them forward or
backward. Make sure they align with the
slots in the mounts.
4) Set your tank on top of the platform
rack and align the bolts with the slots
located on each side of the tank. Insert 4
washers and then place the 4 lock nuts
and thread on tightly.
1
3
2
4
Your mounting bracket can mount perpendicular (shown) or parrallel to your Weekender.
Just align the bracket as you wish and follow these instructions.
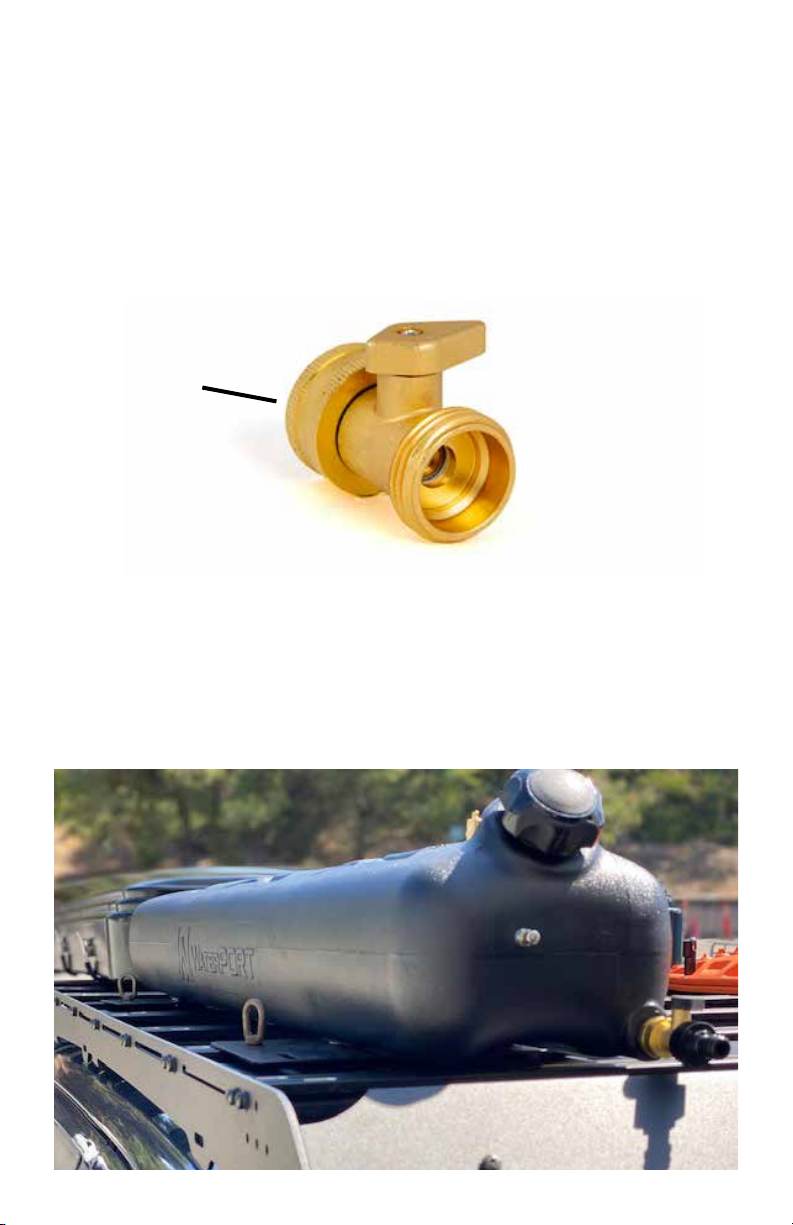
1) DO NOT install the on/off valve until your tank is securely mounted to your vehicle.
2) Tighten the valve by grabbing the collar and twisting to the right. Do not use any
tools, this will damage the thread. Do not overtighten with major force.
Set up
Installing the On/Off Valve
3) Keep your red cap on your tank when not in use. The cap keeps your quick connect
O-ring protected from UV damage.
Collar
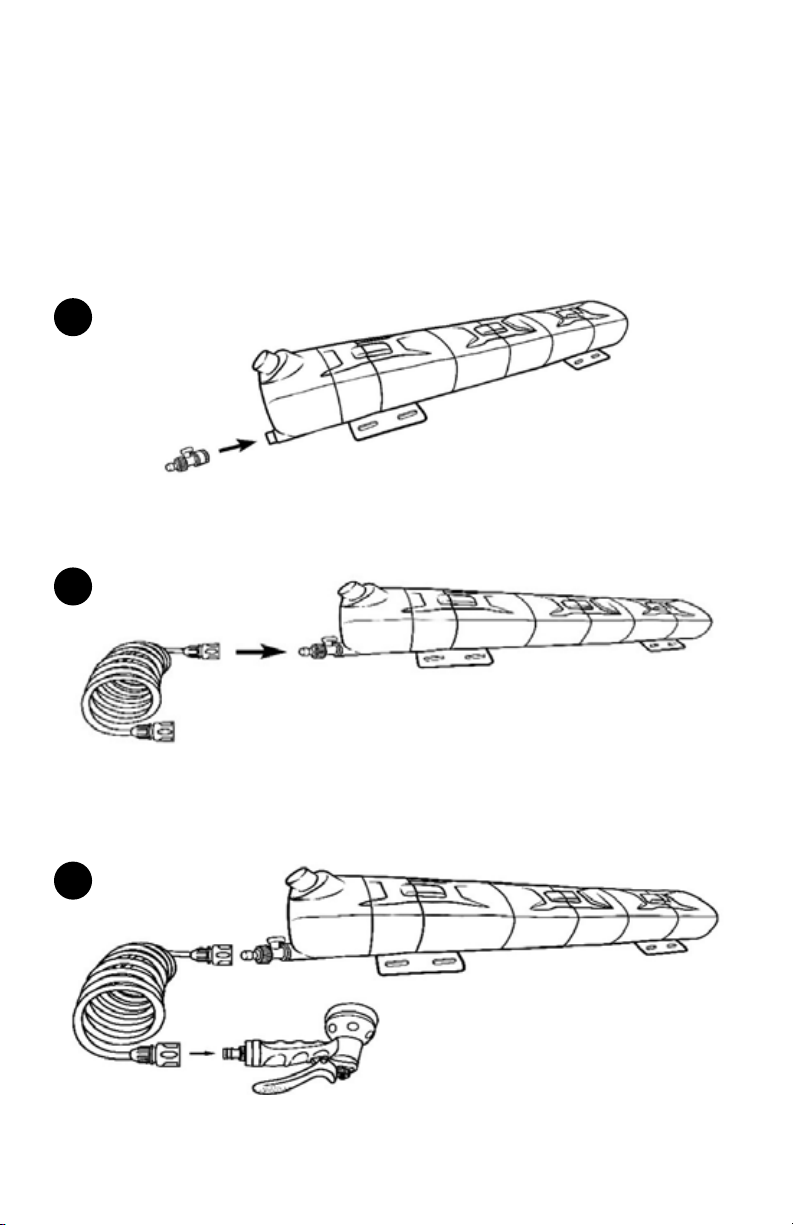
Set up
Assemble tank fittings
1) Attach the on/off to your tank by threading it on clockwise. Tighten the on/off by the
collar, not the body of the valve.
2) Attach the provided 16ft hose by pushing it on to the quick connect, making sure you
hear a click.
3) Attach the nozzle by pushing in the male quick connect (located on the bottom of the
nozzle) to the quick connect at the end of the 16’ hose.
1
3
2
Get your Weekender mounted to your vehicle first, THEN attach the on/off valve. It’s easy
to bump that valve as you’re lifting the tank up to its mount spot, so make sure to do
things in the right order.

HOW TO
Pressurize your tank
1) Attach the provided regulator to your home hose and screw it on all the way.
2) To self-pressurize your tank attach the regulator to the end of the provided 16ft hose.
Turn the on/off valve on both the tank and the regulator to the on position. The tank will
start to fill. It will take approxiamtely 2.5minutes to fill up. You can also tell it’s full by
wrapping your hand around the provided hose and wait until you can feel the flow of
water stop. Once full make sure both valves are turned to the off position and disconnect
the 16ft coil hose from your home garden hose.
3) You can manually pressurize by attaching a bike pump or compressor to the Schrader
valve located below the fill cap. Do not exceed 40psi.
1
2

additional information
warranty
Covered Product:
WaterPORT™ Portable Pressurized Water System and accessories.
Limitation of Damages:
In no event shall the manufacturer WaterPORT™, LLC, a California limited liability
company be liable for consequential damages for breach of this warranty. Some States
do not allow the exclusion or limitation of incidental or consequential damages, so the
above limitation or exclusion may not apply to the buyer.
Warranty Coverage:
WaterPORT™, LLC warrants the Covered Product to be free of all defects in material and
workmanship for 90 days from the date of original purchase. This warranty extends to
the original buyer only.
Within the period of this warranty, WaterPORT™, LLC will repair or replace, free of
charge, any part proving defective in material or workmanship. All warranty repairs and
service must be performed by an authorized WaterPORT™, LLC technician.
All expenses related to replacing or repairing a defective part under this warranty shall
be assumed by WaterPORT™, LLC except for the following expenses, which shall be
assumed by the buyer: The cost of transporting the product to the WaterPORT™ Returns
Department at the address listed below.
Warranty Exclusions:
nThis warranty does not apply to any costs, repairs, or services for the following:
nThis warranty does not apply to any costs, repairs, or services for the following:
nRepairs necessitated by use other than normal personal, family, or household use.
nDamage resulting from misuse, abuse, accidents, alterations, or improper installation.
nDamage arising from either road hazards or driving off road.
nCosmetic damages including, but not limited to, scratches or discoloration.
nDamage arising from liquids other than water.
nDamage arising from high temperatures.
Corrective work necessitated by repairs made by anyone other than a WaterPORT™, LLC
authorized service technician.

additional information
warranty
How To Obtain Warranty Service:
If the Covered Product needs to be returned, please email sales@thewaterport.com to
request an RMA number.
The buyer should then carefully pack the Covered Product, preferably in the original
packing materials, and deliver it, together with a copy of the original purchase receipt
and a description of the problem, to the following:
935 Poinsettia Ave, Unit 205
Vista, CA 92081
Attn: WaterPORT Returns Department RMAXXXXXX
IMPORTANT: Please include a return address
Shipping Methods:
For your records, please select a trackable shipping method such as UPS, Fedex, or USPS
to monitor the shipment of the Covered Product to the WaterPORT™ Returns Department.
We recommend that the buyer insure the product being shipped. We accept no liability
for Covered Products lost or misplaced in shipment.
30 Day Money Back Guarantee:
This warranty is in addition to the 30 day money back guarantee.
Notice to Buyer:
This warranty gives you specific legal rights, and you may also have other rights which
vary from state to state. You have the right to bring any action at law or equity to resolve
disputes concerning or to enforce the provisions of this warranty.
www.theWaterPORT.com
@TheWaterPORT
Copyright © 2020 WaterPORT. All Rights Reserved.
Rev. WK110920
This manual suits for next models
1
Table of contents
Popular Automobile Accessories manuals by other brands


CAMSO
CAMSO 5000-01-4400-MAN Installation guidelines

Porsche
Porsche USB-CDR30 Quick installation guide

Suzuki
Suzuki 99177-78R00 installation instructions

Prorack
Prorack K603 Fitting instructions

Curt Manufacturing
Curt Manufacturing 13081 installation instructions

SportRack
SportRack A25375CS instruction sheet