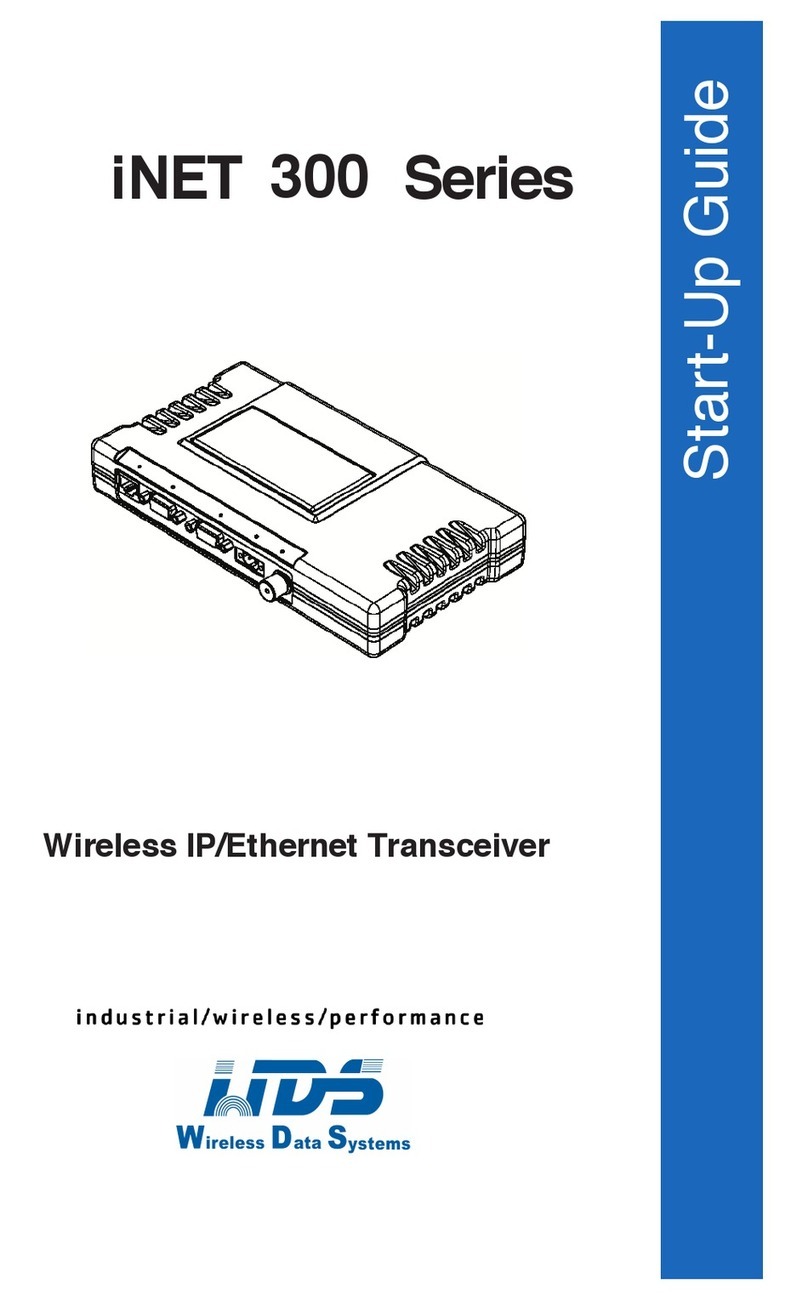
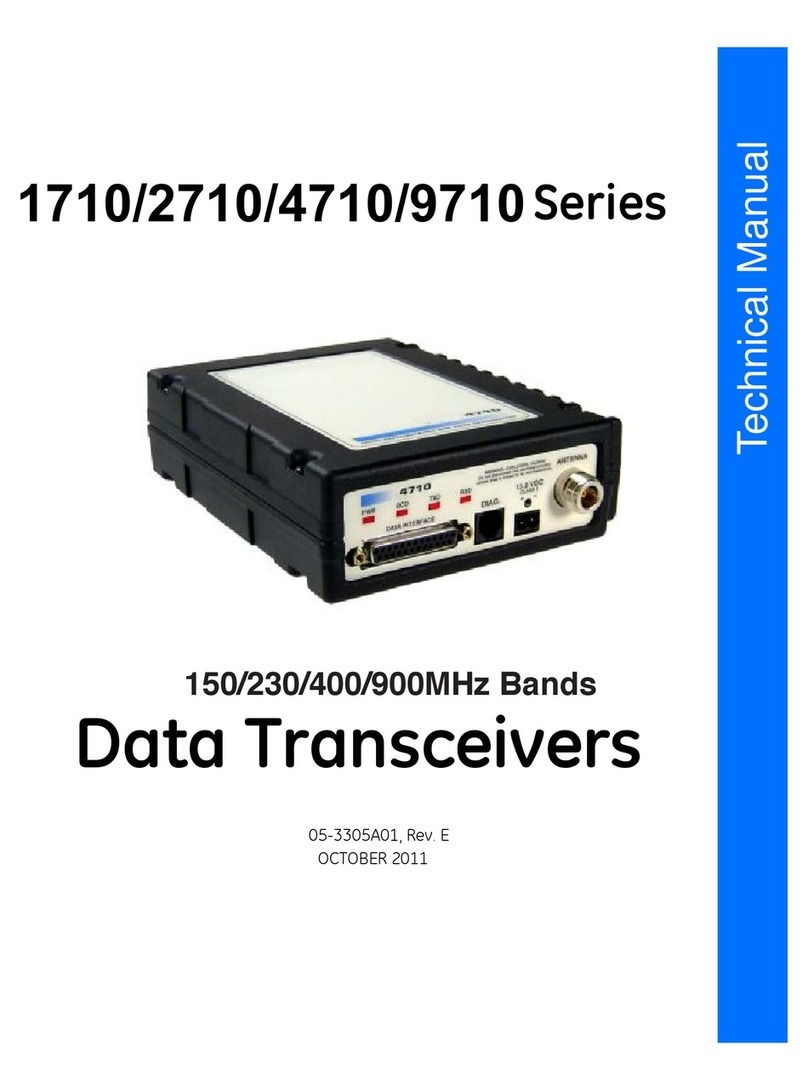
WDS P20 Operating instructions

Installation and Operation Guide
RedundantTransceiver
Chassis
WDS P20

QUICK START GUIDE
Below are the basic steps for configuring a Redundant Station using the WDS P20 Redundant Transceiver
Chassis. Detailed instructions are given in “INSTALLATION” on page 9.
1. Install transceivers
(if not shipped installed)
• Remove chassis cover.
• Remove mounting plate.
• Mount transceivers to plate.
2. Connect internal back-up battery (if so equipped) and replace chassis cover.
3. Connect wiring
• Connect to ground, connect antenna(s), connect to data interface, connect to power, and connect any
alarms. Connections are described in “Connecting Wiring” on page 12.
4. Program transceivers
• Plug in HHT to Transceiver A.
• Set Front Panel Radio Selection switch to A.
• Enter
INIT xx20
(where xx is the first two digits of transceiver model number) to configure transceiver
for Redundant Station operation.
• Repeat for Transceiver B.
• Record all parameters on a label and affix the label to the chassis.
5. Configure for repeater operation if desired.
• See the instructions beginning with “Configuring the Redundant Transceiver Chassis as a Repeater”
on page 16.
6. Apply primary power
7. Select the active transceiver
• Set the front panel
RADIO SELECTION
Switch to
A
(Transceiver A, no auto switchover),
B
(Trans-
ceiver B, no auto switchover),or
AUTO
(automatic switchover).
8. Verify proper operation
• Observe LEDs on rear panel.
• Refer to Table 3 or Table 4 on page 20 for a description of the status LEDs.
• Refine directional antenna headings for maximum received signal strength using the
RSSI
command.
Remotes must be synchronized with the master station for use of this command.

i
TABLE OF CONTENTS
1.0 ABOUT THIS MANUAL ............................................................... 1
2.0 ABOUT THE P-20........................................................................1
2.1 Features ...........................................................................................2
2.2 Chassis Configurations ....................................................................2
2.3 Antenna Port Configurations ............................................................3
2.4 Model Configuration Codes ..............................................................3
2.5 Replacement Parts ...........................................................................4
3.0 GLOSSARY OF TERMS.............................................................. 4
4.0 INSTALLATION PLANNING.........................................................7
4.1 Redundant Transceiver Chassis Used as Master Station ................7
4.2 Redundant Transceiver Chassis Used as Remote Station ...............8
4.3 Redundant Transceiver Chassis Used as a Repeater ......................8
5.0 INSTALLATION............................................................................9
5.1 Redundant Transceiver Chassis Shipment ....................................10
5.2 Installation Overview ......................................................................10
5.3 Installing Transceivers ....................................................................11
5.4 Connecting Wiring ..........................................................................12
5.5 Programming the Transceivers .......................................................14
5.6 Configuring the Redundant Transceiver Chassis as a Repeater ....16
5.7 Mounting the Redundant Transceiver Chassis ...............................17
6.0 INITIAL START-UP.....................................................................18
7.0 TROUBLESHOOTING............................................................... 21
8.0 TECHNICAL REFERENCE .......................................................21
8.1 Replacing Power Supply Modules ..................................................21
8.2 Replacing Other Assemblies ..........................................................21
Copyright Notice
This Installation and Operation Guide and all software described herein
are protected by
copyright: Shenzhen Sinsoun Inc,
All rights reserved.
Wireless Data Systems reserves its right to correct any errors and
omissions.

ii
Operational Safety Notices
The radio equipment described in this guide emits radio frequency
energy. Although the power level is low, the concentrated energy from
a directional antenna may pose a health hazard. When using a gain
antennaof 8 dBi (350-512 MHz)or 12dBi (800-960 MHz), do notallow
people to come closer than 0.5 meters to the front of the antenna when
the transmitter is operating. Using higher gain antennas would mean
increasing this distance accordingly.
This manual is intended to guide a professional installer to install,
operate and perform basic system maintenance on the described radio.
ISO 9001 Registration
Wireless Data Systems' adheres to this internationally accepted quality system
standard.
WDS Quality Policy Statement
We, the employees of Wireless Data Systems, are committed to
achieving total customer satisfaction in everything we do.
Total Customer Satisfaction in:
• Conception, design, manufacture and marketing of our products.
• Services and support we provide to our internal and external cus-
tomers.
Total Customer Satisfaction Achieved Through:
• Processes that are well documented and minimize variations.
• Partnering with suppliers who are committed to providing quality
and service.
• Measuring our performance against customer expectations and
industry leaders.
• Commitment to continuous improvement and employee involve-
ment.
Notice
While every reasonable effort has been made to ensure the accuracy of
this manual, product improvements may result in minor differences
between the manual and the product shipped to you. If you have addi-
tional questions or need an exact specification for a product, please con-
tactour Customer Service Team using the informationat the back of this
guide. In addition, manual updates can often be found on the WDS web
site at
www.sinosun.cn.
.
RF Exposure

1
1.0 ABOUTTHIS MANUAL
This guide describes:
•Installation planning for a P20 Redundant Transceiver Chassis
•Instructions for installing transceivers in a Redundant Trans-
ceiver Chassis
•Instructionsfor installing a Redundant Transceiver Chassis, and
optionally configuring it as a repeater in a repeater-assisted sys-
tem
•Initial start-up of a Redundant Transceiver Chassis.
Procedures for programming and troubleshooting the internal trans-
ceivers are contained in the Installation and Operation Manual supplied
with the transceivers.
Once the unit has been properly installed, configured and started up,
operation of the P20 Redundant Transceiver Chassis is completely
automatic. Operator actions are limited to observing the rear LED status
indicators for proper operation, and selecting A and B transceivers.
Following installation, we suggest keeping this guide near the equip-
ment for future reference.
2.0ABOUTTHEP20
The P20 Redundant Transceiver Chassis (Figure 1) is a tabletop or
rack-mount unit designed to hold two WDS transceivers, two power
supplies, and a switchover logic board that automatically selects
between transceiver A or B as the active transceiver. (Manual selection
can also be made using a front panel switch.) Within a radio system, this
setup is called a Redundant Station.
Invisible place holder
Figure 1. P20 Redundant Transceiver Chassis

2
Thisduplicationoffunctionality means theunitwillcontinue to transmit
data even if a failure occurs in one of the transceivers or power supplies.
This capability is important in many applications where uninterrupted
service is required.
In addition to transmitting error codes to a main station, the Redundant
Transceiver Chassis is equipped with alarm connections on the rear
panel which activate when one of the transceivers reports an alarm con-
dition. These are “dry”alarm contacts that allow the connection of cus-
tomer-supplied alarm equipment such as a lamp or sounding device.
The following WDS transceivers can be used with the Redundant Trans-
ceiver Chassis:
•WDS 4710
•WDS 9710
•WDS 9810
•WDS 24810
When these transceivers are ordered installed in a P20 chassis, the last
two digits of the model number change to 20. For example, when the
WDS 4710 is installed in a P20 chassis, the combination is referred to
as an WDS 4720.
Other WDS transceivers may be compatible with the Redundant Trans-
ceiver Chassis. Contact WDS if you are unsure.
2.1 Features
The Redundant Transceiver Chassis provides:
•Fully redundant capability—Standard chassis contains two
transceivers and two power supplies. Provision for optional
redundant antenna port.
•Automatic switchover to alternate transceiver if a failure occurs
•Optional built-in battery backup for AC-powered units
•Rear panel alarm connections for customer-supplied alarm
equipment
•Tabletop or 19 inch rack-mount installation
•Uses standard WDS transceivers inside
•Rear panel diagnostics connection for each transceiver
2.2 Chassis Configurations
The Redundant Transceiver Chassis can be ordered with or without
installed transceivers to meet customer requirements:

P20P20
3
1.
No transceivers installed.
This configuration allows customers to
install two existing transceivers in the empty chassis to create a
Redundant Station.
2.
One transceiver installed.
Similarly, this configuration allows cus-
tomers to install an existing transceiver to create a Redundant Sta-
tion.
3.
Two transceivers installed.
This configuration provides an immedi-
ately usable Redundant Station for new customers, or for existing
customers who wish to add a Redundant Station without installing
existing transceivers.
2.3 Antenna Port Configurations
The Redundant Transceiver Chassis can be configured with a single
antenna, or with two antennas for continued operation if the primary
antenna becomes damaged or is otherwise inoperative.
1.
Single antenna port.
The port is automatically connected to the
active transceiver by an internal relay.
2.
Two antenna ports.
Each port is connected to one of the transceivers
and to separate station antennas.
2.4 Model Configuration Codes
The configuration details of the Redundant Transceiver Chassis (as
shipped from the factory) can be quickly determined from the model
number label attached to the outside of the chassis. Figure 2 shows the
significance of the model number characters printed on the label.
Invisible place holder
Figure 2. P20 model configuration codes
PACKAGE
1 - 12V DC
2 - 24 V DC
3 - 48V DC
4 - 125V DC
A - 115/230V AC w/battery
B - 115/230V AC w/o battery
ANTENNA PORTS

4
2.5 Replacement Parts
Table 1 lists parts available to replace Redundant Transceiver Chassis
components should they fail.
3.0 GLOSSARY OFTERMS
If you are new to radio, some of the terms used in this guide may be
unfamiliar. The following glossary explains many of these terms and
will prove helpful in understanding the operation of the transceiver.
Antenna System Gain
—A figure, normally expressed in dB, repre-
senting the power increase resulting from the use of a gain-type antenna.
System losses (from the feedline and coaxial connectors, for example)
are subtracted from this figure to calculate the total antenna system gain.
Bit
—The smallest unit of digital data, often represented by a one or a
zero. Eight bits (plus start, stop, and parity bits) usually comprise a byte.
Bits-per-second
—See
BPS
.
BPS
—Bits-per-second. A measure of the information transfer rate of
digital data across a communication channel.
Byte
—A string of digital data usually made up of eight data bits and
start, stop and parity bits.
Decibel (dB)
—A measure of the ratio between two signal levels. Fre-
quently used to express the gain (or loss) of a system.
Data Circuit-terminating Equipment
—See
DCE
.
Data Communications Equipment
—See
DCE
.
Data Terminal Equipment
—See
DTE
.
dBi
—Decibels referenced to an “ideal”isotropic radiator in free space.
Frequently used to express antenna gain.
Table 1. Replacement part numbers
Power Supply
03-1143A12 115/230 VAC
03-2613A02 18-36 VDC
03-2613A03 36-75 VDC
03-2613A04 10.5-16 VDC
Switchover Logic Board
03-3306A01
Battery Control Board
03-3362A01
Indicator Board
03-3307A01
Backup Battery
28-1575A03

5
dBm
—Decibels referenced to one milliwatt. An absolute unit used to
measure signal power, as in transmitter power output, or received signal
strength.
DCE
—Data Circuit-terminating Equipment (or Data Communications
Equipment). In data communications terminology, this is the “modem”
side of a computer-to-modem connection. WDS 9810/9820 and 24810
transceivers are DCE devices.
Digital Signal Processing
—See
DSP
.
DSP
—Digital Signal Processing. In WDS series xx10 and xx20 trans-
ceivers, the DSP circuitry is responsible for the most critical real-time
tasks; primarily modulation, demodulation, and servicing of the data
port.
DTE
—Data Terminal Equipment. A device that provides data in the
form of digital signals at its output. Connects to the DCE device.
Equalization
—The process of reducing the effects of amplitude, fre-
quency or phase distortion with compensating networks.
Fade Margin
—The greatest tolerable reduction in average received
signal strength that will be anticipated under most conditions. Provides
anallowance for reducedsignal strength dueto multipath, slightantenna
movement or changing atmospheric losses. A fade margin of 20 to 30
dB is usually sufficient in most systems.
Frame
—A segment of data that adheres to a specific data protocol and
contains definite start and end points. It provides a method of synchro-
nizing transmissions.
Hardware Flow Control
—A transceiver feature used to prevent data
buffer overruns when handling high-speed data from the RTU or PLC.
When the buffer approaches overflow, the radio drops the clear-to-send
(CTS) line, which instructs the RTU or PLC to delay further transmis-
sion until CTS again returns to the high state.
Host Computer
—The computer installed at the master station site,
which controls the collection of data from one or more remote sites.
Latency
—The delay (usually expressed in milliseconds) between when
data is applied to TXD (Pin 2) at one radio, until it appears at RXD
(Pin 3) at the other radio.
MAS
—Multiple Address System. A radio system where a central
master station communicates with several remote stations for the pur-
pose of gathering telemetry data.

6
MCU
—Microcontroller Unit. This is the processor responsible for con-
trolling system start-up, synthesizer loading, hop timing, and key-up
control.
Microcontroller Unit
—See
MCU
.
Multiple Address System (MAS)
—See
Point-Multipoint System.
Point-Multipoint System
—A radio communications network or
system designed with a central control station that exchanges data with
a number of remote locations equipped with terminal equipment.
Poll
—A request for data issued from the host computer (or master PLC)
to a remote radio.
PLC
—Programmable Logic Controller. A dedicated microprocessor
configured for a specific application with discrete inputs and outputs. It
can serve as a host or as an RTU.
Programmable Logic Controller
—See
PLC
.
Remote (Station)—A radio in an MAS network that communicates
with an associated master station.
Remote Terminal Unit—See RTU.
RedundantOperation—A station arrangement where two transceivers
and two power supplies are available for operation, with automatic
switchover in case of a failure.
RTU—Remote Terminal Unit. A data collection device installed at a
remote radio site.
SCADA—Supervisory Control And Data Acquisition. An overall term
for the functions commonly provided through an MAS radio system.
Standing Wave Ratio—See SWR.
Supervisory Control And Data Acquisition—See SCADA.
SWR—Standing Wave Ratio. A parameter related to the ratio between
forward transmitter power and the reflected power from the antenna
system. As a general guideline, reflected power should not exceed 10%
of the forward power (≈2:1 SWR).

P20 REDUNDANT
7
4.0 INSTALLATION PLANNING
Advice for planning a complete radio system, including site and antenna
selection, can be found in the Installation and Operation Manual sup-
plied with your transceivers. This section covers planning for the instal-
lation of an individual Redundant Transceiver Chassis, and for
configuring a Redundant Transceiver Chassis for use as a repeater.
(Individual transceivers may also be used as repeaters, and this informa-
tion is covered in the transceiver’s Installation and Operation Manual.)
A Redundant Transceiver Chassis (Section 4.1) is typically used at a
master station to ensure uninterrupted receipt of data from remote
radios. Although a single transceiver is most commonly used at remote
sites (Section 4.2), a Redundant Transceiver Chassis may be used for
increased reliability.
Redundant Transceiver Chassis may also be used as repeaters in a
repeater-assisted system (Section 4.3). A repeater re-transmits data
between systems, overcoming the range limitations of individual radios.
4.1 Redundant Transceiver Chassis Used as
Master Station
Figure 3 shows a typical master station arrangement using a Redundant
Transceiver Chassis. Invisible place holder
Figure 3. Redundant Station used as master station
ANTENNA SYSTEM
(OMNIDIRECTIONAL TYPE
NORMALLY USED)
LOW-LOSS
FEEDLINE
HOST
SYSTEM TO DATA I/O
INTERFACE CONN.
TO ANTENNA
CONNECTOR
PRIMARY
POWER CORD(S)
MASTER RADIO

8
4.2 Redundant Transceiver Chassis Used as
Remote Station
Figure 4 shows a Redundant Transceiver Chassis used as a remote sta-
tion. Invisible place holder
Figure 4. Redundant Station used as remote station
4.3 Redundant Transceiver Chassis Used as a
Repeater
Two WDS redundant transceivers may be connected “back-to-back”
using a null-modem cable to form a repeater station (Figure 5). This is
sometimes required in a network that includes a distant remote station
that would otherwise be unable to communicate with the master station
due to distance, or terrain.
NOTE: WDS 9810 radios may be operated as repeaters. If other trans-
ceivers are installed, contact WDS for additional information
for operational consideration.
ANTENNA SYSTEM
(DIRECTIONAL TYPE
NORMALLY USED)
LOW-LOSS
FEEDLINE
REMOTE
TERMINAL
UNIT (RTU)
TO DATA I/O
INTERFACE CONN.
TO PRIMARY ANTENNA
CONNECTOR
POWER CORD(S)
P-20 REDUNDANT
REMOTE RADIO

9
Invisible place holder
Figure 5. Repeater system configuration using
a Redundant Station
A repeater works by re-transmitting data from the outlying remote site
to the master station and vice versa. The repeater introduces a small
amount of end-to-end transmission delay, but this is not a problem in
most systems.
The geographic location of a repeater station is especially important. A
site must be chosen that allows good communication with both the
masterand the outlying remote site.This is often on topof a hill, or other
elevated terrain from which both sites can be “seen”by the repeater sta-
tion antennas. A detailed discussion on the effects of terrain is given in
the transceiver’s Installation and Operation Manual.
5.0 INSTALLATION
This section presents installation steps for:
•Installing transceiver(s) in a Redundant Transceiver Chassis.
Use these steps to install an existing MDS transceiver into the
Redundant Transceiver Chassis.
•Installing the Redundant Transceiver Chassis. Use these
steps to connect wiring and program the transceivers in the
Redundant Transceiver Chassis at the master or remote loca-
tion.
•Configuring the Redundant Transceiver Chassis as a
repeater in a repeater-assisted system (optional).
• Optimizing radio performance.
RTU
NULL-MODEM CABLE
P-20 RADIO
XX10 OR P-20
POLLING MASTER
RADIO REMOTE
RADIO
REPEATER LINK
HOST
COMPUTER
P-20 RADIO
POINT-TO-POINT
LINK
REMOTE
RADIO
REMOTE
RADIO
RTU
RTU

10
In most cases, these steps alone will be sufficient to complete the instal-
lation. Should further information be required, contact Wireless Data
Systems at the number given on the inside back cover of this manual.
5.1 Redundant Transceiver Chassis Shipment
Figure 6 shows the contents of a typical Redundant Transceiver Chassis
shipment.
Invisible place holder
Figure 6. P20 Redundant Transceiver Chassis typical shipment
5.2 Installation Overview
NOTE: The internal back-up battery (if equipped) is disconnected for
shipment. It is important to remove the P20 top cover and
connect the battery to the battery control board for the battery
back-up to function. Refer to Figure 7.
POWER CORD(S)
(AC ord shown)
REDUNDANT STATION
INSTALLATION &
OPERATION GUIDE

11
Installation consists of these steps:
•Installing transceivers in the Redundant Transceiver Chassis, if
the chassis was ordered without pre-installed transceivers
•Connecting the internal back-up battery
•Connecting wiring for ground, antenna, data interface, power,
and any alarms
•Programming the transceivers for operation using the
Hand-Held Terminal (HHT)
•Configuring the Redundant Transceiver Chassis for use as a
repeater (optional)
•Optimizing transceiver performance.
5.3 Installing Transceivers
The modular construction of the Redundant Transceiver Chassis
(Figure 7) makes it easy to install transceivers. The only tool required is
a Phillips screwdriver.
1. Make sure there is no power applied to the unit.
2. Remove the top cover of the Redundant Transceiver Chassis by
loosening the two screws at the rear panel.
3. If a backup battery is installed in the chassis, be sure it is discon-
nected from the battery control board.
4. Remove the transceiver mounting plate from the chassis (remove the
two screws near the front of the plate).
5. Using 4 6-32 x 5/16 screws for each transceiver, mount the trans-
ceiver(s) to the plate. The mounting screws must extend through the
bottom of the plate into the transceiver case.
Do not use screws longer than 5/16 inch, or damage to the transceiver’s
PC board will occur. If you do not have the right hardware, contact
MDS.
6. Re-install the transceiver mounting plate to the chassis.
7. Connect and secure the interface, power and diagnostics cables to
the transceiver(s).
8. Connect the battery cable to the battery control board.
9. Re-install the top cover of the Redundant Transceiver Chassis.
CAUTION
POSSIBLE
EQUIPMENT
DAMAGE

12
This completes the installation of transceivers in the Redundant Trans-
ceiver Chassis. Next, make the connections between the Redundant
TransceiverChassis andground, antenna,data interface,power, andany
alarms.
Invisible place holder
Figure 7. P20 Redundant Transceiver Chassis, internal view
5.4 Connecting Wiring
Follow these steps to connect the Redundant Transceiver Chassis with
ground, antenna and feedline, data interface cable, primary power, and
any alarms.
Figure 8 shows a rear view of the Redundant Transceiver Chassis. Refer
to this illustration when making the rear panel wiring connections
described in Steps 2 through 6.
Invisible place holder
Figure 8. Rear panel of Redundant Transceiver Chassis
TRANSCEIVER
ASWITCHOVER
LOGIC BOARD
(03-3306A01) POWER SUPPLY A
(03-1143A12)
BACKUP BATTERY
28-1575A03
BATTERY CONTROL
BOARD (03-3362A01)
INDICATOR BOARD (Hidden)
(03-3307A01)
POWER SUPPLY B
(03-1143A12)
TRANSCEIVER
B
POWER
ON/OFF
POWER SUPPLY
POWER
INPUT DATA I/O
INTERFACE
LED VIEWING
SLOT
ANTENNA
PORT (A/B) ALARM
CONNECTIONS REDUNDANT
ANTENNA
PORT
(OPTIONAL)
GROUND
CONNECTION
DIAGNOSTICS (B)
LED VIEWING
SLOT
DIAGNOSTICS (A)

13
1. Grounding the RedundantTransceiver Chassis. Connect the rear
panel ground stud to the chassis’earth grounding system.
2. Installing the antenna. Install the station antenna(s) and feed-
line(s). If a directional antenna is used, preset its heading in the
desired direction.
3. Connecting to the data equipment. Connect the data equipment to
the chassis’DATA INTERFACE connector.
Use only the required pins for the application. Do not use a fully
pinned (25 conductor) cable. Typical applications require the use of
Pin 2 (transmit data—TXD), Pin 3 (received data—RXD) and Pin 7
(signal ground). Refer to Figure 9 for a detailed view of the DATA
INTERFACE connector.
If hardware flow control is desired, Pin 4 (request to send—RTS)
and Pin 5 (Clear-to-Send—CTS) are also required.
Pin 24 is the Remote Switchover Input. This input can be used to
switch which transceiver is active. A -12 Vdc to +12 Vdc transition
causes the redundant station to switch operation from the currently
active transceiver to the standby transceiver. The front panel radio
selection switch must also be in the AUTO position.
An expanded list of pin functions is provided in the transceiver’s
Installation and Operation Manual.
Invisible place holder
Figure 9. Redundant Transceiver Chassis
interface connector pins
As viewed from outside the chassis
4. Connecting to alarms. If alarm equipment (a lamp or sounding
device, for example) will be used with the Redundant Station, make
the appropriate connections to the rear panel ALARM terminals.
These are “dry”(isolated) alarm contacts which activate when either
Unused
Unused
Receive Audio Output
13
12
11
10
9
8
7
6
5
4
3
2
1
Receive Unsquelch Sensor
Tr nsmit Audio Input
D t C rrier Detect (DCD)
Signal Ground
D t Set Re dy (DSR)
Cle r-to-Send Output (CTS)
Request-to-Send Input (RTS)
Received Data (RXD)
Transmitted Data (TXD)
Protective Ground
25
24
23
22
21
20
19
18
17
16
15
14
Al rm Output**
Remote Switchover In ut*
Diagnostic Channel Enable**
RSSI Voltage**
9.9 Vdc Regulated Out ut**
Unregul ted DC Output
Unused
PTTVV
Remote RTU ResetVV
PTTVV
Pin
Descri tion
Pin
No. Pin
No.
Pin
Descri tion
Unused
Future useDo not connect
Required in most installations
* Unused in Transceivers
** Not Available in Redundant Stations
V Not used in 9820

14
of the transceivers inside the chassis generates an alarm signal. Con-
nections are provided for Normally Open (NO) and Normally
Closed (NC) contacts. These contacts are rated for 0.5 ampere at
125 VAC or 1.0 ampere at 24 Vdc.
5. Connecting to primary power. Connect theA and B power sup-
plies to the power source. Figure 10 shows the location of theA and
B power supplies.
Invisible place holder
Figure 10. Chassis rear panel showing
A and B power supply connections
5.5 Programming the Transceivers
Use these instructions to initialize each transceiver within the chassis
using a Hand-Held Terminal (HHT). (Review the Programming section
of the transceiver’s Installation and Operation Manual if you are unfa-
miliar with connecting and using the HHT.)
1. Connect an HHT to the DIAG(NOSTICS) Aconnector on the rear
panel of the chassis (see Figure 11). This jack is connected to
Transceiver A inside the chassis.
POWER INPUT
TRANSCEIVER B
GROUND
CONNECTION
(AC TYPE SHOWN)
POWER SUPPLY MODULES
POWER INPUT
TRANSCEIVER A

the WDS transceiver model number) to invert the sense of Pin 25 on
15
Invisible place holder
Figure 11. HHT connected to the Redundant Transceiver Chassis
2. After the HHT beeps, press to display the ready “>”
prompt.
3. Enter the command INIT xx20 (where xx are the first two digits of
the DATA INTERFACE connector (cause Pin 25 to trip only for major
alarms).
4. If the Redundant Transceiver Chassis is equipped with a second
transceiver:
a. Toggle the radio’s front panel selection switch to Bto force
selection of Transceiver B. (You will have an opportunity to
reset the selection switch to the proper setting in a later step.)
b. On the rear panel, disconnect the HHT from the DIAG(NOSTICS)
Aconnector and reconnect it to the DIAG(NOSTICS) B connector.
c. Repeat Steps 3 and 4 for Transceiver B.
This completes programming of the Redundant Transceiver Chassis’s
transceivers.
If the Redundant Transceiver Chassis is being used in a repeater-assisted
system,usethefollowingguidelines to complete RedundantTransceiver
Chassis configuration.
Otherwise, skip to Section 5.7, Mounting the Redundant Transceiver
Chassis, on page 17.
DIAGNOSTICS (B)
DIAGNOSTICS (A)
Z
CTRL
U
+
–
K
*
F
/
A
F1
V
,
Q
#
)
G
(
B
F2
SHIFT ESC
W
=
R
7
M
4
H
1
C
F3
BKSP
X
0
S
8
N
5
I
2
D
F4
SPACE
Y
T
9
O
6
3
E
F5
ENTER
J
L
P
ENTER

16
5.6 Configuring the Redundant Transceiver
Chassis as a Repeater
Figure 5 on page 9 illustrates the use of a Redundant Station as a
repeater. Here are some specific requirements for repeater systems:
A) Antennas—Two antennas are required at repeater stations—one for
each radio. Measures must be taken to minimize the chance of interfer-
ence between these antennas. One effective technique for limiting inter-
ference is to employ vertical separation. In this arrangement, one
antenna is mounted directly over the other, separated by at least 4 feet
(1.22 Meters). This takes advantage of the minimal radiation exhibited
by most antennas directly above and below their driven elements.
Another interference reduction technique is to cross-polarize the
repeater antennas. If one antenna is mounted in the vertical plane, and
the other in the horizontal plane, an additional 20 dB of attenuation can
be achieved. (Remember that the corresponding stations must use the
same antenna orientation when cross-polarization is used.)
B) Interface Wiring—A null-modem cable (Figure 12) is required
between the DATA INTERFACE connectors of the two radios forming a
repeater station. This allows them to freely exchange data even though
they are both configured as DCE devices.
Invisible place holder
Figure 12. Data interface cable wiring for null-modem cable
Used for Repeater
2
4
8
7
2
3
4
8
7
3
T D
T DR D
R D
GND GND
DCD
DCD
RTS
RTS
P-20 #1
(DCE)
P-20 #2
(DCE)
Table of contents
Other WDS Transceiver manuals