Webex 840 User manual

Your phone
•Webex Wireless Phone 840 and 860, on page 1
•Feature support, on page 5
•New and changed information, on page 5
•Getting started, on page 11
•Self Care portal, on page 14
•Hardware, buttons, screen, and apps, on page 14
•Software updates, on page 30
•Care of your phone, on page 31
•More help and information, on page 36
Webex Wireless Phone 840 and 860
The Webex Wireless Phone 840 and 860 are wireless smartphones. These phones provide voice communication
over your organization's wireless network using Cisco Unified Communications Manager and access points
(APs). They work within the Wi-Fi range set by your organization.
Like other devices powered by Android, your phone is app-driven, not menu-driven. You tap icons to open
applications. Your phone may include several different Cisco apps that allow you to:
• Place and receive phone calls.
• Put calls on hold.
• Transfer calls.
• Have conference calls.
• Forward your calls.
• Monitor your phone battery life.
• Customize your phone buttons.
• If configured, provide emergency safety features such as alarms and motion monitoring.
• If configured, send group broadcasts.
Your phone
1

Like other network devices, system administrators configure and manage these phones. Based on the needs
of your organization, administrators may limit certain apps, features, or settings that may be available on
consumer-grade Android devices.
Contact your system administrator for information about the configured capabilities of your phone within
your organization.
The following figure shows the Webex Wireless Phone 840 on the left and the Webex Wireless Phone 840S
on the right. The Webex Wireless Phone 840S includes a barcode scanner.
Figure 1: Webex Wireless Phone 840 and Webex Wireless Phone 840S
The following figure shows the Webex Wireless Phone 860 on the left and the Webex Wireless Phone 860S
on the right. The Webex Wireless Phone 860S includes a barcode scanner.
Your phone
2
Your phone
Webex Wireless Phone 840 and 860

Figure 2: Webex Wireless Phone 860 and Webex Wireless Phone 860S
The Webex Wireless Phone 860 and Webex Wireless Phone 860S, though larger in size than the Webex
Wireless Phone 840 and Webex Wireless Phone 840S, are similar in appearance and functionality.
Some physical characteristics of the Webex Wireless Phone 840 and 860 include:
• 4.0 in. (10.2 cm) touchscreen for the 840 phones
• 5.2 in. (13.2 cm) touchscreen for the 860 phones
• 8 MP rear and 5 MP front camera for the 840 phones
• 13 megapixel (MP) rear and 8 MP front camera for the 860 phones
• Damage resistant Gorilla™glass
• Recessed display for screen protection
• Tolerance of antibacterial and alcohol-based wipes
• Latex- and lead-free
• Shockproof and vibration-proof
• USB-C interface
• USB On-the-Go (OTG) 2.0 interface for use with a desktop charger or multicharger
• Webex Wireless Phone 840 has Ingress Protection 65 (IP65) with resistance to dust and water spray from
a nozzle
• Webex Wireless Phone 860 has Ingress Protection 68 (IP68) with resistance to dust, drops, and liquids
• Chargeable with a USB, desktop charger, or multicharger
Your phone
3
Your phone
Webex Wireless Phone 840 and 860

For more details about the phones, see the product data sheet.
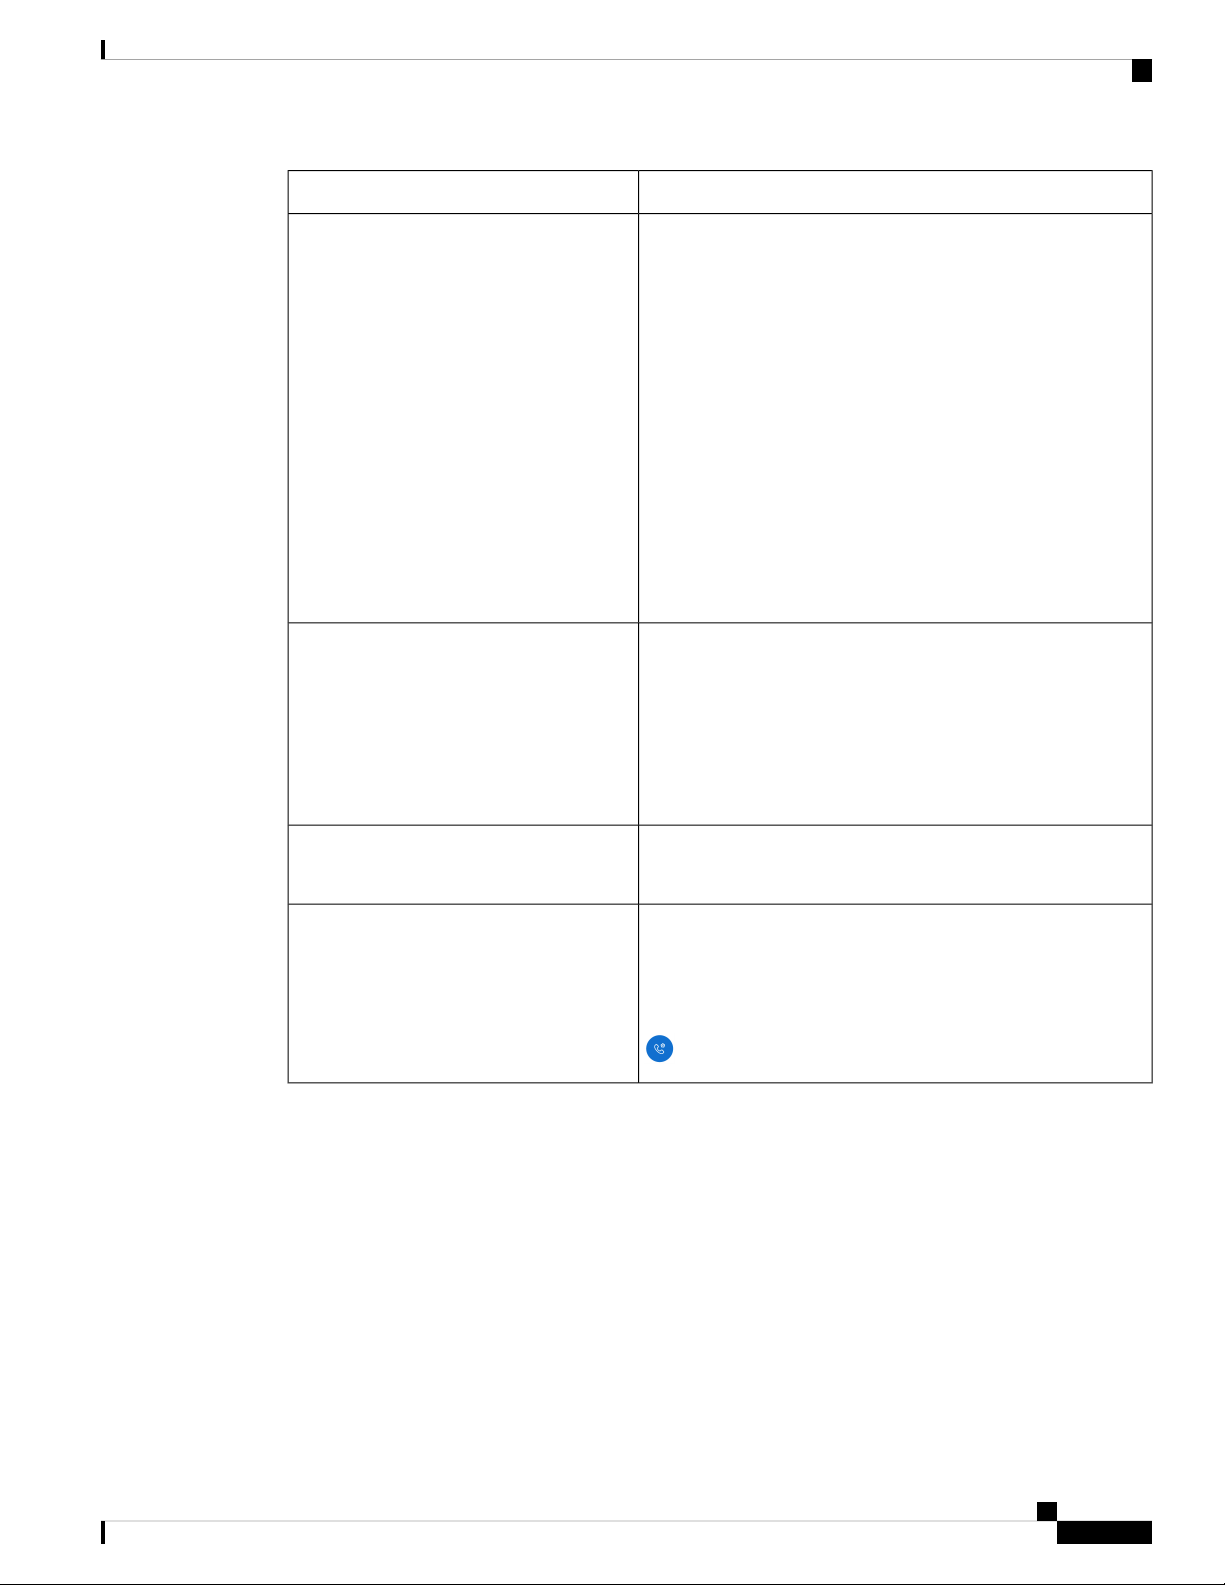
If configured, your phone provides enhanced productivity features that extend your call-handling capabilities,
such as:
• Bluetooth®wireless headsets, including some hands-free call features
• Wireless access to your phone number and the corporate directory
• Access to network data, Android apps, and web-based services
• Online customization of the call forward feature from the Self Care portal
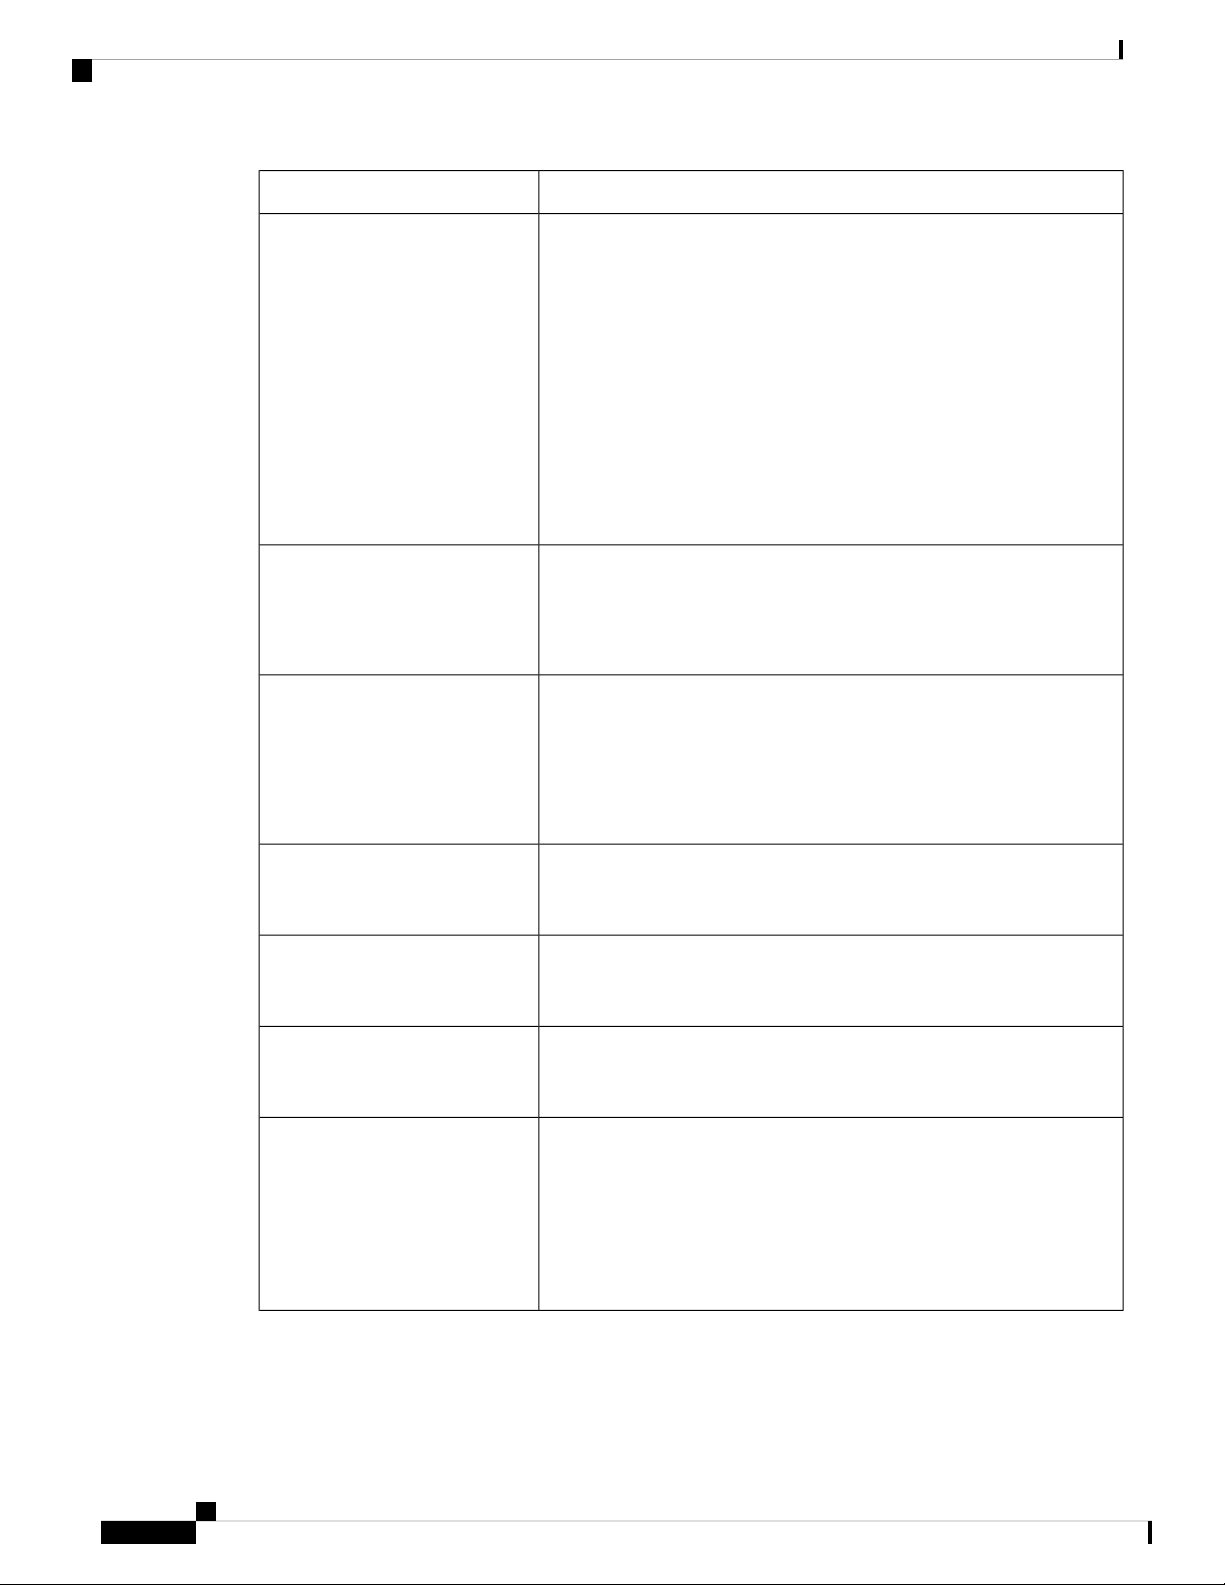
To prevent device damage:
• Don't intentionally submerge the phone or battery in water.
• Don't expose the phone to pressurized water or high velocity water, such as when showering, cleaning,
or hand washing.
• Don't bathe or swim with the phone.
• Don't use the phone in a sauna or steam room.
• Don't use the phone in corrosive environments.
• Don't operate or store the phone, batteries, and accessories outside the suggested temperature ranges or
in extremely humid, hot, or cold conditions.
• Don't intentionally drop the phone or subject it to other impacts.
• Don't disassemble the phone; don't remove any screws.
• Don't use harsh cleaning agents, like bleach and other chemicals, to clean the phone exterior.
• Don't use a broken battery.
Minimize the exposure of your phone to soap, detergent, acids or acidic foods, and any liquids; for example,
salt water, soapy water, pool water, perfume, insect repellent, lotions, sun screen, oil, adhesive remover, hair
dye, soft drinks, and solvents. For more information, see Care of your phone, on page 31.
Related Topics
Ingress Protection, on page 4
Ingress Protection
The Webex Wireless Phone 840 and 860 are tested under controlled laboratory conditions.
The Webex Wireless Phone 840 and 840S have a rating of IP65 in ordinary locations. IP65 indicates that the
phones can withstand dust and are resistant to water spray from a nozzle.
The Webex Wireless Phone 860 and 860S have a rating of IP68 in ordinary locations. IP68 indicates that the
phones can withstand dust and are resistant to brief submersion in shallow fresh water.
Due to normal wear, the resistance of the phone to dust and water may decrease. Therefore, it’s important to
take care of your phone and not deliberately expose the phone to a hostile environment of dust or water.
Your phone
4
Your phone
Ingress Protection

Phone model numbers
Each phone has a model number. If you're unsure which model you have, you can locate the model number
on the back of the phone after you remove the battery.
You can also find the model number through Settings >About Phone >Model & hardware.
Note
Table 1: Webex Wireless Phone 840 and 860 model numbers
Model
number
Phone
CP-840Webex Wireless Phone 840
CP-840SWebex Wireless Phone
840S
CP-860Webex Wireless Phone 860
CP-860SWebex Wireless Phone
860S
Related Topics
Phone battery installation
Access the Settings app
Feature support
This document describes all the features that the device supports. However, not all features may be supported
with your current configuration. For information on supported features, contact your administrator.
New and changed information
The following section describes changes to this book to support new releases.
New and changed information for release 1.5(0)
The following table describes changes to this book to support release 1.5(0).
Your phone
5
Your phone
Phone model numbers

Table 2: New and changed information for release 1.5(0)
New or changed informationFeature
Updated:
•Webex Wireless Phone 840 and 860, on page 1
•Turn on your phone, on page 12
•Unlock your phone, on page 12
•Launcher screen, on page 19
•Status bar icons, on page 21
•Open quick settings, on page 25
•Widgets and apps, on page 26
•Customize your launcher screen with widgets and apps, on
page 26
•Cisco apps, on page 27
•Access the Cisco Phone app
•Access the Settings app
•Adjust the phone ringer volume
•Adjust the screen brightness
New smart launcher screen with either
a single app or multiple apps
New and changed information for release 1.4(0)
The following table describes changes to this book to support release 1.4(0).
Table 3: New and changed information for release 1.4(0)
New or changed informationFeature
Updated:
•Extension mobility
•Log in to extension mobility
•Log out of extension mobility
Extension mobility cross cluster (EMCC)
Your phone
6
Your phone
New and changed information for release 1.4(0)

New or changed informationFeature
New:
•Log in to your personal directory
•Delete a local or personal directory contact
Updated:
•Self Care portal, on page 14
•Contacts
•Search for contacts
•View details about your contacts
•Add a new local or personal directory contact
•Edit a local or personal directory contact
Personal directory is available with contacts
that synchronize through Cisco Unified
Communications Manager
New:
Test scan a barcode
Updated:
•Barcode app
•Scan a barcode
New test scan is available in the Barcode
app
Updated:
Log in to extension mobility
Extension mobility log in with no directory
number (DN)
Updated:
With this release, you'll notice some minor changes to user
interface elements, such as button colors and icon shapes.
The only icon that looks different is on the Call Quality Settings
app.
Updates to the user interface with new
Webex branding color and style
New and changed information for release 1.3(0)
The following table describes changes to this book to support release 1.3(0).
Your phone
7
Your phone
New and changed information for release 1.3(0)

Table 4: New and changed information for release 1.3(0)
New or changed informationFeature
Multiple lines
Your phone
8
Your phone
New and changed information for release 1.3(0)

New or changed informationFeature
New:
•Multiple phone lines
•View registered lines
•Switch the active line
Updated:
•Access the overflow menu of a Cisco app, on page 29
•Access the About option for a Cisco app, on page 29
•Configure a TFTP server
•Make a call from the Keypad tab
•Make a call from the Calls, Contacts, or Voicemail tab
•Answer calls
•Answer a call
•Set up speed dial
•Make a call using speed dial
•Turn on call forward
•Turn off call forward
•Log in and log out of hunt group
•Calls log
•Clear the call log
•Voicemail
•Access voicemail messages
•Access visual voicemail
•Access user settings for the Cisco Phone app
•Change the ringtone
•Set hearing aid compatibility mode
•Set automatic noise cancellation
•Set the phone to vibrate before it rings
•Set the phone to fade in ring
•Set the phone to autodial
•Find call server registration information
•Create a problem report from the phone
Your phone
9
Your phone
New and changed information for release 1.3(0)

New or changed informationFeature
New:
•Shared phone lines
•Add yourself to a call on a shared line
•Resume a held call on a shared line
•View multiple shared lines in use
Updated:
•Turn on call forward
•Turn off call forward
Shared lines
New:
•Enable privacy on a shared line
•Enable limited privacy on a shared line
Privacy on shared lines
New:
•Extension mobility
•Log in to extension mobility
•Log out of extension mobility
Cisco Extension Mobility
Updated:
•Answer calls
Auto answer
New:
•View registered lines
Line text label
Updated:
•Send a PTT broadcast
PTT broadcast on a locked phone
Updated:
•Change the font and display size
•Navigation control, on page 30
Administrator can control the
following phone settings:
• Font size
• Display size
• System navigation
Your phone
10
Your phone
New and changed information for release 1.3(0)

New or changed informationFeature
New:
•Phone model numbers, on page 5
•Cisco accessory part numbers
Updated:
•Phone battery charging
•Charge the battery with the AC power supply
•Charge the battery with the USB cable and a USB port on your
computer
•Supported accessories
•Desktop chargers
•Multichargers
•Clips
More information about model
numbers and accessories
Getting started
You must read Product Safety and Security, before you install or charge the battery, or use the phone.
A rechargeable Lithium ion battery powers your phone. Before you can use your phone, install and charge
the battery.
Your phone needs to connect to the corporate wireless network and the IP telephony network. Your
administrator might set up your new wireless phone, or you might have to set it up. After the phone is set up,
you can use the phone.
Make sure that you know how to turn your phone on and off and learn the available options of the phone. To
comply with security standards, your organization may require you to sign in with unique credentials.
Your organization may allow some functions when the phone is locked. For example, you may be able to
answer a call, place an emergency call, and see certain notifications. Check with your administrator if you
have any questions about security.
Don’t use the Android Battery Saver mode. It curtails functionality to conserve battery life. In Battery
Saver mode, features that you rely on may not work. If you require more than one charge per shift, contact
your system administrator for a second battery.
For your Webex Wireless Phone 860 and 860S, you can use the hot swap battery change technique to maintain
connectivity without loss of functionality.
The Webex Wireless Phone 840 and 840S do not have an internal battery, so they do not support the hot swap
feature.
Note
Your phone
11
Your phone
Getting started

Related Topics
Phone setup
Make an emergency call from a locked screen
Hot swap the battery for Webex Wireless Phone 860 and 860S
Turn on your phone
Generally, your system administrator deploys your phone with multiple other phones and sets up the phone
parameters before you receive the phone. In this case, the phone registers with the system and is ready for
you to use when you turn it on. If your phone doesn’t work when you turn it on, contact your system
administrator.
After you power on your phone, allow the screens to cycle through a bootup screen, the Cisco splash screen,
and the Android screen. If your organization requires a PIN or password, the lock screen displays. If your
phone doesn't need a password, the launcher screen automatically appears when you turn on the phone.
Before you begin
To maximize the storage capacity and lifespan of the battery, fully charge the battery before the first use of
the phone.
To check the battery status while the phone is plugged into the charger, briefly press the Power button. When
the battery life indicator is solid, the battery charge is full.
Note
Procedure
Press and hold the Power button until the phone vibrates and the first screen displays.
Related Topics
Phone battery charging
Hardware and buttons, on page 14
Unlock your phone
To unlock your phone screen, you may need a password. Contact your system administrator for more
instructions. If available, the screen lock options are None, Swipe, Pattern, PIN, or Password.
User preferences and critical alerts display only after you unlock the phone.
If the phone is inactive for a set amount of time, the screen turns black and the phone goes into sleep mode.
You, or someone else, can make an emergency call from a locked phone screen using the Emergency call
button.
Note
Your phone
12
Your phone
Turn on your phone

If set up on your Webex Wireless Phone 860 or 860S, you can use the fingerprint button to unlock the phone.
However, on power-up you must use a PIN if your phone has a password.
The Webex Wireless Phone 840 and 840S don't have a fingerprint scanner button.
Note
Procedure
Step 1 If the phone is in sleep mode, briefly press the Power button.
Step 2 If necessary, swipe up on the Lock screen.
Step 3 If necessary, enter your PIN or password and tap Enter .
Related Topics
Hardware and buttons, on page 14
Make an emergency call from a locked screen
Lock your phone
It’s best practice to turn off your screen whenever you’re not using your phone. Turning off the screen:
• Locks the phone, keeping it secure.
• Prevents accidentally activating a button when you store the phone in a pocket or other place.
• Helps extend the battery life.
Procedure
Briefly press the Power button.
Related Topics
Hardware and buttons, on page 14
Turn off your phone
Power off the phone when you don't need it.
Don’t remove the battery to power off the phone.
To replace the battery, power off the phone and then remove the battery, or for Webex Wireless Phone 860,
use the hot swap technique.
Note
Your phone
13
Your phone
Lock your phone

Procedure
Step 1 Press and hold the Power button.
Step 2 Tap Power off .
Related Topics
Hardware and buttons, on page 14
Hot swap the battery for Webex Wireless Phone 860 and 860S
Self Care portal
The Self Care portal is part of your organization's Cisco Unified Communications Manager. You access the
Self Care portal from your computer browser. Your administrator gives you the URL to access the Self Care
portal, and provides your user ID and password.
On the Self Care portal website, you can:
• Customize your call forward.
• Manage your personal directory contacts.
To customize all other features, use your phone.
Hardware, buttons, screen, and apps
Your phone's hardware, buttons, screens, and apps are similar to that of a consumer-grade smartphone or other
Android device. However, since your phone is a managed device, your organization may configure certain
limitations or allowances on the phone.
Hardware and buttons
Your wireless phone has many hardware features and buttons that you use regularly.
Although the Webex Wireless Phone 840 and Webex Wireless Phone 860 are different sizes, the hardware
and buttons perform the same actions. However, the hardware features and buttons are not in the same location
on the phones. Another difference between the phones is that the Webex Wireless Phone 840 doesn't have a
fingerprint button.
Webex Wireless Phone 840 hardware and buttons
The following figure shows the Webex Wireless Phone 840 and 840S with a barcode scanner.
Your phone
14
Your phone
Self Care portal

Figure 3: Webex Wireless Phone 840 and 840S
Table 5: Webex Wireless Phone 840 and 840S hardware and buttons
Hardware or buttons in groupGroup number
On the top left of the phone is the round Power button, which turns the power on and off,
and locks and unlocks the screen.
1
On the top center of the Webex Wireless Phone 840S is the barcode scanner, and on the
top right is a round red Programmable Emergency alarm button.
• Barcode scanner—If the phone is an 840S, scans a barcode.
•Programmable Emergency button—By default this programmable button is set as
an Emergency button. If configured, the button sends a preprogrammed emergency
panic alert.
2
On the top front of the phone is the receive speaker in the middle, and the front camera
on the right.
• Receive speaker—Receives audio.
• Front camera—Captures images.
3
On the right side of the phone is the Programmable PTT button. By default this
programmable button is set to activate PTT. If enabled, PTT sends broadcast messages
over preprogrammed channels like a walkie-talkie.
4
On the bottom front of the phone is the microphone, which captures your audio to send.5
Your phone
15
Your phone
Hardware and buttons

Hardware or buttons in groupGroup number
On the bottom of the phone is the headset jack on the left, the USB charging port in the
middle, and the speaker on the right.
• Headset jack—Supports a headset with a 3.5-mm audio plug.
• USB charging port—Supports a USB cable to charge the phone.
• Speaker—Receives audio you can hear.
6
On the left side of the phone are three programmable buttons. By default, the top and
middle buttons are set as Volume up and Volume down respectively. By default, the
bottom button is not set.
•Programmable Volume up button—By default, this programmable button is set to
turn up the volume.
•Programmable Volume down button—By default, this programmable button is set
to turn down the volume.
•Programmable button—By default, this programmable button is set as the barcode
scanner on the 840S phones.
7
On the upper left back of the phone is the rear camera above the flash lens or torch, with
the rear microphone to the right.
• Rear camera—Captures images.
• Flash lens or torch—Emits light for a camera flash, or torch flashlight.
• Rear microphone—Cancels noise.
8
On the lower back of the phone are the charger contacts on the left, the battery latch in
the middle lower edge of the battery, and the battery.
• Charger contacts—Connects with the contacts on a desktop charger or multicharger
to charge the battery.
• Battery latch—Releases and catches the battery in the phone.
• Rechargeable battery—Powers the phone.
9
Webex Wireless Phone 860 hardware and buttons
The following figure shows the Webex Wireless Phone 860 and 860S with a barcode scanner.
Your phone
16
Your phone
Hardware and buttons

Figure 4: Webex Wireless Phone 860 and 860S
Table 6: Webex Wireless Phone 860 and 860S hardware and buttons
Hardware or buttons in groupGroup number
On the top of the phone is the headset jack on the left, the bar code scanner for 860S phones
in the middle, and a red Programmable Emergency alarm button on the right.
• Headset jack—Supports a headset with a 3.5-mm audio plug.
• Barcode scanner—If the phone is an 860S, scans a barcode.
•Programmable Emergency button—By default this programmable button is set as
an Emergency button. If configured, the button sends a preprogrammed emergency
panic alert.
1
On the top front left of the phone is the front camera, with the receive speaker to the right.
• Front camera—Captures images.
• Receive speaker—Receives audio.
2
Your phone
17
Your phone
Hardware and buttons

Hardware or buttons in groupGroup number
On the right side of the phone is the Programmable Push to Talk (PTT) button on the
top, and the Power button on the bottom.
•Programmable PTT button—By default this programmable button is set to activate
PTT. If enabled, PTT sends broadcast messages over preprogrammed channels like
a walkie-talkie.
•Power button—Turns the power on and off, and locks and unlocks the screen. A
raised edge protects the power button, so it’s not easy to press by accident.
3
On the bottom of the phone is the USB charging port on the left, the microphone in the
middle, and the charger contacts on the right.
• USB charging port—Supports a USB cable to charge the phone.
• Microphone—Captures your audio to send.
• Charger contacts—Connects with the contacts on a desktop charger to charge the
battery.
4
On the left side of the phone are three programmable buttons. By default, the top button
is set as the Scanner for 860S phones. By default, the middle and bottom buttons are set
as Volume up and Volume down respectively.
•Programmable button—By default, this programmable button is set as the barcode
scanner on the 860S phones.
•Programmable Volume up button—By default, this programmable button is set to
turn up the volume.
•Programmable Volume down button—By default, this programmable button is set
to turn down the volume.
5
On the top back of the phone is the rear camera on the far left, and the rear microphone
above the flash lens or torch. In the upper middle of the phone is a Programmable
Fingerprint scanner button.
• Rear camera—Captures images.
• Rear microphone—Cancels noise.
• Flash lens or torch—Emits light for a camera flash, or torch flashlight.
•Programmable Fingerprint scanner button—By default, this programmable button
is set to act as a fingerprint scanner to unlock the phone.
6
On the lower back of the phone is the rear speaker on the left, the battery latch in the
middle lower edge of the battery, and the battery.
• Rear speaker—Receives audio you can hear.
• Battery latch—Releases and catches the battery in the phone.
• Rechargeable battery—Powers the phone.
7
Your phone
18
Your phone
Hardware and buttons

Hardware or buttons in groupGroup number
This side view of the 860S highlights the barcode scanner on the top of the phone.8
If you use an incorrect cable to connect to the phone USB port, third-party accessories such as keyboards or
a mouse may not work. When buying these products, look for Benson Approved and OTG cables. Any cables
or adapters must be USB certified and built to the USB-C specification.
Note
If available, you can reprogram the Programmable buttons with the Buttons app.
Note
Related Topics
Change button function
Launcher screen
The launcher screen is the first screen that you see after you turn on or unlock the phone. It differs based on
how the administrator customizes the phones, but contains the following general areas:
•Top of the screen—Contains the status bar, which displays the time and icons that give you information
about the status of your phone and notifications.
•Body of the screen—Contains the apps and widgets that the administrator installs on the phone. The
administrator may use a smart launcher to display a limited number of apps, so what you see can vary
from a:
•Launcher screen with all the factory default apps and widgets such as a phone, web browser, camera,
and collection of Android and custom Cisco apps.
• Smart launcher screen with multiple selected apps.
• Smart launcher screen with a single, open app.
•Bottom of the screen—Contains navigation controls.
The smart launchers in this guide show what you may see if the administrator uses the Webex Wireless Phone
Configuration Management tool to set up your phone. Your phone may not look or act exactly as described
in this guide if set up with another tool, such as an Enterprise Mobility Management (EMM) application.
Note
Your phone
19
Your phone
Launcher screen

Figure 5: Sample launcher screens: factory default launcher, smart launcher with multiple apps, and smart launcher with a single open
app
Related Topics
Widgets and apps, on page 26
Cisco apps, on page 27
Navigation control, on page 30
Status bar
The status bar is dynamically populated to provide current information about your phone.
The status bar permanently displays the:
1. Current time—Displays the time. Contact your system administrator if the displayed time is incorrect.
2. Wi-Fi connection—Indicates the signal strength of the connection. Low signal strength prevents proper
phone operation. Contact your system administrator if you don’t have sufficient signal strength as indicated
by an x or no bars on this icon.
3. Battery health—Represents the amount of charge remaining in the battery. If the battery charge is low,
replace or charge the battery.
The status bar also displays icons for notifications, phone status, and settings. For example, the check mark
signifies that the phone is registered to the call control system and able to make or receive calls.
Your phone
20
Your phone
Status bar
Other manuals for 840
1
This manual suits for next models
1
Table of contents