The following shows how to modify the DMX address:
1. If this is not main interface and wants to back to main interface, just press button
“left” in one or several times to back to the main interface.
2. Press “Up” or “Down” to select “Setting”.
3. Press “OK” to enter into submenu of “Setting”.
4. Press “Up” or “Down” to select “DMX address”.
5. Press “OK” enter into the edit status.
6. Press “Up” or “down” to modify the DMX address.
7. Press “OK” to out of the edit status.
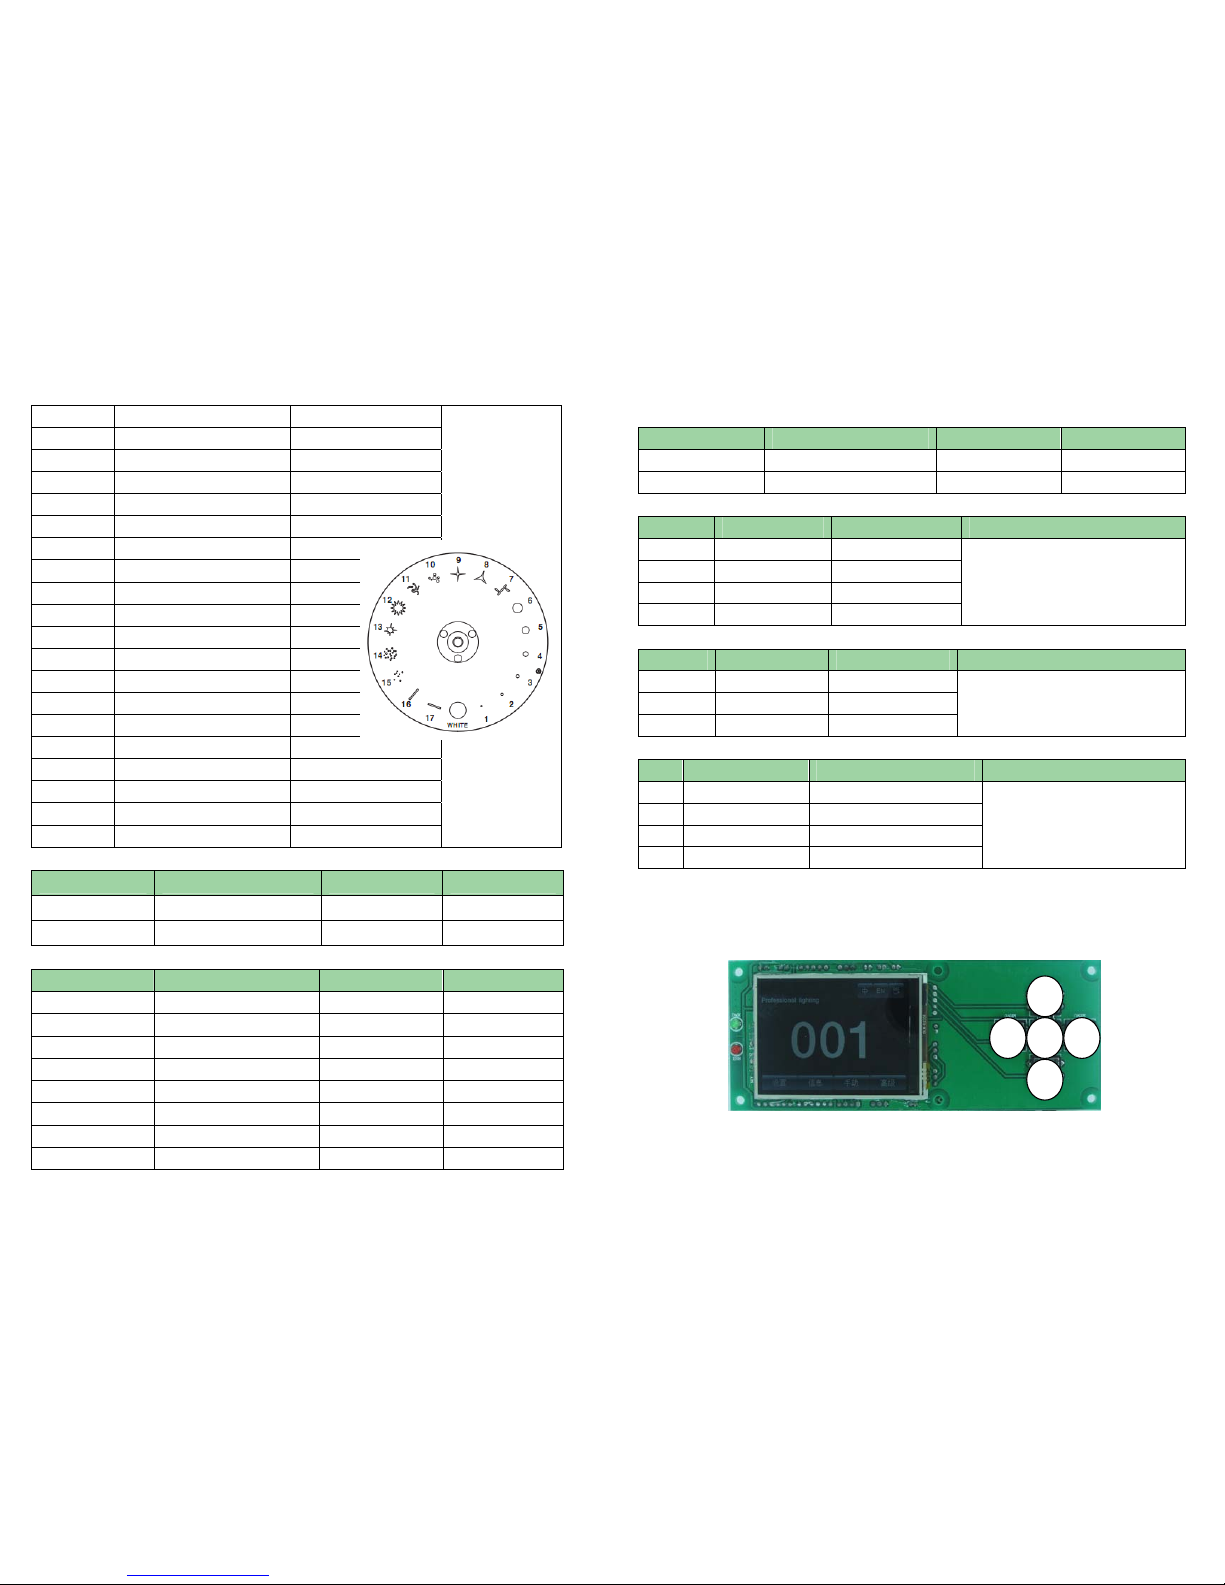
Operation by TFT touch screen will be more convenient, the operating method is
same as above mentioned.
Interface
-There are 3 buttons in the top right corner of touch screen, which are separately
use for changing languages mode, inversing touch screen.
-There are 4 buttons in the bottom of touch screen, which are “Setting”,
“Information”, “Manual control” and “Advanced”.
A. Setting
Option Specification
DMX Slave status: Received DMX Signal from Control &
master
Running mode Auto Master status: Automatically operation and send out
DMX signal to slaves
DMX address 1~512 Pressing “OK” enter into edit status.
16 From 17CH to 20CH invalid
Channel mode 20 From 17CH to 20CH valid
No
X inverse Yes
No
Y inverse Yes
No
XY inverse Yes Exchange function of X & Y (fine adjustment include)
Yes Rectify location by optical couple
XY decoder No No rectification
maintain Keep running by original status
No DMX signal Zero
clearing Motors reset
Yes Delayingly close after in seconds
Screen saver No Constantly open
Boot & Lamp
on No Power on reset, lamp off(the lamp need to be turned
on by controller and menu)
Yes When fixture power on, the lamp on, and the fixture
will be reset after lamp on completely
Default Settings Pressing “OK” enter into dialog box, and press “OK”
again to default settings.
B. Information
Option Specification
Software version Present version
Total service time Accumulate service time(accurate to minute)
Present service time Accumulate present service time(accurate to minute)
DMX value Display DMX value on screen
System error records If indicator light on,which means the fixtures must be error.
Enter into submenu, check it out and emptying error
records
C. Manual control
This interface is use for control present fixture,which there is no signal send in
or send out.
Option Specification
Reset Resetting all of motors
Color wheel 0~255
…… 0~255
Speed of gobo wheel 0~255
Pressing “OK” enter into edit status, pressing “Up”
or “Down” to set the DMX value.
OnLamp control Off
D. Advance
The password is “up”, “down”, “up”, “down”. For example: Pressing “up” once, it
shows first “*” on screen; Pressing “down”, it shows second “*”; Pressing “up” again,
it shows third “*”; Pressing “down” again, it shows fourth “*”, and finally press “OK” to
password verification.
Option Specification
Touch screen
rectification Touching corresponding place according to cross cursor points out,
If there are 4 places received right data, please confirm and save it.
Reset
rectification Can be adjusted location of motors resetting for filling in gaps of
hardware installation.
This reset rectification has to be rectify step by step according to 1
as the unit.
Attention: don’t make rectification in motor running status.