WEISS ROBOTICS GRIPLINK User manual

GRIPLINK PLUGIN FOR KUKA
Version 1.0.0

- 1 -
Content
1 Introduction........................................................................................................................ 2
1.1 Notation and symbols......................................................................................................... 2
1.2 Intended use....................................................................................................................... 2
1.3 System requirements.......................................................................................................... 2
1.4 License terms...................................................................................................................... 3
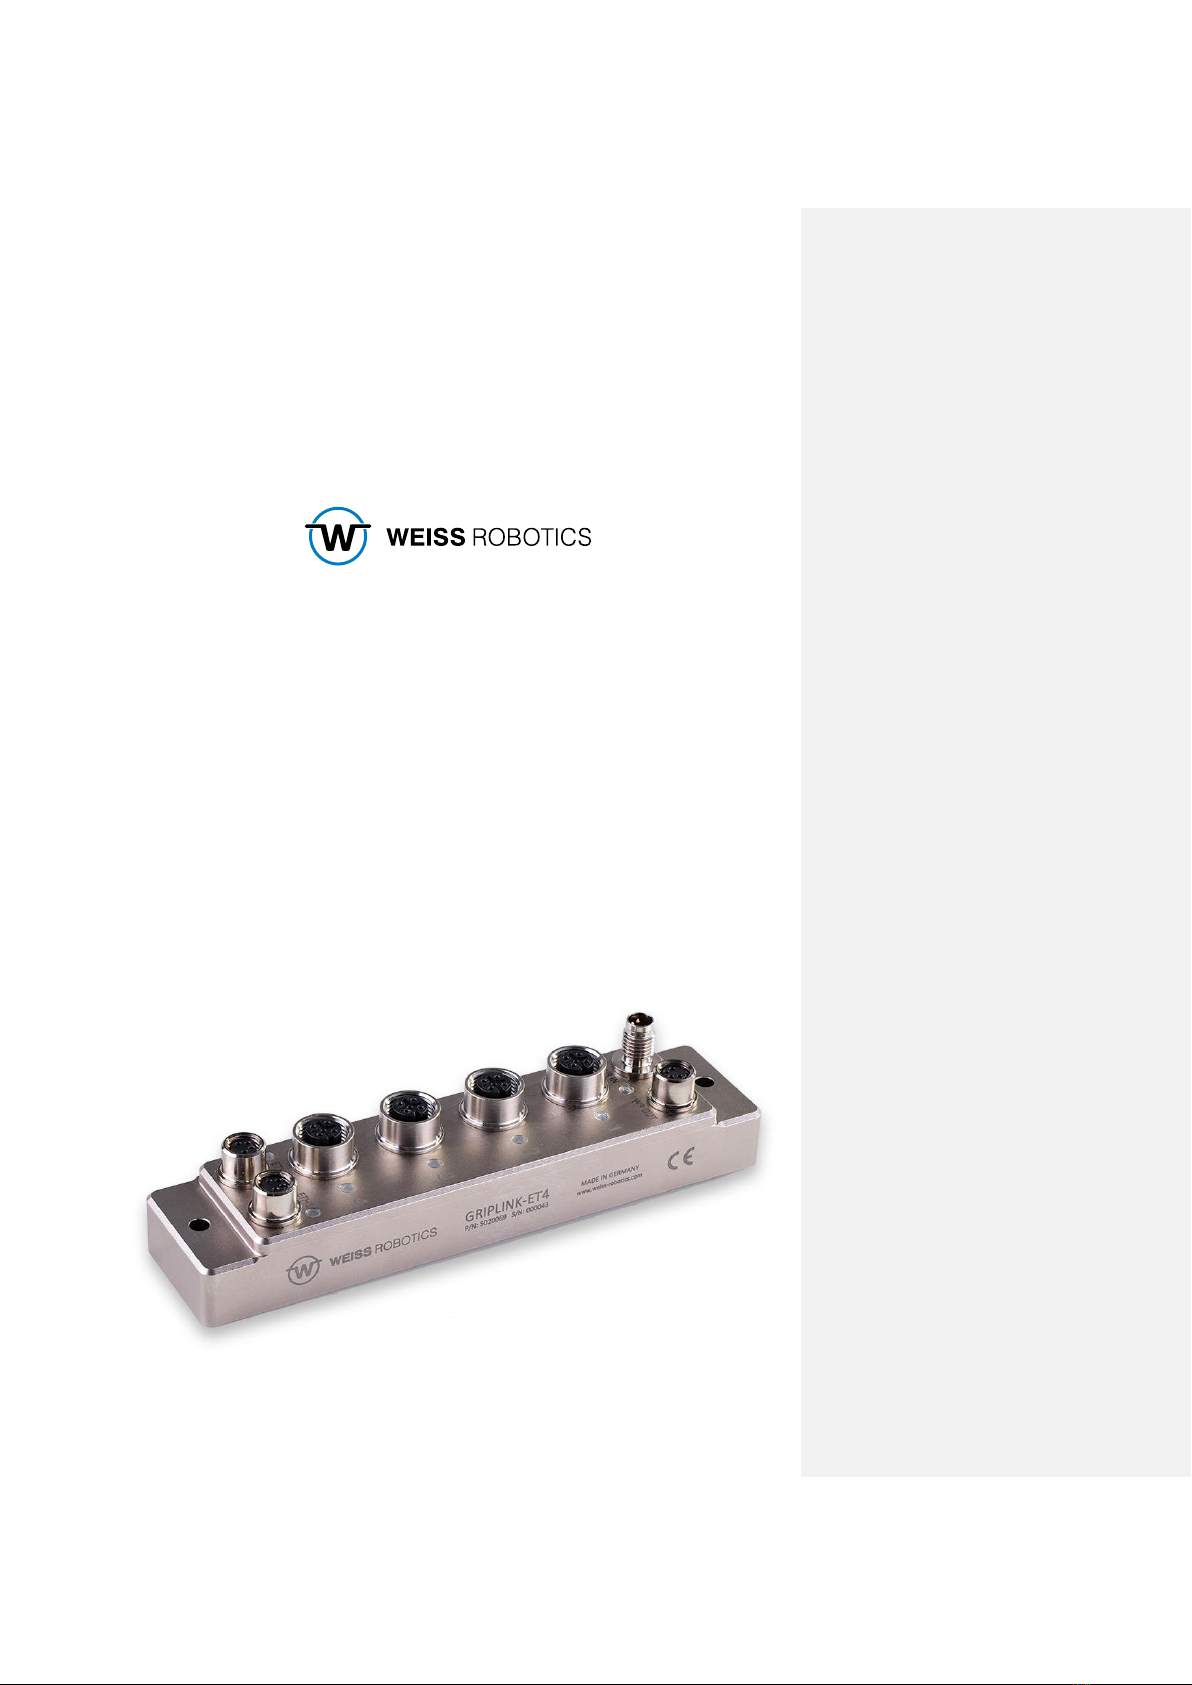
2 Installation .......................................................................................................................... 4
2.1 Preparation of the robot..................................................................................................... 4
2.2 Configuration of the XML file.............................................................................................. 5
2.3 Installing the software ........................................................................................................ 6
2.4 Behavior in case of error..................................................................................................... 7
3 Command Reference .......................................................................................................... 8
3.1 Establish connection - CONNECT........................................................................................ 9
3.2 Activate device - ENABLE.................................................................................................. 10
3.3 Query grab state - GETSTATE............................................................................................ 11
3.4 Deactivate device - DISABLE ............................................................................................. 12
3.5 Referencing the gripping module - HOME........................................................................ 13
3.6 Gripping the workpiece - GRIP.......................................................................................... 14
3.7 Simultaneous gripping of workpieces - MGRIP................................................................. 15
3.8 Release workpiece - RELEASE ........................................................................................... 16
3.9 Simultaneous release of workpieces - MRELEASE............................................................ 17
3.10 Parameterize gripping recipes - SETGRIPCFG................................................................... 18
3.11 Verify device types - DEVASSERT...................................................................................... 19
3.12 Query of position and sensor values - VALUE................................................................... 20
3.13 Control gripping force retention - CLAMP........................................................................ 21
3.14 Control of the LED display - LED........................................................................................ 22
3.15 Terminating the connection of GRIPLINK and robot - DISCONNECT................................ 23
Gripping state ................................................................................................................... 24
Error numbers and ways to fix them ................................................................................ 25

- 2 -
1Introduction
With the GRIPLINK technology, servo-electric and smart pneumatic gripping modules from WEISS
ROBOTICS as well as sensors/actors from selected third-party vendors can be connected to robot
systems from leading manufacturers via a network connection. The GRIPLINK plug-in for KUKA is the
software link between the GRIPLINK-ET4 interface converter and the robot controller and enables the
easy integration of WEISS ROBOTICS’ GRIPLINK technology into KUKA robot systems..
This manual describes the functions of the GRIPLINK plug-in. For information about
installation and operation of the GRIPLINK-ET4 interface converter please refer to the
GRIPLINK-ET4 user’s manual. The manual can be found online on
www.griplink.de/manuals
1.1 Notation and symbols
For a better understanding, the following symbols are used in this manual:
Functional or safety relevant information. Non-compliance may endanger the safety of
personnel and the system, damage the device or impair its function.
Additional information for a better understanding of the described facts.
Reference to further information.
1.2 Intended use
The software “GRIPLINK plug-in“ is intended for communication between the GRIPLINK-ET4 interface
converter from WEISS ROBOTICS and a robot controller. The requirements of the applicable guidelines
as well as the installation and operation instructions in this manual must be noted and adhered to. Any
other use or use beyond that is considered improper use. The manufacturer is not liable for any
damage resulting from this.
1.3 System requirements
One of the following KUKA robot controllers is required to run this software:
•KR C 4 or 5
The following robot option is required to run the software:
•KUKA Ethernet KRL
Please contact KUKA or your KUKA distributor in order to purchase these products.
Feldfunktion geändert

- 3 -
The IP addresses of both the robot controller and the GRIPLINK-ET4 interface converter
must be located within the same subnet range. Please contact your network
administrator if you experience any problems assigning appropriate IP addresses to the
devices.
1.4 License terms
The GRIPLINK plug-in is protected by copyright. The software package includes the applicable license
terms. By installing and using the GRIPLINK plug-in, the user accepts these license terms.

- 4 -
2Installation
2.1 Preparation of the robot
Copy the XML file GripLink.xml into the folder C:\KRC\ROBOTER\Config\User\Common
\EthernetKRL of your robot controller. This file path is only visible if you are acting as an expert (level
3) or higher.

- 5 -
2.2 Configuration of the XML file
In the XML file, enter the IP address of the GRIPLINK (192.168.1.40 by default) in the <IP> field, and
the port number 10001 accordingly in the <PORT> field. If you have changed the IP address of the
GRIPLINK Controller, adjust the IP address in the XML file accordingly.

- 6 -
2.3 Software Installation
Make sure that you are using the latest version of the GRIPLINK plugin. The latest
version can be downloaded from www.griplink.de/software.
The GRIPLINK plug-in for KUKA can be installed via the KUKA WorkVisual software or by using a USB
thumb drive to copy the files directly to the robot controller.
2.3.1 Installation via WorkVisual
Copy the GripLink_Kuka.dat and GripLink_Kuka.src files in WorkVisual to the program folder. Then
copy files to your robot using the "Transfer changes" option.
2.3.2 Direct copy to robot controller
Copy the contents of the ZIP archive to a USB thumb drive. Then connect the USB thumb drive to the
robot controller or to the smartPAD and copy the GripLink_Kuka.src and GripLink_Kuka.dat files to the
folder KRC:\R1\Program of your robot controller.
If your filter setting is not "File" but "Module", you can copy the GripLink_Kuka module accordingly.

- 7 -
2.4 Behavior in case of error
If an error occurs within the GRIPLINK plug-in or during communication with the GRIPLINK controller,
the running robot program will be stopped by means of an error. This usually interrupts and aborts any
running motion of the robot.
In addition, the connection between the robot controller and the GRIPLINK Controller will be closed
and the user will be prompted to deselect the running program.

- 8 -
3Command Reference
The GRIPLINK plugin provides a collection of generic motion and grip functions as well as functions for
reading connected sensors. The commands are defined as globally visible subprograms, which receive
their parameters as transfer values. To execute a command, the corresponding subroutine must be
called.
The basic program flow with the GRIPLINK plugin is always as follows:
1. Establish connection with GRIPLINK_CONNECT
2. Activate gripping module or sensor with GRIPLINK_ENABLE
3. For servo gripping modules without absolute encoder: Reference gripping module with
GRIPLINK_HOME
4. Grip or release with GRIPLINK_GRIP or GRIPLINK_RELEASE
5. Disconnect with GRIPLINK_DISCONNECT
The commands available with the GRIPLINK plug-in are described below.

- 9 -
3.1 Establish connection - C ONNECT
This command establishes the connection between the GRIPLINK controller and the robot controller
according to the specifications in the file GripLink.xml. The command waits until the connection is
established or a timeout occurs. If the connected hardware or software is not compatible, an error will
be thrown.
If GRIPLINK-ET4 commands are executed before GRIPLINK_CONNECT, this will raise an error.
Syntax
GRIPLINK_CONNCECT()
Parameters
none
Example
Establish connection between robot and GRIPLINK:
GRIPLINK_CONNECT()

- 10 -
3.2 Activate device - ENABLE
This command activates the device connected to the specified port.
If a port is addressed before it has been activated, an error will be raised and the program will be
stopped.
Syntax
GRIPLINK_ENABLE(< PORT >)
Parameters
< PORT > Index of the device port (0 to 3)
Example
Activate drive and gripping part monitoring of the gripping module at port 0:
GRIPLINK_ENABLE(0)

- 11 -
3.3 Query device state - GETSTATE
This command returns the device state of the device connected to the selected port as an integer
value. The possible states can be taken from Appendix A. To make the queries easy to read, constants
with the corresponding numerical values have been defined, which can be used instead of numbers.
Their names can also be seen in Appendix A.
Syntax
GRIPLINK_GETSTATE(< PORT > )
Parameters
< PORT > Index of the device port (0 to 3)
Return value
INT
Example
As long as the gripper connected to port 1 has not gripped a part, it should try again:
WHILE NOT (GRIPLINK_GETSTATE(1) == GS_HOLDING)
GRIPLINK_RELEASE(1,0)
GRIPLINK_GRIP(1,0)
ENDWHILE

- 12 -
3.4 Deactivate device - DISABLE
This command deactivates the device connected to the selected port. This command can be used, for
example, to change tools. The device can be reactivated via GRIPLINK_ENABLE.
Syntax
GRIPLINK_DISABLE(< PORT >)
Parameters
< PORT > Index of the device port (0 to 3)
Example
Change the gripping module at port 0:
; Connect to GRIPLINK
GRIPLINK_CONNECT()
Activate gripper 0
GRIPLINK_ENABLE(0)
; DO something
; ...
; Prepare tool change:
; Disable gripper 0:
GRIPLINK_DISABLE(0)
; Now, the gripper can be changed
;
; - OPERATE THE TOOL CHANGER HERE -
;
; Activate the new gripper:
GRIPLINK_ENABLE(0)

- 13 -
3.5 Referencing gripping module - HOME
This command references the selected servo gripper. The command executes a reference run of the
gripping module and waits until this is completed. After the Home command has been executed, the
fingers of the gripping module are powerless and must be moved to a defined position with a
Grip/MGrip or Release/MRelease command.
The reference run can be configured via the web interface of the GRIPLINK controller.
Syntax
GRIPLINK_HOME(< PORT >)
Parameters
< PORT > Index of the device port (0 to 3)
Example
Reference the gripping module to port 2:
GRIPLINK_HOME(2)

- 14 -
3.6 Grip workpiece - GRIP
This command causes the selected gripping module to grip a workpiece using the selected grip
configuration. The command is executed until the gripping state corresponds to HOLDING or to NO
PART. However, if the device state corresponds to FAULT or a timeout occurs, the running program is
stopped.
The gripping parameters can be configured via the web interface of the GRIPLINK
controller.
Syntax
GRIPLINK_GRIP(< PORT >,< INDEX >)
Parameters
< PORT > Index of the device port (0 to 3)
< INDEX > Selected handle (range depends on gripper model)
Example
The gripping module at port 0 is to grip with grip configuration 2.
GRIPLINK_GRIP(0,2)

- 15 -
3.7 Simultaneous gripping of workpieces - MGRIP
This command causes the selected gripping modules to execute a grip. The command waits until all
gripping modules addressed have each reached one of the states HOLDING or NO PART. If one of the
devices reaches the FAULT state or a timeout occurs, the program will be stopped.
The gripping parameters can be configured via the web interface of the GRIPLINK
controller.
Syntax
GRIPLINK_MGRIP(< INDEX >,< PORT0 > ,< PORT1 >,< PORT2 >,< PORT3 > )
Parameters
< INDEX > Selected handle (range depends on gripper model)
< PORT0 > Select port 0: 1 = selected, 0 = not selected
< PORT1 > Select port 1: 1 = selected, 0 = not selected
< PORT2 > Select port 2: 1 = selected, 0 = not selected
< PORT3 > Select port 3: 1 = selected, 0 = not selected
Example
The gripping modules at ports 0 and 1 grip with grip configuration 2:
GRIPLINK_MGRIP(2,1,1,0,0)

- 16 -
3.8 Release workpiece - RELEASE
This command causes the selected gripping module to release a gripped workpiece. The command
waits until the workpiece has been released. If the device state corresponds to FAULT, the further
program will be stopped.
The gripping parameters can be configured via the web interface of the GRIPLINK
controller.
Syntax
GRIPLINK_RELEASE(< PORT >,< INDEX >)
Parameters
< PORT > Index of the device port (0 to 3)
< INDEX > Selected handle (range depends on gripper model)
Example
Release the workpiece gripped with the gripping module at port 0 with the gripping configuration
2:
GRIPLINK_RELEASE(0,2)

- 17 -
3.9 Simultaneous release of workpieces - MRELEASE
This command causes the selected gripping modules to release a gripped workpiece at the same time.
The command waits until all addressed gripping modules have each reached the RELEASED state. If
one of the devices reaches the FAULT state or a timeout occurs, the program will be stopped.
Syntax
GRIPLINK_MRELEASE(< INDEX >,< PORT0 >,< PORT1 >,< PORT2 >,< PORT3 >)
Parameters
< INDEX > Selected handle (range depends on gripper model)
< PORT0 > Select port 0: 1 = selected, 0 = not selected
< PORT1 > Select port 1: 1 = selected, 0 = not selected
< PORT2 > Select port 2: 1 = selected, 0 = not selected
< PORT3 > Select port 3: 1 = selected, 0 = not selected
Example
Gripping modules at ports 1, 2 and 3 release a workpiece with grip configuration 3:
GRIPLINK_MRELEASE(3,0,1,1)

- 18 -
3.10 Parameterize gripping recipes - SETGRIPCFG
This command parameterizes a grip preset directly from the robot program. This way, the desired grip
settings can be saved within the robot program to be transmitted to the GRIPLINK Controller each time
the robot program will be started.
The parameters set with this command will not be saved permanently. They will be lost
when power-cycling the GRIPLINK Controller. Please use the configuration board on the
GRIPLINK’s web interface to fully parameterize and permanently save grip presets.
Syntax
GRIPLINK_SETGRIPCFG(< PORT >,< INDEX >,< PARAM0...7 > )
Parameter
< PORT > Index of the device port (0 to 3)
< INDEX > Index of the grip preset to be configured. The number of available presets
depends on the device type.
< PARAM0...7 > Device specific gripping parameters
Which parameters are available depends on the device. If one or more are
not used, they should be specified as 0.
For grippers from Weiss Robotics, for example:
-Parameter 0: No-part limit (in micrometers)
-Parameter 1: Release limit (in micrometers)
-Parameter 2: Gripping force (in thousandths of a percent)
-Parameters 3 - 7: not used
Example
Configure the grip configuration 2 of the Weiss Robotics IEG 55-020 gripping module at port 0 as
follows:
•No part limit: 3 mm
•Release limit: 10 mm
•Gripping force: 80%
GRIPLINK_SETGRIPCFG(0,2,3000,10000,80000,0,0,0,0,0)

- 19 -
3.11 Verify device types - DEVASSERT
This command checks whether the device connected to the specified port corresponds to the expected
device. If this is not the case, an error will be raised and the program will be stopped. The check is
performed via the IO-Link Vendor and Product ID.
Syntax
GRIPLINK_DEVASSERT(< PORT >,< VID > ,< PID > )
Parameter
< PORT > Index of the device port (0 to 3)
< VID > Expected Vendor ID number. This is assigned to the manufacturer by the IO-
Link user association.
< PID > Expected Product ID number. Identification number of the device assigned
by the manufacturer.
Example
Make sure that a gripping module of type IEG 55-020 (Product ID: 20) from Weiss Robotics
(Vendor ID: 815) is connected to port 0:
GRIPLINK_DEVASSERT(0,815,20)
Other manuals for GRIPLINK
1
This manual suits for next models
1
Table of contents