Ver. 07
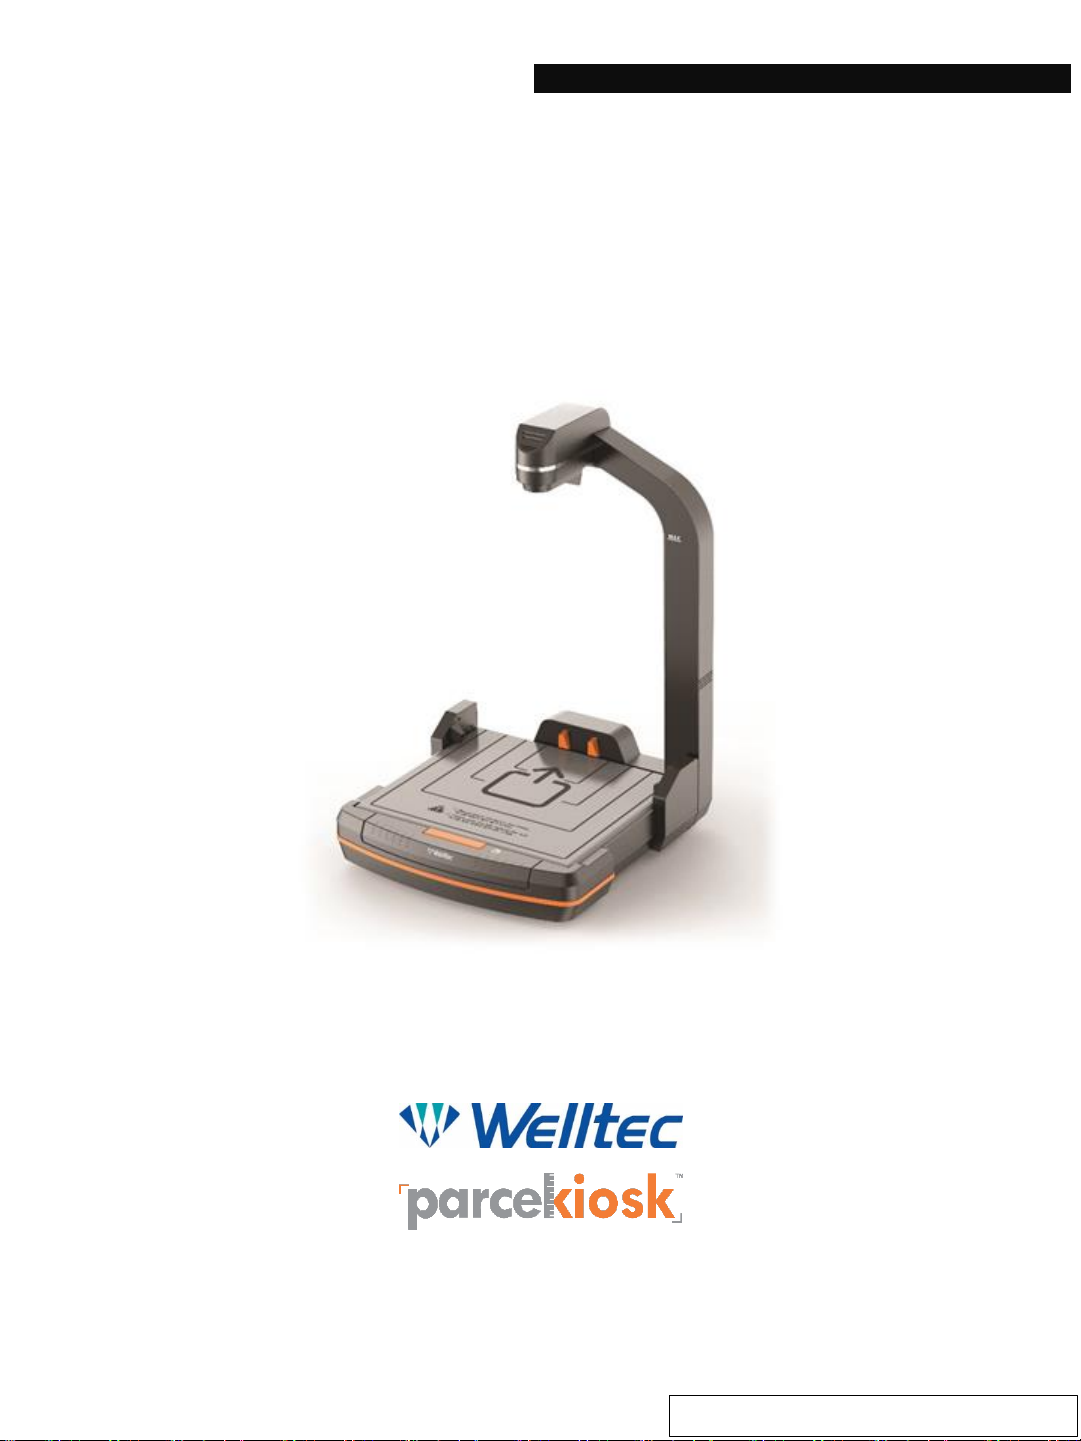
User Manual Bedal 3S
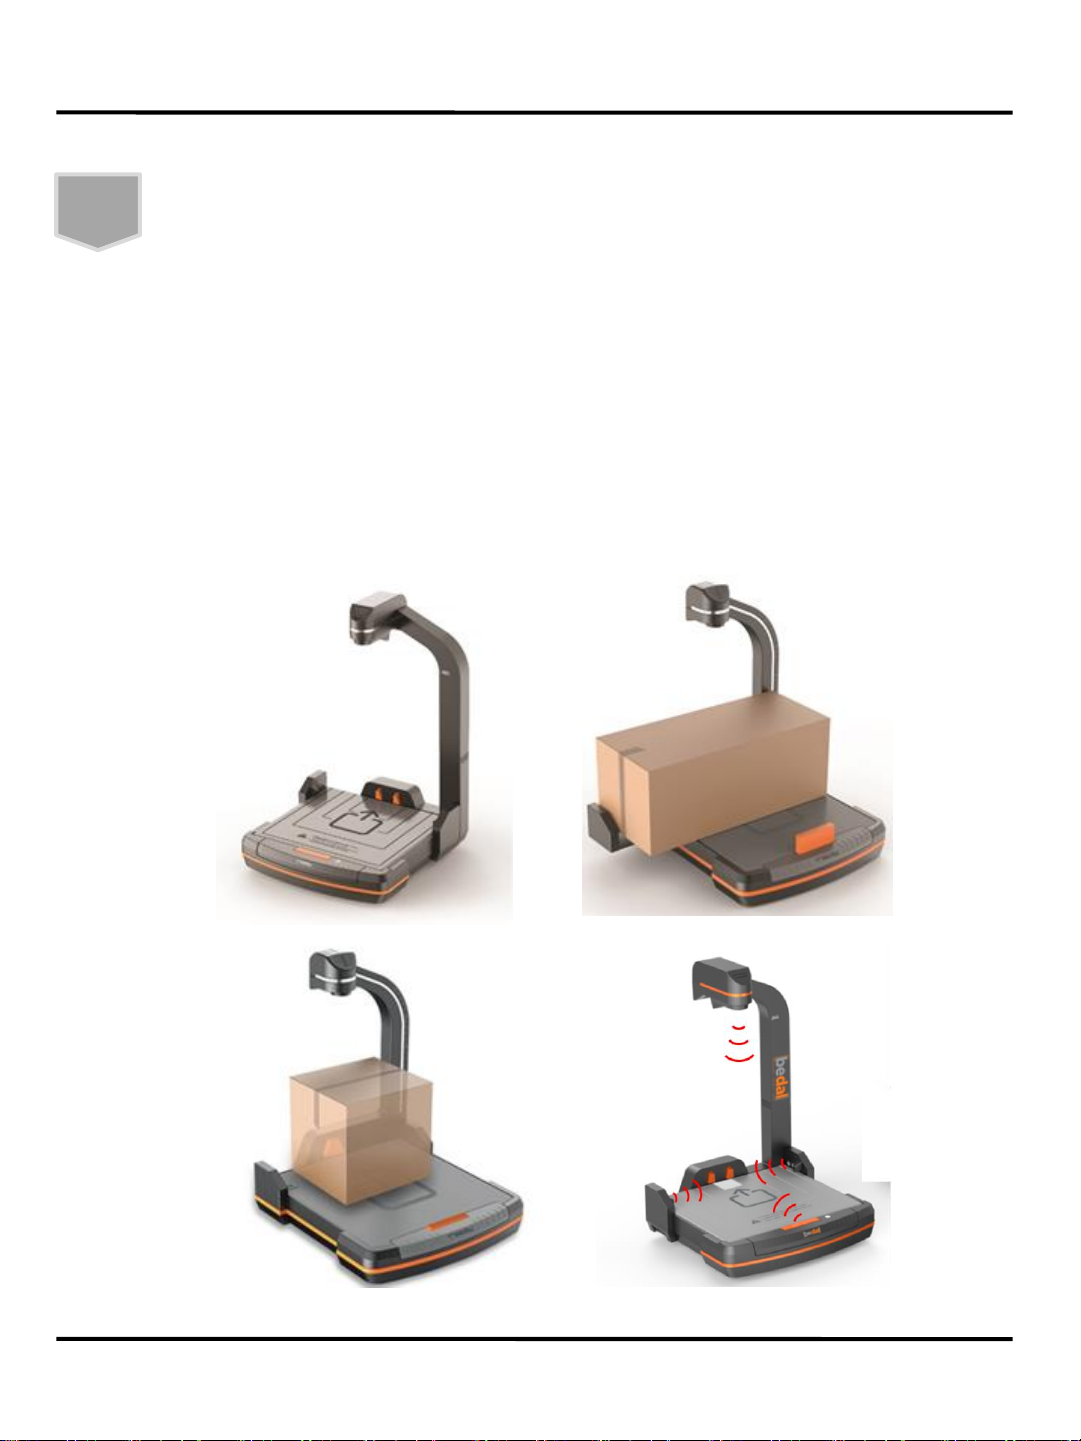
Operating Condition
3
Caution: Serious bodily injury or mechanical damage may result from
insufficient attention to or incorrect compliance with warning
messages with this symbol.
●Do not attempt to disassemble or reassemble the machine. It may cause an electric
shock or mechanical problem.
●Disconnect the power immediately if liquid or a foreign object enter the inside of the
machine.
●Do not input metal or inflammable material into the inlet.
●Remove the power cable while moving the machine.
●Where the wind is directly blowing to the machine(air conditioner, fan, etc), it may
cause weighing error and extra time for measurement(need to secure stability).
●Be careful not to place object that exceeds the allowable load of Bedal 3S, as this will
cause the malfunction. (Even if no power is applied, overload might cause permanent
damage)
●Be careful not to place the machine where the rear cover is in contact with wall.
(Measurement error or unstable might occur due to vibration)
●Please avoid to install at places like below :
- Near window or places exposed to direct sunlight.
- Where vibration is detected or unstable place (causing measurement errors)
- Where temperature changes suddenly or poorly ventilated.
- Places exposed to hot or cold air directly. (not office circumstance)
- Not solid enough or weak floor.
- Near excessive electromagnetic waves are generated (causing measurement errors)
- Where strong winds blow (measurement time may be increased)
●Temperature: -10℃ ~ 40℃
●Humidity: 10~85%RH, Non-Condensing.
Introduction