Vacuuming
1. Press the On/Off button to switch the appliance on.
It is advisable to set the speed control to MIN before
switching the appliance on.
2. When vacuuming, pull the cleaner behind you on its
wheels.
3. The suction power can be regulated to suit the type of
ooring. Adjusting the suction power by the suction
power control.
Air inlet adjuster
It is easy to reduce the suction power for a short time, e.g.
to prevent rugs or other objects being sucked into the
vacuum cleaner.
1. Open the air inlet valve far enough to reduce the
suction power. The oor brush will be easier to
manoeuvre.
2. Close the valve up again when you are ready to use
full power again.
Finish working
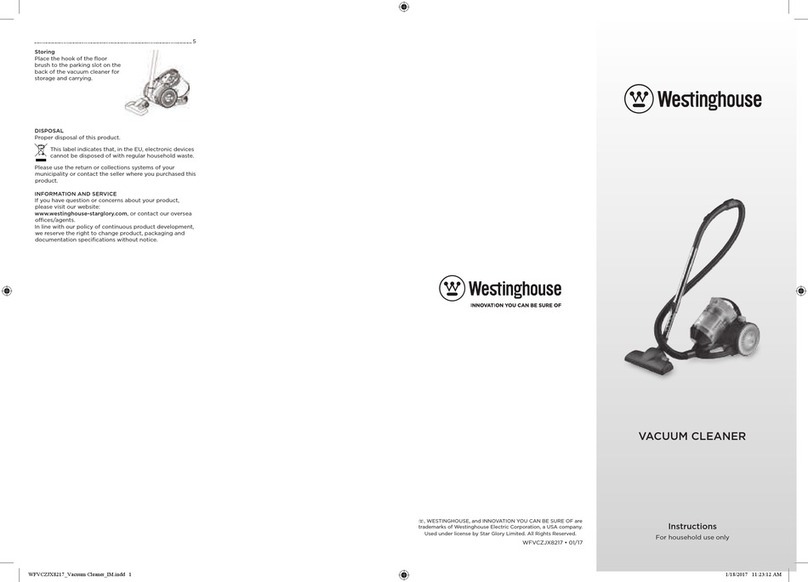
Shrink back the extension tubes and fix the floor brush
with the product parking position.
CARE AND MAINTENANCE
Emptying the dust bag
1. Press the front cover button, pull
up the front cover.
2. Poke the dust bag holder as
arrowhead show, and take out
the dust bag.
3. Unhinge the dust bag nip, and
pour the rubbish.
Cleaning outlet filter
Press outlet board button, pull out
the outlet board, and take out the
filter for cleaning.
Cleaning inlet filter
1. Opening the front cover, and
remove the inlet filter.
2. Wash the lter in the water
carefully. Do not knead.
3. Airing the water.
NOTE: Make sure the filter is
completely dry before replacement.
DISPOSAL
Proper disposal of this product.
This label indicates that, in the EU, electronic devices
cannot be disposed of with regular household waste.
Please use the return or collections systems of your
municipality or contact the seller where you purchased this
product.
INFORMATION AND SERVICE
If you have question or concerns about your product,
please visit our website:
www.westinghouse-starglory.com, or contact our oversea
ofces/agents.
In line with our policy of continuous product development,
we reserve the right to change product, packaging and
documentation specications without notice.
123 4
PARTS
INTENDED USE
This device is suitable for vacuuming dry floor surfaces
only. Any other use may result in damage to the device or
injuries.
IMPORTANT SAFEGUARDS
General
1. Read this manual before first use thoroughly. It
contains important information for your safety as well
as for the use and maintenance of the equipment. Keep
these instructions for future reference and pass it on
with the device.
2. Pay particular attention to the warnings on the device
and in this instruction manual.
3. Use the device only for its intended purpose. Improper
use may lead to hazards.
4. This device is designed for household use only, not for
staff kitchen areas in shops, ofces and other working
environments, farm houses, by clients in hotels, motels
and other residential type environments, bed and
breakfast type environments use. It is not suitable for
commercial use.
5. In the event of improper use or wrong operation, we do
not accept any liability for resulting damages.
6. The use of accessories and components not expressly
recommended by the manufacturer may result in
injuries or damages and voids the warranty.
7. This device is not intended to be used by persons
(including children) with reduced physical, sensory
or mental abilities or lack of experience and / or
lack of knowledge unless they are supervised by a
person responsible for their safety or have received
instructions on how to use the device.
8. Children should be supervised to ensure that they do
not play with the device.
9. Never leave the device unsupervised while it is
switched on.
10. Do not place heavy objects on top of the device.
11. Never immerse electrical parts of the device in water
during cleaning or operation. Never hold the device
under running water.
12. Do not under any circumstances attempt to repair
the device yourself. For servicing and repairs, please
consult an authorised dealer or qualified customer
service centre.
13. This device should not be operated with an external
clock timer or separate remote control system.
Power supply
1. The mains voltage must match the information on the
rating label of the device.
2. The power plug is used as the disconnect device.
Please be sure that the power plug is in operable
condition.
3. Only removing the power plug can separate the device
completely from the mains supply.
4. Avoid damages to the power cord that may be caused
by kinks or contact with sharp corners.
5. Make sure the device, including power cord and power
plug are not exposed to hot surfaces.
6. Only unplug from the power outlet by the plug itself.
Do not pull on the cord.
7. Disconnect the power plug when the device is not
in use, in case of malfunctions, prior to attaching
accessories and prior to each cleaning.
8. If the power cord or the casing of the device is
damaged or if the device is dropped, the device may
not be used before it is examined by a professional
electrician.
9. A damaged power cord may only be replaced by the
manufacturer or a workshop commissioned by the
manufacturer or by a similarly qualified person in order
to avoid hazards.
Installation location
1. Place the device on a flat, sturdy and heat-resistant
surface.
2. Put the device in a place which is out of reach of
children.
3. Do not operate this device near flammable materials
(e.g. curtains, textiles, walls) and never cover it. Ensure
that there is always a sufcient safe distance from
flammable materials.
4. Use this device in dry indoor areas only and never
outdoors.
5. WARNING: Do not use this device near water or
heavy moisture; e.g. in a damp basement or beside a
swimming pool or bathtub.
6. In order to reduce the risk of fire and electric shock, do
not expose the device to fire (fireplace, grill, candles,
cigarettes and so on) or water (water drops, water
splashes, vases, tubs, ponds and so on).
7. Keep this device away from all heat sources like for
example, ovens, hot plates and other heat-producing
devices/objects.
8. Protect this device from extreme heat (over 35°C) and
cold (under 5°C) as well as from direct sunlight and
dust.
SPECIFIC SAFETY INSTRUCTIONS
1. To avoid the risk of damage, do not use the vacuum
cleaner without the dust bag, motor lter and exhaust
lter in place. Otherwise it could get damaged.
2. Do not use the appliance to vacuum lighted matches
or hot ash.
3. Do not use the appliance to vacuum needles, drawing-
plug or string, cement, plaster or other material for
construction and decorations.
4. Do not vacuum up any water, liquid or damp dirt. This
will cause major faults and could seriously impair the
functioning and electrical safety of the appliance. Wait
until any freshly cleaned or shampooed carpets or floor
coverings are completely dry before attempting to
vacuum.
5. Do not vacuum toner dust. Toner, such as that used
in printers and photocopiers, can conduct electricity.
The filter system in the vacuum cleaner may not filter
it completely, causing the toner to be blown back into
the room by the fan.
6. Do not obstruct air intake or outlet vents.
7. Monitor the change dust bag indicator and change
the dust bag if necessary. Check the exhaust and
motor filters at the same time and clean them too if
necessary. A full bag or blocked lter will reduce the
suction power of the cleaner.
8. Clean the device and other accessories refer to the
chapter CARE AND MAINTENANCE.
FOR THE FIRST TIME USE
Unpacking and checking
1. Carefully take the device and its accessories out of
the packaging. Retain the packaging in case you
would like to store the device away or transport it at a
later date. If you choose to dispose of the packaging,
then please do so according to the applicable legal
regulations.
2. Check the packaging contents for completeness and
damages. Should the contents in the packaging not
be complete or be damaged, do not use the device.
Return it to your retail outlet immediately.
Assembling
Always remove the plug from the power socket before
fitting or removing accessories.
1. Insert the hose connector into
the suction hole until it clicks
into position. To remove the
hose from the cleaner. Press the
release buttons at the side of
the hose connector.
2. Insert the handle into the
extension tube.
3. Fitting another extension tube.
4. Fitting the accessories to the
extension tube.
ACCESSORIES
Floor brush:
Can be used for all normal cleaning of carpets and rugs. It
can also be used without the brush protruding to vacuum
hard flooring.
• Vacuum carpets and rugs with the brush retracted:
Press the foot control .
• Clean hard ooring which is not susceptible to
scratching with the brush protruding:
Press the foot control .
2 in 1 Crevice tool / dusting brush:
For cleaning radiators, corners, edges,
drawers, skirting boards, ornate or carved
articles, etc.
Small brush
For cleaning curtains, bookshelves, inlaid furniture,
skirting boards, ornate or carved articles, etc.
USING THE VACUUM CLEANER
Unwinding and rewinding the cable
1. Unwind length of cable and insert the plug into the
power socket. A YELLOW mark on the power cable
shows the ideal cable length. Do not extend the cable
beyond the RED mark.
2. To rewind the power cable, press the cord wind button
with one hand, and guide the other hand to ensure
that it does not whip causing damage.
Suction hole
Front cover
Front cover
button
Hose
connector
Floor
brush
Air inlet
adjuster
Dust full indicator
Cord wind button
Suction power control
On/Off
button
Hose
Extension
tubes
Small brush
2 in 1 crevice
tool/dusting
brush
Out
filter
Inlet
filter
