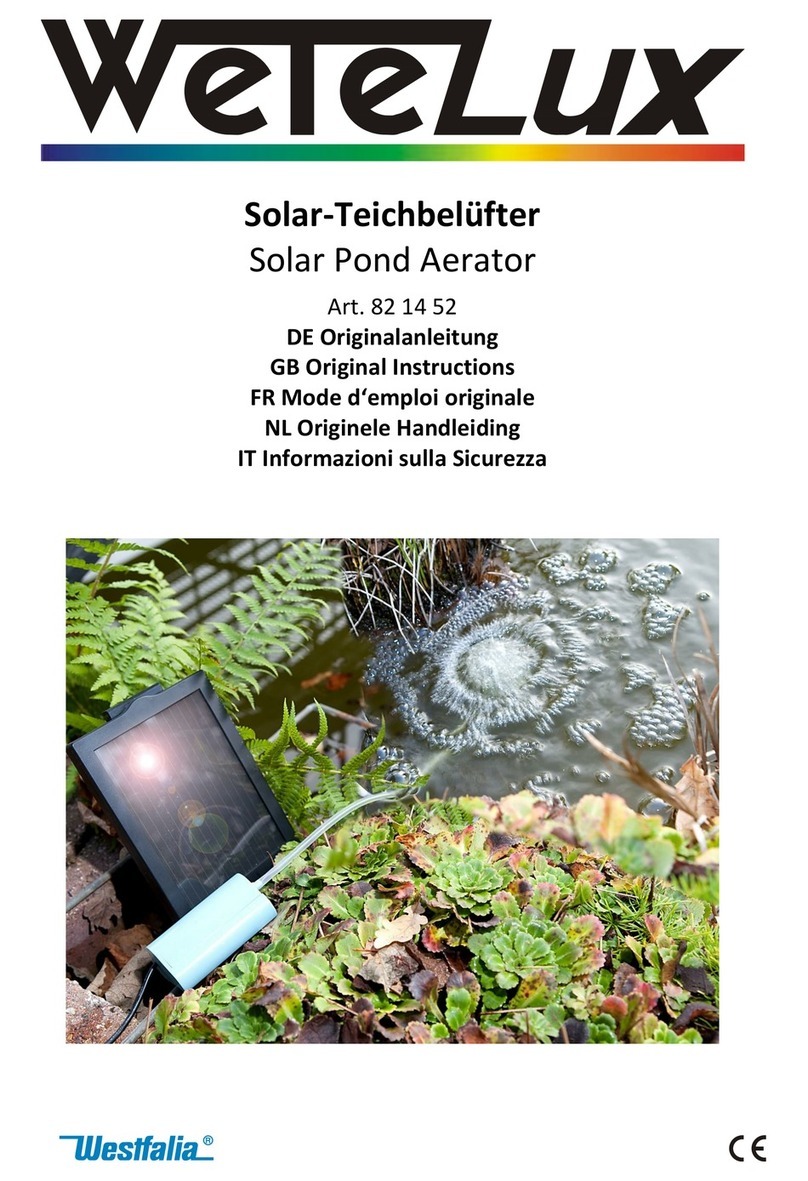
Wetelux 82 14 52 User manual

Solar-Teichbelüfter 100 l/h
Artikel Nr. 82 14 52
Solar Pond Aerator 100 l/h
Article No. 82 14 52
Bedienungsanleitung
Instruction Manual

II
Instruction manuals provide valuable hints for using your new
device. They enable you to use all functions, and they help you
avoid misunderstandings and prevent damage.
Please take the time to read this manual carefully and keep it for
future reference.
Bedienungsanleitungen enthalten wichtige Hinweise für den
Umgang mit Ihrem neuen Produkt. Sie ermöglichen Ihnen, alle
Funktionen zu nutzen, und sie helfen Ihnen, Missverständnisse
zu vermeiden und Schäden vorzubeugen.
Bitte nehmen Sie sich die Zeit, diese Bedienungsanleitung in
Ruhe durchzulesen und bewahren Sie diese für späteres Nach-
lesen gut auf.
Sehr geehrte Damen und Herren
Dear Customers

III
Übersicht | Overview
1
2
6
7
5
4
3

IV
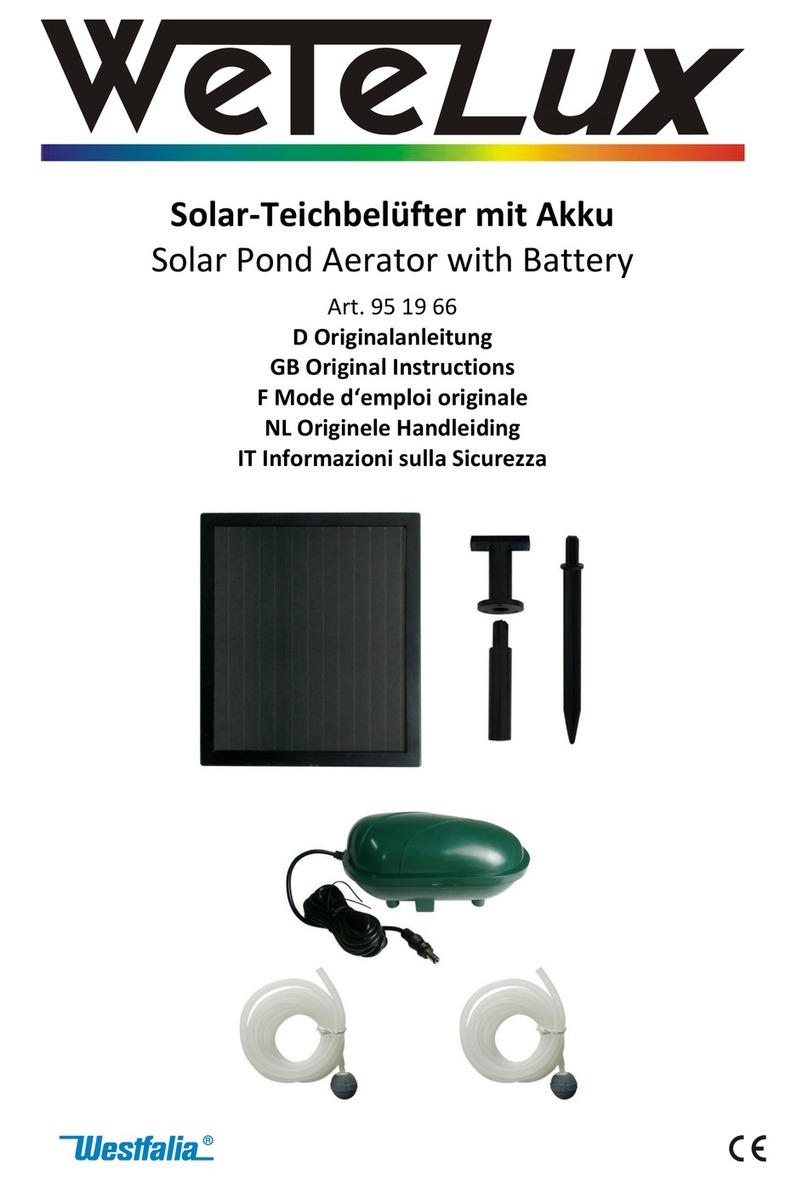
1 Pumpe Pump
2 Solarmodul Solar Module
3 Solarmodulhalterung Solar Module Holder
4 Verlängerungsstück Extension Piece
5 Erdspieß Ground Stake
6 Luftschlauch Air Hose
7 Sprudelstein Aeration Stone
Übersicht | Overview

1
Safety Notes ...................................................................Page 3
Intended Use...................................................................Page 9
Assembling and Using....................................................Page 9
Notes...............................................................................Page 10
Cleaning the Solar Module..............................................Page 10
Technical Data................................................................Page 11
Sicherheitshinweise ........................................................Seite 2
Bestimmungsgemäße Verwendung................................Seite 6
Montage und Inbetriebnahme.........................................Seite 6
Hinweise .........................................................................Seite 7
Reinigung des Solarmoduls............................................Seite 7
Technische Daten...........................................................Seite 8
Table of Contents
Inhaltsverzeichnis

2
Sicherheitshinweise
Beachten Sie bitte zur Vermeidung von Fehlfunktionen,
Schäden und gesundheitlichen Beeinträchtigungen
folgende Hinweise:
Diese Bedienungsanleitung gehört zu diesem Produkt. Sie
enthält wichtige Hinweise zur Inbetriebnahme und Handhabung.
Bitte legen Sie die Bedienungsanleitung dem Produkt bei, wenn
Sie es an Dritte weitergeben!
Lassen Sie Verpackungsmaterial nicht achtlos herumliegen.
Verschluckbare Kleinteile, Plastiktüten etc. können zu einem
gefährlichen Spielzeug für Kinder werden.
Der Teichbelüfter ist kein Spielzeug. Halten Sie das Gerät von
Kindern fern.
Das Solarmodul muss wie ein Produkt aus Glas behandelt
werden. Es ist nicht begehbar.
Die Pumpe darf nicht unter Wasser betrieben werden. Stellen Sie
die Pumpe am Teichrand an einem trockenen, überflutungssiche-
ren Ort auf.
Verlegen Sie den Luftschlauch und das Anschlusskabel so, dass
sie nicht zur Stolperfalle werden können.
Bei Beschädigungen an der Pumpe oder am Solarmodul darf das
Gerät nicht weiter benutzt werden und muss von einer Fachkraft
repariert werden.
Zerlegen Sie das Gerät nicht und unternehmen Sie keine Repa-
raturversuche. Das Gerät enthält keine durch Sie auswechselba-
ren oder zu reparierenden Teile. Wenden Sie sich bitte bei Fra-
gen oder Problemen an unseren Kundenservice.

Safety Notes
3
Please note the following safety notes to avoid mal-
functions, damage or physical injury:
This manual belongs to the product. It contains important notes
on operating the unit. Please pass it on along with the unit if it is
handed over to a third party!
Dispose of the packaging materials carefully. Small parts can be
swallowed and plastic bags may become a deadly toy for chil-
dren.
The solar pond aerator is not a toy. Keep it out of reach of
children.
Treat the solar module as a glass product. Do not walk on it.
Do not operate the pump under water. Place the pump at the
pond edge at a dry and flood protected place.
Make sure the air hose and the power cord cannot become a
tripping hazard.
Do not continue to use the unit if the pump or the solar module
becomes damaged. Repair work must be done by a qualified
service technician.
Do not disassemble the unit or attempt to repair it yourself. It
does not contain parts serviceable by you. In case of questions or
problems, please turn to our customer support.

Consignes de sécurité
4
S'il vous plaît noter afin d'
éviter des
dysfonctionnements, des dommages et des effets
néfastes sur la santé les informations suivantes:
Cet utilisateur appartient à ce produit. Il contient l'installation et
de manutention importants. S'il vous plaît inclure le manuel pour
le produit, si vous le transmettre à d'autres!
Ne laissez pas les matériaux d'emballage qui traînent
négligemment. Petites pièces, des sacs en plastique, etc.
peuvent être un jouet dangereux pour les enfants.
L'aérateur de bassin n'est pas un jouet. Conserver le produit loin
des enfants.
Être traité les modules solaires doivent être fabriqués avec du
verre. Il n'est pas accessible.
La pompe ne doit pas être utilisé sous l'eau. Placer la pompe au
bord de l'étang dans un endroit sec, les inondations endroit sûr.
Route le tuyau d'air de sorte qu'il ne devienne pas un danger de
chute.
En cas de dommage à la pompe ou d'un module solaire,
l'appareil ne peut plus être utilisé et doit être réparé par un
électricien qualifié.
Faire passer le câble afin qu'il ne devienne pas un danger de
chute.
Ne pas démonter l'appareil et vous n'avez pas tenter toute
réparation. L'appareil ne contient aucune pièce remplaçable par
vous ou réparés. S'il vous plaît contacter pour toutes questions
ou problèmes, contactez notre service à la clientèle.

Informazioni sulla sicurezza
5
Si prega di notare in modo da evitare malfunzionamenti,
danni e effetti negativi sulla salute seguenti
informazioni:
Questo utente appartiene a questo prodotto. Che contiene
importanti e maneggevolezza. Si prega di includere il manuale
per il prodotto, se si passa ad altri!
Non lasciare materiale di imballaggio in giro con noncuranza.
Piccole parti, sacchetti di plastica, ecc. può essere un giocattolo
pericoloso per i bambini.
L'aeratore stagno non è un giocattolo. Tenere il prodotto lontano
dalla portata dei bambini.
Da trattare I moduli solari deve essere un prodotto in vetro. E non
è accessibile.
La pompa non deve essere utilizzato sott'acqua. Collocare la
pompa al bordo del laghetto in un luogo asciutto, inondazioni
posto sicuro.
Far passare il tubo dell'aria in modo che non diventi un pericolo di
inciampare.
In caso di danni alla pompa o modulo solare, il dispositivo non
può più essere utilizzato e deve essere riparato da un tecnico
qualificato.
Far passare il cavo in modo che non diventi un pericolo di
inciampare.
Non smontare il dispositivo e di non tentare alcuna riparazione. Il
dispositivo non contiene parti sostituibili dall'utente o da riparare.
Si prega di contattare in caso di domande o problemi, contattare
il nostro servizio clienti.

6
Benutzung
Bestimmungsgemäße Verwendung
Der Teichbelüfter ist bestimmt zur leichten Wasserumwälzung und
somit zur Sauerstoffanreicherung von kleinen Gartenteichen. Beson-
ders im Sommer entsteht bei hohen Temperaturen eine Art „Film“ an
der Teichoberfläche und die Oberfläche nimmt keinen Sauerstoff auf.
Der Sauerstoffgehalt sinkt. Durch die aufsteigenden Luftbläschen des
Teichbelüfters bleibt die Teichoberfläche ständig in Bewegung und
Sauerstoff kann an der Oberfläche aufgenommen werden.
Die Pumpe wird am Rand des Teichs aufgestellt und über das Solar-
modul netzunabhängig bei direkter Sonneneinstrahlung betrieben. Die
Pumpe pumpt die Luft durch einen 2 Meter-Silikonschlauch zu einem
Sprudelstein. Mithilfe des Erdspießes kann das Solarmodul in der Erde
befestigt werden.
Montage und Inbetriebnahme
1. Stecken Sie den Stecker des Pumpenka-
bels (1) in die Buchse an der Rückseite des
Solarmoduls (2). Stellen Sie das Solarmodul
so auf, dass es zur Mittagszeit möglichst
direkter Sonneneinstrahlung ausgesetzt ist.
Verwenden Sie zum Aufstellen des Solar-
moduls den Erdspieß (5), welcher noch mit
dem Verlängerungsstück (4) erweitert wer-
den kann. Befestigen Sie die Halterung (3)
an der Oberseite des Solarmoduls. Vermei-
den Sie jegliche Art von Beschattung, um
den höchstmöglichen Energieertrag zu er-
halten.
2. Stecken Sie den Sprudelstein (7) auf das eine Ende des Luftschlau-
ches (6).
3. Das andere Ende des Luftschlauches verbinden Sie mit der Pumpe
(1).
4. Rollen Sie das Kabel der Pumpe aus und positionieren Sie diese am
Rand des Teiches.

7
Benutzung
5. Setzen Sie den Sprudelstein in den Teich (ca. 30 cm unterhalb der
Wasseroberfläche). Legen Sie den Sprudelstein nach Möglichkeit
auf einige Steine in den Teich und nicht auf den Teichboden, da die
feinen Öffnungen des Sprudelsteins sonst durch Schmutz verstop-
fen können.
Hinweise:
Die Leistung der Pumpe ist von der Stärke der Sonn und von der
Ausrichtung des Solarmoduls abhängig. Bei zu geringer Sonnenein-
strahlung kann die Pumpe ggf. nicht arbeiten. Sorgen Sie in diesem
Fall für eine anderweitige Sauerstoffzufuhr für den Teich.
Halten Sie die Öffnungen an der Vorderseite der Pumpe stets offen.
Betreiben und tauchen Sie die Pumpe nicht unter Wasser.
Reinigen Sie den Sprudelstein von Zeit zu Zeit.
Die Oberfläche des Solarmoduls besteht aus Glas. Achten Sie bei
der Montage und bei der Reinigung darauf, dass es nicht bricht, es
besteht Verletzungsgefahr. Ein gebrochenes Modul kann nicht mehr
repariert werden und muss umweltgerecht entsorgt werden.
Lagern Sie bei Frost alle Teile des Teichbelüfters im Innenbereich
an einem vor Staub, Schmutz und extremen Temperaturen ge-
schützten Ort. Reinigen Sie die Teile vor der Lagerung gründlich.
Reinigung des Solarmoduls
Verschmutzungen der Oberfläche reduziert den Lichteinfall auf die
Solarzellen und vermindern somit den Energieertrag des Solarmo-
duls.
Reinigen Sie deshalb bei starker Verschmutzung das Glas mit
einem haushaltsüblichen Glasreiniger. Um Kratzer zu vermeiden,
verwenden Sie reichlich Wasser und eine weiche Bürste oder einen
Lappen.
Überprüfen Sie in regelmäßigen Abständen die elektrischen An-
schlüsse auf Beschädigung, Korrosion und festen Sitz.

8
Technische Daten
Pumpe
Nennspannung
6 V
Nennleistung
0,7 W
Max. Luftvolumen
100 l/h
Kabellänge
3 m
Luftschlauchlänge
2 m
Schutzgrad
IP44
Solarmodul
Pmpp
0,7 W
U
mpp
5 V
I
mpp
120 mA
UOC
6 V
I
SC
140 mA
Abmessungen
17,5 x 13 x 2 cm
Gewicht
241 g

9
Operation
Intended Use
The pond aerator is designed for light water circulation and thus for
oxygenation of small garden ponds. In summer when high tempera-
tures are present, a kind of “film” can build up on the pond surface
and the surface does not absorb oxygen. The oxygen level de-
creases. Due to the rising air bubbles created by the pond aerator,
the pond surface is constantly in motion and oxygen can be ab-
sorbed at the surface.
Install the pump on the edge of the pond. The pump is powered via
the solar module and operated independently from the mains in
direct sunlight. The pump pumps the air through a 2 meter silicone
tube to the aeration stone. Using the ground stake the solar panel
can be attached on the ground.
Assembling and Using
1. Connect the plug of the pump cable (1) to
the socket at the rear of the solar module
(2). Adjust the front side of the solar mod-
ule directly towards the position of the sun
at noontime. Setup the solar module by
using the ground stake (5) that can be
extended with the extension piece (4).
Attach the solar module holder (3) to the
top part of the solar module (see picture
on the right). Avoid any form of shading in
order to achieve the highest possible
yield.
2. Put the aeration stone (7) on the one end of the air hose (6).
3. Connect the other end of the air hose to the pump (1).
4. Roll out the cable of the pump and install the pump on the edge
of the pond.
5. Put the aeration stone into the pond (approx. 30 cm below the
pond surface). If possible, put the aeration stone on top of some

10
Operation
stones in the pond and not directly onto the ground level of the
pond to avoid soiling of the capillary pin holes of the stone.
Notes:
The performance of the pump depends on the season and on the
position and orientation of the solar module. If there is too little
sunlight, the pump may not start. In this case please use a differ-
ent method to aerate the pond.
Keep the openings of the pump free from any obstructions. Do
not operate the pump under water.
Clean the aeration stone in regular intervals.
The surface of the solar module is made of glass. Be careful
when assembling the system. Do not break it. There is risk of
injury. A broken module cannot be repaired it has to be disposed
of environmentally compatible.
During the winter time store all components of the solar pond
aerator indoors at place that is protected from dust, dirt and ex-
treme temperatures. Clean all parts thoroughly before storing.
Cleaning the Solar Module
Soiling on the front-side of the glass surface will reduce the
incidence of light onto the solar cells and this will decrease the
output of electrical power.
In case of heavy soiling, clean the glass with usual glass clean-
ers. To avoid scratching the glass surface, use plenty of water
and a soft brush or a cloth.
Check the electrical cables at regular intervals for any form of
damage or corrosion and for firm fit on the cable connections.

11
Technical Data
Pump
Nominal Voltage
6 V
Nominal Power
0.7 W
Max. Capacity
100 l/h
Cable Length
3 m
Air Hose Length
2 m
Degree of Protection
IP44
Solar Module
P
mpp
0.7 W
U
mpp
5 V
I
mpp
120 mA
U
OC
6 V
I
SC
140 mA
Dimensions
17.5 x 13 x 2 cm
Weight
241 g

Notizen | Notes
12

V
EG-Konformitätserklärung
EC Declaration of Conformity
Wir, die Westfalia Werkzeugcompany, Werkzeugstraße 1, D-58093 Hagen,
We, the Westfalia Werkzeugcompany, Werkzeugstraße 1, D-58093 Hagen,
erklären in alleiniger Verantwortung, dass das Produkt
declare by our own responsibility that the product
Solar-Teichbelüfter 100 l/h
Solar Pond Aerator 100 l/h
Artikel Nr. 82 14 52
Article No. 82 14 52
den wesentlichen Schutzanforderungen genügt, die in den Europäischen Richtlinien und
deren Änderungen festgelegt sind.
is according to the basic requirements, which are defined in the European Directives and their
amendments.
2011/65/EU
2011/65/EU
Beschränkung der Verwendung bestimmter gefährlicher Stoffe in
Elektro- und Elektronikgeräten (RoHS)
Restriction of the Use of certain hazardous Substances in electrical and
electronic Equipment (RoHS)
2004/108/EG
2004/108/EC Elektromagnetische Verträglichkeit (EMV)
Electromagnetic Compatibility (EMC)
EN 55014-1:2006+A1+A2, EN 55014-2:2015
Hagen, den 12. Oktober 2015
Hagen, 12th of Oktober, 2015
Thomas Klingbeil,
Qualitätsbeauftragter / QA Representative

Gestaltung urheberrechtlich geschützt VI © Westfalia 10/15
Deutschland
Österreich
Westfalia Westfalia
Werkzeugstraße 1 Moosham 31
D-58093 Hagen A-4943 Geinberg OÖ
Telefon: (0180) 5 30 31 32 Telefon: (07723) 4 27 59 54
Telefax: (0180) 5 30 31 30 Telefax: (07723) 4 27 59 23
Internet: www.westfalia.de Internet: www.westfalia-versand.at
Schweiz
UK
Westfalia Westfalia
Utzenstorfstraße 39 Freepost RSBS-HXGG-ZJSC
CH-3425 Koppigen 8 Fairfax Road, N. Abbot TQ12 6UD
Telefon: (034) 4 13 80 00 Phone: (0844) 5 57 50 70
Telefax: (034) 4 13 80 01 Telefax: (0870) 0 66 41 48
Internet: www.westfalia-versand.ch Internet: www.westfalia.net
Kundenbetreuung | Customer Services
Werter Kunde,
bitte helfen Sie mit, Abfall zu vermeiden.
Sollten Sie sich einmal von diesem Artikel trennen
wollen, so bedenken Sie bitte, dass viele seiner Kompo-
nenten aus wertvollen Rohstoffen bestehen und wieder-
verwertet werden können.
Entsorgen Sie ihn daher nicht in die Mülltonne, sondern
führen Sie ihn bitte Ihrer Sammelstelle für Elektroalt-
geräte zu.
Dear Customer,
Please help avoid waste materials.
If you at some point intend to dispose of this article, then
please keep in mind that many of its components consist
of valuable materials, which can be recycled.
Please do not discharge it in the rubbish bin, but check
with your local council for recycling facilities in your area.
Entsorgung | Disposal
Other manuals for 82 14 52
1
Table of contents
Languages:
Other Wetelux Lawn And Garden Equipment manuals
Popular Lawn And Garden Equipment manuals by other brands

Greencut
Greencut GE200XE instruction manual

PICOTE
PICOTE MINI MILLER 8/16 Operation & safety manual

Gronomics
Gronomics ECOGW 30-34 Assembly instruction

Billy Goat
Billy Goat F042508A owner's manual

Parkside
Parkside PLVA 40-Li A1 Translation of the original instructions

Everbloom
Everbloom E281719 installation guide