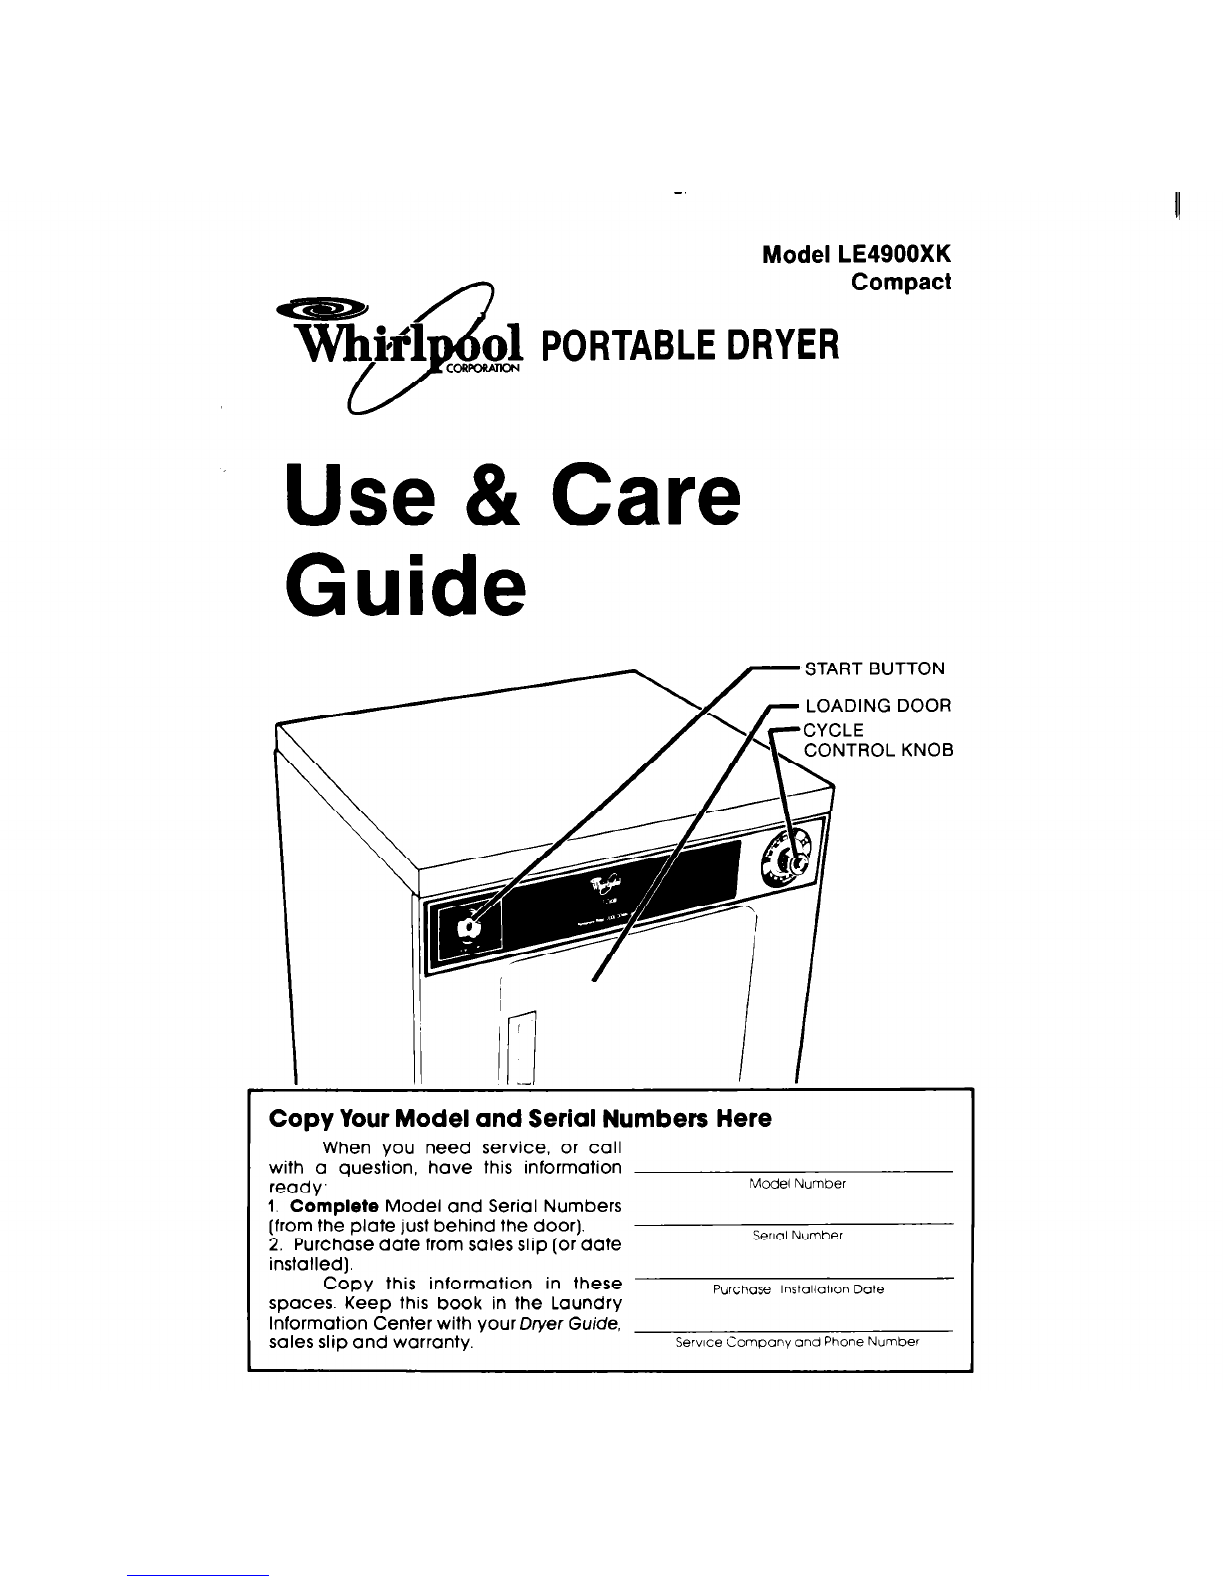
manuals.online logo
Brands
  1. Home
  2. •
  3. Brands
  4. •
  5. Whirlpool
  6. •
  7. Dryer
  8. •
  9. Whirlpool LE4900XK User manual

Whirlpool LE4900XK User manual

Model LE4900XK
Compact
PORTABLEDRYER
Use 81Care
Guide
START BUTTON
ADING DOOR
OL KNOB
Copy Your Model and Serial Numbers Here
When you need service, or call
with a question, have this information
ready:
I. Complete Model and Serial Numbers
[from the plate just behind the door).
2. Purchase date from sales slip (or date
installed).
Model Number
Serial Number
Copy this information in these
spaces. Keep this book in the Laundry
Information Center with your Dryer Guide.
sales slip and warranty.
Purchase Instollahon Date
Servfce Company and Phone Number
designed to give.
You are personally responsi-
ble for making sure that your dryer... \
l
Is installed by a quailfred installer.
FOR YOUR SAFETY
l
Is Installed In an area protected from
the weather
Do not store or use
l
Is properly installed and leveled In a
well ventilated room on a floor that
can support the weight
gasoline or other
flammable vapors and
l
Is located In an area where the tem-
liquids in the vicinity of
perature is above 45F (7 2-C)
this or any other
l
Is connected to the right krnd of outlet,
appliance.
electric supply and grounding /
l
Is properly connected to
exhaust systems.
Remove the Consumer Buy
Guide label before using your dryer. It
WIIIbe easier to remove
Wipe out the drum with a damp
cloth to remove any dust.
‘See the “lnstallatron InstructIons” for
complete information
‘See Setting Drying Times, page 4
follow the rnstructrons lo help
you get the best dryrng results
Save the manual for future use
SPECIAL INSTRUCTIONS: See the
Dryer Guide for drying tips, informa-
tlon about permanent press and
knits, instructions for drying special
itemS
and for things not to be dried in
your dryer.
2
CONTENTS
Before Using Your Dryer
Loading Your Dryer
Using Your Dryer
Setting Drying limes
Selecting Cycles
FLUFFAIR
Tumbling to Remove Wrinkles
Lint Screen
End-of-Cycle Signal
If You Need Service or
Assistance
I. Before Calling for Assistance
2. If You Need Assistance
3. If You Need Service
4. If You Have a Problem
loading
your 4//
7
a
For best drying results and energy
sovlngs, sort dryer loads carefully
Separate loads according to
the type of fabric and weight For
example
l
Dry heavy fabrics [denims, towels.
cottons) separately from light fabrics
[permanent press, synthetics).
0 Separate lint givers [towels, sweat-
shirts, etc ) from lint takers (synthetics.
blends, permanent press).
l
Keep dark colors and light colors
separate.
l
Keep colorfast Items away from non-
colorfast fabrics
Allow room for items to tumble
freely The load will dry faster with fewer
wrinkles
When drying permanent press,
dry smaller-than-normal loads for the
best wrinkle removal.
Use a mesh bag to hold small
items such as baby socks.
Read the Dryer Guide for more
hints on sorting and loading
SUGGESTED LOADS
FABRIC TYPE MIXED LOAD UNMIXED LOAD
Permanent Press 1 dress 6 shirts; OR
or Knits 2 pairs slacks 2 pantsuits; OR
2 blouses 3-4 dresses.
Medium Weight 1 pair pajamas 1king or queen-size sheet, OR
2 pillowcases 1double sheet and 2
3 shirts pillowcases,
2 sets of underwear OR
2 single sheets and 2 pillowcases
Heavyweight 3 work shirts
2 work pants 8 bath towels; OR
6 bath towels; 3 hand towels
and 6 washclothes; OR
3 pairs of jeans.
Using your Dryer
1.
Put the sorted load in the dryer
and close the door tightly.
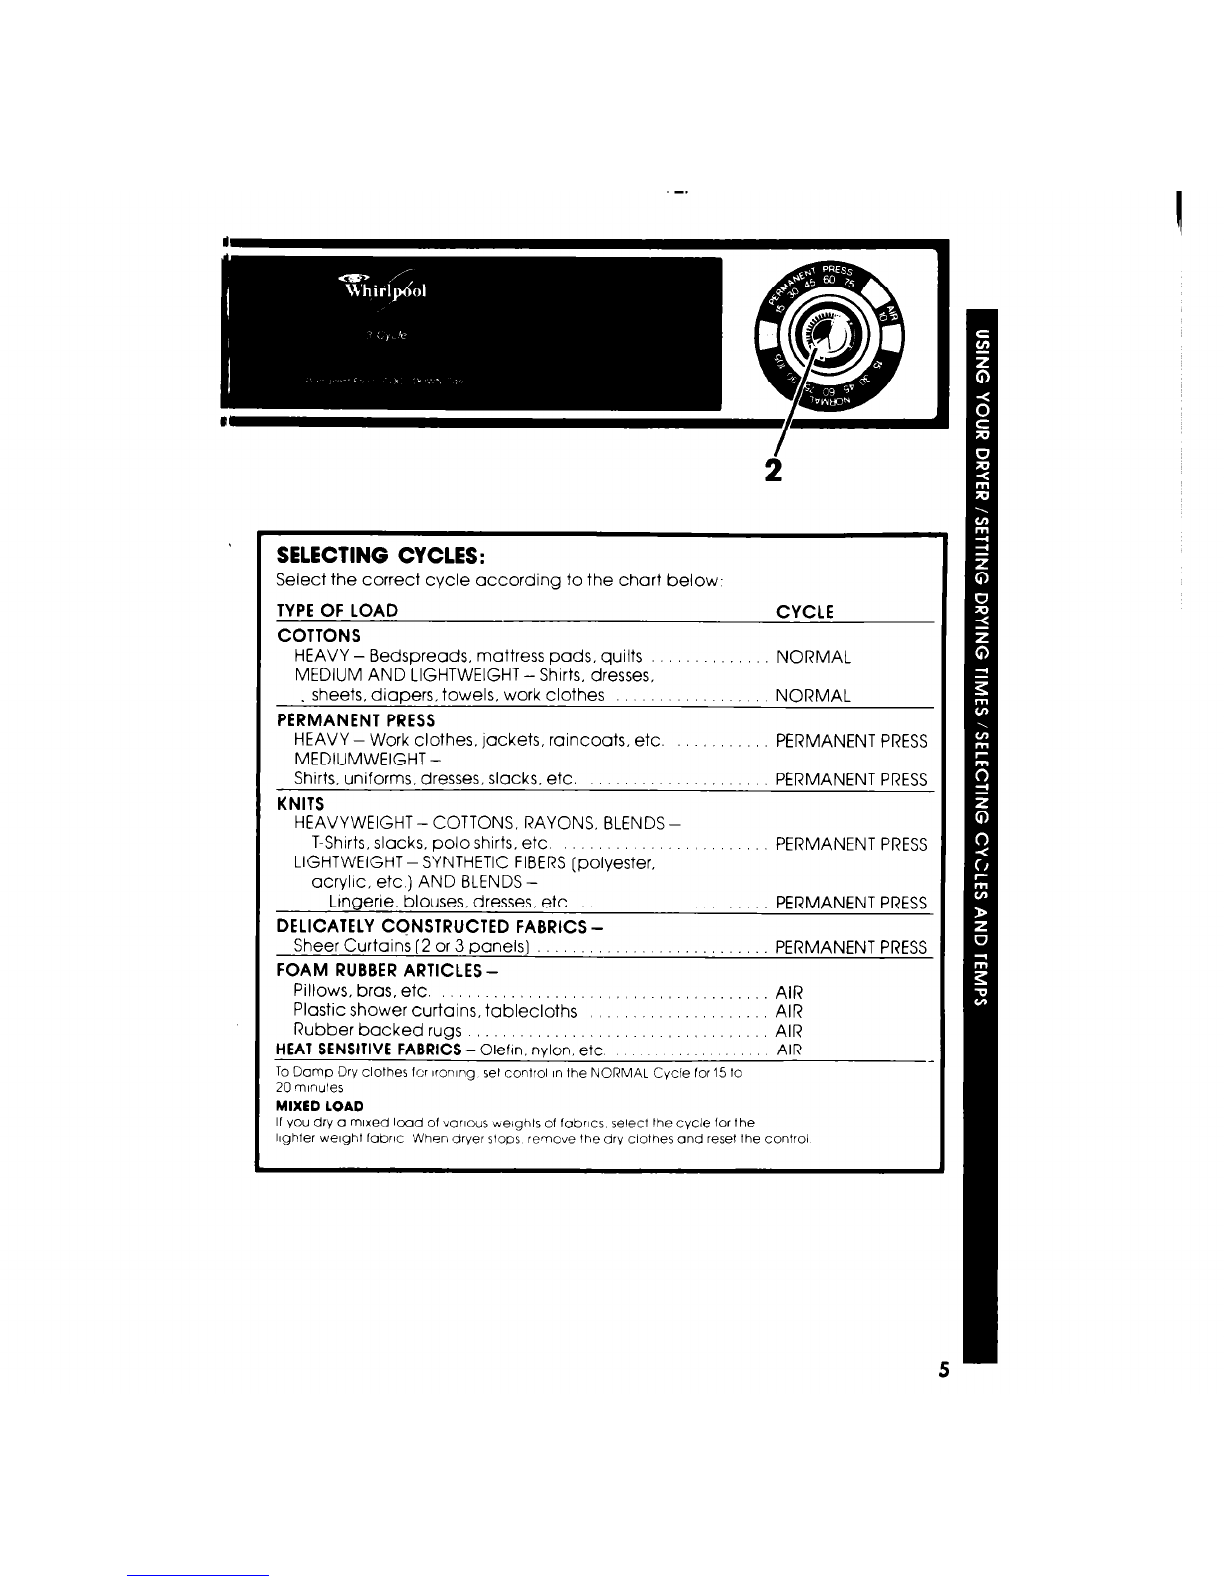
2. Turn the Cycle Control Knob to a
cycle and time.
l
Turn the Control Knob either way until It
points to the number of minutes You want
In the cycle You want.
l
Use the NORMAL CYcle for regular
family loads such as towels, sheets.
clothes, etc. The last 5 mrnutes In this
cycle are without heat to cool down the
load.
l
Use the PERMANENT PRESS Cycle for
permanent press fabrrcs and synthetics.
The last 10 mrnutes of this cycle are with-
out heat to cool down the load and help
keep wrinkles from setting in.
l
Use the AIR Cycle to fluff or damp dry
items that must not be heated.
Drying plastic or rubber items with
heat may damage the Items or be
a tire hazard.
l
Examples of no-heat Items include
plastic shower curtains, tablecloths, rub-
ber backed rugs, overshoes and foam-
rubber stuffed toys or pillows.
3. Push the Start Button.
l
Make sure the dryer door is closed and
the Cycle Control Knob is set to a cycle
and time.
l
If the dryer door is not closed. the dryer
will not start.
l
If the dryer door is opened while the
dryer is running, the dryer will stop. To
restart the dryer, close the door and
push the Start Button.
IMPORTANT: To reduce wrinkling,
take the load from the dryer as
soon as tumbling stops. This is very
important for permanent press,
knits and other synthetic fabrics.
4. To stop the dryer:
l
Open the door.
l
Or, turn the Cycle Control Knob to one
of the OFF positions.
l
To change the setting while the
dryer is running, turn the Cycle Control
Knob, either way. so it points to the set-
ting you want.
NOTE: The Cycle Control Knob should
point to OFF when the dryer is not
being used.
4
Setting Drying
Times
Modern dryers are designed
with drying temperatures needed to
safely handle modern fabrics. Cool-
down trmes have been added to heat
settrngs You mrght notice slrghtly
longer dryrng times.
The time it takes to dry a load
depends on’
. The kind of fabc, Us weight, ond the
sze
of the
load A large load of jeans
will take a lot longer to dry than a
small load of light synthetics
l
The amount of moisture /n the load
Towels hold a lot of moisture, synthetics
don’t Synthetics dry faster
l
Temperature of the nnse water
Cold
rinses help save on energy and wrin-
kles, but a cold load WI/I take slightly
longer to dry than a warm one.
oArnoun of lint on the screen
A full
lint screen slows the air flow and can
make drying time longer
l
Room temperature
The dryer heats
room air. If the room air temperature,is
not above 45-F (7.2 C). drying trme will
be longer and removal of wrrnkles may
be poor.
l
Proper insta/iot/on and exhaust sys-
tems
For the fastest possible drying
time, installing and exhausting your
dryer properly is important. See instal-
lation instructions.
l
Voltage used.
Your dryer
IS
portable
and operates on a 120~volt household
current. Drying time will be longer than
for a drver that works on 208 or 240
SELECTING CYCLES:
Select the correct cycle according to the chart below-
TYPE OF LOAD CYCLE
COTTONS
HEAVY - Bedspreads, mattress pads. quilts NORMAL
MEDIUM AND LIGHTWEIGHT - Shirts. dresses,
. sheets, diapers, towels, work clothes NORMAL
PERMANENT PRESS
HEAVY-Work clothes. jackets, raincoats, etc. PERMANENT PRESS
MEDIUMWEIGHT -
Shirts, uniforms, dresses. slacks. etc. PERMANENT PRESS
KNITS
HEAVYWEIGHT - COTTONS, RAYONS, BLENDS -
T-Shirts, slacks. polo shirts. etc PERMANENT PRESS
LIGHTWEIGHT-SYNTHETIC FIBERS[polyester,
acrylic, etc.) AND BLENDS -
Ltngene, blouses, dresses, etc. PERMANENT PRESS
DELICATELY CQNSTRUCTED FABRICS -
Sheer Curtains (2 or 3 panels] PERMANENT PRESS
FOAM RUBBER ARTICLES -
Pillows. bras, etc. AIR
Plastic shower curtains, tablecloths AIR
Rubber backed rugs : : : : : : : : : : : : 1: : : AIR
HEATSENSITIVEFABRICS- Olefln. nylon. etc
AIR
To Damp Dry clothes for ironing set control in the NORMAL Cycle for15 lo
20 minutes
MIXED LOAD
If you dry a mlxed Iwd of various weights of fabrics select Ihe cycle for the
lighter welghl fabric When dryer slops remove the dry clothes and reset the control
FLUFFAIR
This setting ISuseful for fluffing
bedding. ptllows and clothing or dust-
rng drapes It ISalso best to use when
damp-drying heat-sensitive items
such Items as plastic shower curtarns
or tablecloths, rubber-backed rugs,
some pillows, stuffed toys, etc
l
Turn the Cycle Control Knob to the
AIR CYcle
l
Push the Start Button
Tumbling to
Remove
Wrinkles
When permanent press and syn-
thetic knits are wrinkled from packrng In
suitcases or crowded In closets, your
dryer can help put them back Into their
preset shape
l
Set Cycle Control Knob to PERMA-
NENT PRESSfor 20 minutes.
. Push the Start Button
l
For best results, tumble only a few
items at a time, put them on hangers or
fold them as soon as the dryer stops.
lint Screen
The lint screen ISinside the dryer
drum, on the back wall. C/eon it before
each load A screen that’s blocked by
lint can cause longer dryrng times.
‘:
l
Pull straight out on the lint screen by
using the two finger holes
l
Squeeze lightly on the body of the
lint screen and pull the cover off
l
Roll the lint off the screen with your
fingers DO NOT rinse the screen ’
or wash it. Wet lint IS hard to remove
l
Replace the cover on the body of
the lint screen Then push It straight
back Into place. You will hear a click
when the lint screen snaps tnto place
End-of-Cycle
Signal
A signal will let you know that the
dryer has stopped.
The signal IShelpful when You are
dryrng permanent press, synthetics
and other Items that really should be
taken out as soon as the dryer stops.
The signal can’t be turned off and
it is not adjustable
-.
If You Need
Service or
Assistance,
-
Suggest You Follow
These Four Steps:
1. Before calling for assistance...
Performance problems of ten
result from little things you can find and
fix yourself without tools of any kind.
DRYER DOES NOT RUN,
l
Iselectric power cord
plugged In?
‘0 Isthe dryer door closed tightly? Your
dryer has a switch by the door that
shuts off the dryer if the door is
opened. - -_y
l
Did you push
the Start Button7 ,, -i
% -.
l
Check circuit breakers or both fuses in
tre fuse box.
DRYER RUNS BUT DOES NOT HEAT.
l
Isthe Cycle Control Knob set cor-
rectly? (The last 5 minutes are cool-
down time in NORMAL; the last IO
minutes in PERMANENT PRESSare with-
out heat.)
DRYING TIME IS LONGER THAN USUAL:
l
Check the lint screen. Remove lint
Keep the screen clean for best drying
results and times.
l
Modern dryers are deslgned to dry at
the cooler temperatures needed by
modern fabrics. They may need more
time than you are used to.
l
Your dryer operates on a 120~volt
household current. It will need more
time than a dryer using 208 or 240
volts.
l
Room temperature is cold.
2. If you need assistance*...
Call the Whirlpool COOL-LINE R
service assistance telephone num-
ber. Dial free trom:
Continental U.S. (800) 253-1301
Michigan.. . . . . (800) 632-2243
Alaska & Hawaii (800) 253-1121
and talk with one of our trained Consul-
tants. The Consultant can instruct YOU
in how to obtain satisfactory operation
from your appliance or, if service is nec-
essary, recommend a qualified service
company in your area.
3. If you need service*...
Whirlpool has a nationwide net-
work of franchised TECH-CARE ’ Service
Companies. TECH-CARE service techni-
cians are trained to fulfill the product
warranty and provide after-warranty
service, anywhere in the United States.
To locate TECH-CARE service in your
area, call our COOL-LINE service assis-
tance telephone number (see Step 2) or
look in your telephone directory Yellow
Pages under:
APPCIANCES- ELECTRICAL
HOUSEHOLD- APPLIANCES--MAJOR
MAJOR-SERVICE6 REPAIRING6 PARTS
REPAIR
OR
WHIRLPOOLAPPLIANCES WHIRLPOOLAPPLIANCES
FRANCHISEDTECH-CARE FRANCHISEDTECH-CARE
SERVICE SERVICE
SERVI(‘E UJMPA.VIE.S .SERI’/CE ~‘O.MP;\.\‘/ES
XYZ SERVICE CO XYZ SERVICE CO
123 Maple 999.9999 123 Maple 999.9999
OR
WASHING MACHINES. DRYERS
6 IRONERS-SERVICING
WHIRLPOOLAPPLIANCES
FRANCHISEDTECH.CARESERVlCE
SERVI(‘ECO.MPANIES
XYZ SERVICE CO
123 Maple 999-9999
4. If you have a problem* ...
Call cur COOL-LINE service assis-
tance telephone number [see Step 2)
and talk with one of our Consultants, or if
you prefer, write to:
Mr. Guy Turner, Vice President
Whrrlpcal Corporation
Administrative Center
2000 US-33 North
Benton Harbor, MI 49022
*If you must call cr write, please provrde:
model number, serial number, date of
purchase, and a complete description of
the problem. This information isneeded
in crder to better respond to your request
for assistance.
OPTIONAL INSTALLATION ACCESSORIES
The Window Exhaust Kit [Part No be used m mob//e homes Have an
LCK 3000) is a convenient way to eye-level dryer with floor space under
exhaust your dryer through a window it for the washer.
to the outside.
An Exhaust Deflector (Part No
LCK4000) moves dryer exhaust to a
side. up or down
The dryer can be mounted on a wall
with the Dryer Wall Mount Kit [Part
No. LCK 2001). The wo//
must be strong
enough to support the weight not to
The dryer can be mounted on a stand
at eye-level with the Stack Rack Kit
(Part No LCK 1100). A compact washer
can be permanently Installed and
operated under the dryer.
Another Stack Rack Kit (Part No LCK
1000) is available for washers that
will only be stored under the dryer
FSP ISa regIstered trademark
0
of WhIrlpool Corporaflon for
quality parts Look for this
FSP
symbol of quallty whenever
you need a replacement part
@ for your WhIrlpool appliance
FSP replacement parts
WIII fit right and work right.. because they are
made to the same exacting speclflcatlons
used to build every new WhIrlpool appllonce
Benlon Harbor. Michigan. Automalic Washers, Clothes Dryers.
Freezers, Refrigerator-Freezers. Ice Makers. Dishwashers.
Built-in Ovens and Surlace Units. Ranges. Microwave Ovens,
Compactors. Room Air Condilroners. Oehumidiliers. Central
Heating and Air Conditioning Systems.
Part No. 690727 Rev D Prlnted In US A.

Other Whirlpool Dryer manuals

Whirlpool YLEW0050PQ0 User manual

Whirlpool

Whirlpool YLEW0050PQ0 User manual

Whirlpool AWD60A User manual

Whirlpool

Whirlpool AWD60A User manual

Whirlpool LEV4634JQ User manual

Whirlpool

Whirlpool LEV4634JQ User manual

Whirlpool WGD6400SW0 User manual

Whirlpool

Whirlpool WGD6400SW0 User manual

Whirlpool 3HLER5437JQ0 User manual

Whirlpool

Whirlpool 3HLER5437JQ0 User manual

Whirlpool 240-VOLT ELECTRIC DRYER User manual

Whirlpool

Whirlpool 240-VOLT ELECTRIC DRYER User manual

Whirlpool LEMOOXK User manual

Whirlpool

Whirlpool LEMOOXK User manual

Whirlpool 8TWED5620HW User manual

Whirlpool

Whirlpool 8TWED5620HW User manual

Whirlpool WED9150 User manual

Whirlpool

Whirlpool WED9150 User manual

Whirlpool LEV4634P Service manual

Whirlpool

Whirlpool LEV4634P Service manual

Whirlpool WED97HEDW User manual

Whirlpool

Whirlpool WED97HEDW User manual

Whirlpool W10562348B User manual

Whirlpool

Whirlpool W10562348B User manual

Whirlpool Gold GEQ8831LL0 User manual

Whirlpool

Whirlpool Gold GEQ8831LL0 User manual

Whirlpool LE6098XFQ0 User manual

Whirlpool

Whirlpool LE6098XFQ0 User manual

Whirlpool WED96HEA User manual

Whirlpool

Whirlpool WED96HEA User manual

Whirlpool LE7005XP User manual

Whirlpool

Whirlpool LE7005XP User manual

Whirlpool LE6090XS User manual

Whirlpool

Whirlpool LE6090XS User manual

Whirlpool WGD8800YC User manual

Whirlpool

Whirlpool WGD8800YC User manual

Whirlpool WED9151YW User manual

Whirlpool

Whirlpool WED9151YW User manual

Whirlpool 3LCED9100 User manual

Whirlpool

Whirlpool 3LCED9100 User manual

Whirlpool 96273100 User manual

Whirlpool

Whirlpool 96273100 User manual

Whirlpool 8577194 User manual

Whirlpool

Whirlpool 8577194 User manual

Whirlpool Duet sport YWED8410SW2 User manual

Whirlpool

Whirlpool Duet sport YWED8410SW2 User manual

Whirlpool WGD6400SB1 User manual

Whirlpool

Whirlpool WGD6400SB1 User manual

Popular Dryer manuals by other brands

Kleenmaid KED2000 Repair instructions

Kleenmaid

Kleenmaid KED2000 Repair instructions

SPI Supplies SPI-DRY Operation manual

SPI Supplies

SPI Supplies SPI-DRY Operation manual

Amana NGD5800DW Use & care guide

Amana

Amana NGD5800DW Use & care guide

Bosch WTG86402GB Installation and operating instructions

Bosch

Bosch WTG86402GB Installation and operating instructions

Maytag MED4200BW0 installation instructions

Maytag

Maytag MED4200BW0 installation instructions

ffuuss eos user manual

ffuuss

ffuuss eos user manual

KitchenAid 53-3498 installation instructions

KitchenAid

KitchenAid 53-3498 installation instructions

Schulthess Spirit topLine TW 8340 operating instructions

Schulthess

Schulthess Spirit topLine TW 8340 operating instructions

World Dryer AirMax D M5-972A manual

World Dryer

World Dryer AirMax D M5-972A manual

Alliance Laundry Systems ADEE9BSS user guide

Alliance Laundry Systems

Alliance Laundry Systems ADEE9BSS user guide

Miele PDR 910 EL Operating and installation instructions

Miele

Miele PDR 910 EL Operating and installation instructions

Amana NGD5800TQ0 parts list

Amana

Amana NGD5800TQ0 parts list

Bosch WTA79200GB Installation and operating instructions

Bosch

Bosch WTA79200GB Installation and operating instructions

AEG TR838P4OB user manual

AEG

AEG TR838P4OB user manual

Asko T760 user guide

Asko

Asko T760 user guide

Electrolux EW2H328R2 user manual

Electrolux

Electrolux EW2H328R2 user manual

Dawlance Spinner DS 6000 C owner's manual

Dawlance

Dawlance Spinner DS 6000 C owner's manual

Electrolux TP5080TW user manual

Electrolux

Electrolux TP5080TW user manual

manuals.online logo
manuals.online logoBrands
  • About & Mission
  • Contact us
  • Privacy Policy
  • Terms and Conditions

Copyright 2025 Manuals.Online. All Rights Reserved.