manuals.online logo
Brands
  1. Home
  2. •
  3. Brands
  4. •
  5. Whirlpool
  6. •
  7. Refrigerator
  8. •
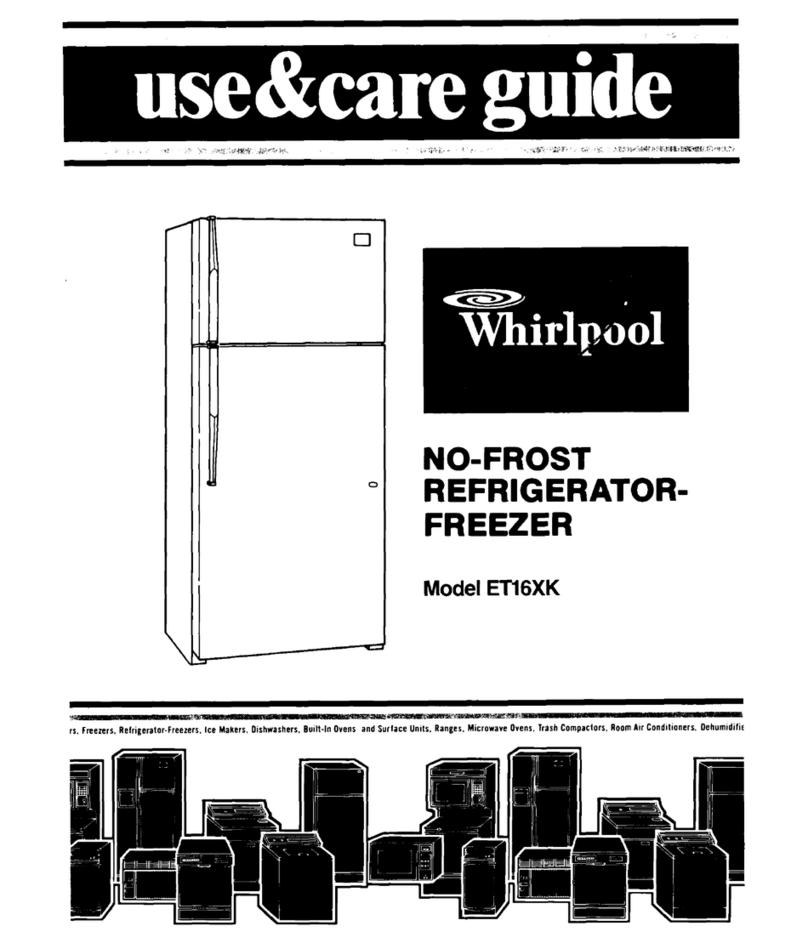
  9. Whirlpool RB22CK User manual

Whirlpool RB22CK User manual

\
0
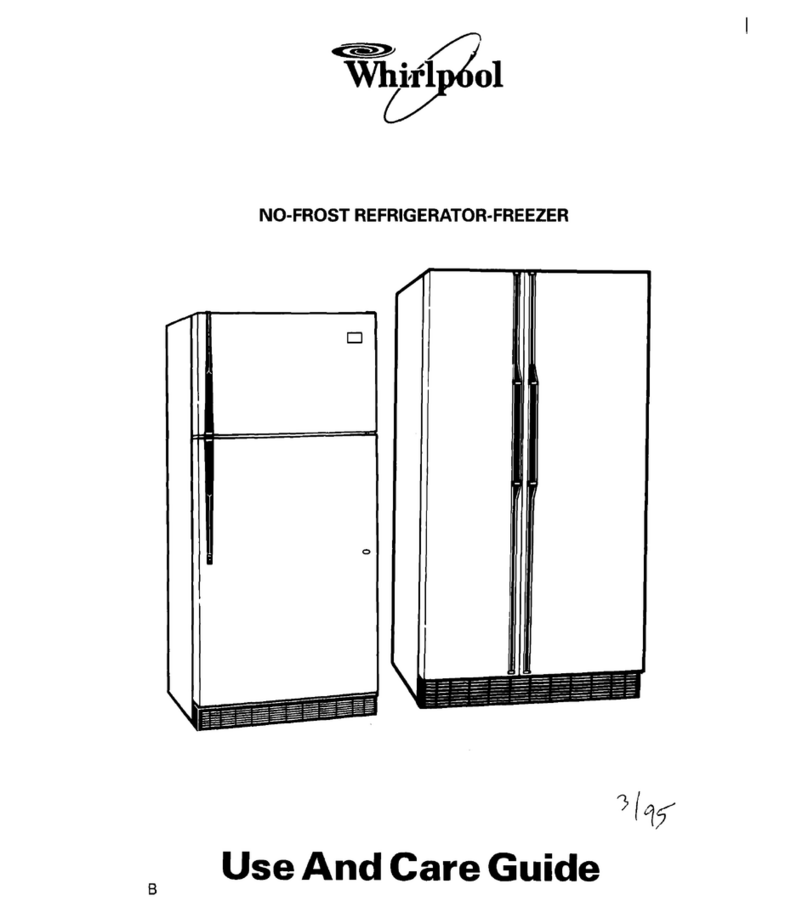
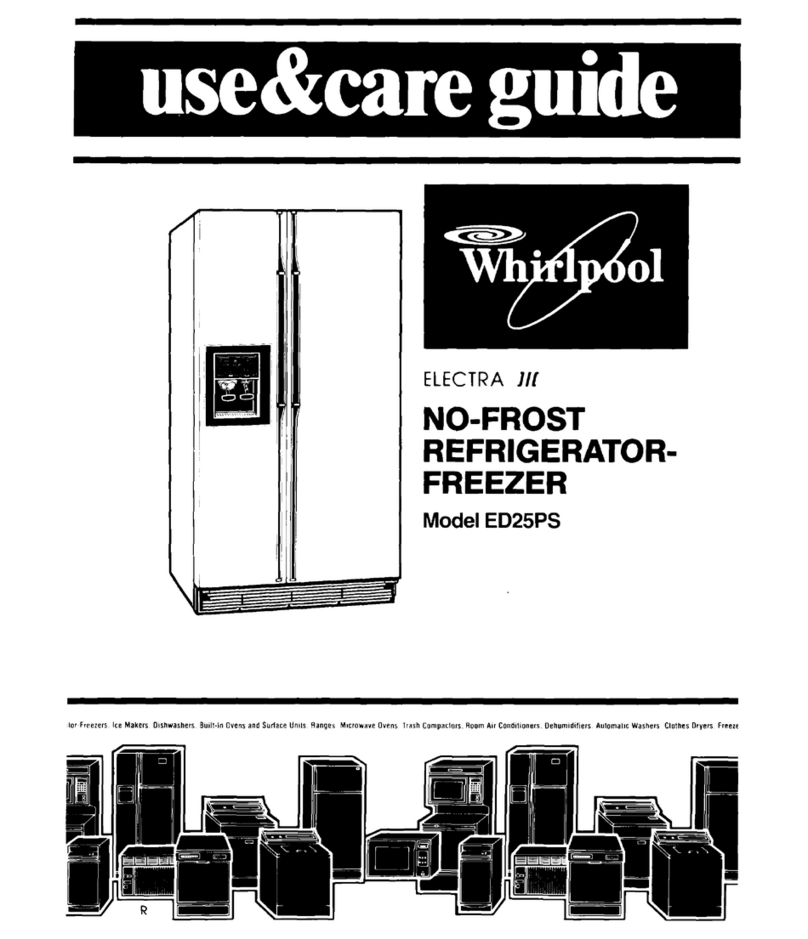
No-Frost
Refrigerator-Freezer
Useand
CareGuide
fi”
Home Appli?%Il=s
RB22cK
Thank you for choosinga
RoperAppliance.
This Useand CareGuide will help you
operate and maintain your new, quality-
built Roperrefrigerator-freezer. Keep
this Useand CareGuide in asafe place
for future reference.
Completeand mail the
ProductRegistration Card.
This card enters your warranty into our
warranty system that ensures efficient
claim processing, can be used as aproof
of purchase for insurance claims and
helps Roperto contact you immediately
in the unlikely event of aproduct-safety
recall.
You are responsible for
It is your responsibility to be sure your
refrigerator:
l
Has been properly installed and
leveled according to the installation
instructions given on page 2.
. Isinstalledonafloortbatcan
support the weight of the
refrigerator.
mIs properly connected to a
grounded electrical circuit that
meets the electrical requirements
on page 2.
. Lsproperly used only for the job it
was designed to do.
. Is not used by children or anyone
unable to operate it properly.
mIs cold in both the refrigerator and
freezer sections before food is
edded.
. Is properly maintained.
Contents
S-stiingthec0nliols
changingwntrol settings :
Exteriormoisturecontrol
4
AdjusUngrefrigeratorshelves
4
Remcdngmeatdrawerandcover -5
Removingcrispersandcrispermver -5
Removingfreezerbasket
Changingthelight bulbs 2
Removingthebasegrille
Reversingthe doorswing s
Icecubetrays
Optional automatic ice maker 5
Food Storage
Guide
CleaningYonrRefrigenator f
Carbg
For
YourRe&ig=ator
8
If electsicitygoesoff
Vacationandmovingguide :
Normaloperatinusounds
8
Energy s&ing l&s
BeforeYouCallForSarvica !
WalTantg 12
How to get service or assistance
-12
Important Safety Instructions
To reduce the risk of fire, electrical shock. or i&uy when using y0u1 refdgmtor, follow basic
prefxutiona including the following:
1.Readall operating instructions If you are getting rid of your old 4.Never clean refrigerator parts with
before using your refrlgerator. refrigerator, do it safely. Pleaseread flammable fluids. The fumes can
2.Child entrapment and suffocations the enclosed safety booklet from the create afire hazard or explosion.
arenot problems of the past. Junked Association of HomeAppliance
n FOR YOUR SAFETY.
or abandoned refrigerators are stilI Manufacturers. Help prevent DONOT STOREORUSEGASOLINE
dangerous ... even lf they will “just accidents. OROTHERFLAMMARLEVAPORS
sit in the garagefor a few days.”
3.
Never allow children to operate,
play with, or crawl inside the AND LlaulDslNTHE VICINITYOF
THISORANY OTHERAPPLIANCE.
refrigerator. THEFUMESCANCREATEAFIRE
HAZARD OREXPLOSION.
’ SAVETHESEINSTRUCTIONS’
Before Using Your Refrigerator
A. Removelabels D.Install properly
Removethe tape and any inside labels Install the refrigerator aaxxding to the
before using the refrigerator. To remove dimensions shown below.
any remaining glue:
. Rub briskly with thumb to make a
ball, then remove.
OR
--.
n
Soakareawith liquid hand
dlshwashing detergent before
removing glue asdescribed above.
Leave extra spacealong the hinge-side
wall to allow the door to be opened
wider.
Donot install the refrigerator:
. next to an oven, radiator or other
heat source;
Donot use sharp instruments, rubbing
alcohol, flammable fluids or abrasive
cleaners.These can damagethe
materiel. See“Important Safety
. out in the weather or direct
sunlight;
. in an areawhere the room
temperature will fall below 55OF
I. ““Pn\
Instructions” above.
NOTE:Donot remove the Tech Sheet
located on the bottom of the refrigerator.
B.Cleanit
Clean your refrigerator before using it.
Seecleaning instructions on page 7.
C.Plug it in
Recommended Grounding Method
A 115Volt, 60Hz.,AC only, 15or 20
amperefused and properly grounded
electrical supply is required. It is
recommendedthat a separate drcuit
serving
only
this appliance be provided.
Useareceptacle which cannot be turned
offwith a switch or pull chain. Donot
use an extension cord.
SeeElectrical Requirements and
Grounding Instructions Sheetin
literature packagefor complete details.
E.Level refrigerator
Make sure the refrigerator is level for
efficient operation. Right to raise;
left t4 lower
use wewdriver
to adjust
1.Removebase g-rille.(Seepage 5.)
2.
To raise front, turn screw in
direction shown.
3.
To lower front, turn screw in
direction shown.
4.
Replacebase grille. (Seepage 5.)
Therefdgeratorcanbeflu& awst the
backwall.
Page2
Parts
and Features
mat dmwer-
crl8per cover-
-P---
Modelandserial
numbw label
(onsidewall)-
Ioecubetrayr-
Basegxllle
\
Leveling roller8
(not 8hown) \
\
a
Light
Page3
Using Your Refkigerator
Setting the controls
Controls for the refrigerator and freezer
are in the refrigerator. When the
refrigerator is plugged in for the first
time:
1.Setthe Refrigerator Control to 3.
2. Setthe Freezer Control to B.
R&igerat0r control
3.Let the refrigerator and freezer
compartments get cold for several
hours before adding food.
4. When the refrigerator keeps milk or
juice as oold asyou like and the
freezer compartment keeps ice
creamfirm, the settings are correct
for your household.
mttd01
moisture control
Changing control settings
1.Adjust the Refrigerator Control
according to the settings listed in
the chsrt below.
2.Wait 24hours or more before
making additional adjustments to
the Refrigerator Control or
adjusting the FreezerControL
mm~
control
Refrigerator section
Condition
TOO WARM
Checkif
8 Dooris opened often.
. Large amount of food added.
. Too-warm room temperature.
Setcontrol settina
Refrigerator 4
Freezer B
Freezer section
TOO WARM
Both sections
TOO WARM
Refrigerator section
TOO COLD
8 Door is opened often.
. Large amount of food added.
. Too-cold room temperature
(freezer can’t cycle often enough).
8 Dooris opened often.
l
Large amount of food added.
8 Too-warm or too-cold room
temperatures.
8 Controls not set correctly.
Refrigerator 3
Freezer Between
BandC
Refrigerator
Freezer ;
Refrigerator 4
Freezer Between
BandC
Ice is not made
fast enough 8 Heavy ice usage.
m Very cold room temperature
(freezer can’t cycle often enough).
Refrigerator 3
Freezer Between
BandC
Exterior moisture control
The Exterior Moisture Control operates
electric heaters around the door
openings. These heaters help keep
moisture from forming on the outside of
the refrigerator.
1.Usethe OFFsetting when humidity
is low.
2.Usethe ON setting if moisture
forms on the outside of the
refrigerator.
fd.d.~it~g refrigerator
Shelvescan be adjusted to match the
way you use your refrigerator.
To remove shelf:
1.Removefood from shelf.
2.Tilt up at front.
3.Lift up at back.
4.Pull shelf straight out.
To replace shelf:
1.Guide the rear hooks into the slots
in the shelf supports.
2.Tilt up front of shelf until hooks
drop into slots.
3.Lower front of shelf into position.
Page4
Removing meat drawer and
cOver
To
removemeatdrawer:
1.Slide out to the stop.
2.Lift the front.
3. Shdeout the rest ofthe way.
4. Replacein reverse order.
To remove cover:
1.Tilt front of cover up, lift at back
and pull straight out.
2.Replacein reverse order.
Removingcrispers and
crisper cover
To
removeuisper:
1.Slide out to the stop.
2. Lift the front.
3. Slide out the rest of the way.
4. Replacein reverse order.
To
removecover:
1.Push up glass insert from bottom,
then lift out with two hands.
2.Lift front of cover frame.
3.Pull cover frame up and out.
4. Removemetal cover support.
To replace wver:
1.Replacemetal cover support on
wall supports in front section of
cabinet.
2.Fit back of coverframe into notch
supports on walls of refrigerator,
then lower into place.
3. Slide back of glass insert into place,
then lower front.
Removingfreezer basket
-nu
To change freezer light:
1.Disconnect refrigerator from power
-..--1w.
To remove
basket:
1.Slide out to the stop.
2.Lift the front to clear the
stop.
3. Slide out the rest of the way.
To replace
basket:
1.Placebasket on the slides.
2.Make sure the wire stops clear the
front of the slides.
3.Slide basket in.
Changing the light bulbs
I mectricaIshfxkHazard I
Unplug the refigerator or discon-
nect the main electric power supPly
to the reftigerator before changing
a
~bulb. Failure to do BOcould result in
electrical shock or MUIY.
2.Pushin sides of light shield until it
snapsfree.
3.Replacebulb with a 40-watt
appliance bulb.
4.Snaplight shield into place.
5.Reconnectpower supply.
NOTE:Not all commercial appliance
bulbs will fit your refrigerator. Besure to
replace abulb with one of the samesize
and shape.
Removingthe basegrille
To
removefpille:
1.Openfreezer door.
2.Pull grille out.
2.Push lightly on the top center of the
light shield until the notched tab
unhooks from the control nanel.
To change refrigerator light:
1.Disconnect refrigerator from power
supply.
3.Do not remove Tech Sheet
fastened bebind grille.
Seecleaning insmctions for defrost pan
To replace grille:
1.Line up grille support tabs with
and condenser coils on page 7.
metal clips.
2.Pushfirmly to snap into place.
3.Closethe door.
3.Pull down on the light shield until
Reversingthe doorswing
the tab clears the control panel.
4. Lift back hooks out of their slots.
5.Removebulb and replace with a
40-watt appliance bulb.
6.Replacelight shield in reverse
order.
7.Reconnect power supply.
You can change the hinges on your
refrigerator sothe doors open the other
way. Referto the instruction sheet
included with
your
refrigerator.
Ice cubetrays
Removeice by slightly twisting the tray
with both hands.
NOTE:The longer ice cubes are stored,
the smaller they get. Slow evaporation is
causedby the movement of cold air.
Page5
Optional automatic ice maker
Food Storage Guide
If you have the automatic ice maker
accessory(Part No.ECKMF-90)or if you
plan to add it later, there are afew
things you will
want
to know:
Storing fresh food
Foodplaced in the refrigerator should be
wrapped or stored in air and moisture
proof material This prevents food odor
and taste transfer throughout the
refrigerator. For dated products, check
codedate to ensure freshness.
Connect the ice maker to the water
supply before turning it on.
The ON/OFFlever is a wire signal
fmn. Lower signal arm to make ice.
Raisesignal arm to turn off the ice
maker.
Freezermust be cold enough for the
ice maker to work. This may take
eight hours or more before the
correct temperature is reached
‘First” ice may be discolored or off-
flavored because ofnew plumbing
connections. Throw away Brst few
batches of ice.
Changeice cube size with the dial
or lever on the side of the ice maker.
Ice crescentsare normally attached
at the comer. They break apart
easily.
Normal
sounds include water
running when the ice maker is
working and the thud of ice asit
falls into the bin.
n
If ice is not being madefast enough
and more ice is needed, tom the
Refrigerator Control to a higher
number. Wait 24hours, and if this
doesnot increase the ice supply,
turn the Freezer Control to A
. Raisethe signal arm before you
remove the ice bin. When you
replace the bin, push it in all the
way. Then lower the arm to the ON
position.
. Cubesleft in the bin for long
periods of time may develop an off-
flavor, like stale water. Throw old
cubes away. Ice makerwill make
new ice. Cubesmay also become
smaller if stored for a long time.
8 Goodwater quality is important for
good ice quality. It is not recom-
mended that you connect the ice
maker to a softened water supply. If
a softened water supply cannot be
avoided, it is important to maintain
the water softener soit operates
properly. Water softener chemicals,
such assalt from amalfunctioning
softener, can damagethe ice maker
mold and lead to poor ice quality.
Wipe milk cartons. For best storage,
place milk on interior shelf.
Butter or margarine
Keepopened butter in covered dish or
butter compartment. When storing an
extra supply,
wrap in
freezer packaging
and freeze.
Cheese
Storein the original wrapping until you
are ready to use it. Once opened rewrap
tightly in plastic wrap or aluminum foil
Meat
Most meat can be stored in original
wrapping aslong asit is air and
moisture proof. Rewrap if necessary.See
the following chart for storage times.
Fresh and cured meat
storage chart*
TYPE APPROxlMATE
TIME (DAYS)
Chicken ....................... lto2
Ground beef ............... 1to2
Steaksand roasts....... 3 to 5
Cured meats............... 7 to10
Bacon.......................... 5to7
Cold cuts..................... 3to 5
Variety meats............. lto2
l
If meat is to be stored longer than the
times given, follow the directions for
freezing.
NOTE: Fresh fish and shellfish should be
used the sameday aspurchased.
Vegetables
For leafy vegetables: remove store
wrapping and trim or tear off bruised
and discolored areas.Wasbin cold water
and drain Placein plastic bag or plastic
container and store in crisper.
For vegetablea with skins: store in
crisper, plastic bags or plastic container.
Fruit
Wash,let dry and
store
in refrigerator in
plastic bags or crisper. Donot wash or
hull berries until they areready to use.
Sortand keep berries in their store
container in a crisper, or store in a
loosely closed paper bag on a
refrigerator shelf.
mgs
Storewithout washing in the original
carton on interior shelf.
Milk
LdtOV6Ul3
Cover leftovers with plastic wrap or
aluminum foil Plastic containers with
tight lids can also be used.
Storing frozen food
The freezer section is designed for
storage of commercially frozen food and
for freezing food at home. Forfurther
information about preparing food for
freezing or food storage times, conlxt
your local Cooperative Extension Service
or check a freezer guide or cookbook.
The secret of successful freezing is in
the packaging. The way you closeand
seai the package must not allow air or
moisture in or out. Packaging done in
any other way could causefood odor and
taste transfer throughout the refrigerator
and drying offrozen food
Rigid plastic containers with tight fitting
lids, straight-sided canning/freezing jars,
heavy-duty aluminum foil, plastic-coated
paper and nonpermeable plastic wraps
(madefrom a saran film) are recom-
mended. Follow packageor container
instructions for proper freezing methods.
Do
not
use: bread wrappers, non-rigid
plastic containers, containers without
tight-fitting lids, waxed paper, waz-
coated frwzer wrap or thin, semi-
permeable wrap. The use of these
wrappings could causefood odor and
taste transfer and drying of frozen food
Freezing
Donot expect your freezer to quick-
freeze any large quantity of food Put no
more unfrozen food into the freezer than
will freezewithin 24hours. (No more
than 2 to 3 pounds of food per cubic foot
of freezer space.)Leave enough space
for air to circulate around packages.Be
careful to leave enough room at the front
so the door can dose tightly. Storage
times will vfuy according to the quality
of the food, type of packaging or wrap
used (air and moisture proof), and
storage temperature which should be
0°F(-176°C).
Page6
Cleaning Your Refrigerator
Both the refrigerator and freezer xc&ions
defrost automatically. To help prevent
odors,wipe up spills immediately. Clean
both sections once a month.
1.Turn Refrigerator Control to OFF
and unplug power cord.
glectricalshockandProductDamageHasard
mUnplug power supply aord or disconnect power supply at the fuse or circuit
breaker box before cleaning your refrigerator. Failure to do socould result in
2.Take out all removable par& and
dean according to the following
CliKXXiOIlS.
- _
electrical shock.
n
DoNotuaeshazp
imtmmentm, window aprays, wouring cleanem or flam-
mable fhhis on your refrigerator. These can scratch or damage the material.
PART WHAT TOUSE HOWTO CLEAN
Removable parta
(shelves, crisper. etc.)
Outside
Inside walls
(allow the freezerwalls to warm up
socloth won’t stick)
Spongeor cloth; mild detergent
and warm water.
Sponge,soft cloth or paper towel;
mild detergent and warm water;
appliance wax (or good auto paste
wax).
Sponge,soft cloth or paper towel;
mild detergent and warm water
OR
2 tablespoons (26g) baking
sodato 1quart (0.95L) wsrm
water.
8 Wash,rinse and dry thoroughly.
n
Twice a year-apply appliance wax or
good auto paste wax to painted metal
surfaceswith a dean, soft cloth. Waxing
painted, metal surfacesprovides rust
protection.
n
Do Not use wax on plastic parts.
n
Wash,rinse and dry thoroughly.
Door liners and gaskets Sponge,soft cloth or paper towel;
mild detergent and warm water. 8 Wash,rinse and dry thoroughly.
Plastics
(covers and panels)
Deflwt pan
Condenser coils
(behind refrigerator)
Soft,dean sponge or soft cloth;
mild detergent and warm water.
Spongeor soft cloth; mild
detergent and warm water.
Vacuum cleaner with brush
attachment.
. Wash,rinse and dry thoroughly.
8 Removebase grille. (Seepage 5.)
n
Lift defrost pan over wire brace (remove
my ape).
8 Wash,rinse and dry thoroughly.
8 Replacedefrost pan with notched comer
totherear.Pushpaninalltheway.
8 Check that defrost psn tubing is pointing
into pan.
8 Replacebase g-rille.(Seepage 5.)
8 Removebase g-rille.(Seepage 5.)
n
Vacuum coils at least every other month.
8 Replacebase grille. (Seepage 5.)
Floor under refrigerator Floor cleaners. H Move refrigerator out away from waU
. Clean the floor.
. Move refrigerator back into place.
. Checklevelness of refrigerator.
Page7
Caring For Your Refrigerator
If electricity goesoff
1. Call the power company.
Ask how long power will be off.
2.Keepfreezercloeeuiif~ceisto
be interrupted 24 houm or less.
This will help food stay frozen.
3. If #ervice ia to be
interrupted
longer than 24hours, do this:
Removeall frozen food and store in
afrozen food locker.
OR
Vacation and moving guide
Place2 lbs. (0.9kg) of dry ice in
freezer for every cubic foot of
freezer space.This will keep foods
frozen for 2 to 4 days.
PersonalInjuryHazard
Wear
gloves to protect your hands
fromdryicebunu.Failuretodoeo
could result in dry ice burns.
OR
If dry ice or afood locker is not
available, use or can perishable
food at once.
NOTE: A full freezer stays cold longer
than a partly filied one.A freezer full of
meat stays cold longer than afreezer full
of baked goods.
Foodcontaining ice crystals may be
safely refrozen, but the quality and flavor
of the food may be affected.
Userefrozen food quickly. If the
condition of the food is poor, or you feel
it is unsafe to eat, dispose of it
immediately.
short vacatioIll3
(lefm than 4 weeks)
. Useup perishable foods.
mFreezeother food items.
Long vacations
(more than 4 weeks)
. Removeall food.
n
Turn Refrigerator Control to OFF.
n
Unplug refrigerator.
n
Clean, rinse and dry the interior.
n
Keeprefrigerator and freezer doors
slightly open by taping wood or
rubber blocks at the top of each
door.This allows air to enter the
refrigerator and freezer sections
and prevents odors and mold from
building up inside while you’re
away.
PersonalI.njuryHazard
Do Not allow children to climb on,
play war or crawl inside the
refrigerator when the doora are
blocked open. They may become
injured or trapped.
. To restart refrigerator when you
return, seepage 4 for resetting
controls.
Moving
. Removeall food.
. Packfrozen foods in dry ice.
. Turn Refrigerator Control to OFF.
. Unplug refrigerator.
. Clean, rinse and dry the interior.
. Take out all removable parts.
. Wrap removable parts in paper and
tape them all together. Storeinside
refrigerator.
. Raiseleveling legs.
. Tape the doors shut.
l
Tape the electric cord to the cabinet
exterior.
. When you reach your new home,
replace the removable parts and
follow steps beginning on page 2.
Normal operating sounds
You can expect to hear the following
sounds when your refrigerator is
operating:
n
Slight hum or soft hise as the
refrigerator’s fan motor movesair.
n
Clkldng or snapping sounds oazur
when the refrigerator starts and
stops running. The defrost timer
also clicks when the defrost cycle
starts and stops.
n
Water sounds occur aswater
gurgles through tubing for afew
minutes after refrigerator stops
running. You may alsohear defrost
water running into the defrost-
water pan.
n
Operating soundn from the high-
efficiency compressorand motor. It
may run longer than your older
refrigerator.
Energy saving tips
n
Checkthe door gaskets for a tight
seal.Level the refrigerator to be
sure of a good seal
wClean dust and lint from the
condenser coils every other month.
n
Open the doors asseldom as
possible. Decidewhat you need
before you open the door. Remove
everything you need at one time.
Organize and label food soyou will
not have to searchfor items you
want. Closedoor immediately after
you remove food items.
. Storefood in the refrigerator and
freezer sothat air movement is not
blocked.
. Setthe refrigerator and freezer
temperatures sothat the drinks
remain cold enough for your
family’s taste and ice cream
remains firm. DoNot set
temperatures colder than they need
to be.
. Setthe Exterior Moisture Control to
the OFFposition unless moisture
forms on the outside of the
refrigerator.
. DoNot install your refrigerator next
to your range, water heater,
furnace, radiator, other heat sources
or in direct sunlight.
Page8
Before You Call For Service
If you are having an operating problem, check the chart to seewhat the causemight be before you call for assistance.
OPEXATING PROBLEM
Refrigerator will not run.
Rattling, jingling noise or
unfamiliar sounds.
CHECK IF WHATTODO
n
Power cord is plugged into a live m Firmly plug power cord into electrical
circuit with proper voltage. outlet. Checkcircuit voltage at fuse/
circuit breaker box.
. Refrigerator Control is turned on.
l
SetRefrigerator Control to a
numbered setting.
. A household fuse has blown or circuit
l
Replacefuse with atimedelay fuse
breaker has tripped. Also check if a of the correct capacity. Resetcircuit
time-delay fuse has been used. breaker.
n
Anything is on top of or behind the
l
Removeobjects from the top or from
refrigerator when the refrigerator is behind the refrigerator.
operating.
n
These are “normal” operating sounds:
n
Readthe “Normal operating sounds”
humming from fans, clicking from on page 8.
thermostat or defrost cycle, or defrost
water draining into the defrost pan.
Automatic ice maker
will not work . Freezer compartment has had enough I Allow freezerto get cold enough.
time to get cold. It may require over-
night to reach the proper temperature.
. Signal arm is in the down (ON)
n
Put signal arm in the down (ON)
position. position.
. Water valve is turned to open position
n
Turn water valve to open position.
and water is reaching the ice maker.
Water in the defrost pan. . Weather is hot and muggy.
n
Hot and muggy weather can cause
water to collect in the drain pan.
Sincewater levels may reach half-full
in the pan, be sure to level the
refrigerator sothe pan doesnot
overflow.
Lights do not work. . A household fuse has blown or circuit
n
Replacefuse with a timedelay fuse
breaker has tripped. of the correct capacity. Resetcircuit
breaker.
. Power cord is plugged into a live m Firmly plug power cord into electrical
circuit with proper voltage. outlet. Checkcircuit voltage at fuse/
circuit breaker box.
. Bulb is burned out.
n
Replacebulb with an appliance bulb.
Follow instructions on page 5.
Motor runs too long. . Condenser is free of lint and dust. . Removedust and lint from the
condenser coils with avacuum
cleaner.
. Weather or room is hot or muggy.
n
If the temperature outside or inside
your home is warm, motor-running
noises arenormal
. Doorhas been opened frequently or a . Decide which food items you need
large amount of food has been added before opening the refrigerator or
to the refrigerator or freezer freezer section Motor noise is also
compartment. normal when large amounts of food
are added tc the refrigerator/freezer
compartments.
Remember-your new refrigerator
may be larger than your old
refrigerator. It may have more space
to cool,which requires alonger-
running motor.
Page9
THISPAGE
INTENTIONALLYLEFT
BLANK
Page10
THISPAGE
INTENTIONALLYLEFT
BLANK
LIMITED WARRANTY
LENGTH OF WARRANTY
(From date of purchase) PRODUCTS COVERED
All RoperAppliances
FuLLFlvEYEAR
WARRANTY Refrigerators Replacement parts and repair labor for the sealedrefrigeration
Freezers system (compressor,evaporator, condenser, drier or connecting
Air Conditioners tubing) which we fmd to be defective in materials or
Dehumidifiers workmanship.
Microwave Ovens Repair or replacement of magnetron tube which we find to be
defective in materials or workmanship.
I
Automatic Washers
WHAT WE WILL PAY FOR
Replacement parts and repair labor to correct defects in
materials or workmanship.
Repair or replacement of any part ofthe gear caseassembly
which we find to be defective in materials or workmanship.
WHAT WEWILLNOTPAYFOR
A. SERVICECALLSTO:
1. Correct the installation of your appliance.
2. Instruct you how to use your appliance.
3. Replacehouse fuses or correct house wiring or plumbing.
4. Replaceowner accessiblelight bulbs.
B. Repairswhen appliance is used in other than normal, single-family household use.
C. Pickup and delivery. Your appliance is designed to be repaired in the home.
D. Damageto appliance causedby accident, misuse, fire, flood, acts of Cod, or use of product not approved by us.
E. Any labor costs during the limited warranties.
F. Repairs to parts or systems causedby unauthorized modifications made to the appliance.
This Roperappliance is warranted by Whirlpool Corporation. Under no circumstances shall it be liable under this warranty for
incidental or consequential damagesand all implied warranties are limited to the sametime periods stated in the express
warranties for RoperBrand Appliances. Somestates do not allow the exclusion or limitation of incidental or consequential damages
or limitations of how long an implied warranty may last, sothe above limitations or exclusions may not apply to you.
This warranty gives you specific legal rights, and you may also have other rights which vary from state to state.
Outside the United States,a different warranty may apply. For details, please contact your franchised Roperdistributor or military
exchange.
HOWTOGETSERVICEORASSISTANCE
If you need service, first seethe “Before You Call For Service” section of this book. If you still need service after checking this
section, additional help can befound if you:
. Contact your selling dealer for the authorized servicer in your area:
OR
.Phone l-80944ROPER (l-8004478737) between 8:00 a.m. and 4:30 p.m. Eastern Time, Monday through Friday?
OR
.For further information, write to: Consumer Relations Dept., RoperBrand Appliances, 2000M-63 North, Benton Harbor, MI 49022:
l
When requesting assistance,please provide the model and serial numbers, date of purchase, and a complete description of the
problem. The model and serial numbers are located on a label on the inside, left wall of the refrigerator compartment. (See
illustrations on page 3.)
If you are not satisfied with the service received, contact the Major Appliance Consumer Action Panel(MACAP).MACAP is agroup
of independent consumer experts that voices wnsumer views at the highest levels of the major appliance industry.
Contact MACAP only when the dealer, authorized servicer or RoperBrand Appliance warrantor have failed to resolve your problem:
Major Appliance ConsumerAction Panel
20North WackerDrive
Chicago, IL 60606
MACAP wili in turn inform us of your action.
Part No. 2152470Rev.A
01992 Whirlpool Corporation @Registered Trademark of whirlpool Corporation Printed in U.S.A.

Other Whirlpool Refrigerator manuals

Whirlpool W10597594C User manual

Whirlpool

Whirlpool W10597594C User manual

Whirlpool ED25D User manual

Whirlpool

Whirlpool ED25D User manual

Whirlpool W2RXEMMWQ - 21.7 cu. Ft. Top-Freezer... User manual

Whirlpool

Whirlpool W2RXEMMWQ - 21.7 cu. Ft. Top-Freezer... User manual

Whirlpool WH43S1E User manual

Whirlpool

Whirlpool WH43S1E User manual

Whirlpool WHR27BKE User manual

Whirlpool

Whirlpool WHR27BKE User manual

Whirlpool WH40S1E User manual

Whirlpool

Whirlpool WH40S1E User manual

Whirlpool W8TXEWFV User instructions

Whirlpool

Whirlpool W8TXEWFV User instructions

Whirlpool E2BGH 19 F Series User manual

Whirlpool

Whirlpool E2BGH 19 F Series User manual

Whirlpool TT14DKXBN11 User manual

Whirlpool

Whirlpool TT14DKXBN11 User manual

Whirlpool 2308181 User manual

Whirlpool

Whirlpool 2308181 User manual

Whirlpool 3ED26MM User manual

Whirlpool

Whirlpool 3ED26MM User manual

Whirlpool MTAA 241 (TK) User manual

Whirlpool

Whirlpool MTAA 241 (TK) User manual

Whirlpool GB9SHDXPQ02 User manual

Whirlpool

Whirlpool GB9SHDXPQ02 User manual

Whirlpool 2300253 User manual

Whirlpool

Whirlpool 2300253 User manual

Whirlpool W7X 94T SX User manual

Whirlpool

Whirlpool W7X 94T SX User manual

Whirlpool ETl7HK User manual

Whirlpool

Whirlpool ETl7HK User manual

Whirlpool TOP-MOUNT REFRIGERATOR User manual

Whirlpool

Whirlpool TOP-MOUNT REFRIGERATOR User manual

Whirlpool 240L TITANIUM User manual

Whirlpool

Whirlpool 240L TITANIUM User manual

Whirlpool WUR50X24EM00 User manual

Whirlpool

Whirlpool WUR50X24EM00 User manual

Whirlpool ET6WSKXSQ02 User manual

Whirlpool

Whirlpool ET6WSKXSQ02 User manual

Whirlpool WM1510W User manual

Whirlpool

Whirlpool WM1510W User manual

Whirlpool 20RI-D4 User manual

Whirlpool

Whirlpool 20RI-D4 User manual

Whirlpool 6ETl6ZK User manual

Whirlpool

Whirlpool 6ETl6ZK User manual

Whirlpool ED5GTFXKQ00 User manual

Whirlpool

Whirlpool ED5GTFXKQ00 User manual

Popular Refrigerator manuals by other brands

Ojeda CTFH Series Installation and operation manual

Ojeda

Ojeda CTFH Series Installation and operation manual

AEG OKO_SANTO SUPER 2850-6KA operating instructions

AEG

AEG OKO_SANTO SUPER 2850-6KA operating instructions

Baumatic BF150 instruction manual

Baumatic

Baumatic BF150 instruction manual

White Knight WK 245-1704A instruction manual

White Knight

White Knight WK 245-1704A instruction manual

Beko GNE104610 instruction manual

Beko

Beko GNE104610 instruction manual

GE PFSS9PKYSS - 28.5 CF Ref Energy guide

GE

GE PFSS9PKYSS - 28.5 CF Ref Energy guide

GE GTH17BBZLWW Energy guide

GE

GE GTH17BBZLWW Energy guide

Beko GN1426234ZDX user manual

Beko

Beko GN1426234ZDX user manual

SUNFEEL FGF1863FX user manual

SUNFEEL

SUNFEEL FGF1863FX user manual

Electrolux ICON E23BC78IPS9 Use & care guide

Electrolux

Electrolux ICON E23BC78IPS9 Use & care guide

ChiQ CTM216W user manual

ChiQ

ChiQ CTM216W user manual

Hanseatic HKGK14349CB user manual

Hanseatic

Hanseatic HKGK14349CB user manual

Danby DCR016A3BDB owner's guide

Danby

Danby DCR016A3BDB owner's guide

Beko RCSA365K20W Instructions of use

Beko

Beko RCSA365K20W Instructions of use

Oscartielle MAJOR 100 instruction manual

Oscartielle

Oscartielle MAJOR 100 instruction manual

Dacor DRF48 Series installation instructions

Dacor

Dacor DRF48 Series installation instructions

ETNA KVO682 Instructions for use

ETNA

ETNA KVO682 Instructions for use

Traulsen RET232NUT-FHS, RET232NUT-HHS Specifications

Traulsen

Traulsen RET232NUT-FHS, RET232NUT-HHS Specifications

manuals.online logo
manuals.online logoBrands
  • About & Mission
  • Contact us
  • Privacy Policy
  • Terms and Conditions

Copyright 2025 Manuals.Online. All Rights Reserved.