manuals.online logo
Brands
  1. Home
  2. •
  3. Brands
  4. •
  5. Whirlpool
  6. •
  7. Trash Compactor
  8. •
  9. Whirlpool TRASH MASHER User manual

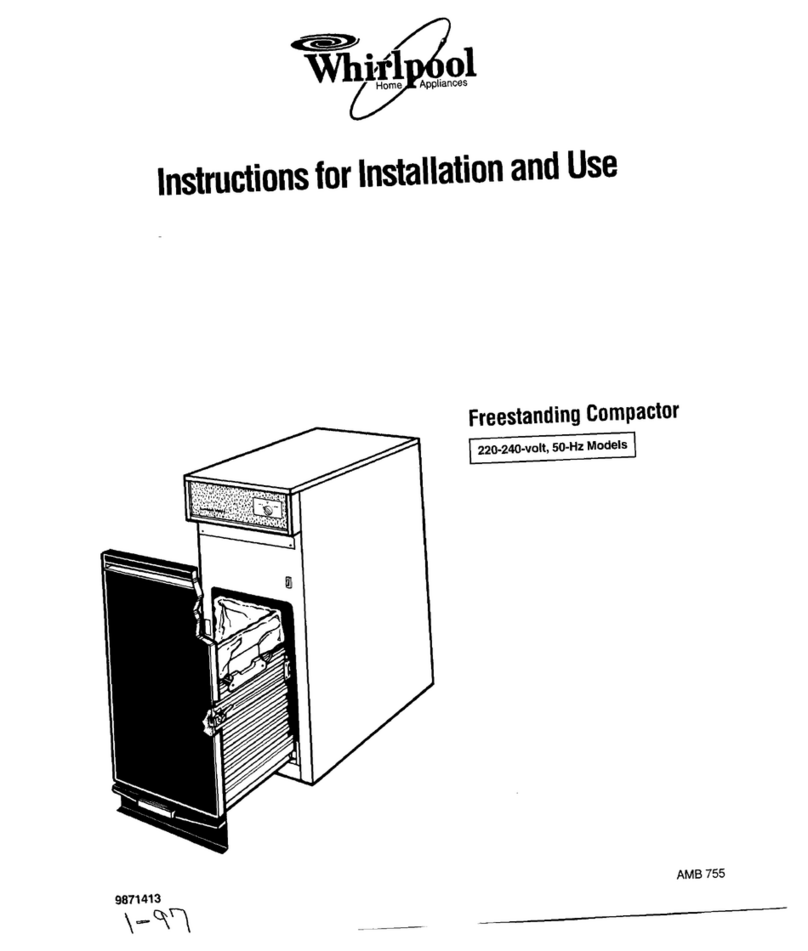
Whirlpool TRASH MASHER User manual

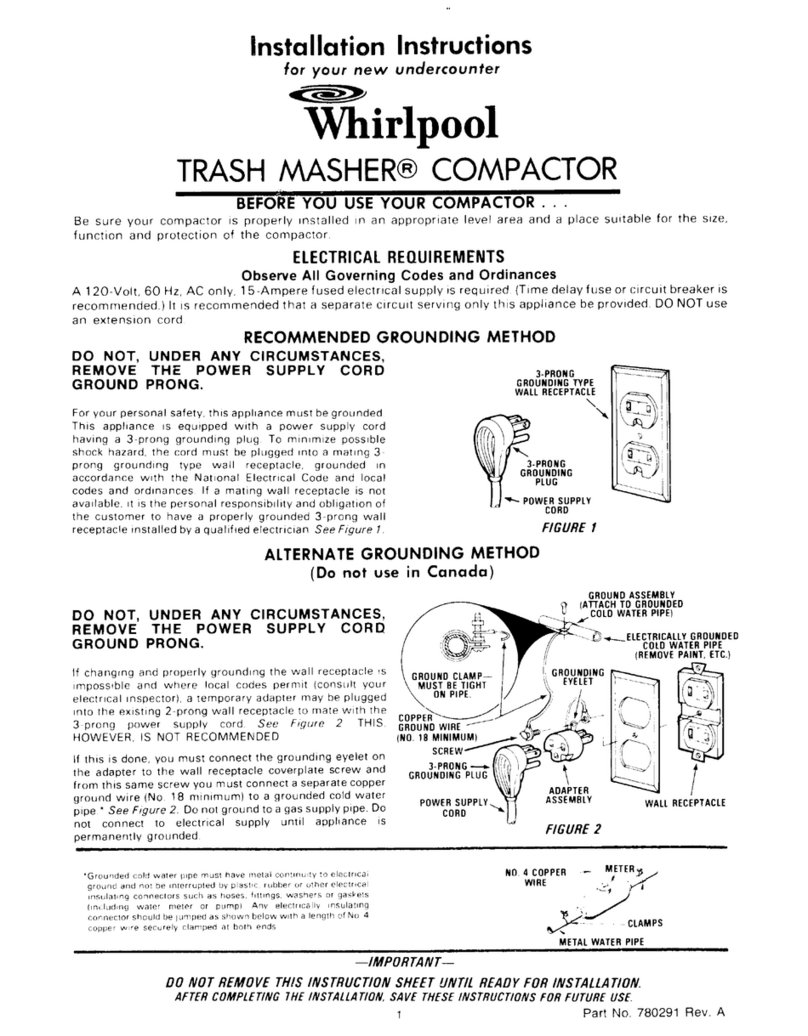
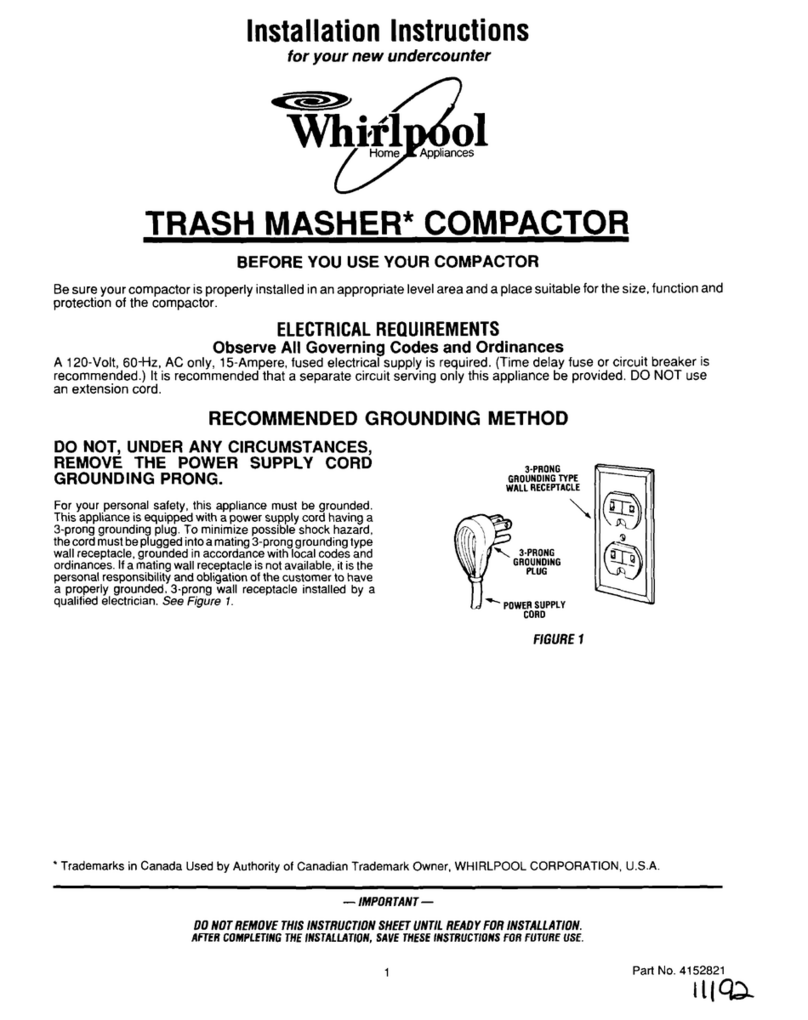
Installation Iinstructions
for your new
TKirlpool
TRASH MASHER@ COMPACTOR
BEFOREYOU USEYOURCOMPACTOR...
Be sure your compactor is properly installed in an appropriate level area and a place suitable for the size, function
and protection of the compactor.
ELECTRICALREQUIREMENTS
Observe All Governing Codes and Ordinances
A 120-Volt, 60 Hz, AC only, 15-Ampere fused electrical supply is required. (Time delay fuse or circuit breaker is recom-
mended.) It is recommended that a separate circuit serving only this applrance be provided. DO NOT use an exten-
sion cord.
RECOMMENDED GROUNDING METHOD
DO NOT, UNDER ANY CIRCUMSTANCES,
REMOVE THE POWER SUPPLY CORD
)-PRONG
GROUNDING TYPE
GROUND PRONG.
For your personal safety, this appliance must be
grounded. This appliance is equipped with a power
supply cord having a 3-prong grounding plug. To
minimize possible shock hazard, the cord must be
plugged into a mating 3-prong grounding type wall
receptacle, grounded in accordance with the
National Electrical Code and local codes and or-
dinances. If a mating wall receptacle is not available,
it is the personal responsibility and obligation of the
customer to have a properly grounded 3-prong wall
receptacle installed by a qualified electrician. See
Figure 1.
WALL RECEPTACLE
\
- POWER SUPPLY
FIGURE 1
ALTERNATE GROUNDING METHOD
(Do not use in Canada)
DO NOT, UNDER ANY CIRCUMSTANCES,
GROUND ASSEMBLY
(ATTACH TO CROUNOEO
COLD WATER PIPE)
REMOVE THE POWER SUPPLY CORD
GROUND PRONG.
&-ELECTRICALLV GROUNDED
COLD WATER PIPE
If changing and properly grounding the wall receptacle
is impossible and where local codes permit (consult
your electrical inspector), a temporary adapter may be
plugged into the existing 2-prong wall receptacle to
mate with the 3-prong power supply cord. See Figure
2. THIS, HOWEVER, IS NOT RECOMMENDED.
(REMOVE .I
If this is done, you must connect the grounding eyelet
on the adapter to the wall receptacle coverplate screw
3.PRONG -
and from this same screw you must connect a separate
GROUNDING PLUG
copper ground wire (No. 18 minimum) to a grounded t
cold water pipe.
l
See Figure 2. Do not ground to a gas
POWER SUPPLY WALL RECEPTACLE
supply pipe. Do not connect to electrical supply until
appliance is permanently grounded.
*Grounded cold water pipe must have metal contmurty to
electrical ground and not be interrupted by plasttc, rub-
ber or other Insulating connectors such as hoses, fittings,
washers or gaskets (including water meter or pump). Any
electrically insulating connector should be jumped as
shown below with a length of No. 4 copper wtre securely
clamped at both ends.
-lMPORTANT-
DO NOT REMOVE THIS INSTRUCTION SHEET UNTIL READY FOR INSTALLATION
AFTER COMPLETING THE INSTALLATION. SAVE THESE INSTRUCTIONS FOR FUTURE USE.
1
Part No. 780337 Rev. I3
1.
2.
B L
BEFORE YOU BEGIN, READ THE FOLLCWING INSTRUCTIONS COMPLETELY AND
CAREFULLY. THEY
WILL
SlMPLlFY THE INSTALLATION.
After removing the sr:pp:ng carton, be sure to
remove a!\ pro?ective packaging rmateriais such as
tape and shipprng gads. Waxy residi!e from pro-
tective shipping material may be removed from
compactor with a mild solution of lrqurd household
cleaner and water.
The compactor’s overall drmensions are: Height
343/8” (87.3 cm), Depth 24” (61 cm), Width 15”
(38.1 cm). Select a cabinet opening to fit. See
Figure 3.
--IXIS
‘J
z4-4’
- 1
7--
t- 3
,15-
34-We,” 34-38’ c
MIN l-
! ’
I g:g MIN
-,’ 11
’ -
,,,,, 24,,
MIN
FIGURE3
3. Remove drawer as shown:
a. Grip handle and raise front of drawer until
it clears stops. See Figure 4.
b. Grasp side ridges of the drawer and lift drawer
out. See Figure 5.
FIGURE4 FIGURE5
Pemove materials shipped in the container.
4, Lay two carton corner posts
:Jr
other protective
material (such as a throw rug) on the floor. then lay
the unit on either of i
ts sides on the corner posts.
The corner posts will protect tne finish of the com-
pactor and the floor. See Figure 5. NOTE: Do riot
truck or hande my console.
NGURE 6
Penxve the cardboard shipping pad located on the
bottom See Figure 6. Stand compactor upright.
5.
i'o~~i
compactor is designed for recessed rnstaila-
tion A six (6) inch clearance from the right edge
of the drawer front is desirable for added con-
venience in bag removal. Also allow t;venty-three
(231 inches in front of the appliance for drawer
;ehoval. See Figure 7.
780337 Hev. I3
FIGURE7
6. A grounded receptacle should be located 18” from
the floor and in the center of the opening. See
Figure 8
FIGURE8
7. Before moving the compactor into position,
measure the cabtnet opening as shown in Figure 9.
8. For best drawer operation, the compactor should
be level. Check. as shown in Figure 10. Remove
compactor from recess and adjust the four feet to
level the unit and to rarse until the retainer bracket
contacts the underside of the countertop
CAUTION: Use care so that the compactor does
not drop on your hand.
FIGURE10
2
3.
LJosei;
the
X,~LQPVS 111
rhe
!c!p reta!nirlg lxackts
Rotate the brackets from shipprng posrtion tc, the
instali
PZSiliOn.
Retighte:; See Figure ! 7.
FIGUREI?
NOTE: Position “A’‘-Drawer front will be flush with
cabinets.
Position “6”-Midpoint between position “A ” and “C. ”
Position “C”-Compactor frame will be flush with
cabinets.
10. Align the rear of the compactor with the cabinet
opening. Plug the power cord into a properly
grounded receptacle. See Figures 1, 2 and 8.
Push the compactor into the opening until the re-
taining brackets stop the unit.
11. Fasten the retaining brackets to the underside of
the counter top with the screws provided. Use
auxiliary clip for fastening to cabinet front when
counter top mountrng method is not permissible.
See Figure 12.
RETAINER BRACKET RETAINER BRACKEl
MOUNTING C
MOUNTING SCREW
COUNTER TOP MOUNTING
MOUNTiNC SCREW
Al TERNATE CABINET FRONT
MOlJNTtNC
FIGURE12
12.
13.
Replace the drawer.
See the Use and Care Guide for complete details
on how to operate and care for your compactor.
ADJUSTABLE TOE PLATE
In some rnstalla:rons, the toe plate may rub the flo
coverrng. If this occurs, the toe plate clearance may t\
changed as foilows:
1. Determine the amount of interference of the tc?
plate with the floor covering.
2. Remove the drawer from the unit. (Refer to Ste::
3 of the Installation Instructions.)
3. Lay drawer so the front panel faces upward. Prr
tect the floor.
4. With a ruler and a pencil or chalk, draw a line wher :
the toe plate interferes with the floor covering.
5. Use a pair of scissors and cut toe plate along this
line. See Figure 73.
6. Replace drawer in unit.
FIGURE13
CHANGING FRONT PANEL COLOF
During installation, or in the future, you may wish (,
change the front panel color. Your compactor has on,
reversible front panel which offers two color options
Black and Almond.
See details of panel assembly in Figure 14.
OUTSIDE
FlGU?E 14
SPACERS
DRAWER
TRIM
CAUTION: The panels have cut metal edges. Hart
dle carefully to avoid cuts to hands and scratcher.
on panels.
3
780337 Rev. E?
To change the front panel color:
1.
2.
Remove the drawer from the unit. (See Step 3 of
the Installation Instructions.)
Remove handle by removing the screws at the top
inside of the drawer.
3.
4.
Remove one spacer.
Remove outside front panel by carefully pulling it
up.
5. Select the color you wish to have showing and
carefully push the panel back in the front of the
drawer trim.
6.
7.
Replace the spacer.
Replace the handle with the screws removed in
Step 2. above.
8. Replace the drawer.
I
CAUTION:
REPLACE HANDLE BEFORE OPERATING
COMPACTORTO AVOID INJURY FROM MOVING PARTS. I
CUSTOM DECORATING
In place of the panel pack, you may use a
114”
thick
wood panel to match your cabinets or other suitable
decorative material. See Figure 75.
To do so:
1. Follow Steps 1 through 4 under Changing Panel
Color. Also remove all cardboard.
2. Slide decorative panel between trim pieces.
3. ~rmro~endt handle with the screws previously
4. Slide the drawer into the unit
5. Paint, wallpaper, fabric, etc., can be applied directly
to one of the panels.
1
22-15/16”
1
’ _
l&5/8”-
’
FIGURE15
BEFORE YOU CALL FOR SERVICE
If your compactor does not seem to be operating properly, check the following before calling for service.
If the compactor won’t operate:
l Is the electric cord securely plugged in?
9 Have you checked the main fuse or circuit breaker box?
. Is the drawer completely closed?
l Is the key-knob turned all the way to START before it is released?
If compactor stops during operation:
* Is the RESTART light on? Push drawer in while turning key-knob to start. Repeat if necessary. Rearrange trash
load - do not load rigid items at front of drawer.
Trash not compacted:
l Drawer must be at least l/3 full to see compaction.
Not enough compaction or force:
l Compacting works best when only a few items are loaded. Use the compacting cycle frequently.
Bottle don’t break:
l Not all bottles will break every time, depending upon trash load below it
Drawer won’t open:
. Drawer will open only when ram is all the way up. To raise the ram, push drawer in firmly; turn key-knob to
START; release key-knob. Open drawer; lay cans and bottles flat in the center of drawer. Start compactor again.
FOR SERVICE OR PARTS INFORMATION, CALL TOLL FREE TO:
WHIRLPOOL COOL-LINE” 800-253- 1301
Michigan 800-632-2243 Alaska & Hawaii 800-253-l 121
780337 Rev. B 4

Other Whirlpool Trash Compactor manuals
Whirlpool TRASH MASHER User manual

Whirlpool

Whirlpool TRASH MASHER User manual

Whirlpool TU800SPPB2 User manual

Whirlpool

Whirlpool TU800SPPB2 User manual

Whirlpool TC4700X Series User manual

Whirlpool

Whirlpool TC4700X Series User manual

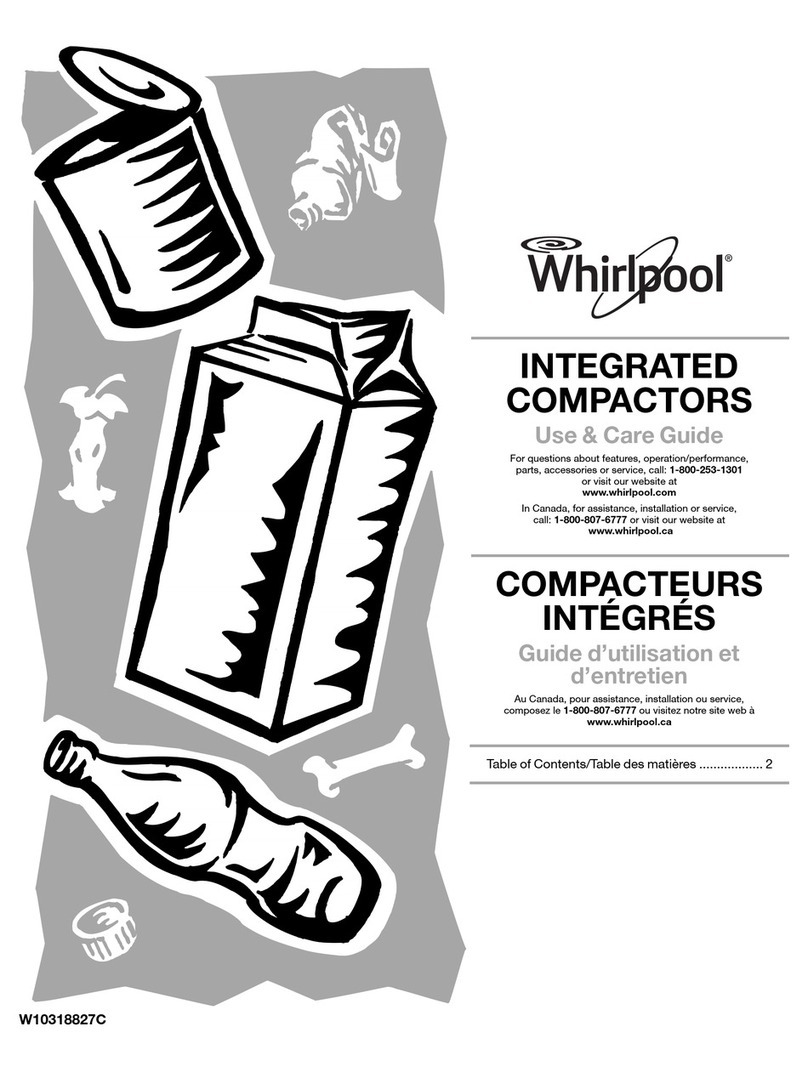
Whirlpool W10318827C User manual

Whirlpool

Whirlpool W10318827C User manual

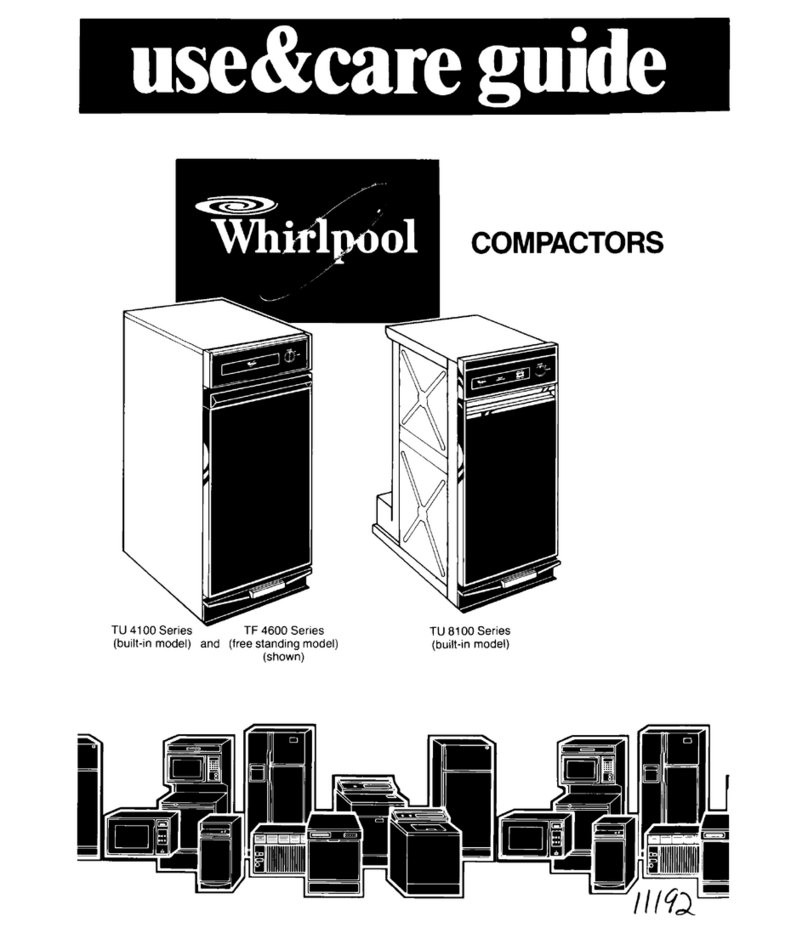
Whirlpool TF 4600 Series User manual

Whirlpool

Whirlpool TF 4600 Series User manual

Whirlpool  TU950QPXS User instructions

Whirlpool

Whirlpool  TU950QPXS User instructions

Whirlpool [12:36:03] ?????????????????: GC900QPPB User manual

Whirlpool

Whirlpool [12:36:03] ?????????????????: GC900QPPB User manual

Whirlpool Compactor User manual

Whirlpool

Whirlpool Compactor User manual

Whirlpool trash masher User manual

Whirlpool

Whirlpool trash masher User manual

Whirlpool TF4600X Series User manual

Whirlpool

Whirlpool TF4600X Series User manual

Whirlpool GX900QPPB2 User manual

Whirlpool

Whirlpool GX900QPPB2 User manual

Whirlpool MASHER User manual

Whirlpool

Whirlpool MASHER User manual

Whirlpool GX900QPLQ - 15" Trash Compactor User manual

Whirlpool

Whirlpool GX900QPLQ - 15" Trash Compactor User manual

Whirlpool 800 SERIES User manual

Whirlpool

Whirlpool 800 SERIES User manual

Whirlpool  GX900QPPB User instructions

Whirlpool

Whirlpool  GX900QPPB User instructions

Whirlpool Trash Masher JTF8500XL User manual

Whirlpool

Whirlpool Trash Masher JTF8500XL User manual

Whirlpool TU 4000 Series User manual

Whirlpool

Whirlpool TU 4000 Series User manual

Whirlpool 9872208 User manual

Whirlpool

Whirlpool 9872208 User manual

Whirlpool  GC900QPPQ User manual

Whirlpool

Whirlpool  GC900QPPQ User manual

Whirlpool 800 SERIES User manual

Whirlpool

Whirlpool 800 SERIES User manual

Whirlpool GC900QPPB2 User manual

Whirlpool

Whirlpool GC900QPPB2 User manual

Whirlpool TU950QPXQ0 User manual

Whirlpool

Whirlpool TU950QPXQ0 User manual
Whirlpool GC900QPPB1 User manual

Whirlpool

Whirlpool GC900QPPB1 User manual

Whirlpool TF 4500 Senes User manual

Whirlpool

Whirlpool TF 4500 Senes User manual
Popular Trash Compactor manuals by other brands

Krushr F86/300 installation manual

Krushr

Krushr F86/300 installation manual

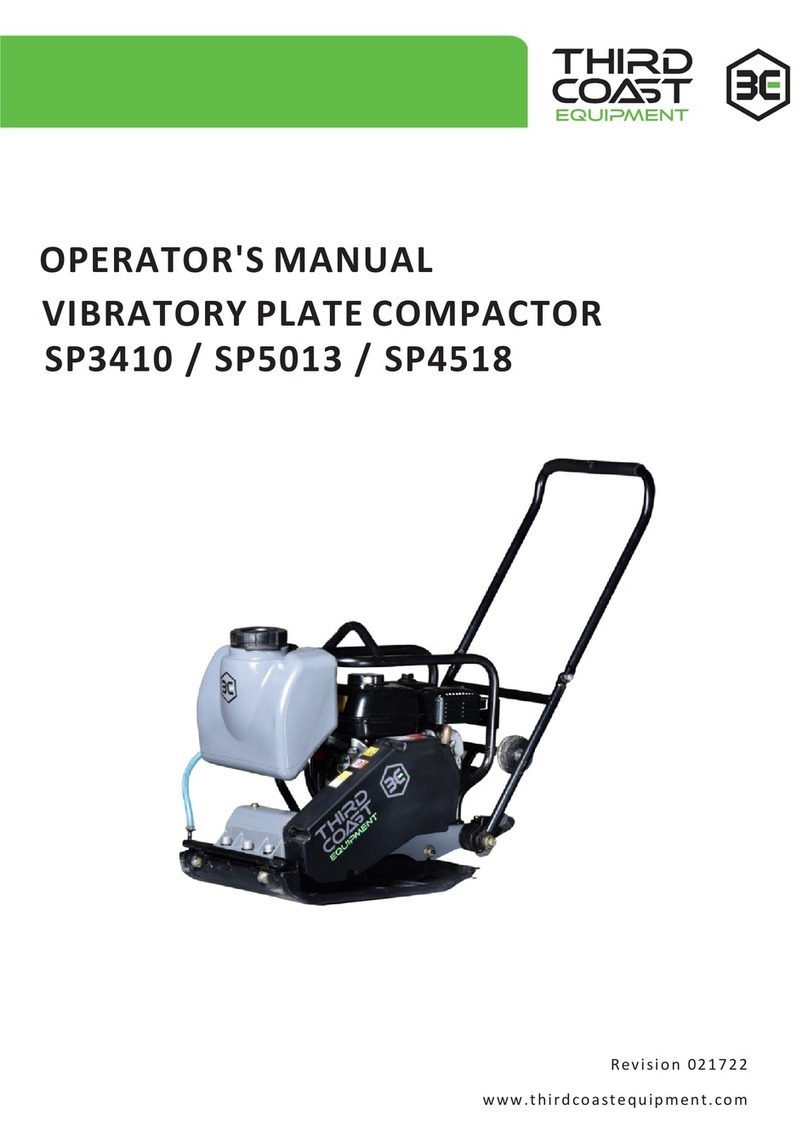
Z.I.P.P.ER MASCHINEN ZI-RPE120GYN user manual

Z.I.P.P.ER MASCHINEN

Z.I.P.P.ER MASCHINEN ZI-RPE120GYN user manual

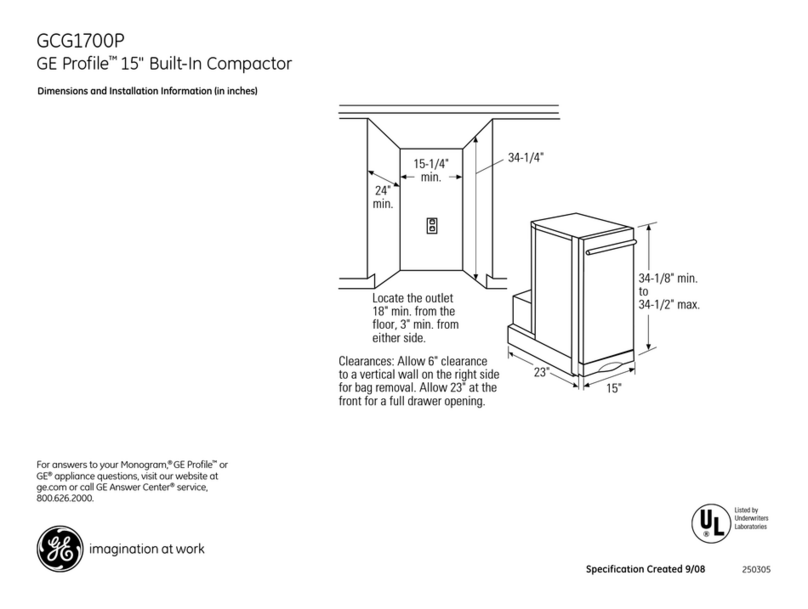
GE GCG1700II Installation guidedisposers & compactors

GE

GE GCG1700II Installation guidedisposers & compactors

Broan 1050 Use and care guide

Broan

Broan 1050 Use and care guide

AirCycler Bulb Eater 3 user manual

AirCycler

AirCycler Bulb Eater 3 user manual

KitchenAid KUCV151MSS0 Use & care guide

KitchenAid

KitchenAid KUCV151MSS0 Use & care guide

IMC F79/703 Installation, operating and service instructions

IMC

IMC F79/703 Installation, operating and service instructions

comfortel salon vac II owner's manual

comfortel

comfortel salon vac II owner's manual

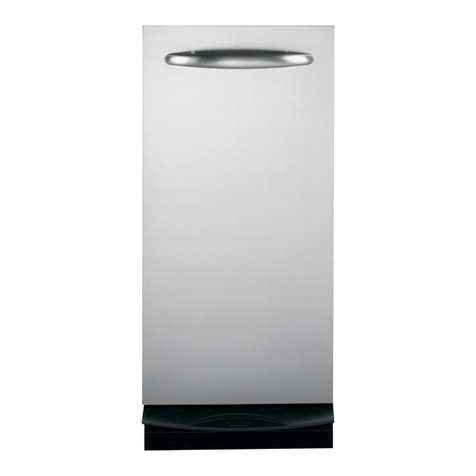
GE UCG1600 Series owner's manual

GE

GE UCG1600 Series owner's manual

manuals.online logo
manuals.online logoBrands
  • About & Mission
  • Contact us
  • Privacy Policy
  • Terms and Conditions

Copyright 2025 Manuals.Online. All Rights Reserved.