10
• When selecting dry mode, air conditioner will operate at low fan speed. In dry
mode, fan speed can’t be adjusted.
• When selecting fan mode, air conditioner will operate in fan mode only. Then press
FAN button to adjust fan speed.
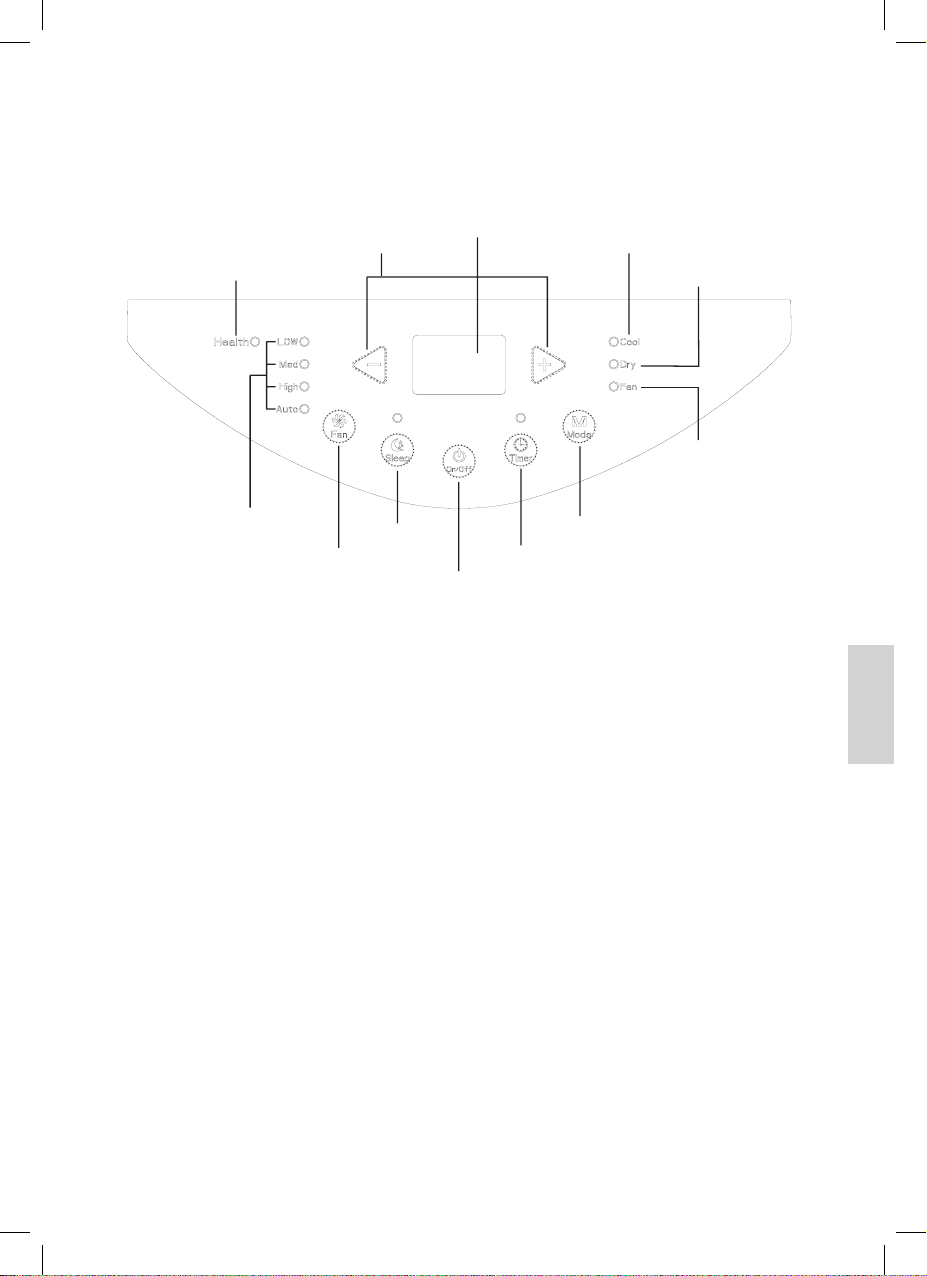
3. + / - button
• Pressing + or - button once will increase or decrease set temperature by 1°C (°F).
Holding + or - button for 2s, set temperature on remote controller will change
quickly. Release the button after your required set temperature is reached.
• When setting Timer On or Timer Off, press + or - button to adjust the time.
(SeeTIMER Button for setting details)
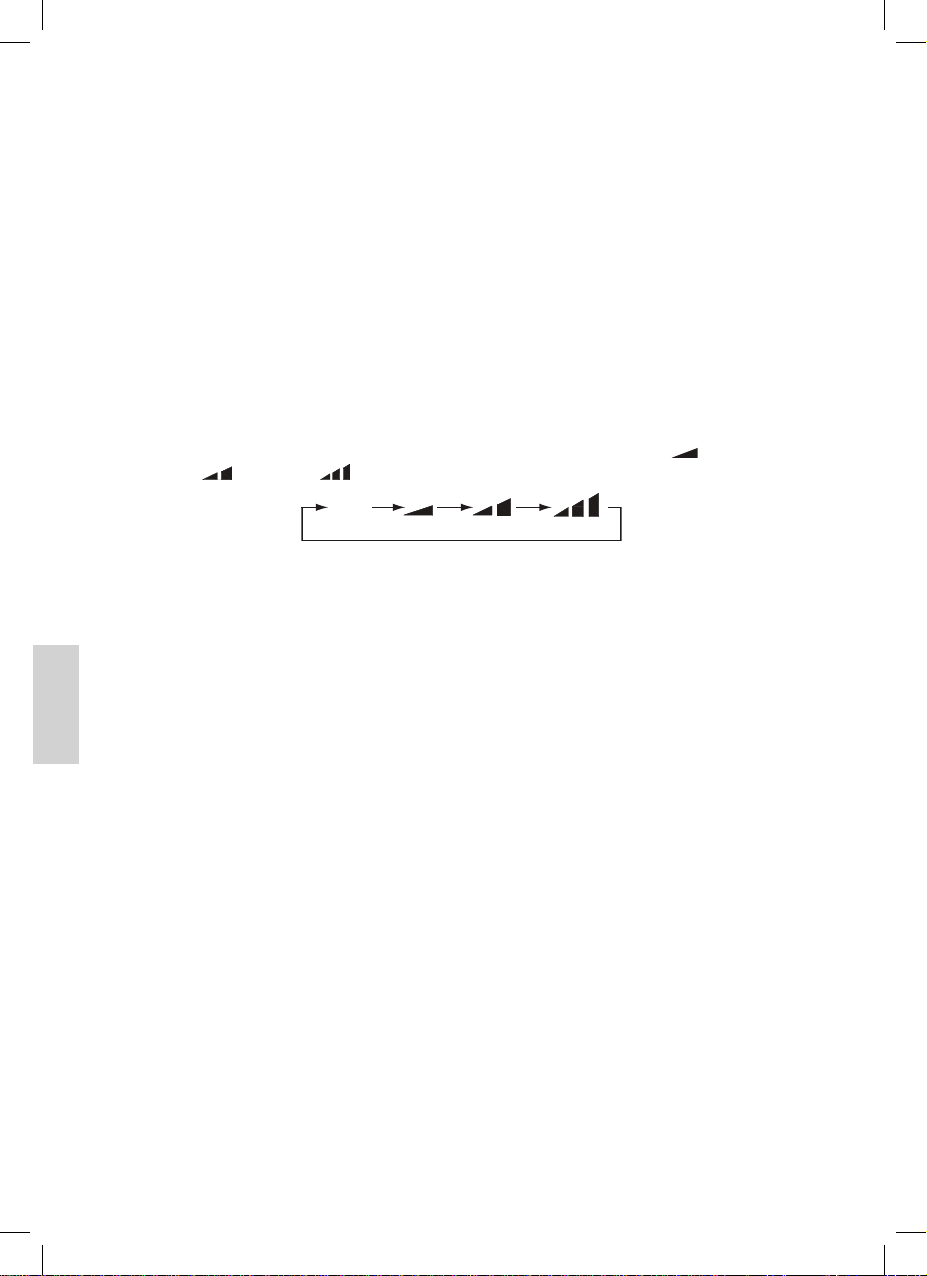
4. FAN button
Pressing this button can select fan speed circularly as: AUTO, SPEED 1 ( ),
SPEED 2 ( ), SPEED 3 ( ).
AUTO
Note:
• Under Auto speed, air conditioner will select proper fan speed automatically according to
ambient temperature.
• Fan speed can’t be adjusted under Dry mode.
5. X-FAN button
Press this button under cool and dry mode to start up x-fan function. Press this
button again to cancel x-fan function.
Note:
• When x-fan function is on, if the air conditioner is turned off, indoor fan will still operate at
low speed for a while to blow the residual water inside the air duct.
• During x-fan operation, press X-FAN button to turn off x-fan function. Indoor fan will stop
operation immediately.
6. SLEEP button
Under Cool and Dry mode, press this button to turn on Sleep function. Press this
button to cancel Sleep function. Under Fan mode, this function is unavailable.
7. TIMER button
• When unit is on, press this button to set Timer Off. T-OFF and H icon will be
blinking. Within 5s, press + or - button to adjust the time for Timer Off. Pressing
+ or - button once will increase or decrease the time by 0.5h. Holding + or -
button for 2s, time will change quickly. Release the button after your required
set time is reached. Then press TIMER button to confirm it. T-OFF and H icon
will stop blinking.