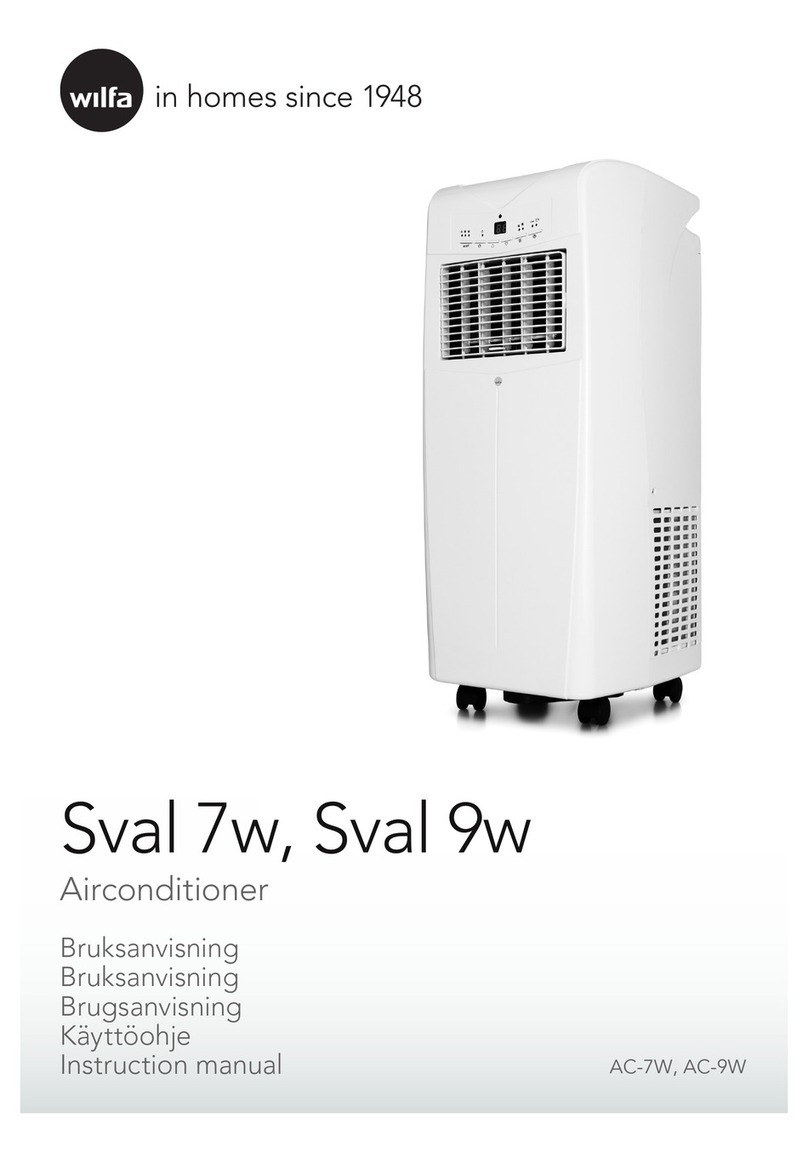
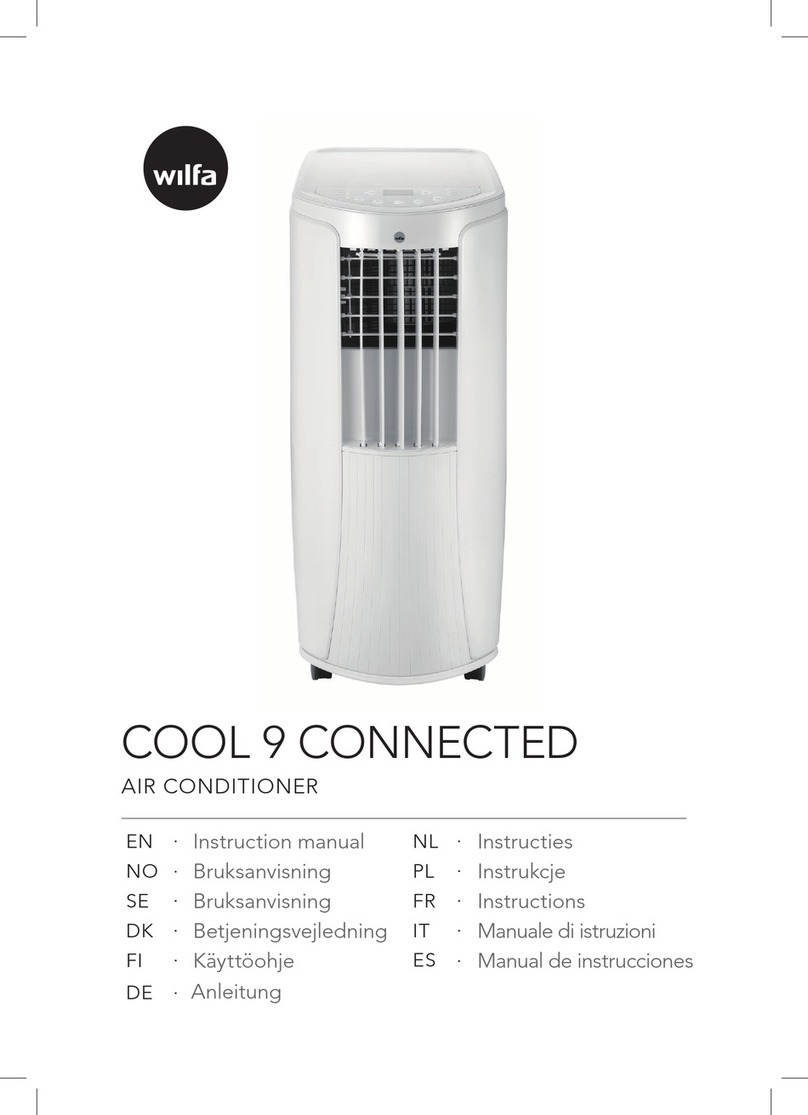
Wilfa AC1W-7000 User manual

1
CHILL CONNECTED
AIR CONDITION AC1W-7000
EN ·Instruction manual DE ·Anleitung
NO ·Bruksanvisning NL ·Instructies
SE ·Bruksanvisning PL ·Instrukcje
DK ·Betjeningsvejledning FR ·Instructions
FI ·Käyttöohje


NO
SE
DK
FI
EN
NL
PL
FR
LES ALLE ANVISNINGER FØR BRUK
LÄS IGENOM ALLA INSTRUKTIONER INNAN PRODUKTEN ANVÄNDS
LÆS ALLE VEJLEDNINGER INDEN BRUG
LUE OHJEET HUOLELLISESTI ENNEN KÄYTTÖÄ
READ ALL INSTRUCTIONS BEFORE USE
LEES VÓÓR GEBRUIK ALLE INSTRUCTIES
PRZED UŻYCIEM ZAPOZNAĆ SIĘ ZE WSZYSTKIMI ZALECENIAMI
PRENEZ CONNAISSANCE DE TOUTES LES INSTRUCTIONS AVANT UTILISATION
DE
LESEN SIE DIE ANLEITUNG VOR DEM GEBRAUCH GRÜNDLICH DURCH

2
INSTRUCTION MANUAL · AIR CONDITION
EN

3
CHILL CONNECTED ·AC1W-7000
EN
CONTENTS
4 IMPORTANT SAFETY INSTRUCTIONS
6 SYMBOLS FROM THE UNIT AND USER MANUAL
7 OPERATIONAL PRECAUTIONS
10 PRODUCT OVERVIEW
11 INSTALLATION
11 ATTACH THE EXHAUST HOSE
13 CONTROL PANEL AND DISPLAY
14 REMOTE CONTROL
14 SETTINGS
16 TIMER SETTING (1HOUR-24HOURS)
16 DRAINAGE
17 DISASSEMBLY AND CLEANING
18 TROUBLESHOOTING
19 STORAGE
19 WIFI DESCRIPTION
21 TROUBLESHOOTING CONNECTION
22 GUARANTEE
23 PRODUCT SPECIFICATIONS
23 SUPPORT AND SPARE PARTS
23 RECYCLABILITY

4
INSTRUCTION MANUAL · AIR CONDITION
EN
IMPORTANT SAFETY INSTRUCTIONS
• Read this instruction manual thoroughly before
use and save it for future reference. It is also
available at our website; wilfa.com.
• This appliance can be used by children aged from
8 years and above and persons with reduced
physical, sensory or mental capabilities or lack
of experience and knowledge if they have been
given supervision or instruction concerning use of
the appliance in a safe way and understand the
hazards involved. Children shall not play with the
appliance. Cleaning and user maintenance shall
not be done by children without supervision.
• This product is intended for indoor, non-industrial,
non-commercial; household use only.
• If the supply cord is damaged, it must be replaced
by the manufacturer, its service agent or similarly
qualied persons in order to avoid a hazard.
• The unit is designed only for use with
R-290(propane) gas as the designated refrigerant.
• The refrigerant loop is sealed. Only a qualied
technician should attempt to service!
• Do not discharge the refrigerant into the
atmosphere.

5
CHILL CONNECTED ·AC1W-7000
EN
• R-290 (propane) is ammable and heavier than
air. It accumulates rst in low areas but can be
circulated by fans.
• If propane gas is present or even suspected, do
not allow untrained personnel to attempt to nd
the cause.
• The propane gas used in the unit has no odor.
• The lack of smell does not indicate a lack of
escaped gas.
• If a leak is detected, immediately evacuate all
persons from the room, ventilate the room and
contact the local re department to advise them
that a propane leak has occurred.
• Do not let any persons back into the room until
the qualied service technician has arrived and
that technician advises that it is safe to return to
the room.
• No open ames, cigarettes or other possible
sources of ignition should be used inside or in the
vicinity of the units.
• Component parts are designed for propane and
non-incentive and non-sparking. Component
parts shall only be replaced with identical repair
parts.

6
INSTRUCTION MANUAL · AIR CONDITION
EN
FAILURE TO ABIDE BY THIS WARNING COULD
RESULT IN AN EXPLOSION, DEATH, INJURY AND
PROPERTY DAMAGE.
The environmentally friendly R290 is used as the
refrigerant. R290 has no damaging inuence on the
ozone layer (ODP), a negligible greenhouse effect
(GWP) and is available worldwide. Because of its
efcient energy properties, R290 is highly suitable
as a coolant for this application. Special precautions
must be taken into consideration due to the coolant’s
high ammability.
SYMBOLS FROM THE UNIT AND USER MANUAL
This unit uses a ammable refrigerant.
If refrigerant leaks and comes in contact
with re or heating part, it will create
harmful gas and there is a risk of re.
Read the USER MANUAL carefully before
operation.
Further information is available in the
USER MANUAL, SERVICE MANUAL, and
the like.
Service personnel are required to
carefully read the USER MANUAL and
SERVICE MANUAL before operation.
Warning

7
CHILL CONNECTED ·AC1W-7000
EN
OPERATIONAL PRECAUTIONS
WARNING- to reduce the risk of re, electric shock
or injury to persons or property:
• Always operate the unit from a power source of
equal voltage, frequency and rating as indicated
on the product identication plate.
• Always use a power outlet that is grounded.
• Unplug the power cord when cleaning or when
not in use.
• Do not operate with wet hands. Prevent water
from spilling onto the unit.
• Do not immerse or expose the unit to rain,
moisture or any other liquid.
• Do not leave the unit running unattended. Do not
tilt or turn over the unit.
• Do not unplug while the unit is operating.
• Do not unplug by pulling on the power cord.
• Do not use an extension cord or an adapter plug.
• Do not put objects on the unit.
• Do not climb or sit on the unit.
• Do not insert ngers or other objects into the air
outlet.

8
INSTRUCTION MANUAL · AIR CONDITION
EN
• Do not touch the air inlet or the aluminum ns of
the unit.
• Do not operate the unit if it is dropped, damaged
or showing signs of product malfunction.
• Do not clean the appliance with any chemicals.
• Ensure the unit is far away from re, inammable,
or explosive objects.
• The unit shall be installed in accordance with
national wiring regulations.
• Do not use means to accelerate the defrosting
processortoclean,otherthanthoserecommended
by the manufacture.
• The appliance shall be stored in a room without
continuously operation sources (for example:
open ames, an operating gas appliance or an
operating electric heater).
• The appliance shall be stored so as to prevent
mechanical damage from occurring.
• Do not piece or burn, even after use.
• Be aware that refrigerants may not contain an odour.
• Pipe-workshallbeprotectedfromphysicaldamage
and shall not be installed in an unventilated space,
if that space is smaller than 8m².

9
CHILL CONNECTED ·AC1W-7000
EN
• Compliance with national gas regulations shall be
observed.
• Keep any required ventilation openings clear of
obstruction.
• The appliance shall be stored in a well-ventilated
area where the room size corresponds to the room
area as specied for operation.
WARNING
Any person who is involved with
working on or breaking into a
refrigerant circuit should hold a
current valid certicate from an
industry-accredited assessment
authority, which authorizes their
competence to handle refrigerants
safely in accordance with an industry,
recognized assessment specication.
WARNING
Servicing shall only be performed
as recommended by the equipment
manufacturer. Maintenanceandrepair
requiring the assistance of other
skilled personnel shall be carried out
under the supervision of the person
competent in the use of ammable
refrigerants.

10
INSTRUCTION MANUAL · AIR CONDITION
EN
PRODUCT OVERVIEW
1. Control panel
2. Air outlet with adjustable louver
3. Handle
4. Air inlet with air lter
5. Wheel
6. Drainage hole
7. Air exhaust
Note: The appearance is only for reference. Please see the real product for
detailed information.
Accessories:
1. Exhaust hose
2. Hose connector
3. Window kit adapter
4. Remote control
3
2
1
7
4
6
5

11
CHILL CONNECTED ·AC1W-7000
EN
INSTALLATION
CHOOSE YOUR LOCATION
• If tipped more than 45°, allow the unit to set upright for at least 24 hours
before start up.
• Place the unit on a rm, level surface in an area with at least 50cm of free
space around it to allow for proper air circulation.
• Do not operate in close proximity to walls, curtains, or other objects that may
block air inlet and outlet. Keep the air inlet and outlet free of obstacles.
• Never install the unit where it could be subject to:
– Heat sources such as radiators, heat registers, stoves or other products that
produce heat.
– Direct sunlight
– Mechanical vibration or shock
– Excessive dust
– Lack of ventilation, such as a cabinet or bookcase
– Uneven surface
WARNING!
• Install the unit in rooms which exceed 8 m².
• Do not install the unit in a place where inammable gas may
leak.
ATTACH THE EXHAUST HOSE
The air conditioner requires being vented outside so that the exhaust air can
escape the room which coming from the appliance contains waste heat and
moisture.
Do not replace or extend exhaust hose which will result in decreased efciency,
even worse shut down the unit due to low backpressure.
Step 1: Connect the hose connector to one end of the exhaust hose.
Accessories:
1. Exhaust hose
2. Hose connector
3. Window kit adapter
4. Remote control

12
INSTRUCTION MANUAL · AIR CONDITION
EN
Step 2: Connect the windows kit adapter to the other end of the exhaust hose.
Step 3: Extend the adjustable window kit the length of your window. Connect
the exhaust hose to the window kit.
Step 4: Adjusting the length of the exible exhaust hose and avoid bends in the
hose. Then place AC near an electrical outlet.

13
CHILL CONNECTED ·AC1W-7000
EN
CONTROL PANEL AND DISPLAY
1 LOCK Press this key to turn on or turn off the child lock
function
2 MODE Mode button Press to switch the operation mode
between fan, cooling and dehumidier.
3 UP Increasing the desired temperature (16°C - 32°C) or
timer setting
4 POWER Press to switch the machine on or off
5 DOWN Decreasing the desired temperature or timer setting.
6 SPEED Press to switch the fan speed between HIGH and
LOW
7 TIMER Sets a time for the unit to automatically start or stop.
8 SLEEP Press to enter sleep mode. Can only be entered in
cooling mode
9 Fan speed The display for fan speed in High or low
10 Led Display This LED Display the Room Temperature or Time
Setting
11 Mode Display This display the Mode Setting between fan, cooling
and dehumidier

14
INSTRUCTION MANUAL · AIR CONDITION
EN
REMOTE CONTROL
SETTINGS
START-UP AND SHUTDOWN
• Press POWER to turn the unit on.
• Press MODE button to select the desired operation mode.
• Press POWER again to turn off the power.
OPERATION MODE
The unit has four operation modes: Cool, dry, fan, sleep.
COOLING YOUR ROOM
• Select the cool mode to lower the temperature in your room.
• Press MODE button repeatedly until the COOL indicator lights up.
• Press Up/Down button to adjust the temperature which is displayed on the
screen. The temperature can be set between 16°C and 32°C.

15
CHILL CONNECTED ·AC1W-7000
EN
• Press SPEED button repeatedly until the desired fan speed indicator lights up.
• To control the direction of the air ow horizontally, please adjust the inner
louver by hand.
Note: The air conditioner stops if the room temperature is lower than selected
temperature.
VENTILATING YOUR ROOM
• Press MODE button repeatedly until the FAN indicator lights up.
• In ventilation mode the room air is circulated, but not cooled.
• Press SPEED button repeatedly to select the fan speed as desired.
DRYING YOUR ROOM
• Press MODE button on the control panel or remote control, the dry indicator
lights up. The fan speed is unable to select. User should connect the hose to
the drain outlet at the bottom of the unit.
Note: In this mode, the fan speed switches over to low speed and cannot be
selected.
SLEEP MODE
• The sleep button can only be set in cooling mode.
• The machine enters sleep mode, all lights are dimmed at the same time,
and the buzzer is disabled in sleep mode:
– 1 hour after sleep mode is turned ON, the set temperature will automat-
ically increase by 1°C, and after another hour, the set temperature will
automatically increase by 1°C.
• After sleep mode has been ON for 2 hours, the set temperature will no
longer increase.
• Fan output during sleep mode: the fan automatically turns to low setting.
The wind speed output is low wind and cannot be adjusted. After exiting
sleep mode, the wind speed can again be set by the user.

16
INSTRUCTION MANUAL · AIR CONDITION
EN
TIMER SETTING (1HOUR-24HOURS)
The timer has two ways of operation:
To turn off
(When power
on)
è
Press the Timer key
to turn on the timer
function.
è
Press Up /Down
repeatedly to set the
delay OFF time.
To turn on
(When power
off)
è
Press the Timer key
to turn on the timer
function.
è
Press Up /Down
repeatedly to set the
delay ON time.
Cancel timer
è
Press Up /Down repeatedly until the LED shows ‘00’.
Note: by pressing POWER you will also cancel the
timer
OVERLOAD PROTECTION
In the event of a power loss, to protect the compressor there is a 3-minute delay
until the compressor restarting.
DRAINAGE
SELF- EVAPORATING SYSTEM
The self-evaporating system uses the collected water to cool the condenser coils
for better, more efcient performance. There is no need to empty the drainage
tank in cooling mode, except in high humidity conditions. In drying mode, the
drainage tank needs to be emptied. The condensed water evaporates at the
condenser and disappears through the exhaust hose.
For continuous operation or unattended operating in drying mode, please
connect the attached drain hose to the unit. Condensed water can automatically
run into a bucket or drain.
• Switch off the unit before operating.
• Remove the plug of the water outlet opening and
keep it in safe area.
• Securely and properly connect the drain hose. Make
sure it is not kinked and clear of obstruction.
• Place the outlet of hose over a drain or bucket and
ensure that water can freely ow out of the unit.
• Do not submerge the end of hose into water; other-
wise it can cause “Air Lock” in the hose.
Remove the
rubber sealing plug
Continuous drain hose

17
CHILL CONNECTED ·AC1W-7000
EN
TO AVOID WATER SPILLAGE
• As the negative pressure of condensate drain pan is large, tilt the drain hose
downward toward the oor. It is appropriate that the degree of inclination
should exceed 20 degrees.
• Straighten the hose to avoid a trapping water in the hose.
DISASSEMBLY AND CLEANING
CLEANING THE AIR FILTER (EVERY TWO WEEKS)
Dust collects on the lter and restricts the airow. The restricted airow reduces
the efciency of the system and if it becomes blocked it can cause damage to
the unit.
The air lter requires regular cleaning. The air lter is removable for easy
cleaning. Do not operate the unit without an air lter, or the evaporator may be
contaminated.
1. Press POWER button to switch off the unit and unplug the power cord.
2. Remove the lter mesh from the unit.
3. Use a vacuum cleaner to vacuum dust from the lter.
4. Turn the lter over and rinse the air lter under running water. Let the water
run through the lter in the opposite direction of air ow. Set aside and allow
the lter to air dry completely before reinstalling.
Remove the
rubber sealing plug
Continuous drain hose
Switch off the unit and
remove the two air filters.
Rinse the air filter under
running water.

18
INSTRUCTION MANUAL · AIR CONDITION
EN
TROUBLESHOOTING
Problem Possible reasons Solutions
The unit is not
operating
Check the power
connection in securely.
Check if the water level
indicator lights up?
Check the room
temperature.
Insert the power cord
securely into the wall outlet.
Empty the drain pan by
removing the rubber plug.
The range of operating
temperature is 5-35°C.
The unit works
with reduced
capacity.
Check the air lter for dust.
Check if the air duct is
blocked.
Check if the door or window
is open.
Check if the desired
operating mode is selected
and the temperature is
properly set.
The exhaust hose is
detached.
Clean the air lter as
necessary.
Clear the obstacle.
Keep the door and windows
closed.
Set the mode and
temperature at desired point
according the manual (see
page 16).
Make sure the exhaust hose
is securely attached.
Water Leakage Overow while moving the
unit.
Check if the drain hose is
kinked or bends.
Empty the water tank before
transport.
Straighten the hose to avoid
a trapping water.
Excessive Noise Check if the unit is securely
positioned.
Check if any loose, vibrating
parts.
Noise sounds like water
owing.
Place the unit on horizontal
and rm oor.
Secure and tighten the parts.
Noise comes from owing
refrigerant. This is normal.
Table of contents
Languages:
Other Wilfa Air Conditioner manuals
Popular Air Conditioner manuals by other brands

Fujitsu
Fujitsu ASYG 09 LLCA installation manual

CLIMAVENETA
CLIMAVENETA a-CHD U-2T 606+2209 OPERATING AND INSTALLATION Manual

Mitsubishi Heavy Industries
Mitsubishi Heavy Industries DXK05ZTLA-WF user manual

Frigidaire
Frigidaire FRS09PYW1 installation guide

S2P
S2P KS2P-18C210 owner's manual

Mitsubishi Electric
Mitsubishi Electric MSC-GE20VB operating instructions