8
These patterns are the direct radiation pattern. The infrared radiation does not drop to zero outside the
illustrated patterns; it decreases. It still may be useable at a greater distance, depending on receiver
sensitivity and the reflection characteristics of the room.
Infrared light reflects off most surfaces and scatters, increasing the coverage area. Rough surfaces tend
to absorb infrared light, minimizing reflections, and limiting coverage to the direct illumination pattern.
It’s helpful to think of the IR emitter as an invisible floodlight. You want to aim it so listeners are
“flooded” with infrared light.
It’s desirable for the illumination patterns to overlap when multiple emitters are used. Placing the
emitters high above the audience (15–30 ft./4-8m) and aiming them slightly downward (5°–15°) will
ensure the longest “throw” of the infrared beam. Angling the emitter inward towards the center of the
room also increases the coverage of the seating area.
Remember: opaque objects block infrared light. Thus, emitters cannot be concealed behind opaque
walls, curtains, etc. Neither should emitters be used in areas of extreme high or low temperatures,
humidity, or chemical environments.
COVERAGE AREA
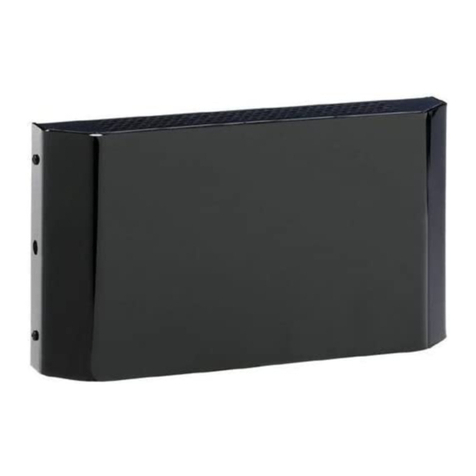
The TX8 Emitter is designed to distribute its power equally among the channels sent to it for
transmission. Thus, when only a single channel is present, the TX8 uses all its power to broadcast the
lone signal, achieving a coverage area of approximately 10,000 square feet (930 square meters). When
two signals are sent to the TX8 (as is the case when the MOD 112 is in Stereo mode or in Discrete mode
when both channels are in use), the TX8 divides its power among the two signals. This makes for a
practical coverage area of about 3,767 square feet (350 square meters) or about 350 average theater
seats. This important principle is illustrated in Figure 3.
If you’re not getting sufficient coverage with a single, properly installed emitter panel, you’ll need to add
additional TX8 Emitters to achieve full coverage of your listening area.
Figures 3, 4, and 5 illustrate infrared light patterns and recommended emitter locations. In listening areas
up to 3,767 square feet (350 sq. m.) , the TX8 Emitter panel should be installed on the front wall of the
listening area in a position to flood the listening area. It must be above the audience to permit a direct
line of sight between the emitter and people wearing receivers when the people are standing or sitting.
Listening areas of more than 3,767 square feet (350 sq. m.) will require two or more TX8 Emitters for
complete coverage. Place one emitter panel on the left side of the front wall and the other on the right
hand side. For extremely large venues, additional TX8s should be located to maximize coverage
throughout the listening area.
