1 2
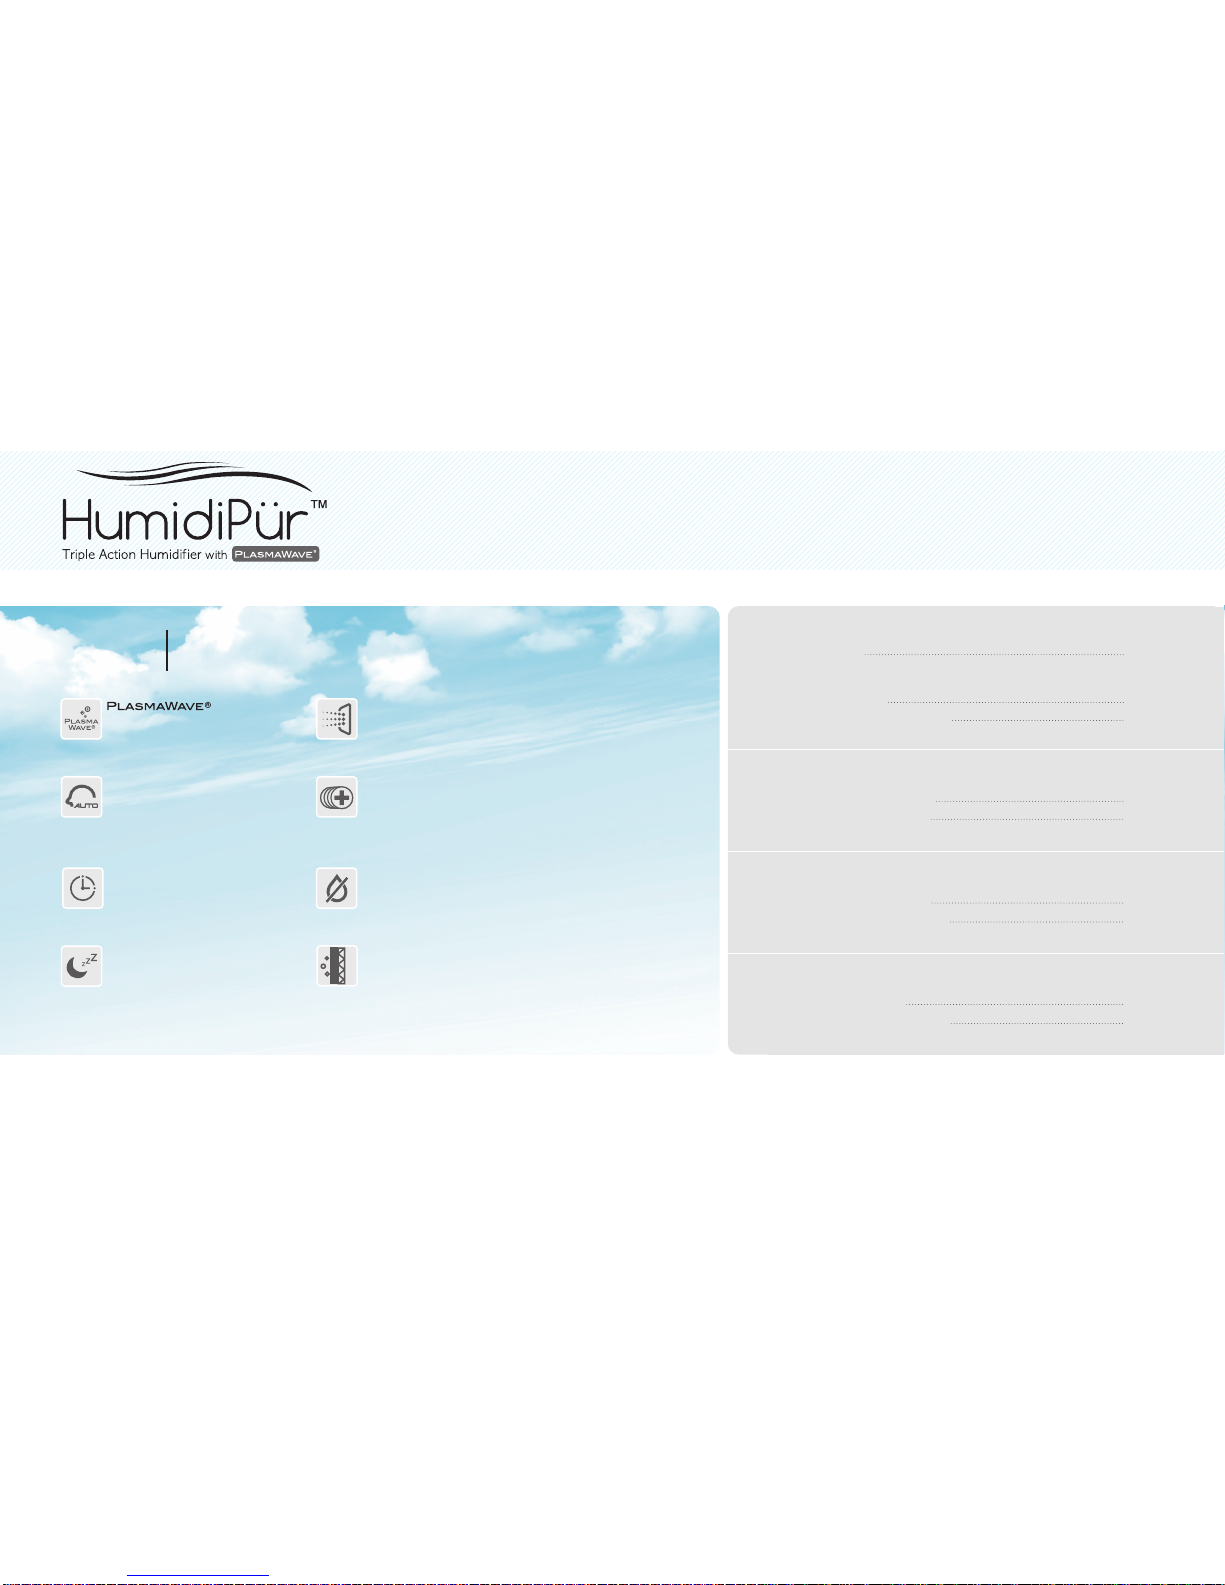
Technology
PlasmaWavetechnology removes
air pollutants resulting in cleaner,
fresher air.
Mist Humidifier
HumidiPürTM generates very fine and
light mist to enhance consistent
humidity level.
Winix HumidiPürTM Triple Action Humidifier simultaneously humidifies
and cleans the air. Featuring a 3.17 gallon per day humidification
capacity and 3-Stage air purification with PlasmaWaveTechnology.
HumidiPürTM
Model: AW600
Auto Mode
WINIX’s sensor detects room
humidity level to control fan speed
and optimize the humidity level.
Sleep Mode
Quietly cleans air pollutants, and
dims indicators to ensure a good
night sleep.
Combination Filter
Compact design blends Carbon and
HEPA technology to capture 99.5% of
airborne pollutants such as dust, pollen,
pet dander, mold spores and other
irritating allergens.
Timer
The automatic Timer indicator is
used to maintain efficiency
throughout the lifetime of the product.
Auto Shut-Off
Automatically shuts off when the
water bucket is Low.
CleanCelAnti-Bacterial Coating
HumidiPürTM has been treated with
CleanCelantibacterial coating to
prevent growth of bacteria in the
water tank and cleaning discs.
INSTALLATION
Selecting a Location 13
Set-Up Instructions 14
OPERATION
Modes of Operation 15
Care and Maintenance 19
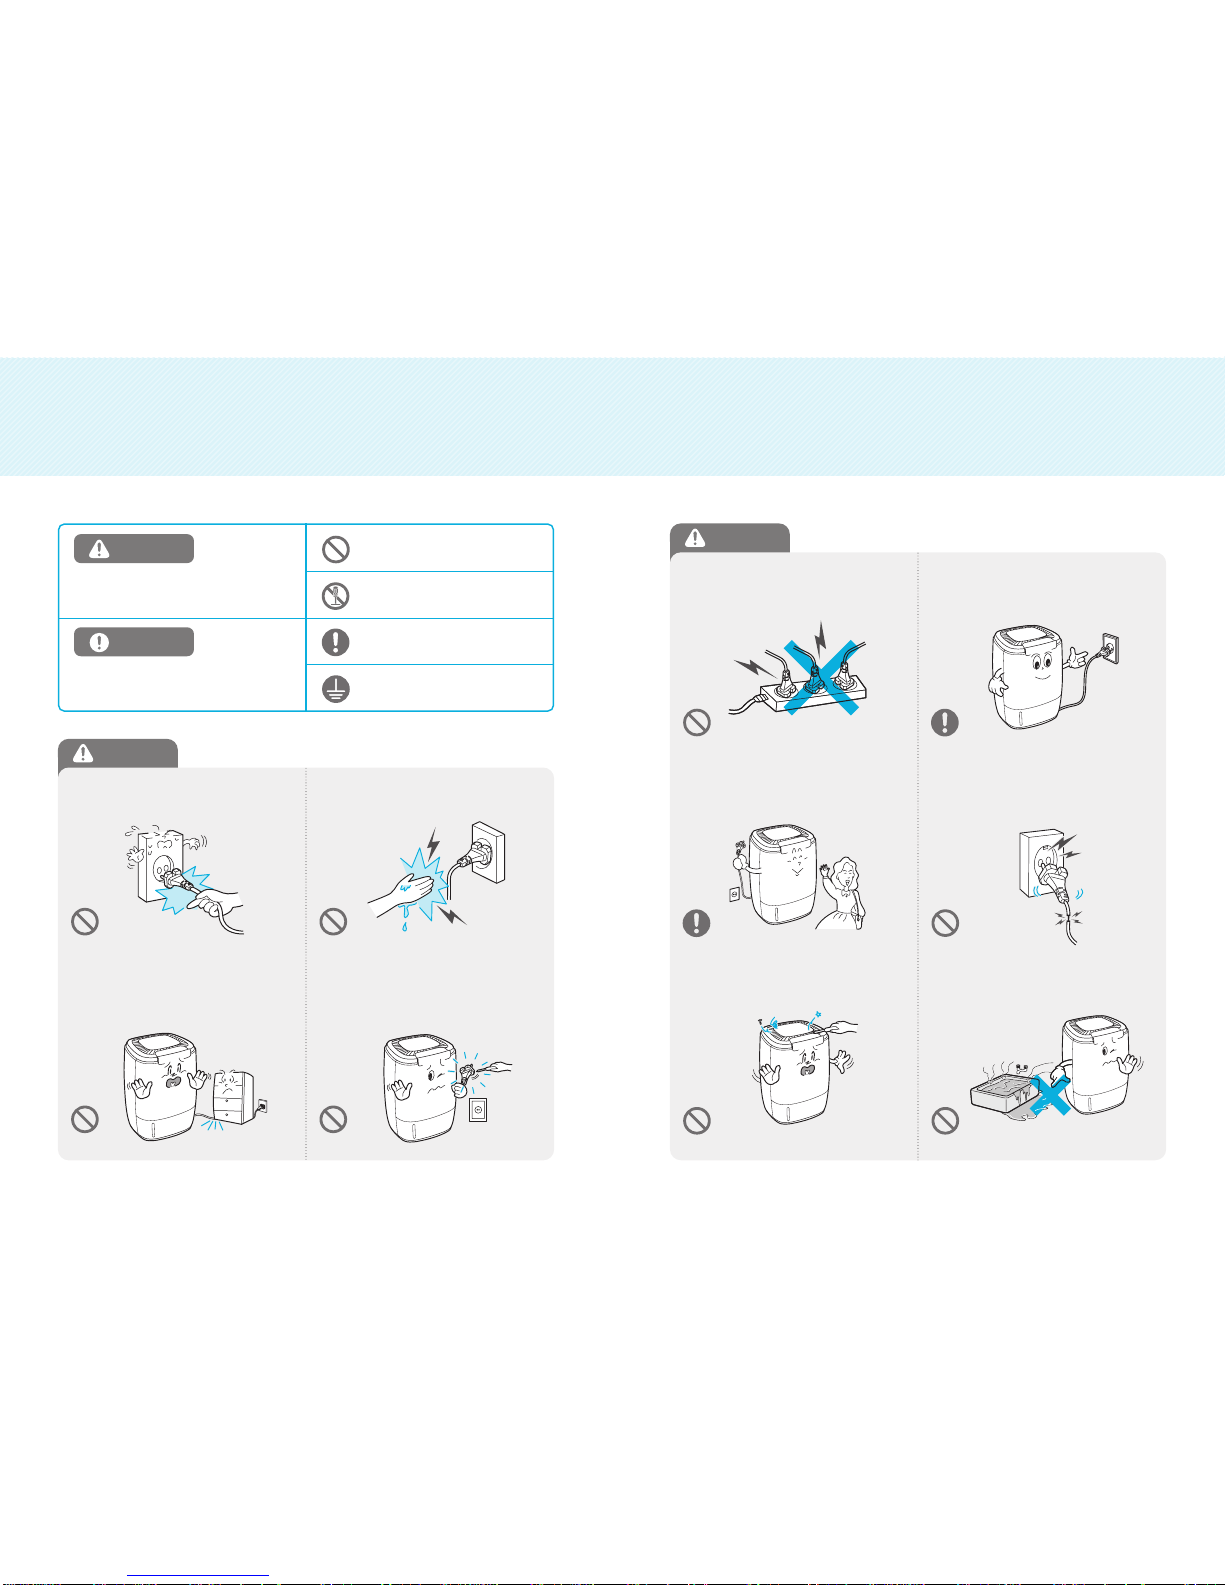
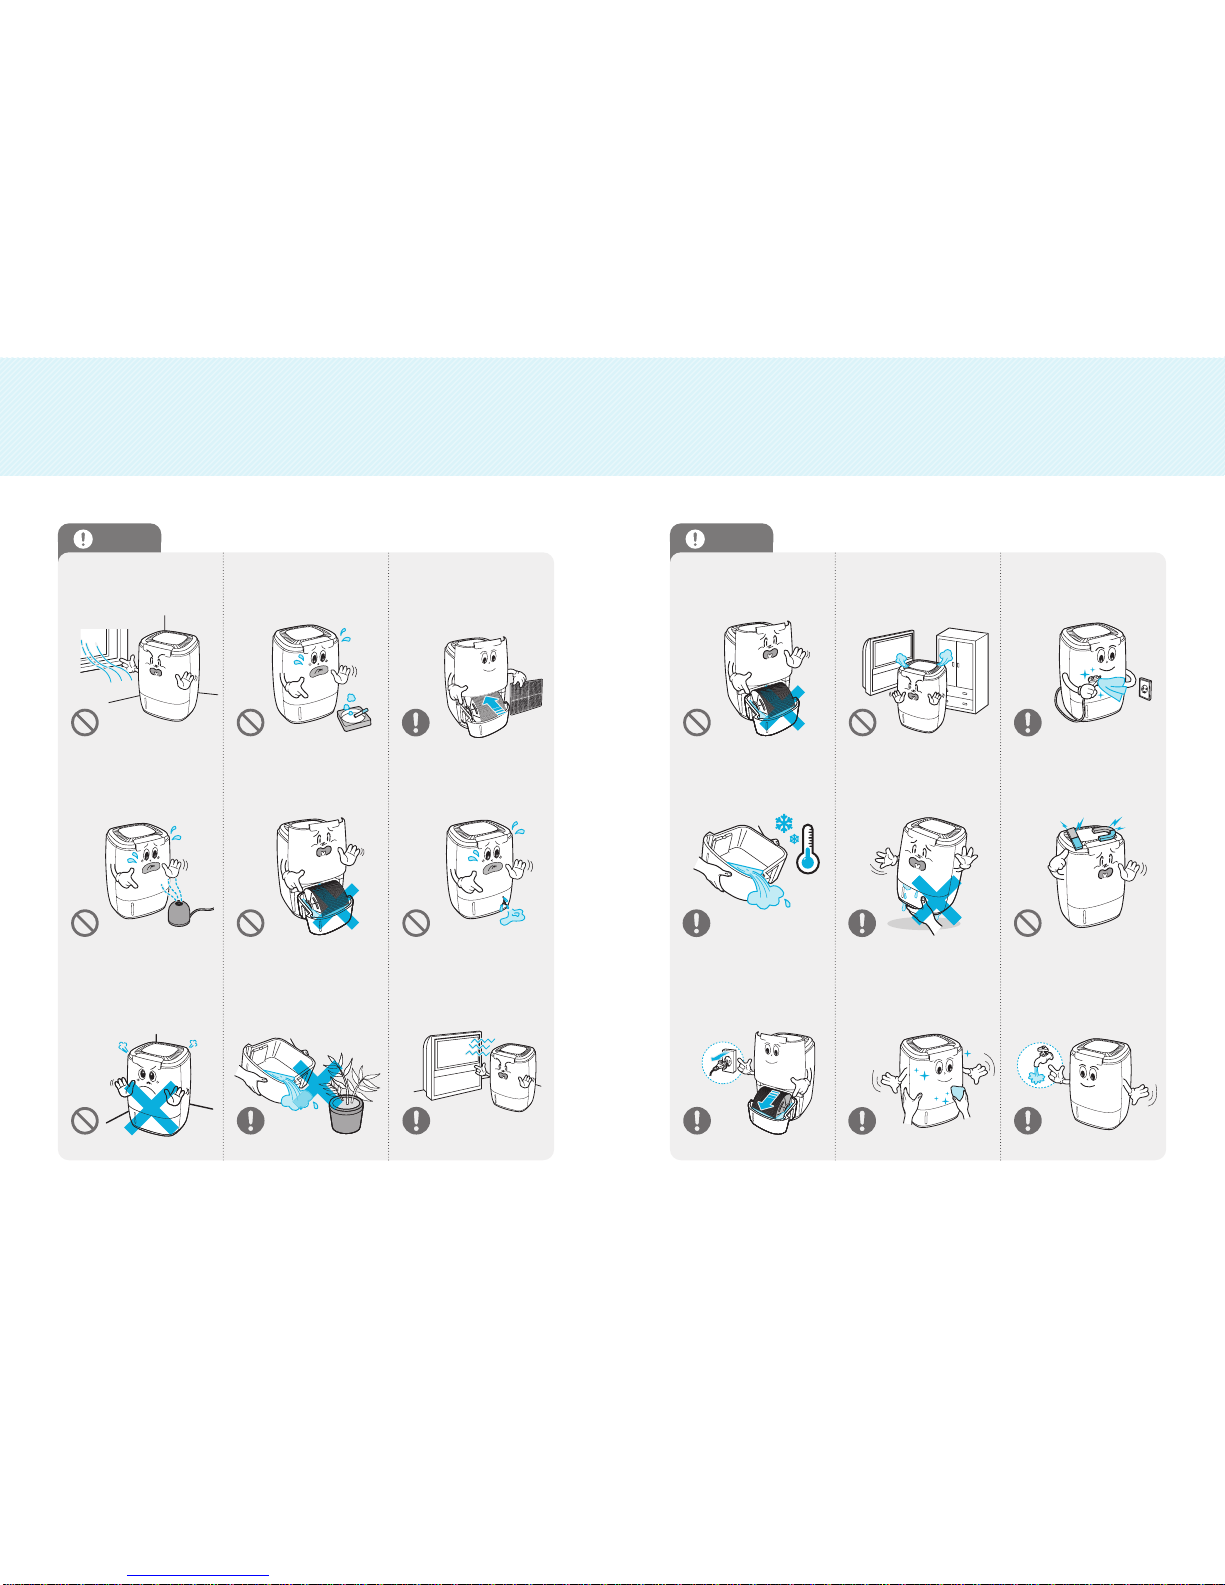
SAFETY INSTRUCTIONS
Warnings 3
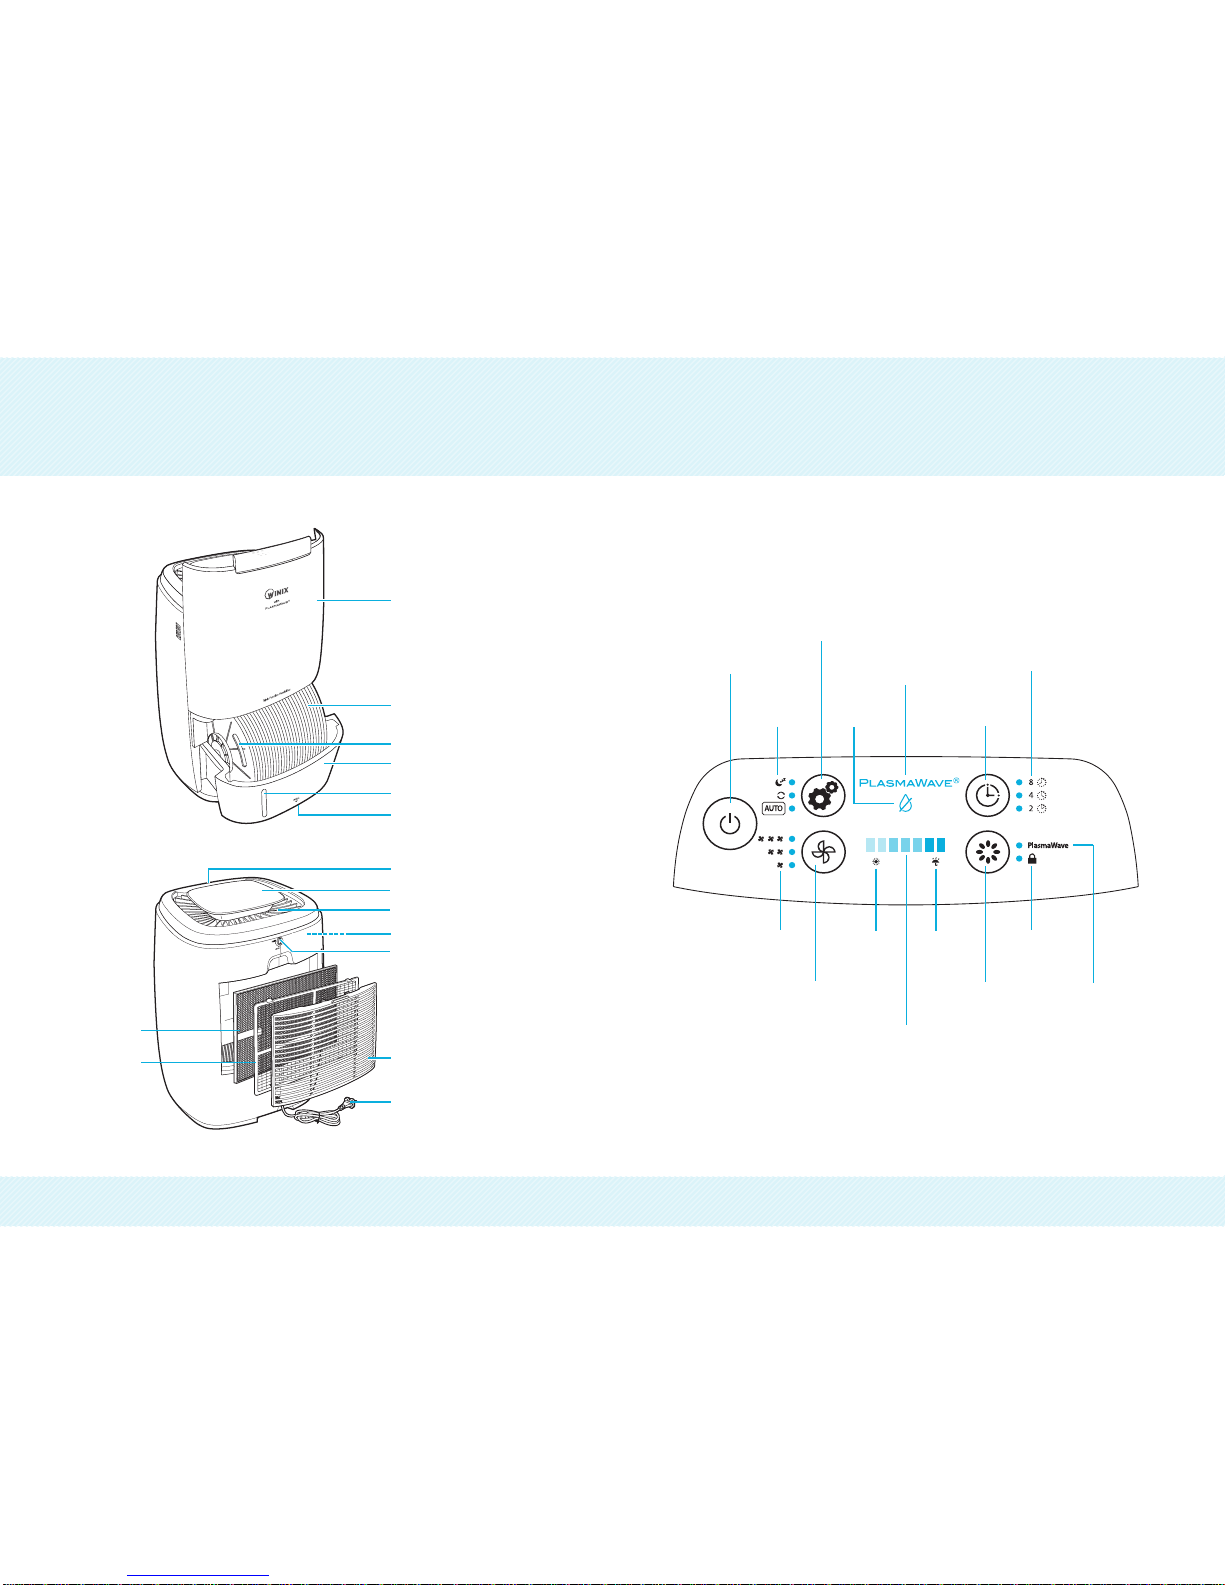
PRODUCT INFORMATION
Unit Diagram 11
Control Panel / Display 12
TROUBLESHOOTING
FAQ / Solutions 27
Product Specifications 30
Table of Contents