Maintenance
14
13
Turn and close the water supply valve.
MAINTENANCE
FILTERS REPLACEMENT
MAINTENANCE
Install the new filter and connect it.
Put front cover back by pushing it back into position.
CLEANING (CLEAN FREQUENTLY FOR A BETTER EFFICIENCY
AND A LONGER LIFE OF YOUR PRODUCT).
Drip tray cleaning
Product Housing Cleaning
1. When Red Overflow Indicator is visible, Drip Tray
must be emptied and cleaned-up
2. Lift drip tray off the product and dispose water.
3. Clean drip tray with a neutral detergent.
4. Clean the drip tray location, on your product,
with a neutral detergent.
5. Place drip tray back into its original location on
the product
Inside Product Cleaning (every 12-13 weeks)
2. Remove top lid
cover from
water tank
3. Remove baffle plate
4. Clean dirty areas
with soft wet cloth
1. Remove screws on
the back of the top
housing to remove
top panel
·Plastic areas : Clean with a piece of soft cloth and
a neutral detergent. Do not use water.
·Metal pipes`/`Back of the unit : Use vacuum cleaner
to get rid of dust accumulation.
·
Make sure water supply valve is closed.
·
Place a container underneath
regular water outlet.
·Press cold water button
to drain water
Cold water drain
·
Deactivate water heating system by turning Hot Water Switch to Off.
·
It is recommended to let heating system cool down for about
30 minutes and to wear protective gear to avoid risks of burn injury.
·
After heating system has cooled down, make sure water Water Supply
valve is closed.
·
Place a container below hot water drain cap at the back
of the unit
·Remove hot water drain cap and drain water.
·
Once water stop flowing, place hot water drain cap
back, open water supply valve and turn water heating
system back On.
Hot water draining
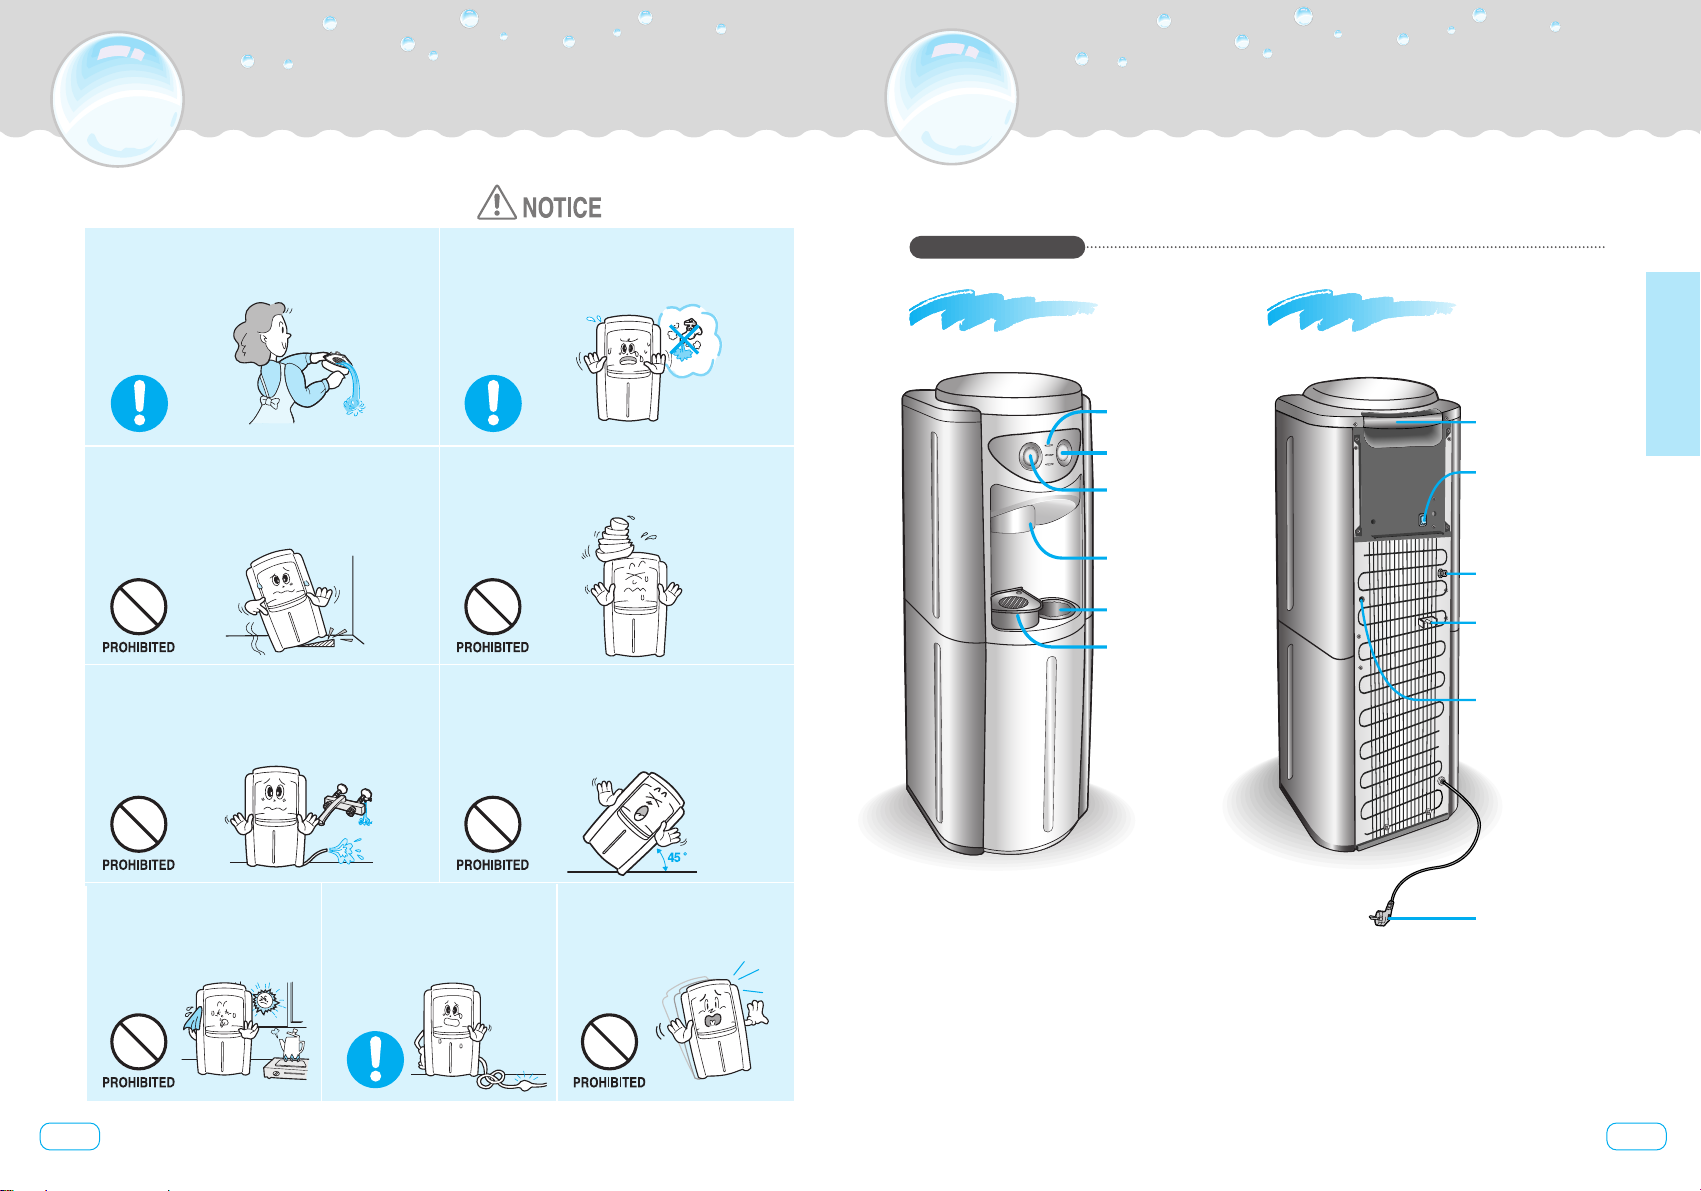
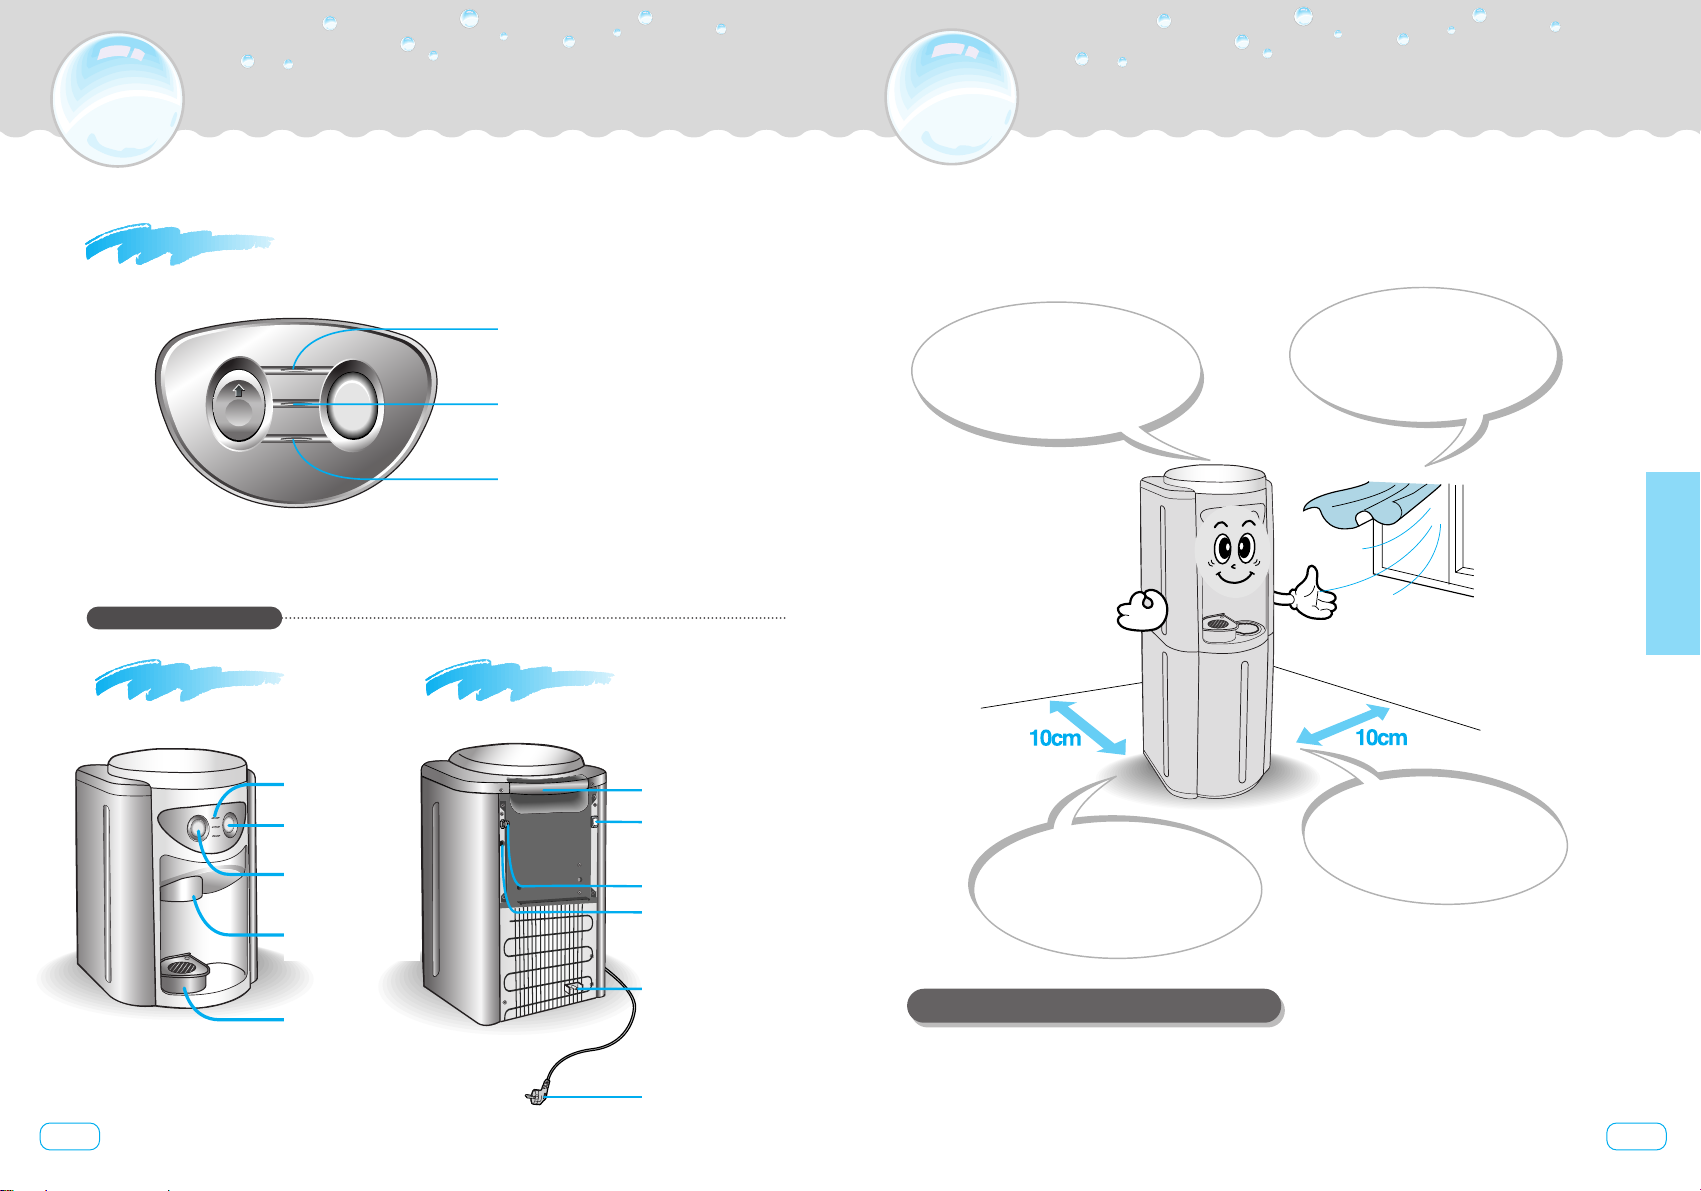
DRAINING METHOD
Water supply
valve handle
Pull front cover out to take it off.