witbox Witbe User manual

Witbox Installation Guide
Witbe
2022/10/29

Page 2 / 13
Table of Contents
Introduction................................................................................................................................................................... 3
Packing content........................................................................................................................................................... 3
Prerequisites................................................................................................................................................................ 4
Hardware setup ............................................................................................................................................................. 4
Connect the Witbox to power and network................................................................................................................. 4
Connect your STB to the Witbox ................................................................................................................................. 4
Add STB power control................................................................................................................................................ 5
Connect your Witbox to a TV set (optional passthrough configuration)......................................................................... 6
Access your device in Workbench and validate the setup ............................................................................................. 7
The Witbox screen........................................................................................................................................................11
Troubleshooting............................................................................................................................................................11
IP issue.......................................................................................................................................................................11
Hub Connection issue.................................................................................................................................................11
STB Control issue........................................................................................................................................................11
Video in REC, but black on TV with the passthrough...................................................................................................11
Page 3 / 13
1. Introduction
This documentation presents the step toperformin order to install the Witbox and its STB.
See more of the technical requirement of the Witboxon thededicated page RobotHardware Technical requirements
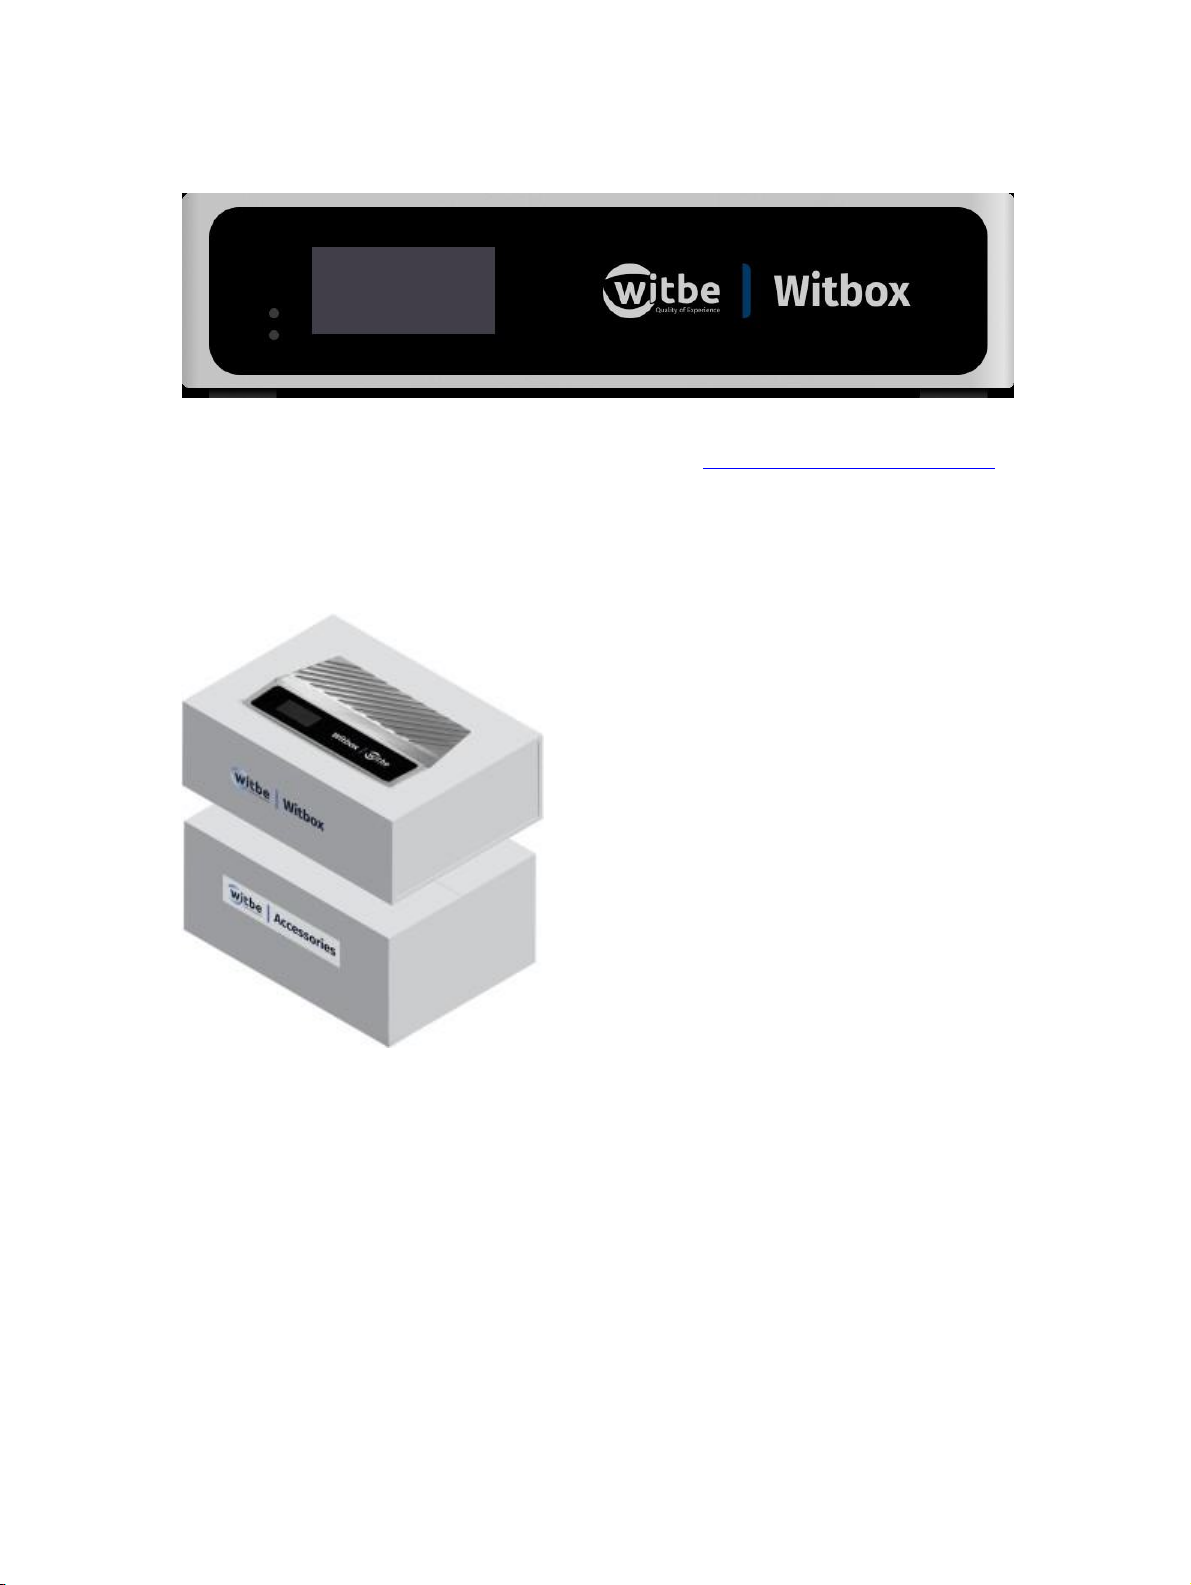
1.1. Packing content
The Witbox box contains:
Main box
•
1x Witbox
Accessories box
•
1x red ethernet cable for Witbox network access
•
1x power adapter for the Witbox
•
1x power cord for the Witbox power adapter
•
1x HDMI cable
•
1x IR blaster
•
1x IRblaster sticker
ForPower Controller,the accessories box also includes:
•
1 x Power controller (1 port)
•
1 x blue ethernet cable
•
1 x power cordfor thepower controller

Page 4 / 13
1.2. Prerequisites
•
Have the STB ready, connected,and provisioned on the customer backend
•
The Witbox will be configured in DHCP on its "Network" port, it only requires valid Internet access to reach its Hub
Cloud (the Witbox connection only requires an outbound HTTPS connection —a standard & simple Internet access)
2. Hardware setup
2.1. Connect the Witbox to power and network
Perform the following cabling:
1. Connect the Witbox power supply to a power source. As soon as you plug it in, the Witbox automatically powers
itselfon.
2. Usethe red cable,to connect the Witbox "Network" Ethernet port toyour network switch.

Page 5 / 13
2.2. Connect your STB to the Witbox
1. Connect the HDMI output from your STB to the "HDMI IN" of the Witbox to allow the Witbox to access the video
stream of your device.

Page 6 / 13
2.2.1. STB with IRremotecontrols
1. Plug the IR blaster from the "IR" port of the Witbox to the front of the STB (where the IR LED is located). It is
recommended to secure the blaster to the STB thanks to the supplied IR blaster sticker. This also reduces possible IR
leaks.
2.2.2. STBwithBluetoothremotecontrols
Nophysical connectionis needed, the Witboxwill be paired to the STB using Workbench.
2.3. Add STBpower control
1. Use the power cord to connect the Power Controller to a power source.
2. Usethe blue Ethernet cable to connect theWitbox «Accessory»Ethernet port tothe Power Controller.

Page 7 / 13
3. Plug the power cable ofthe STB into the Power Controller.

Page 8 / 13
2.4. Connect your Witbox to a TV set(optionalpassthrough configuration)
1. Using another HDMI cable (not supplied), you can connect a TV set to the "HDMI OUT" port of the Witbox. This will
allow you to see the stream of the STB on the TV set, at the same time as the Witbox perform automated testing on
the STB.

Page 9 / 13
2.5. Access your device in Workbench and validate the setup
InWorkbench,go to Resource Manager > Devices.
To find your STB in the list, you can search for the Witbox name (the one displayed on the Witbox screen).
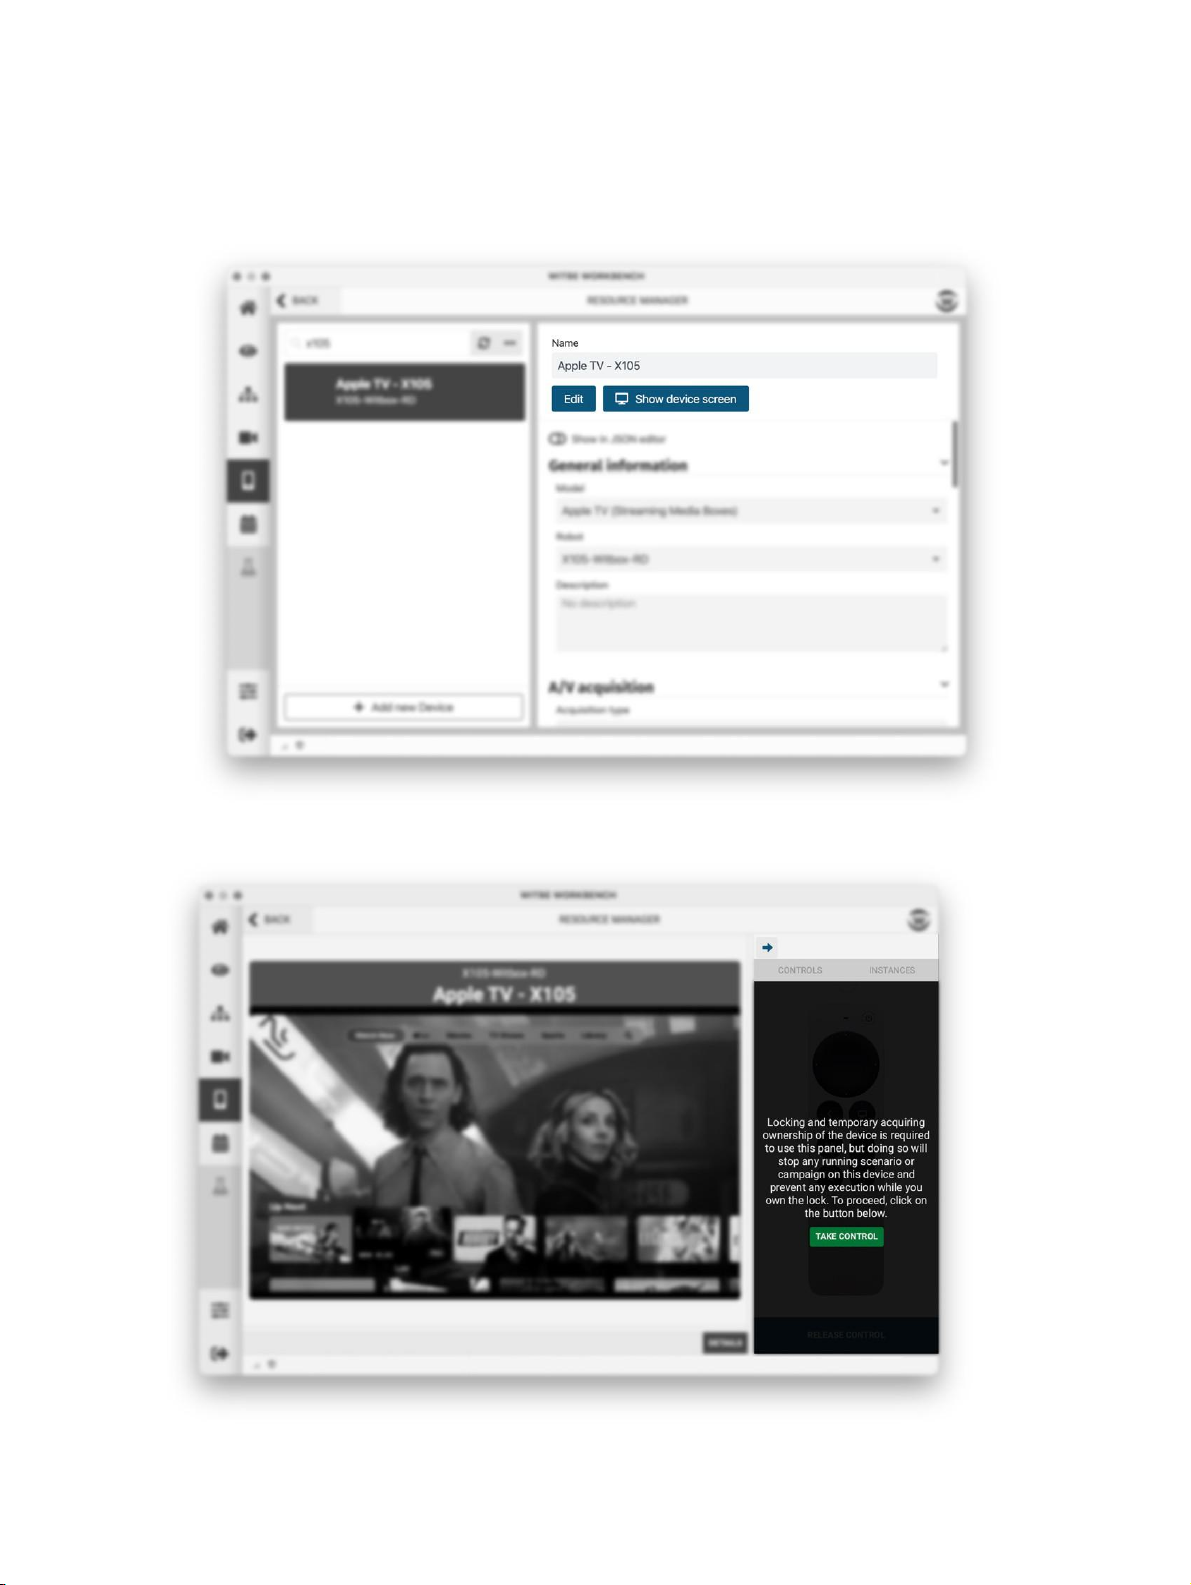
Page 10 / 13
Click on the device in the list, and then on the Show device screen button. The video screen of the STB should appear.
Clickon the Take control buttonto make the virtual remote control appear.
Table of contents


